How to Make a Pretty DIY Denim Top Out of Old Jeans & a Dress Pattern

If you’ve got some old jeans at home, you can make a DIY jean top that is absolutely gorgeous. You might be asking how to sew a cute denim top that looks and feels good quality, well I am here to show you how.
This denim top DIY is for people with medium to advanced sewing skills. Let’s get started!
Best fabric scissors!
Tools and materials:
- 2 pairs jeans
- Lining fabric
- Invisible zipper - 10 to 11 inch
- Serger/overlock machine
- Sewing machine with a denim or heavy-duty needle
- Invisible zipper foot
- Dress pattern
- Pattern paper
- Marker/tailor’s chalk
- Scissors
- Seam ripper
- Measuring tape
- Iron
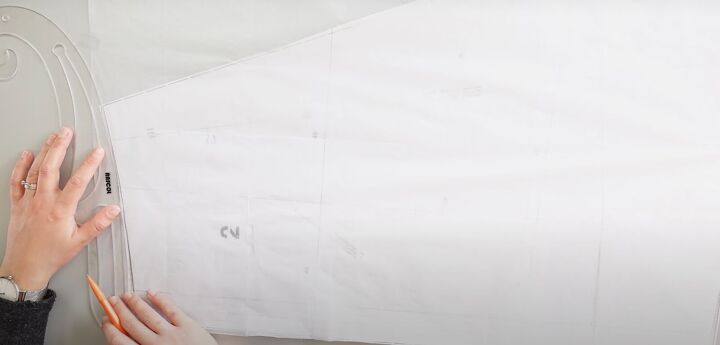
I don't want the pleat at the front of the dress pattern, so I followed the seam line instead on piece 2 (this is mentioned as an option on the pattern). This line will be the center front fold.
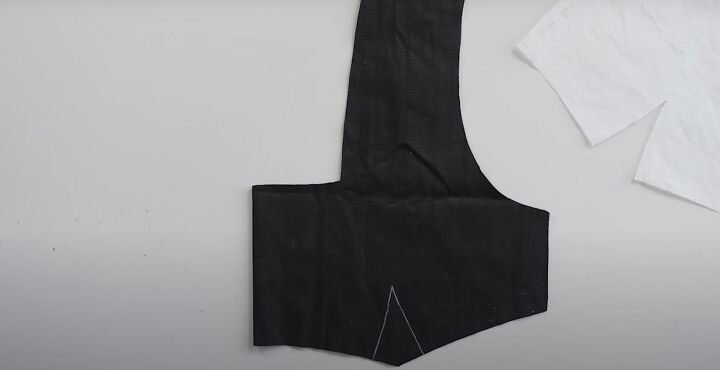
Shorten pieces 2 and 5 to make a top pattern. You can get the length measurement from under your bust to your hip height plus 1¼ inch (3 cm) for the seam allowance and hem.
Mark this measurement on both sides. Then, trace a curved shape like on the original pattern piece at the edge on the bottom.
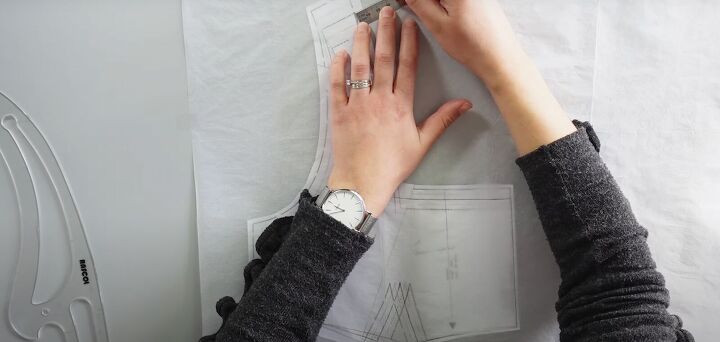
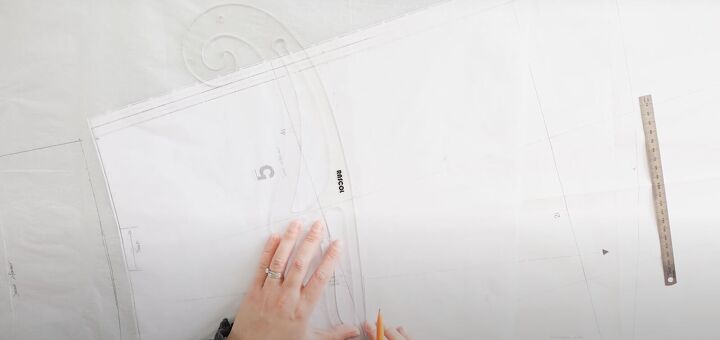
Modify the collar on pieces 1 and 4. At the shoulders, add 1½ inch (4 cm) in width and mark this measurement all the way up to the shoulder. Trace the curved lines as in the original pattern.
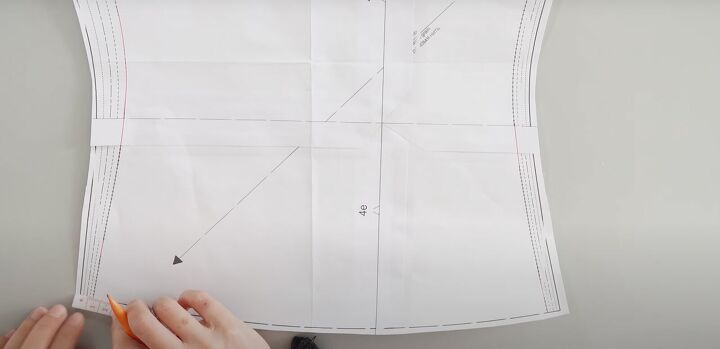
Measure a simple sleeve and add ¾ inch (2 cm) for seam allowance. Measure the bottom of the sleeve and mark the center.
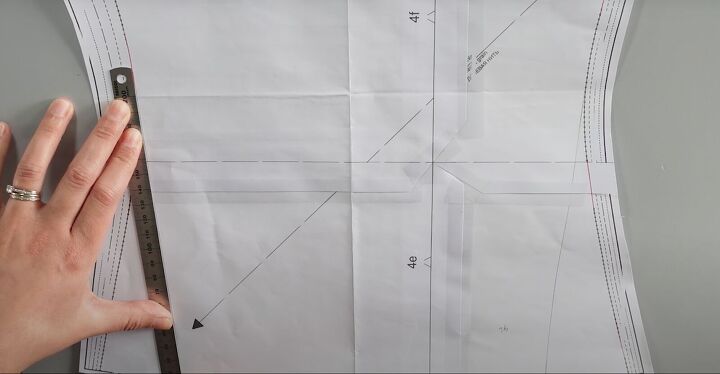
From the center mark, measure out an equal distance on either side. In this tutorial, it measures about 9½ inches (24 cm) so it measures 4¾ inches (12 cm) on either side from the center mark.
Use a ruler to draw a diagonal line from these points on either edge of the sleeve.
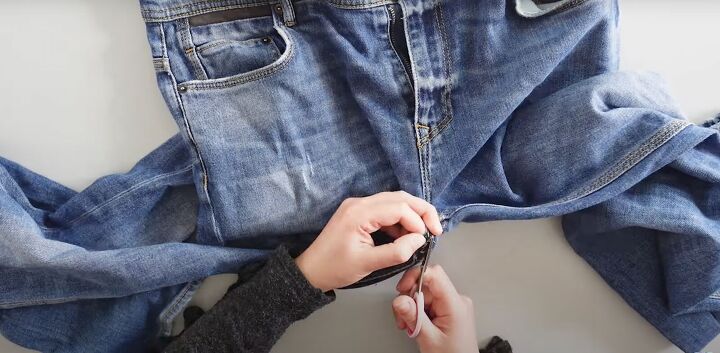
2. Prepare the jean fabric
Seam rip the inner seams of the jeans, keeping the heavier outer seams intact.
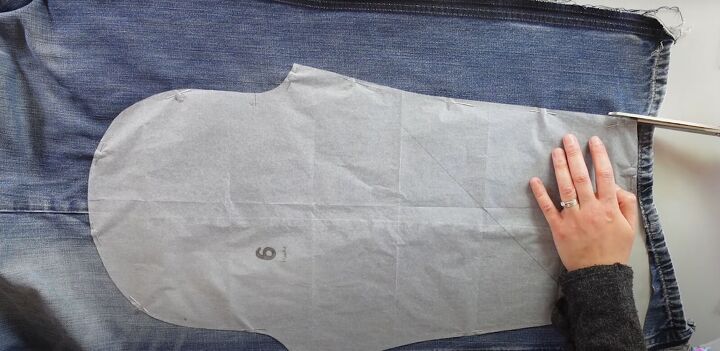
3. Cut the fabric
Place the pattern pieces on the jeans. Pin in place and cut.
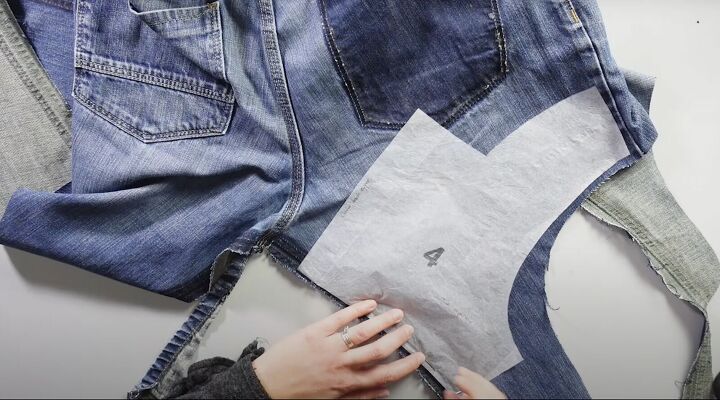
If there isn’t enough fabric, undo the pocket seams and use that part of the jeans for your fabric.
Repeat all the steps for the lining.
Transfer the dart lines, notches, and marks from the pattern to the fabric, including the lining.
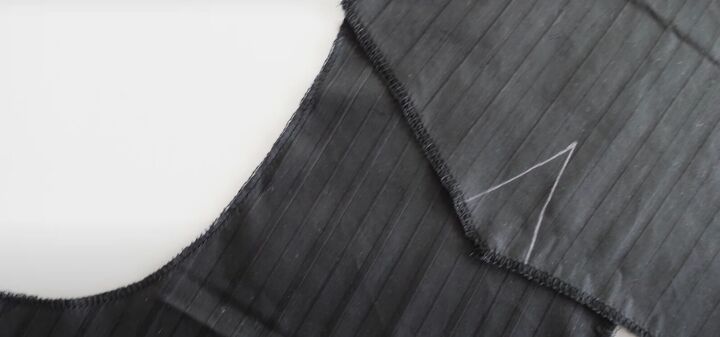
4. Serge the edges
Serge all the edges including the lining.
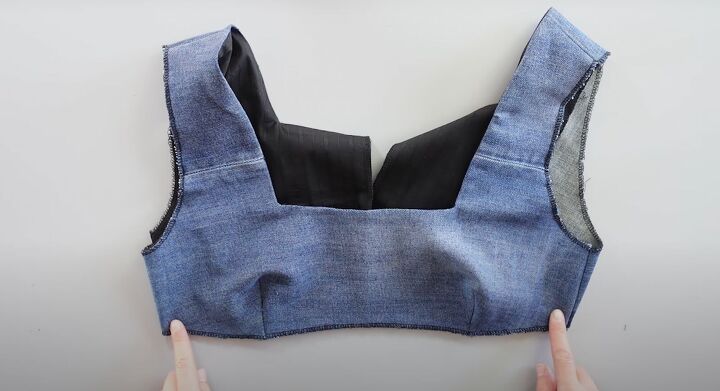
5. Assemble the top
Start with the darts. Pin the darts on the denim and lining, then sew. After sewing, cut the excess fabric and press the darts in place.
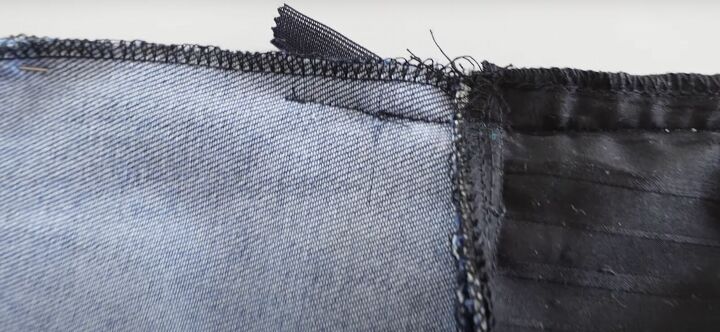
Pin the shoulders and sides, right sides together, then sew. Repeat for the lining pieces.
Press the seams open on both the lining and denim layers.
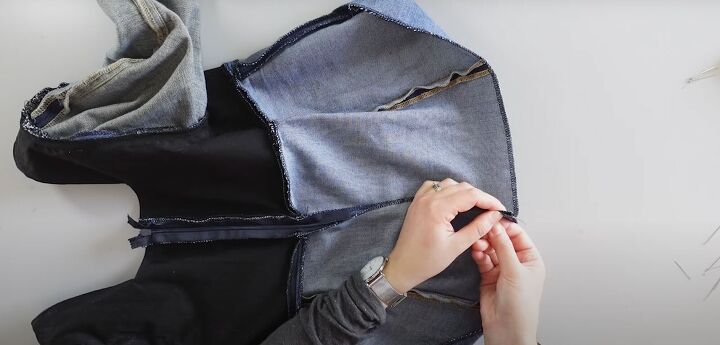
6. Attach the lining
Place the lining and the denim right sides together. Line up the seams. Pin around the collar in the front and back. Sew the pinned areas.
Cut notches on the curved areas.
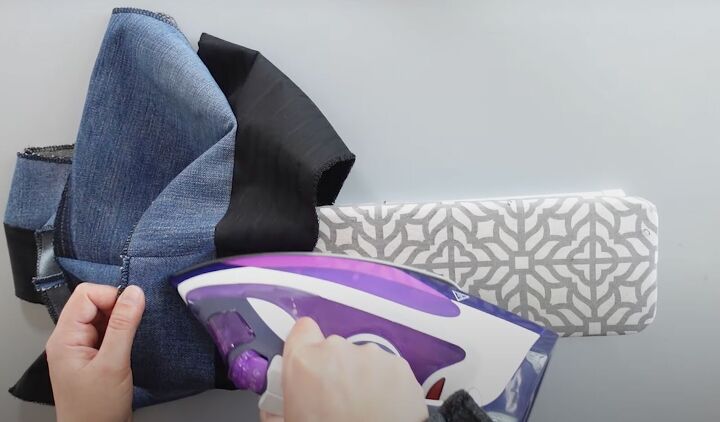
Press the seam allowance towards the lining.
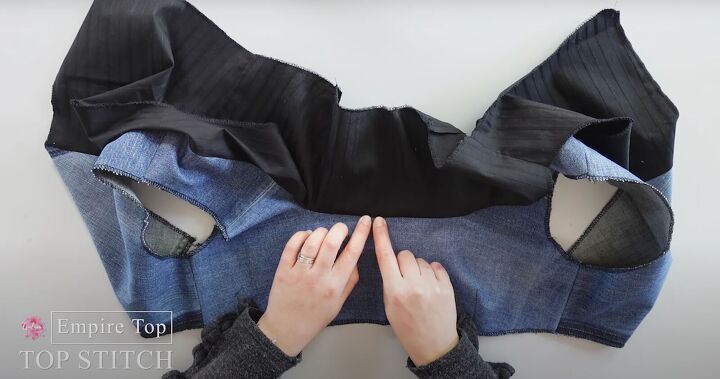
Topstitch through the 2 layers of the seam allowance and the lining. Press. Fold the 2 layers and press to flatten.
Do a basting stitch on the entire bottom area of the top piece, including the center open back seams.
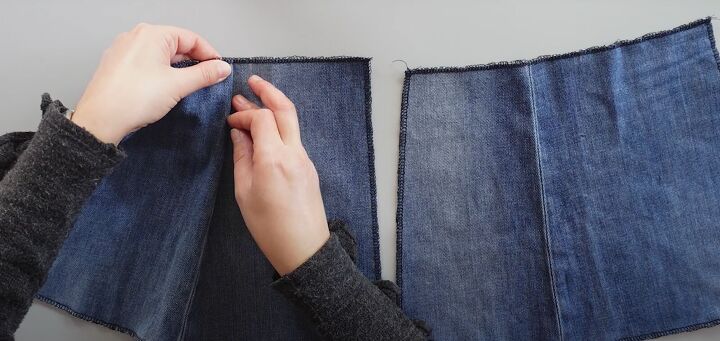
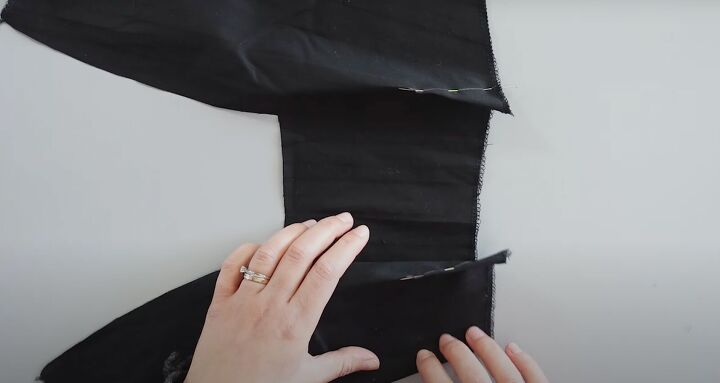
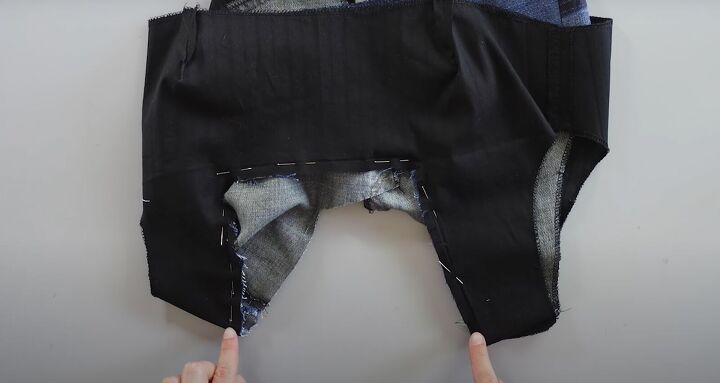
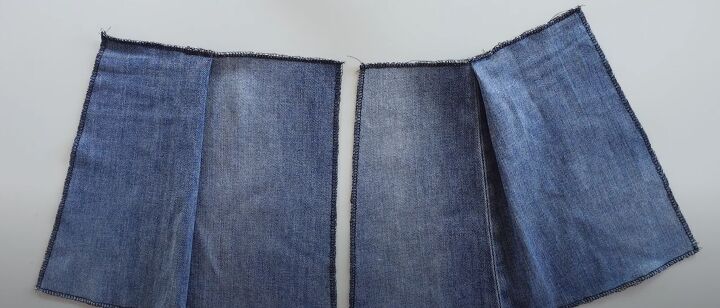
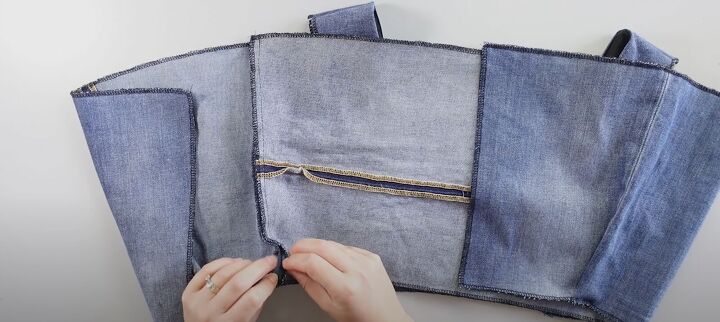
7. Assemble the bottom
On the denim back pieces, there is a mark for the pleats. Fold from 1 mark to the other. Pin in place. Do the same for the other back piece but with the pleat going in the other direction.
Sew these pleats together close to the edge.
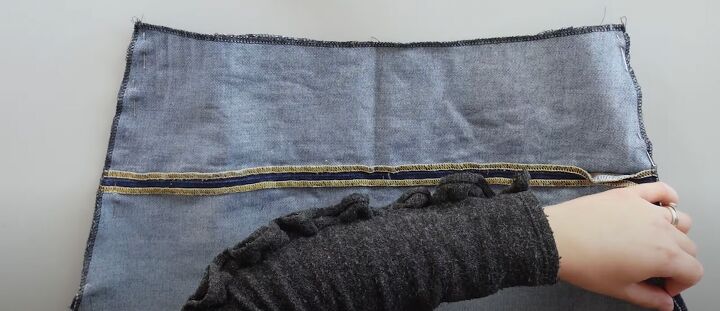
Assemble the bottom front with the bottom back pieces by placing them right sides together and pinning the sides. Sew.
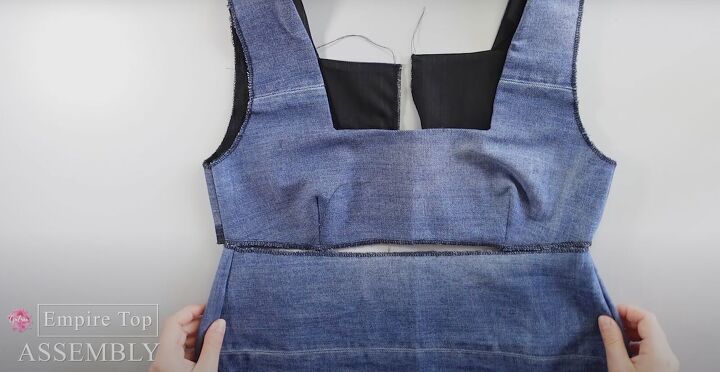
8. Attach the top to the bottom
Place the top and the bottom pieces right sides together so the seams are aligned.
Pin all around. Sew. Press open the seam allowances.
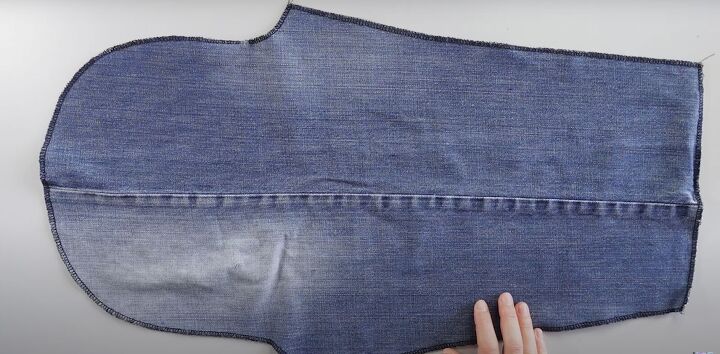
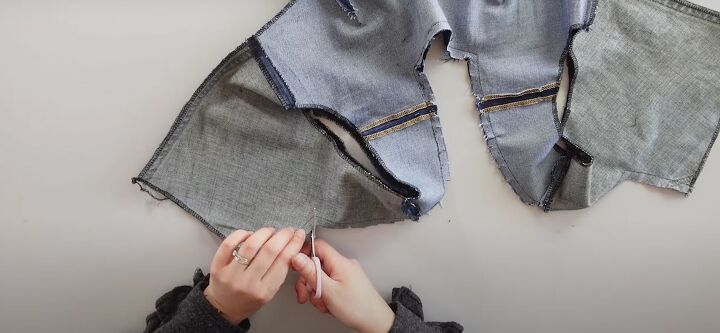
9. Assemble the sleeves
Note the marks at the top of the sleeve cap. Sew a basting stitch in between these marks.
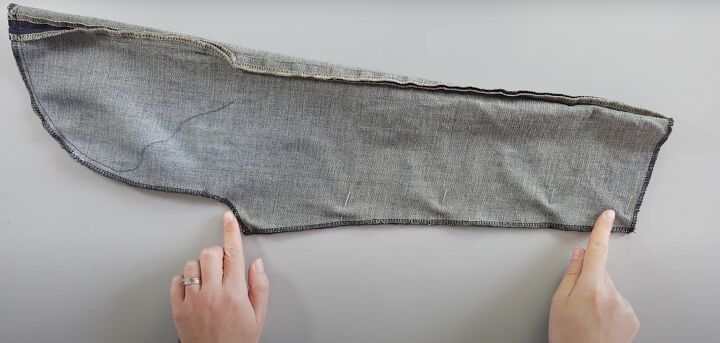
Pin the sleeve right sides together on the inner sleeve seam. Sew. Repeat for the other sleeve.
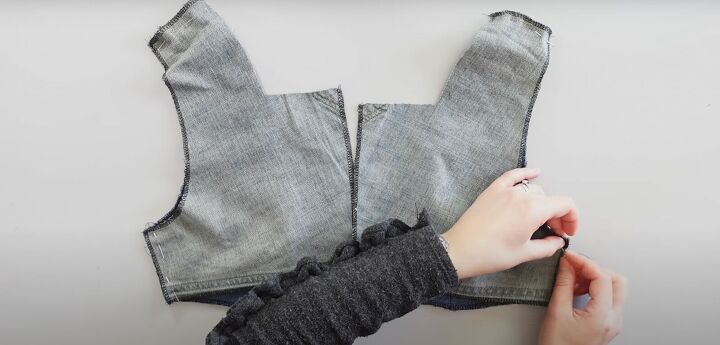
10. Attach the sleeves to the top
Pin the sleeves to the armhole by aligning the sleeves and matching the notches. Pin those in place.
Then, pin from the bottom up so the basting stitch gathers at the top of the sleeve. Pin, distributing the gathers evenly at the top. Sew.
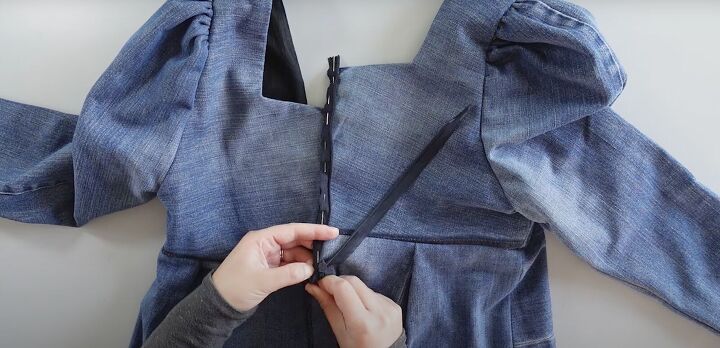
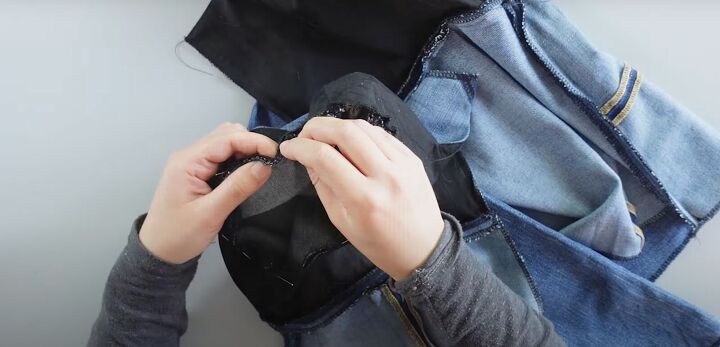
11. Insert the zipper
Keep the top right side facing. Pin the zipper to one side of the top and sew using an invisible zipper foot. Repeat the process for the other side.
Turn the top wrong side facing and pin the center back seam.
Secure the bottom of the zipper with the zipper foot and then sew with a straight stitch on the rest of the seam.
12. Hem
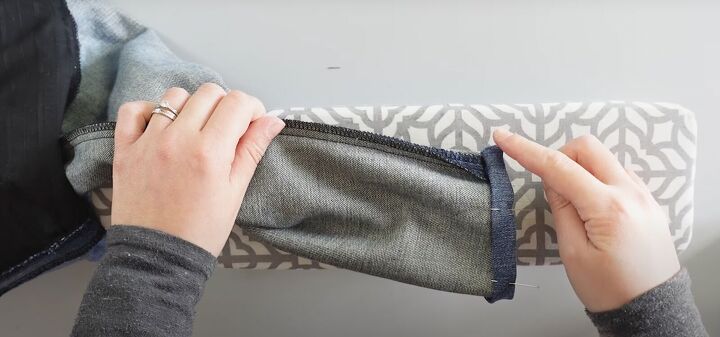
For both the sleeve and bottom hem, fold over the serged edge. Press. Then fold again. Press. Pin in place. Sew across.


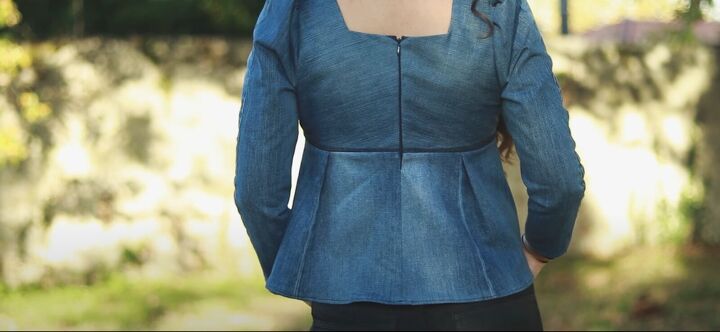

Denim top DIY tutorial
Your denim top DIY denim top is done and looks super beautiful! Please let me know in the comments if you made this and what else you’d like to see upcycled. Thanks for joining!
The author may collect a small share of sales from the links on this page.


Comments
Join the conversation