How to Make 4 Easy, DIY Denim Bags Out of One Pair of Old Jeans

For this DIY, I’m going to show you how to make denim bags from old jeans. Follow this tutorial and your new DIY denim bag can be used for anything from school supplies to a phone case. The great thing about this tutorial is that you’ll be making your DIY denim bag from jeans, which means you can recycle all the pants that you don’t like or don’t fit you anymore. Let’s get started!
Tools and materials:
- Old denim
- Sewing machine
- Scissors
- Ruler
- Iron
- Lining fabric
- Hot glue
- Strap materials (rope, cord, yarn)
- Magnetic bag clasp or velcro
Style 1: Casual handbag
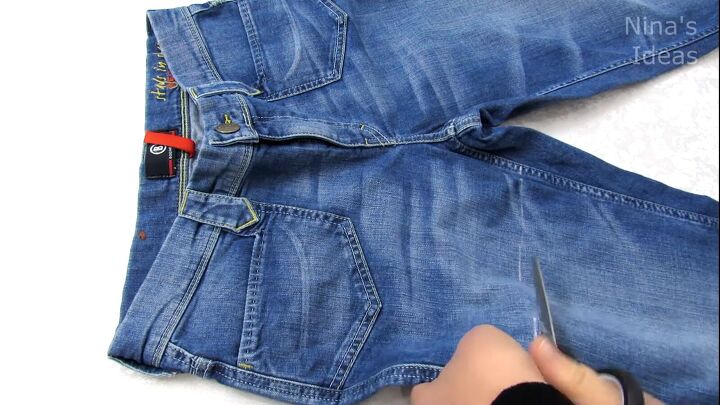
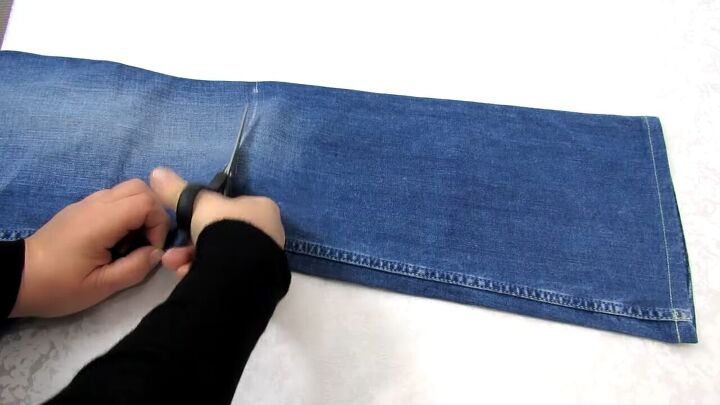
1. Cut off the legs
Measure 12-15 inches down one leg of the jeans, and cut down the line.
Fold over and use the already-cut leg as a template for the other leg.
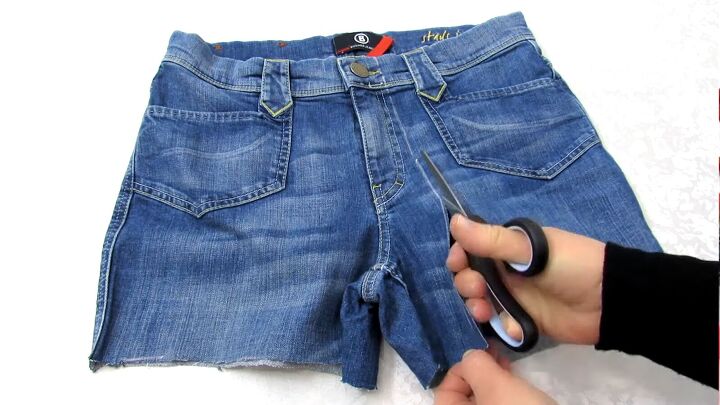
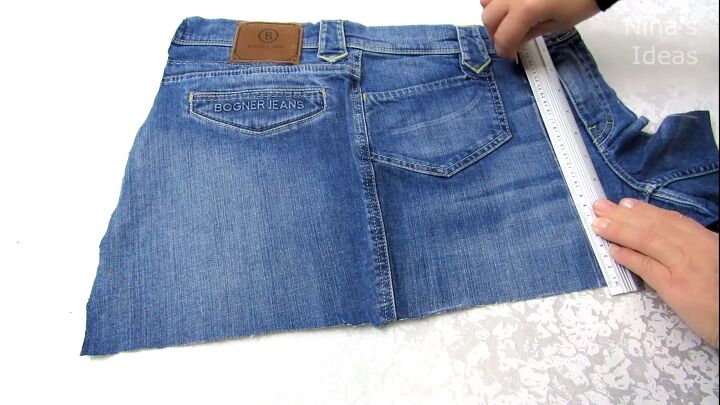
2. Cut the jeans open
Use a ruler to draw a straight line from the button to the bottom of the jeans and then cut along it.
Then cut down the middle seam from the back of the pants.
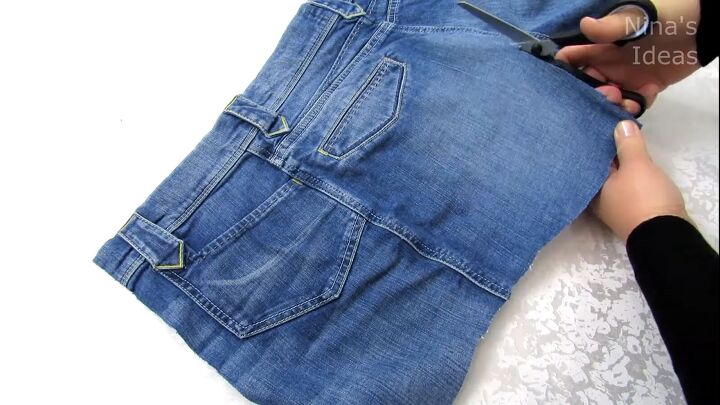
3. Refine the edges
Use a ruler to draw a straight line from the other side of the button, and use it to cut off the extra fabric you won’t need.
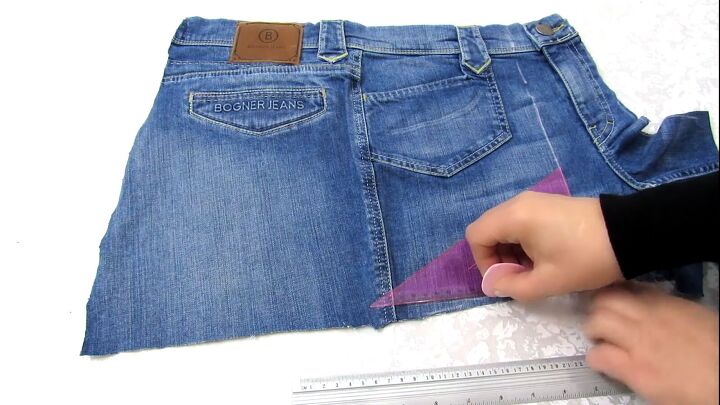
Use a ruler to mark the hem into a straight-edged, rectangular shape, cutting off any angled fabric.
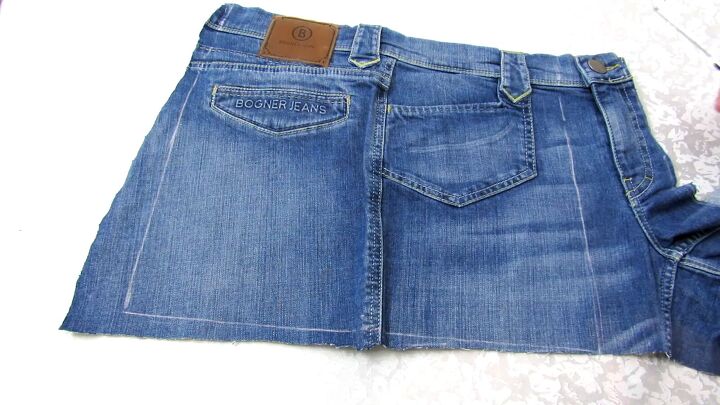
Your line should look something like this.
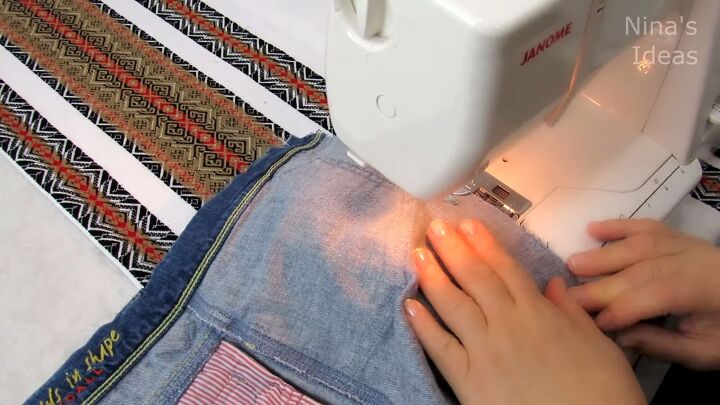
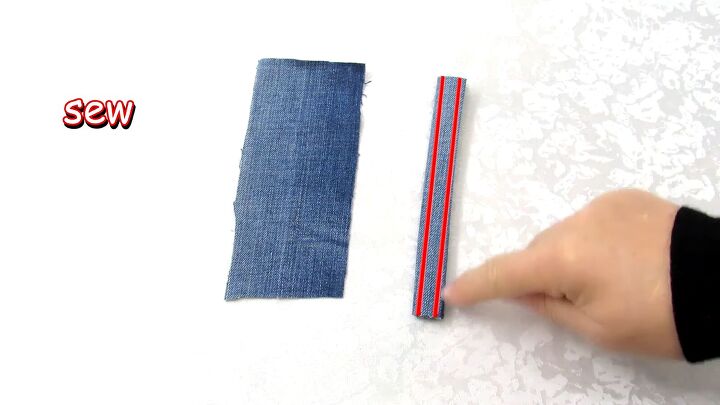
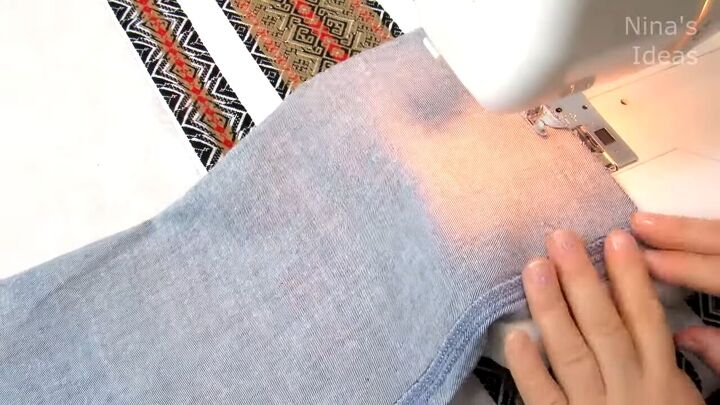
4. Sew
You should now have two separate pieces, a front and a back. Lay them right sides facing, and sew along the edges using a zigzag stitch, but leave open the top part where the waistband.
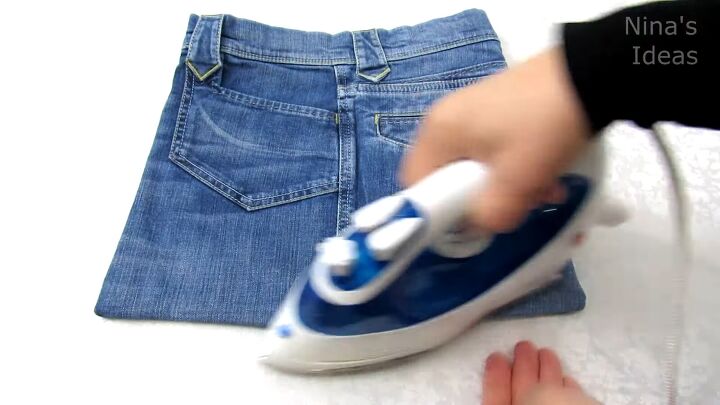
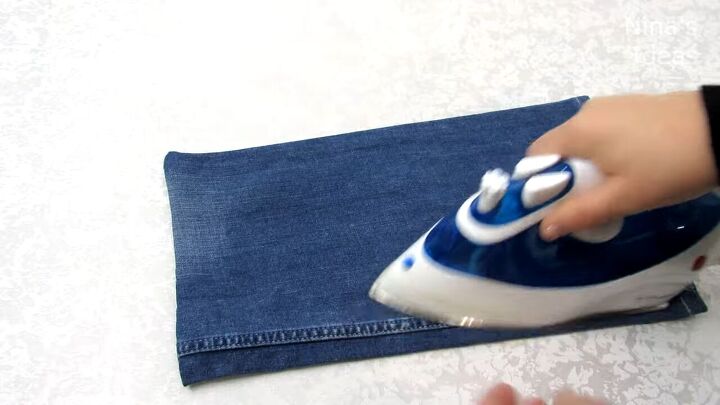
5. Iron
Flip the bag right side out and iron out any imperfections.
6. Cut out the lining
Use the bag as a template to cut out three pieces of lining from the fabric of your choice. You can use an old pillowcase, felt, or any other kind of fabric.
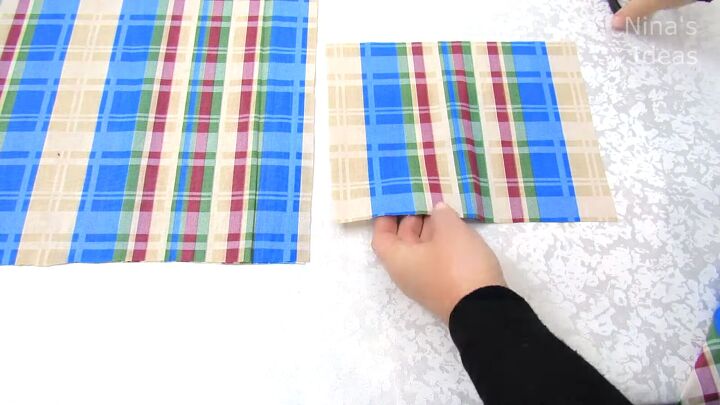
7. Create the pocket
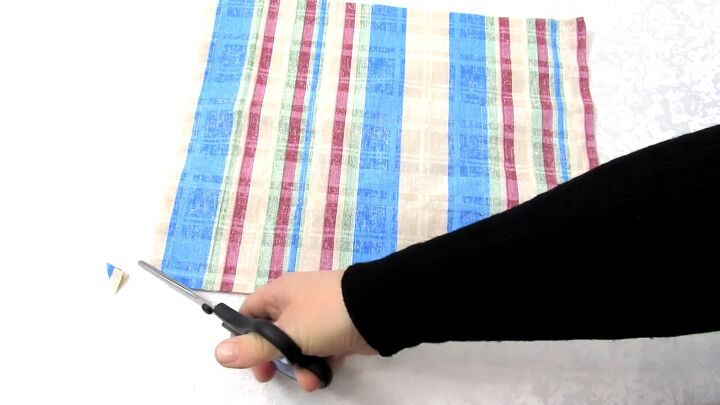
Cut out a rectangle from the lining that is 10 x 8 inches.
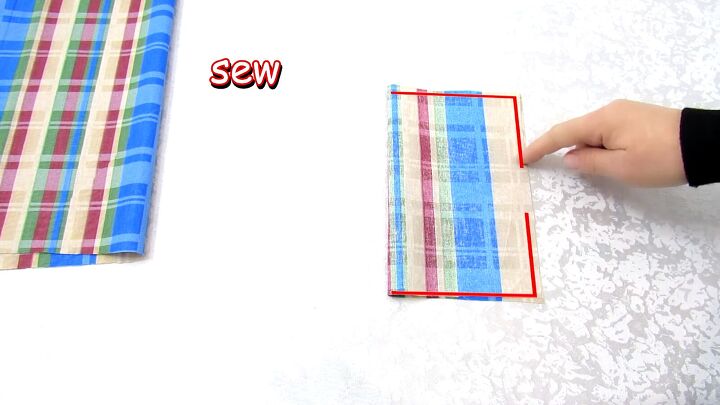
Fold the fabric in half, then sew along the open edges, leaving a gap in the middle of the bottommost edge.
Cut off the corners.
Flip inside out, iron, and then sew along the edge.
Pin the pocket to the lining and sew.
8. Sew lining
Place the right sides of the two pieces of lining together, and sew.
Cut off the bottom corners.
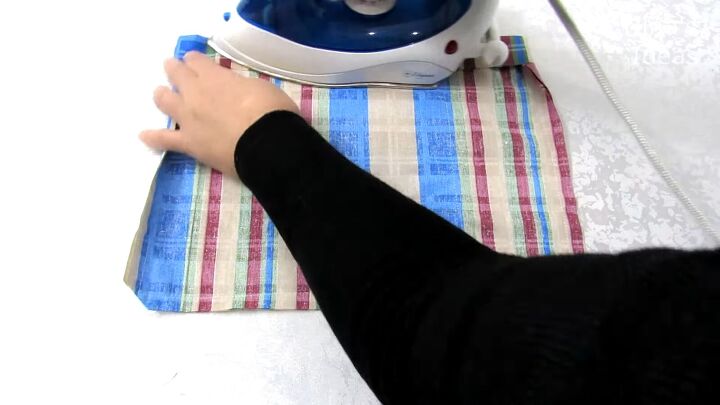
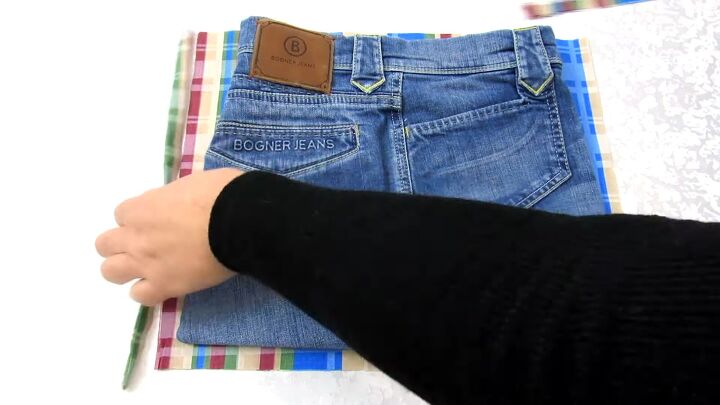
9. Iron
Fold the top edges down and iron.
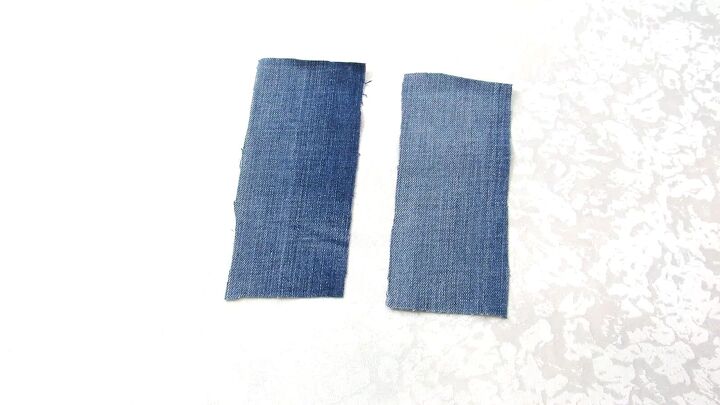
10. Create the loops
Cut out two pieces of denim that are 6 in x 3 in.
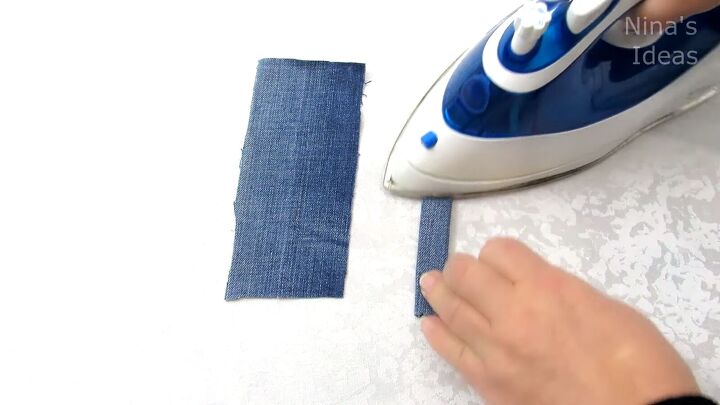
Fold each piece in half twice and iron.
Sew.

Place in the waistband and sew to secure.
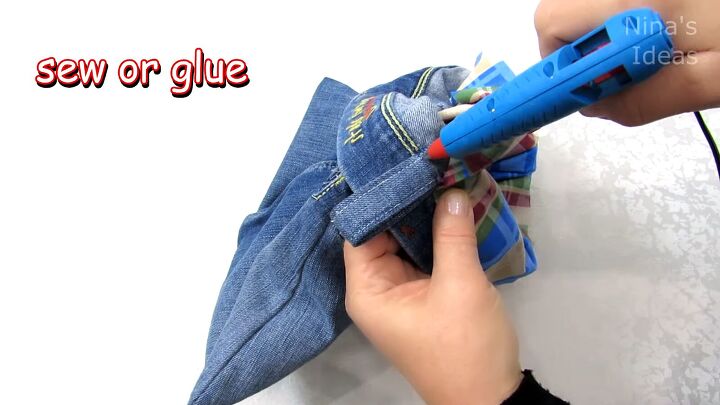
11. Attach the lining
Sew or glue the lining to the inside of the bag.
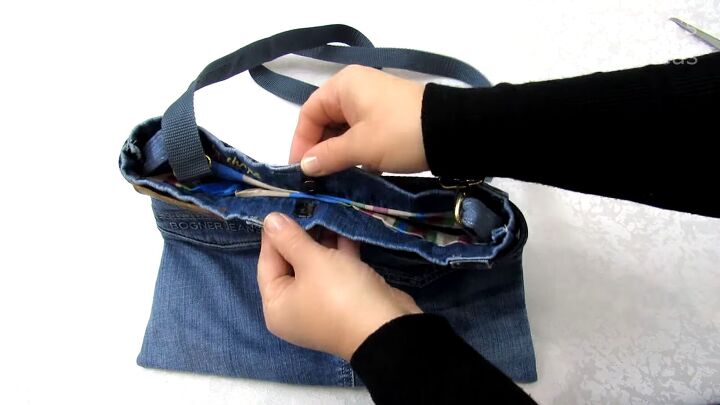
12. Add the finishing touches
Use a strap, rope, or piece of cord, and attach it to the loops. Then, close up the bag with a magnetic bag clasp or velcro.
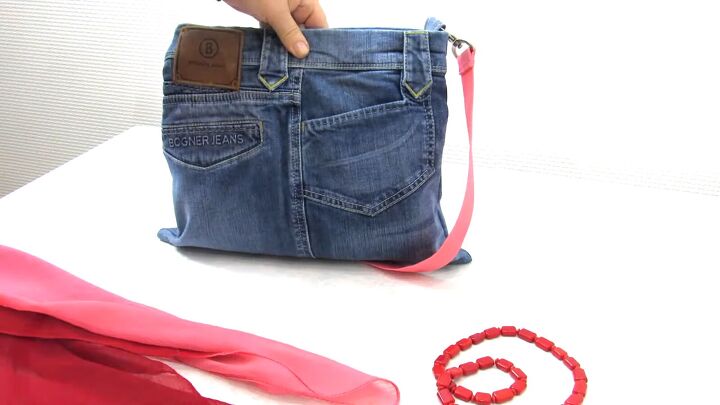
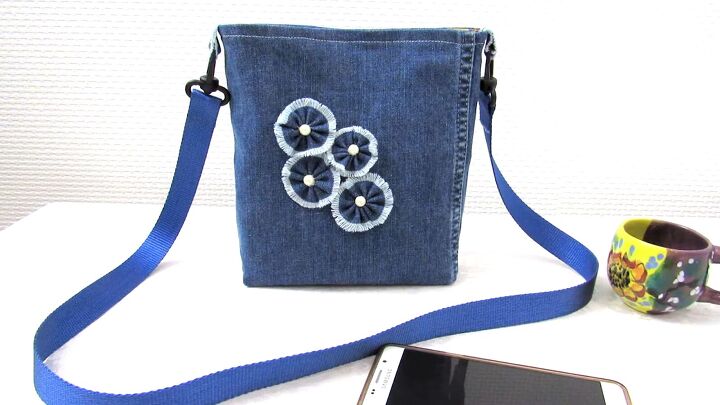
Here’s the finished bag!
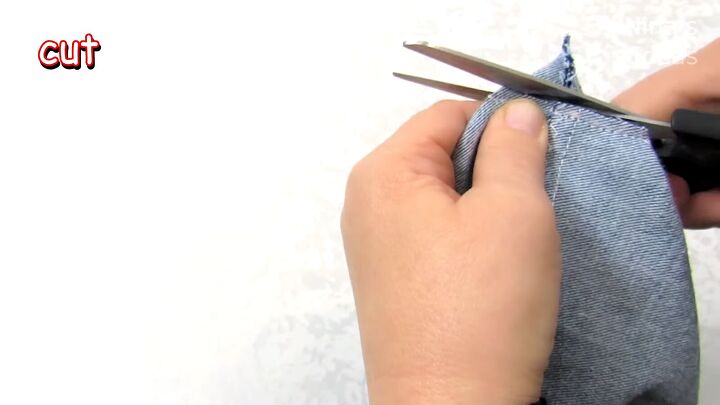
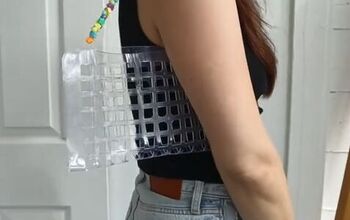
Style 2: Festival bag
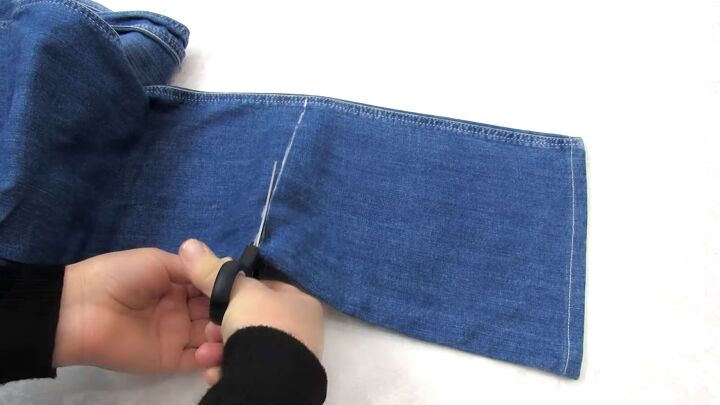
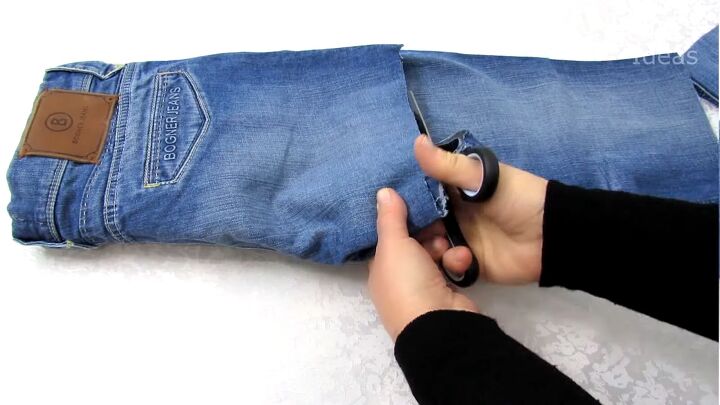
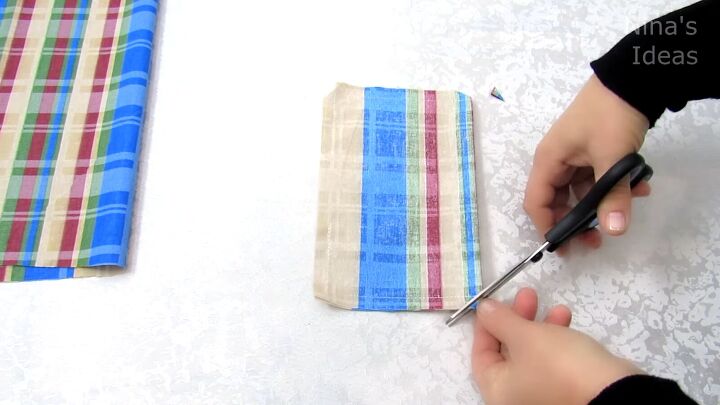
1. Cut
Cut 11 inches from the bottom of a pant leg.
Then 1 inch from the bottom.
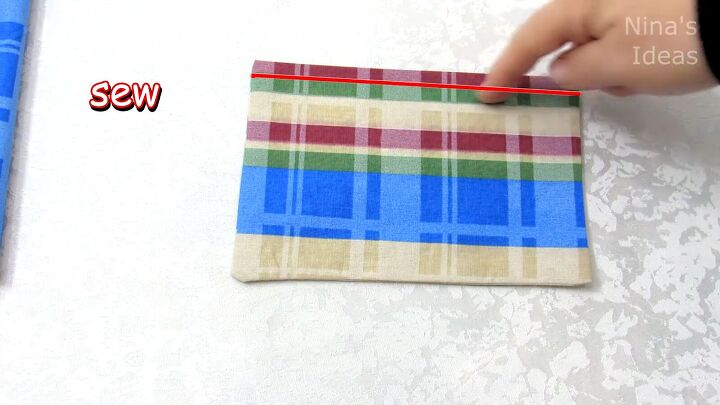
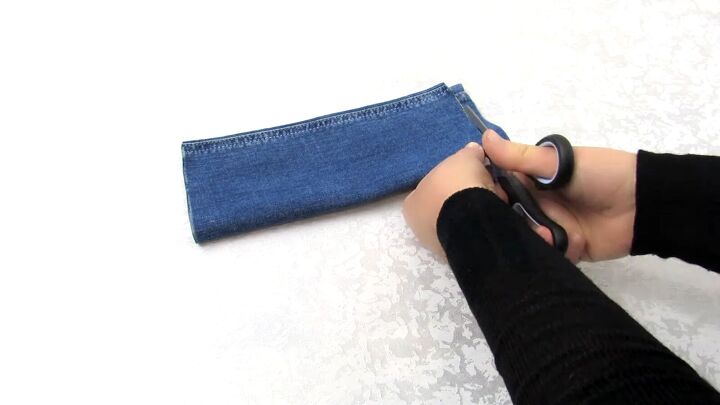
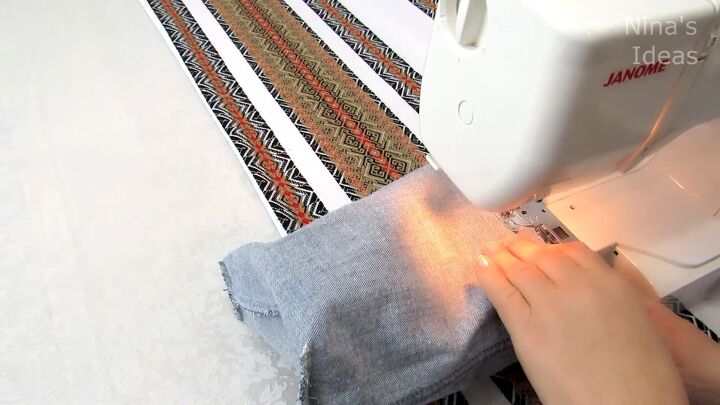
2. Sew
Turn inside out and sew along the bottom using a zigzag stitch.
Then, sew 2 inches from the bottom corners.
Cut off the extra fabric.
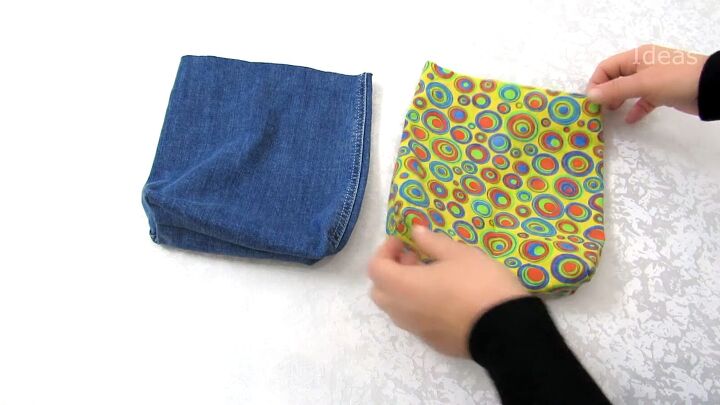
3. Create the lining
Create lining in the same way, using the previous steps.
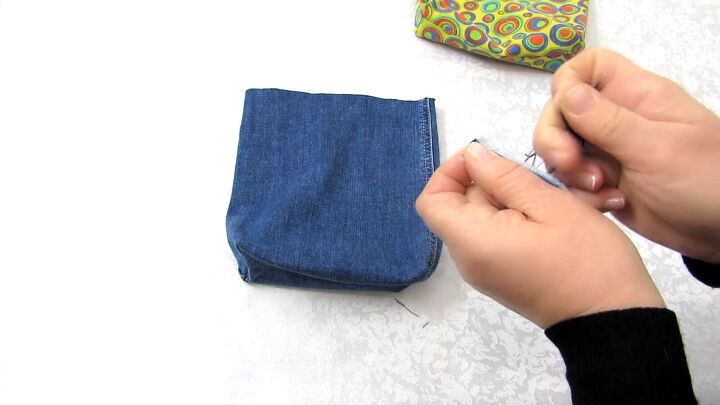
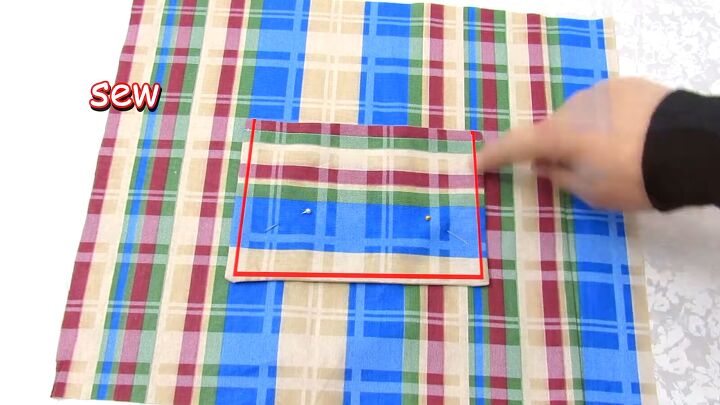
4. Create loops
Cut two pieces of denim that are 3 in x 1 in, and fray the edges.
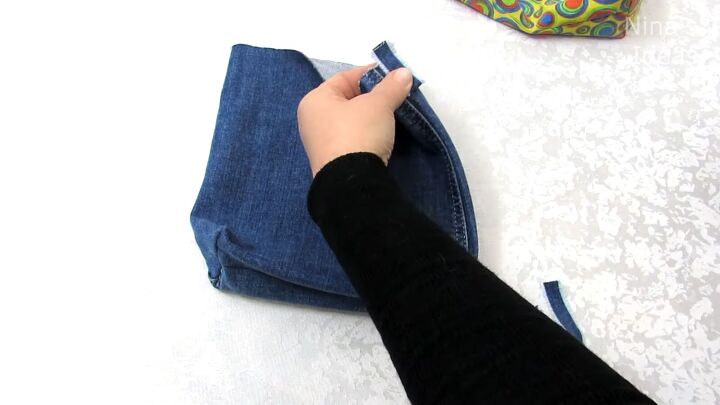
Pin to the outside of the bag.
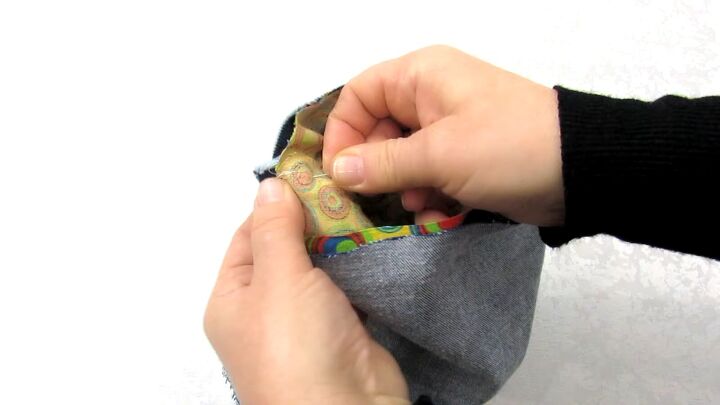
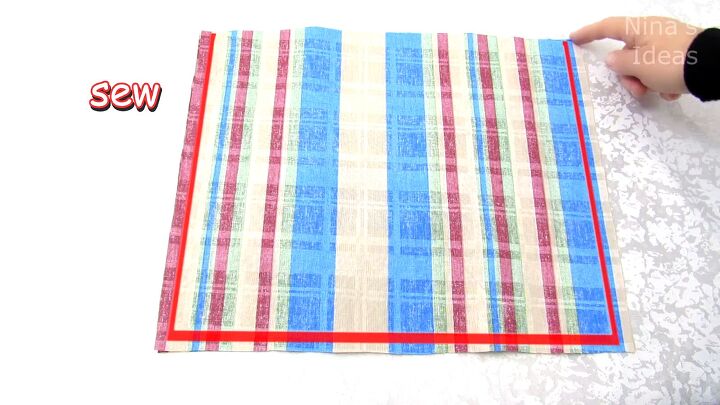
5. Attach lining
Place the lining inside the bag with the right sides facing, and pin it to the loops.
Sew, but leave a 2-inch gap.
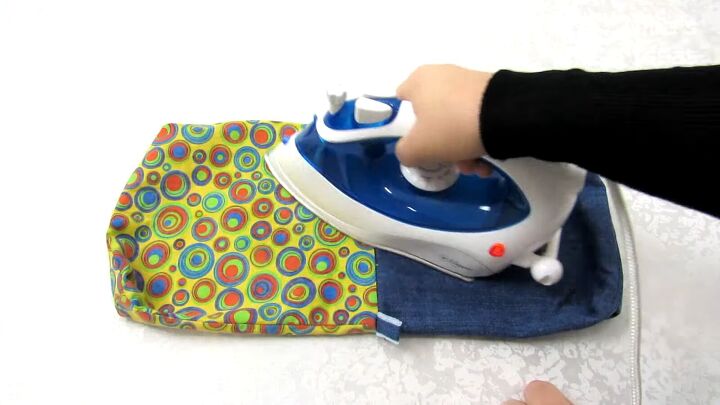
6. Iron
Use the gap to turn it right side out and iron

7. Sew
Sew again.
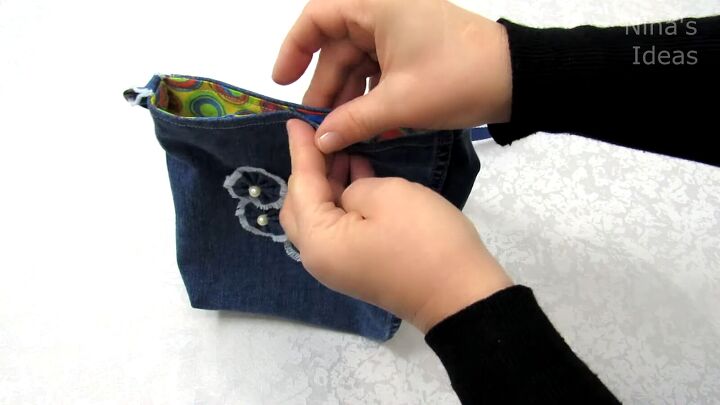
8. Add finishing touches
Attach a strap to the loop, and velcro or clasp to close. Decorate.
Here’s the finished bag!
Style 3: Foldover Bag
1. Cut
Cut 16.5 in from the bottom of a pants leg.
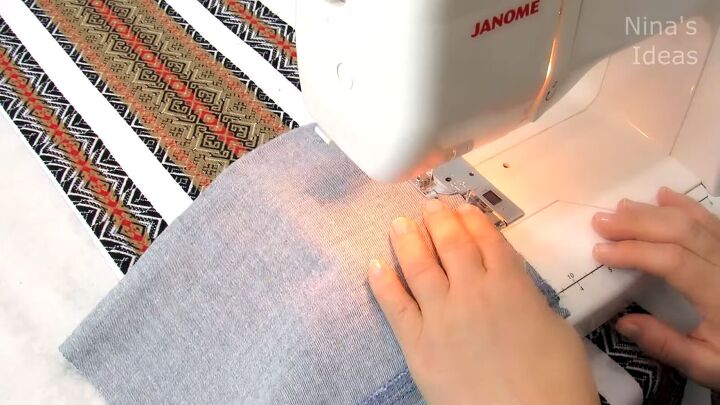
2. Sew
Turn inside out and sew along the edge you just cut using a zigzag stitch.
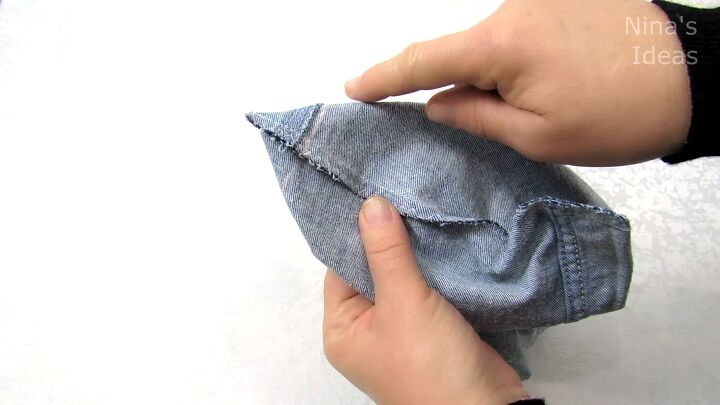
3. Iron
Turn right side out and iron.
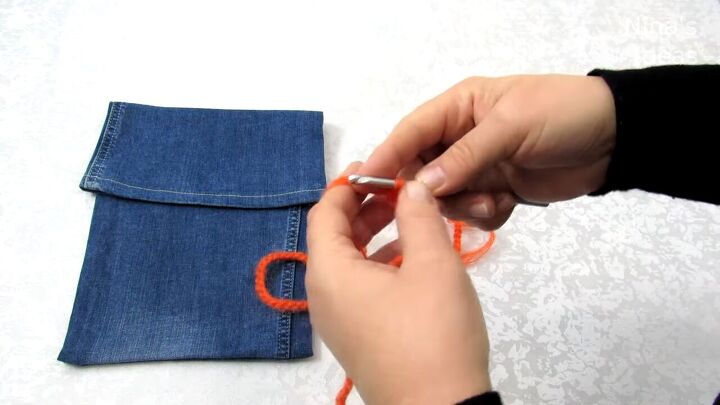
4. Add finishing touches
For the strap, I crocheted a strap using some leftover yarn and just chaining until it was the length I liked.
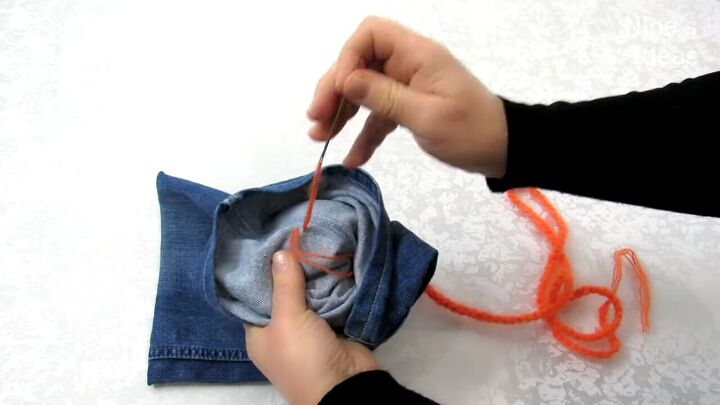
Then use a sewing needle to attach it to the bag.
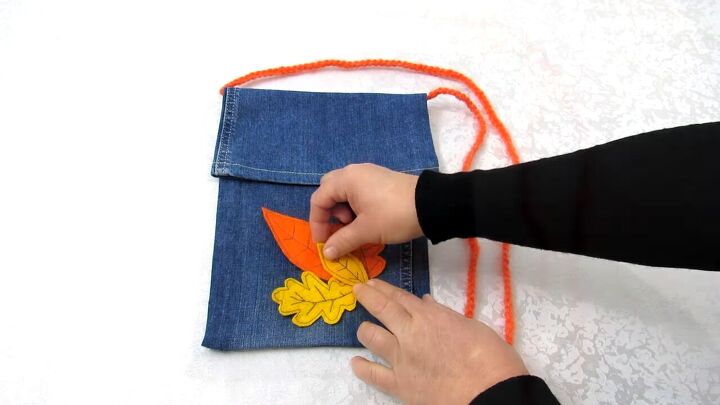
Decorate, and you’re done!
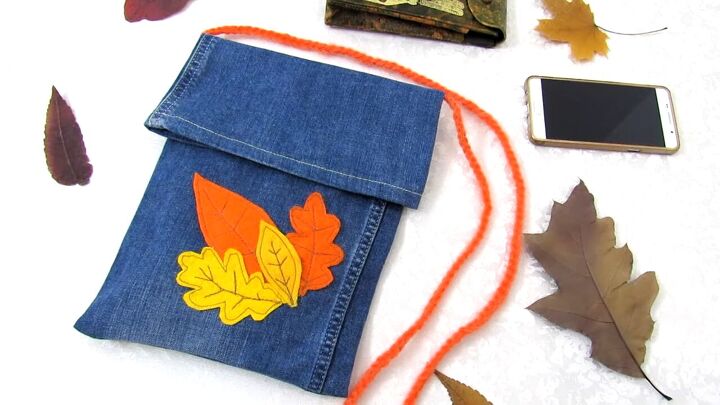
Here’s the finished bag!
Style 4: Pocket bag
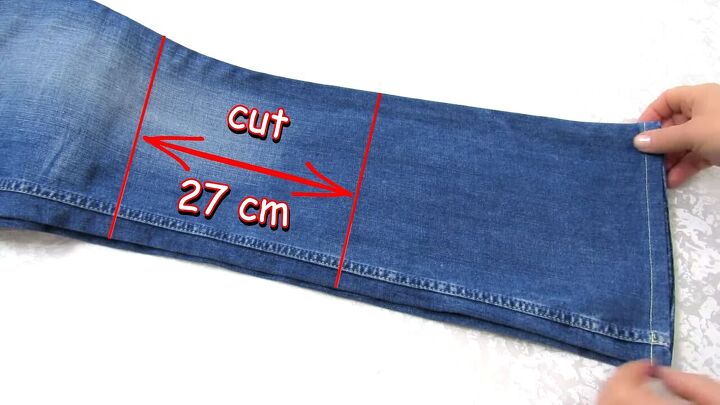
1. Cut
Cut 10.5 inches from the center of the pant leg.
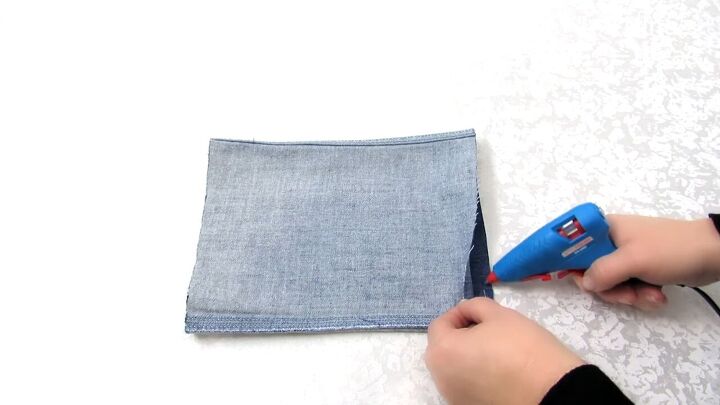
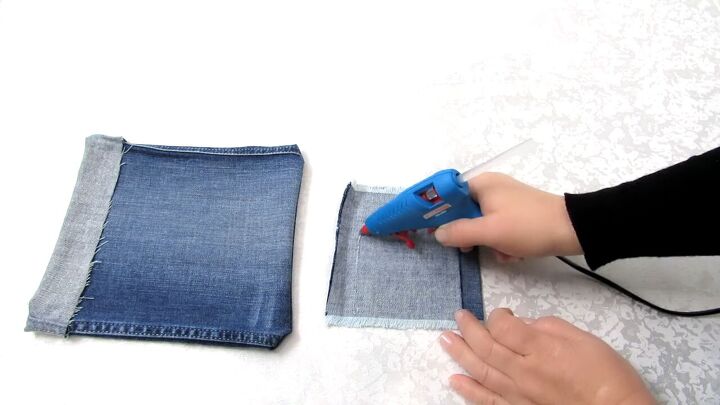
2. Glue
Turn inside out and glue along one open edge.
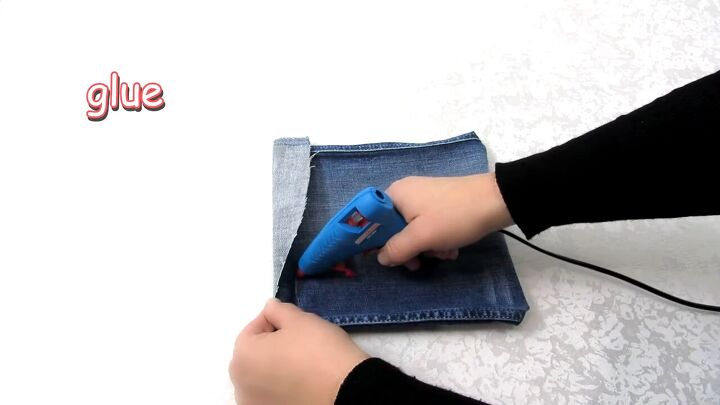
Then, turn right side out. Fold the top down 1.5 inches and glue.
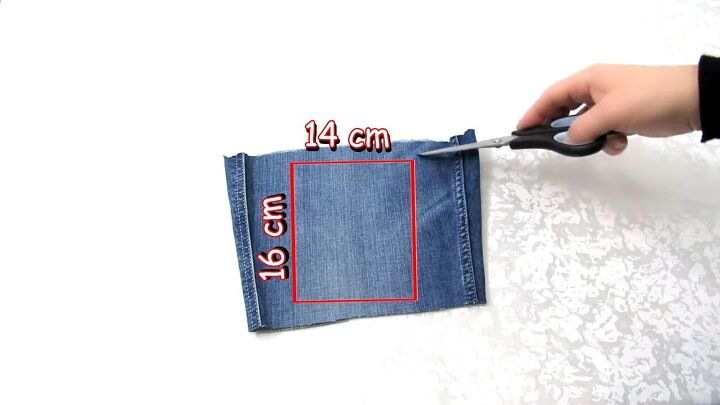
3. Cut
Cut out a small panel that is 5.5 x 6 inches.
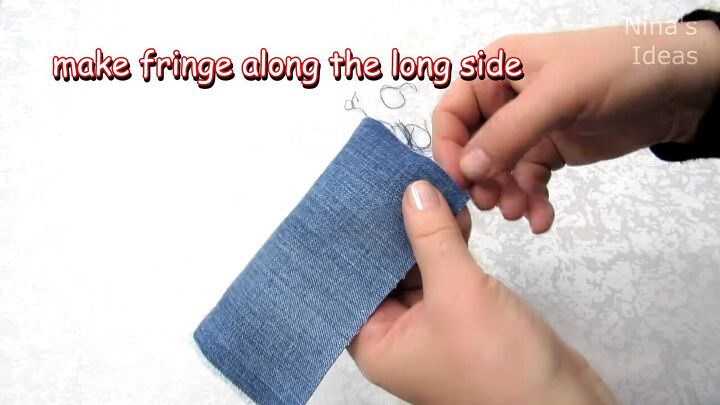
4. Fray
Fray both of the longer sides to create a fringe.

5. Fold and glue
Fold the top and bottom underneath and glue them down.
6. Glue the small panel to the bag
Glue along all sides except the top to create a pocket.
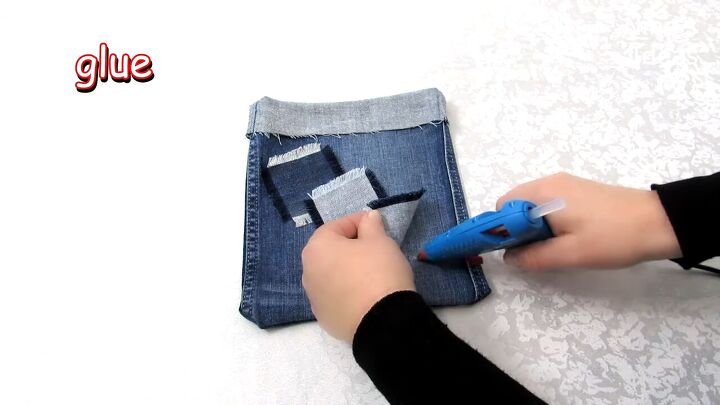
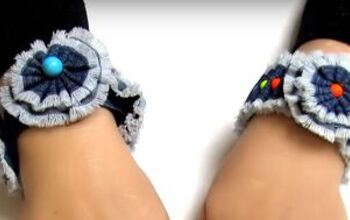
7. Decorate
To decorate, I created 3 smaller panels and glued them to the bag.

8. Add handle
Use webbing or rope and glue to the inside of the bag.
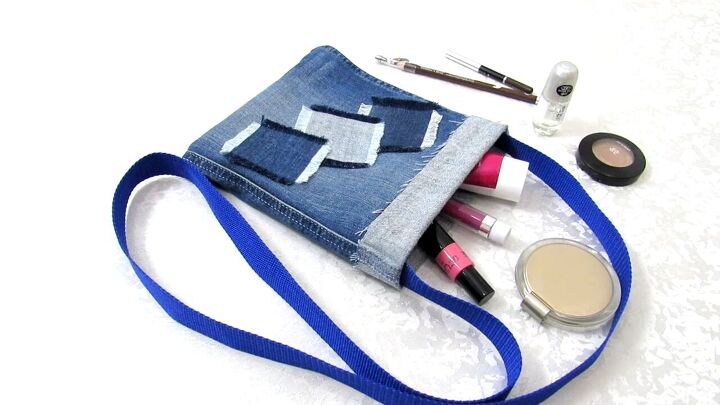
Here’s the finished bag!
DIY Denim Bag Tutorial
Now you know how to sew a denim bag in four easy, different ways! Let me know below which one is your favorite.
The author may collect a small share of sales from the links on this page.


Comments
Join the conversation
I am going to do this, I have alot of old denim. Thanks for the inspiration!