Incredible Dress Transformation Tutorial

Today, I'm bringing you an upcycling idea for a complete dress transformation. Obviously, you won’t be upcycling the exact same dress as me, but a key factor about my dress is that the skirt has multiple layers of fabric. Let’s get started!
Tools and materials:
- Dress to upcycle
- Fabric scissors
- Measuring tape
- Iron
- Straight pins
- Elastic
- 2 safety pins
- Sewing machine
Planning a hot pink mini dress
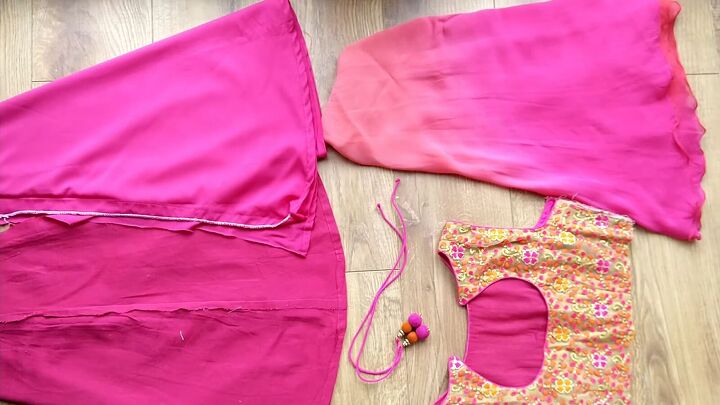
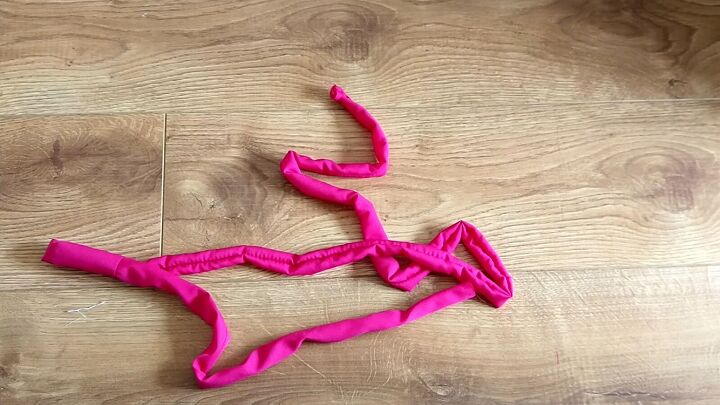
1. Take it apart and observe
Typically, the first step in an upcycling is taking the garment apart to see how much material you have to work with.
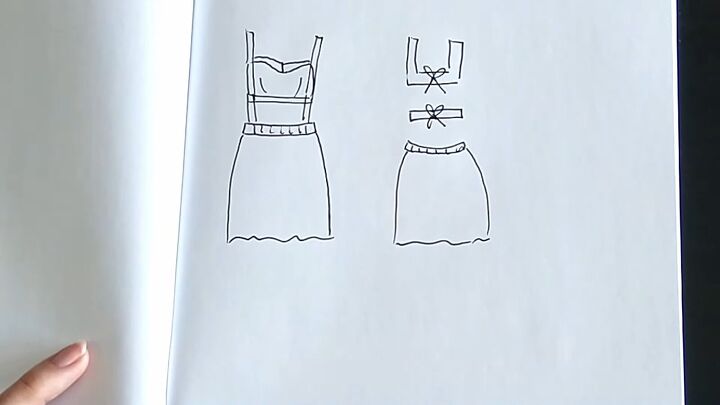
I recommend sketching out your idea before you begin. I wanted strappy details in the front which tie up in the back. The bodice will be divided into two parts and there will be suspender-like straps that finish off the sides. Here is my finished sketch:
2. Measure
Measure your waist.

And the distance between your waist and your back where the straps will hit.

As well as between the waist and under-bust.

Creating the skirt
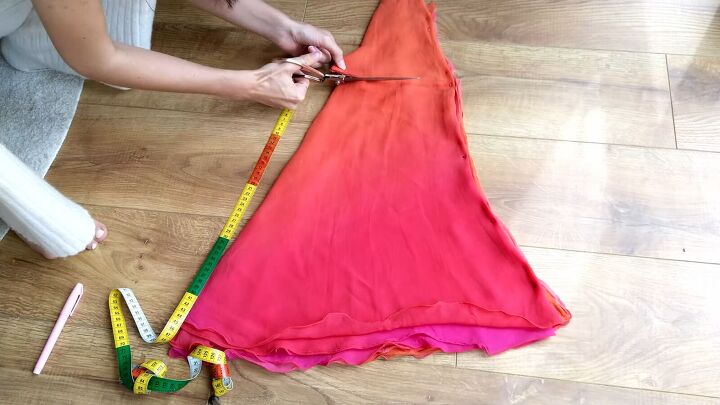
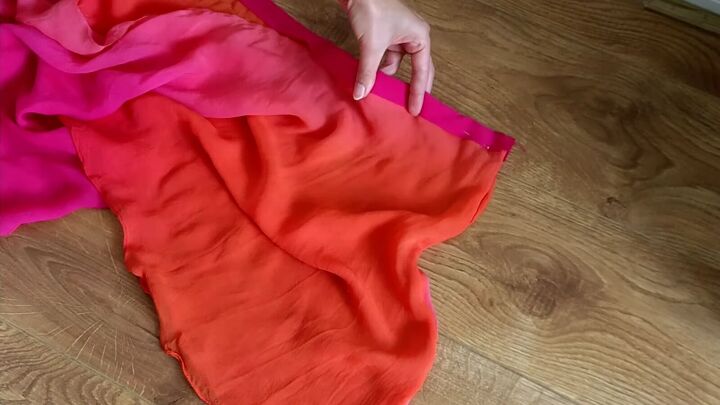
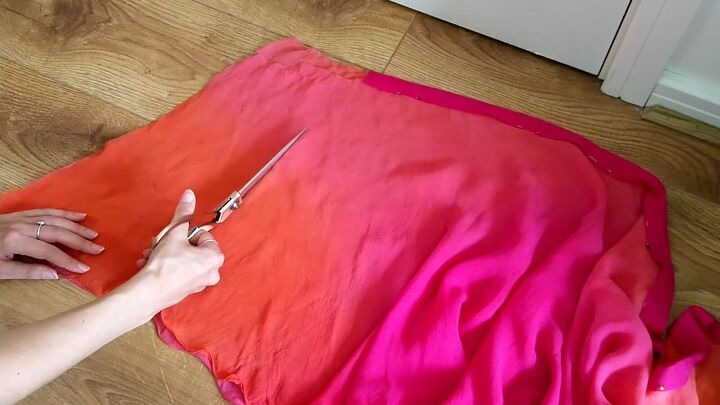
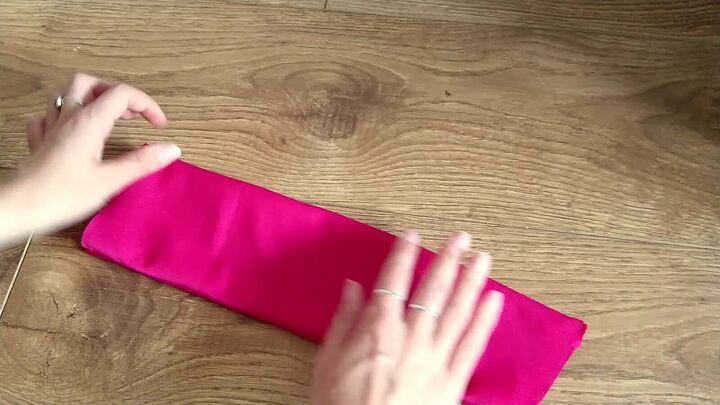
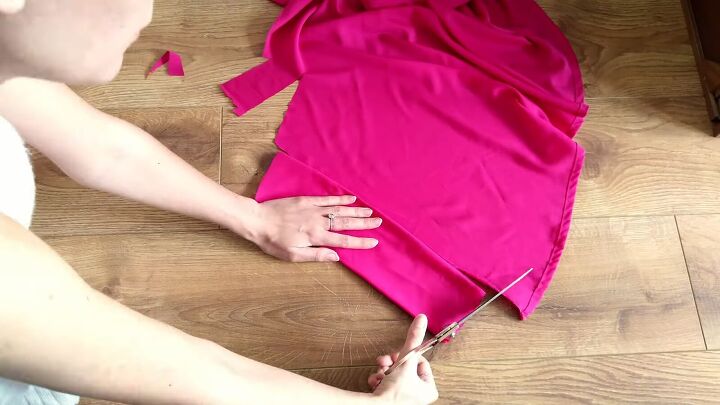
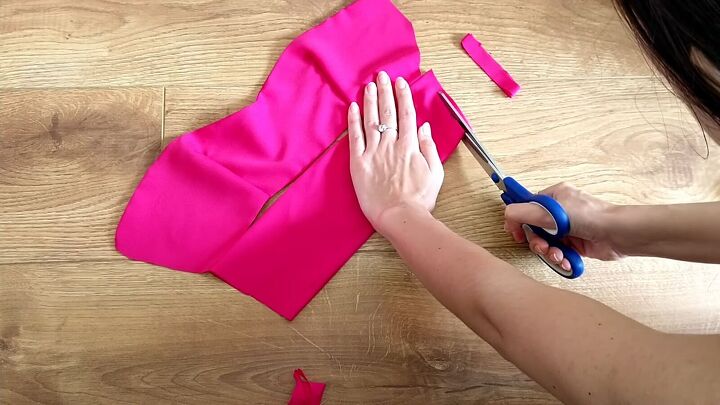
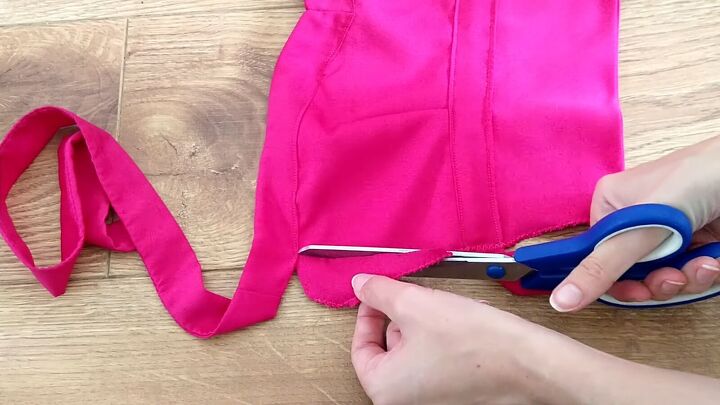
1. Trim
First, cut the existing skirt to your desired final skirt length. Be sure to measure from the bottom of the skirt to be one length throughout.
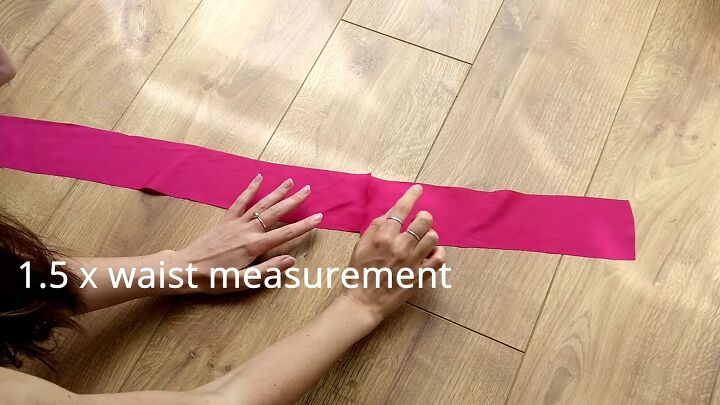
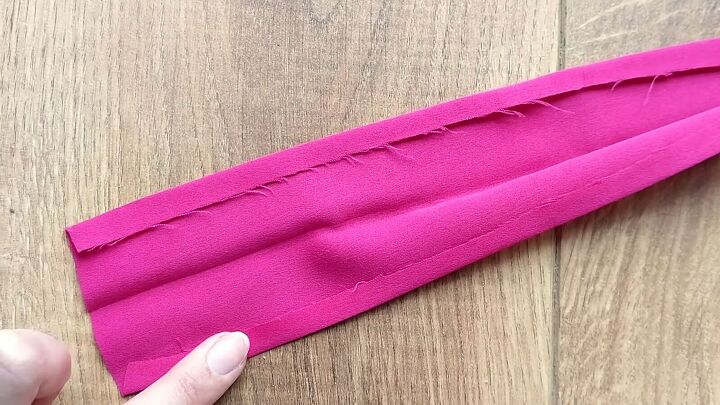
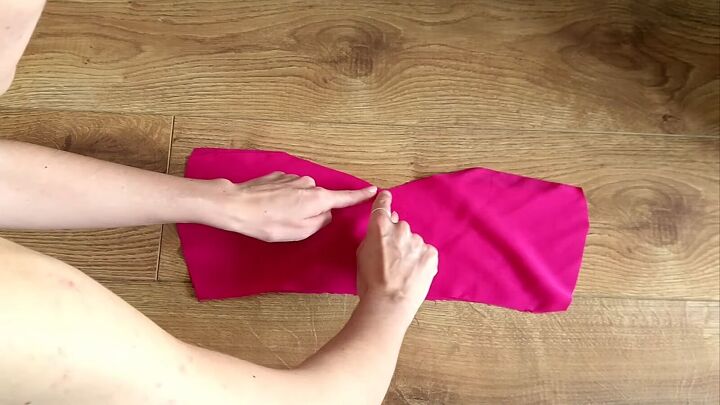
2. Create a fabric strip
Cut several rectangular strips from the underskirt material that together are 1.5 times your waist measurement. Then combine them into one strip.
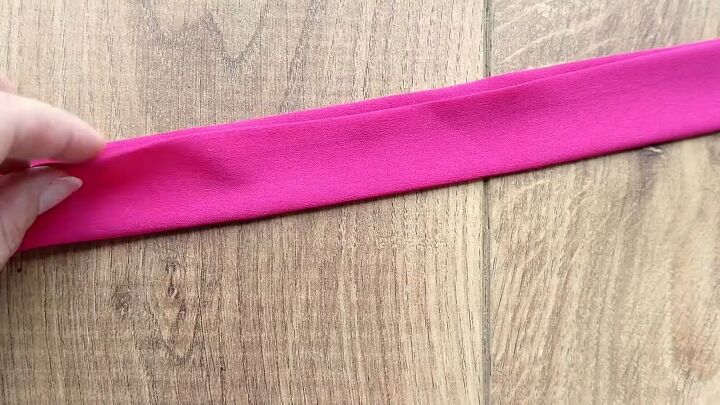
We are creating something like a bias tape. Press the raw edges in and then press the hole piece in half, horizontally.
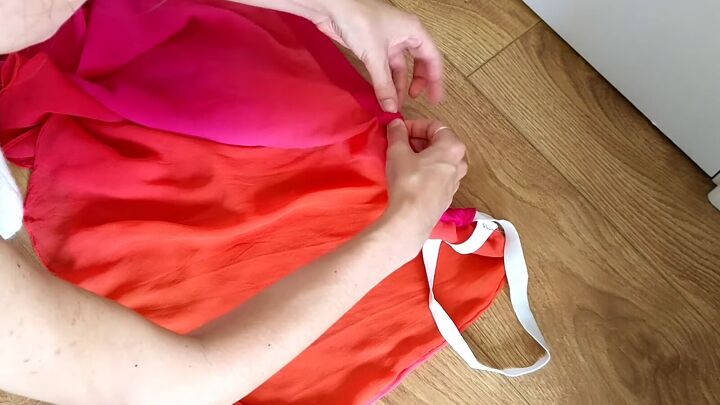
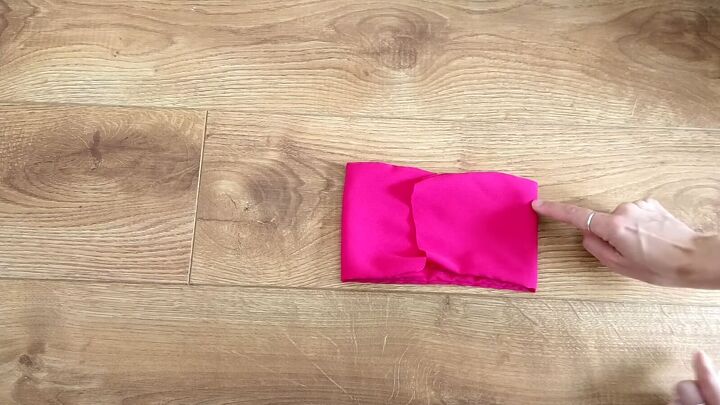
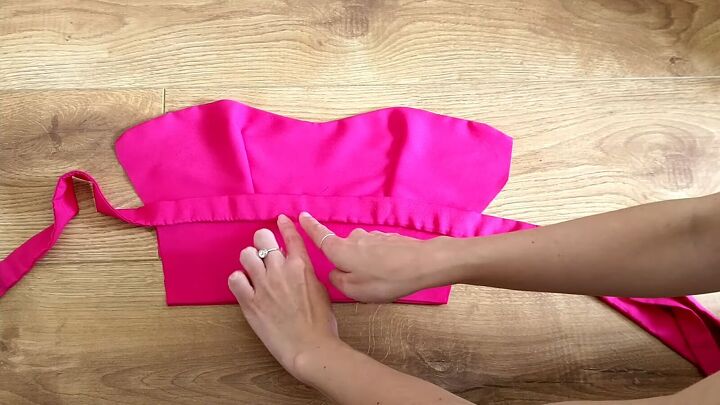
3. Attach bias strip to skirt piece
Next, take the shortened skirt material, fold it so that it’s double layered, then sandwich it between the waist bias strip (pinning it).
Then cut out the excess fabric at the end.
Now, top stitch the skirt and waistband together.

4. Add elastic
Measure and cut a piece of elastic to your waist measurement. Attach a safety pin to each end of the elastic, then feed the piece through the waistband.
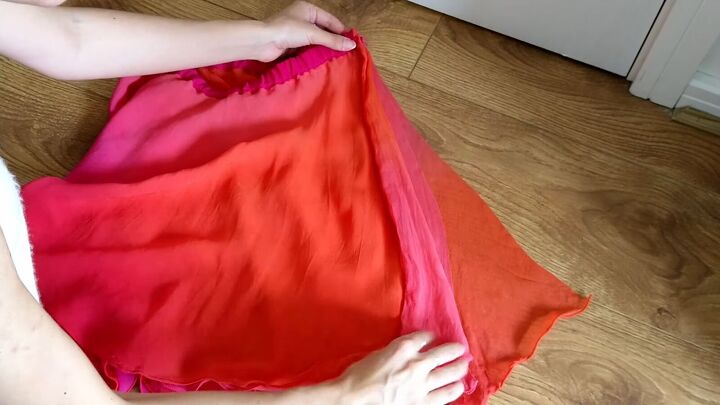
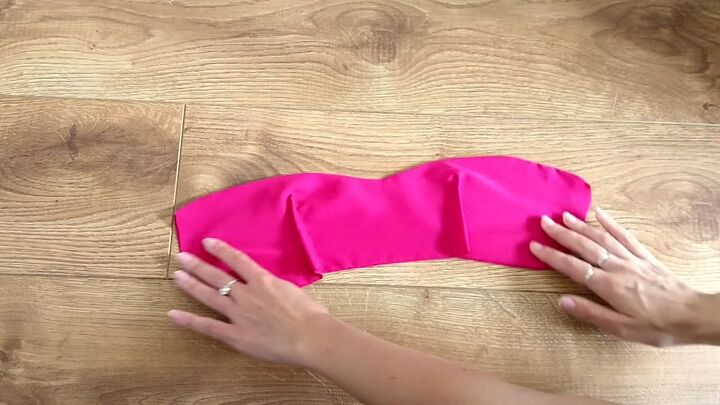
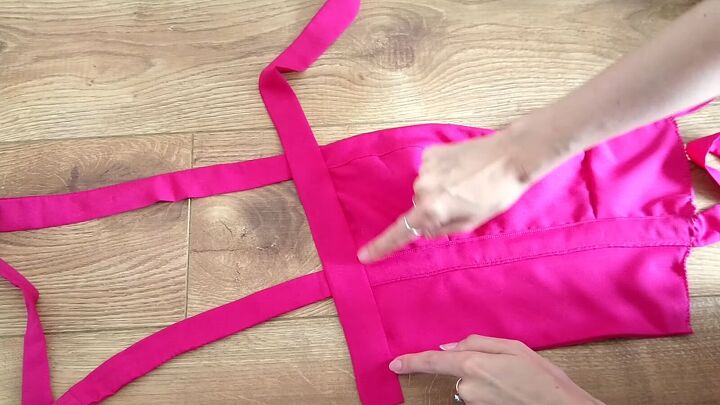
5. Close the skirt
Close your skirt with a French seam by folding it, wrong sides together, and sewing along the edge. Then, flip the skirt inside out and sew again to encase the raw edges. (See video 2:30-2:45)
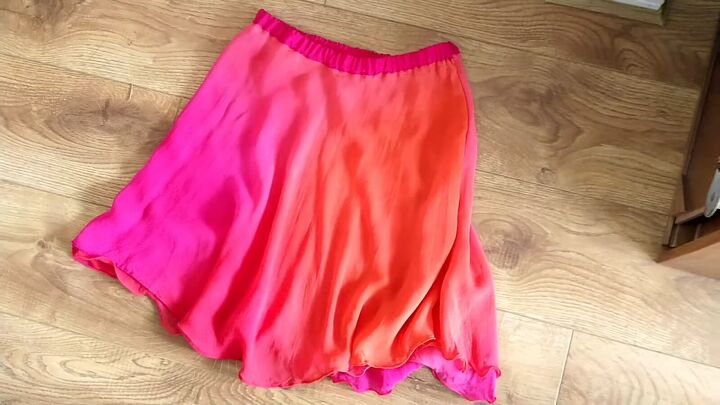
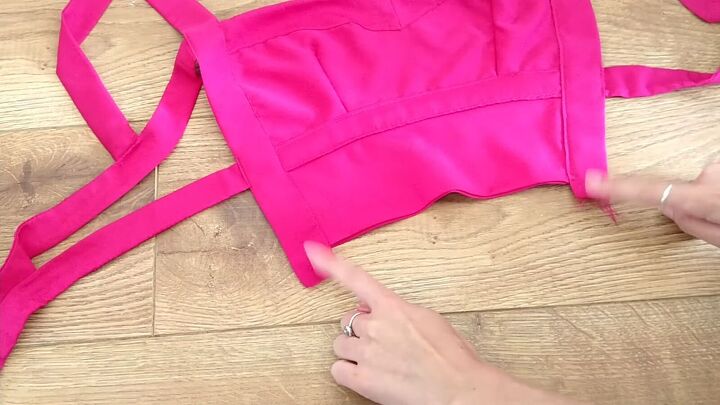
Here is the finished skirt of the hot pink mini dress:
Creating the bodice
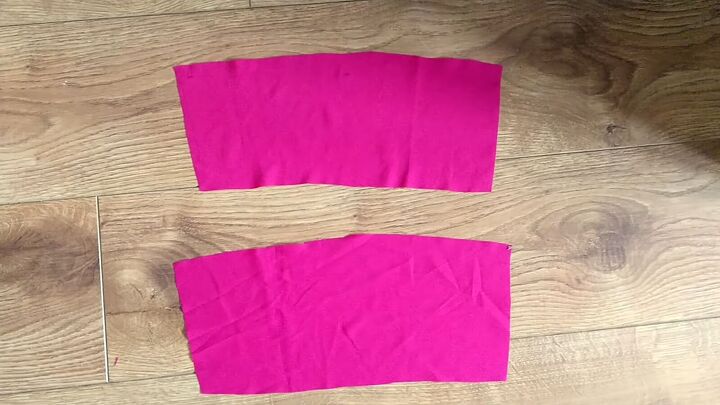
1. Make two rectangles
Cut out two rectangles from the lining fabric that are half your bust and waist measurements, and as high as the distance between the two.
Sew the rectangles right-sides together along the top and bottom edges. Then flip the resulting tube right-side out.
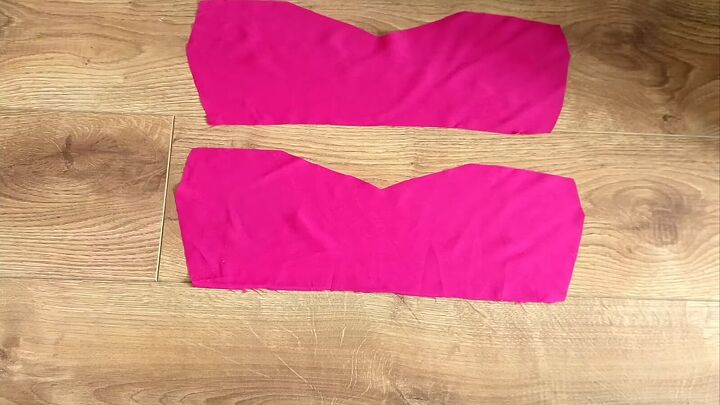
2. Make the neckline piece
Use that piece as a guide (for width) to cut out a rough, sweetheart neckline bodice. Allow enough extra fabric for a seam allowance.
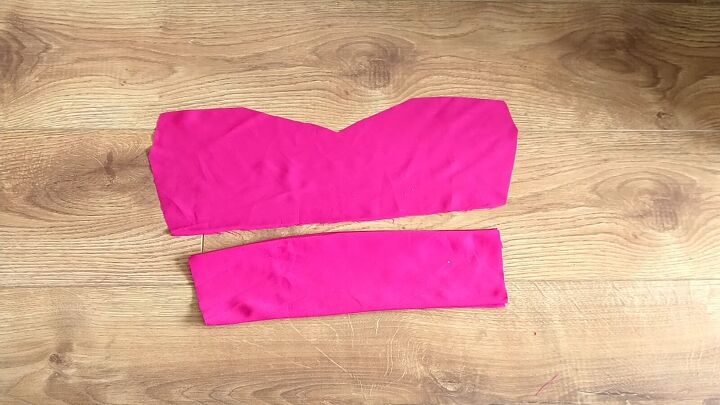
Then use the first neckline piece to cut out an identical piece.
3. Sew together
Then, sew both pieces together along the top and bottom.
After sewing, snip the seam allowance (like fringe) for a crisp, outer seam.

4. Add darts
Turn it right side out and sew the bodice in thirds to sew in two small darts.
Here is where the darts should be:
And they should come out like this:
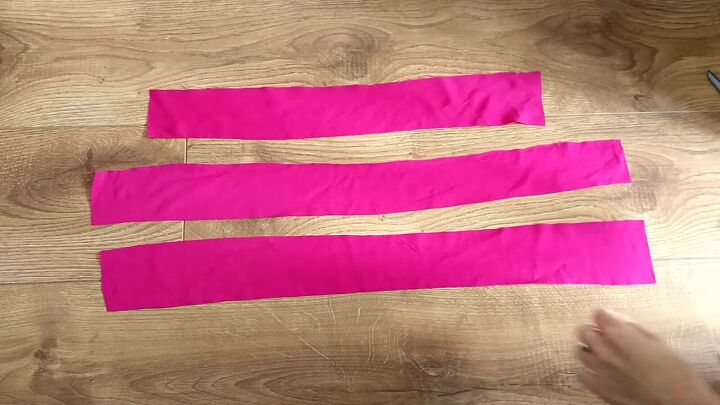
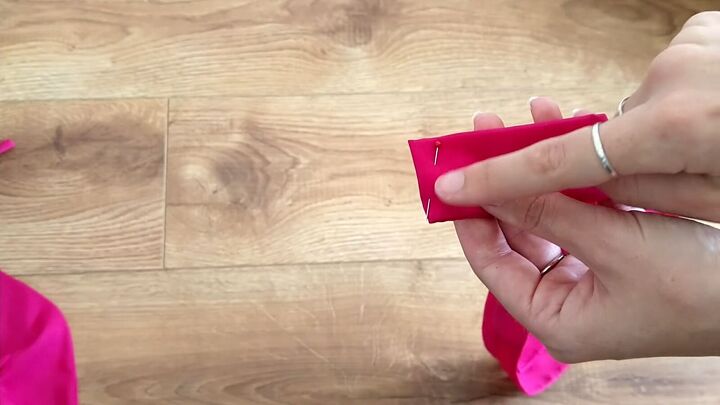
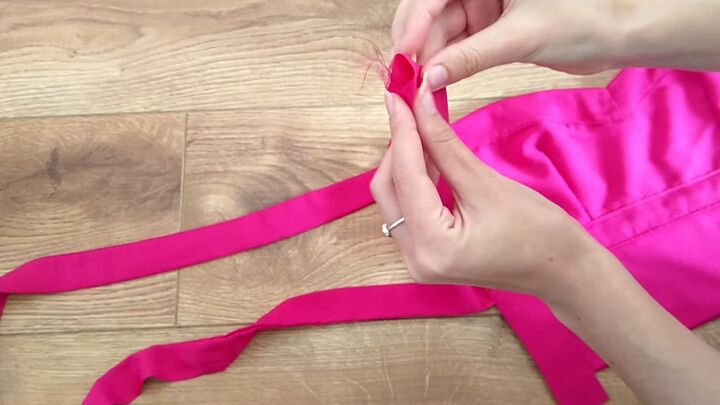
5. Make straps
Now, cut a few strips from the lining fabric that are long enough to tie around your back.
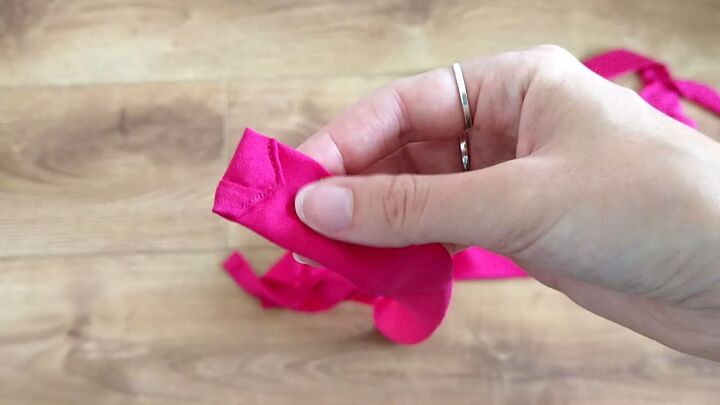
Sew them all into one, long strap, fold it and sew the right sides together. Then, turn it right-sides out with the help of a safety pin. (See video 3:52-4:08)
At this point, the strap should look like this:
Then, iron it so that it looks crisp.
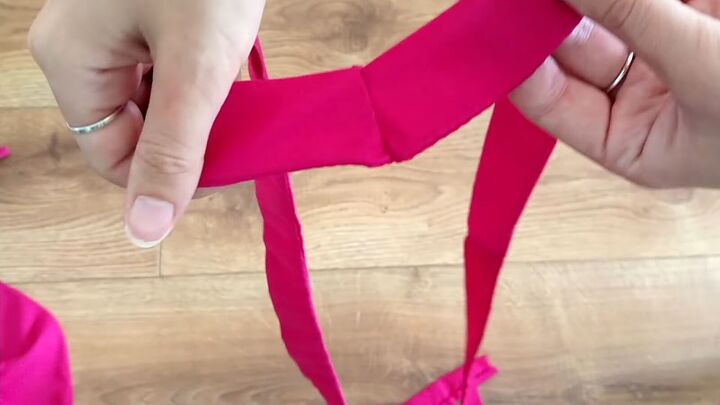
6. Join the bodice pieces
Cut the lower bodice piece to be the same length across as the upper bodice piece.
Then, place the new strap between the two pieces and stitch everything together to make one, continuous bodice.

Be sure to place the center of the strap at the center of the bodice.
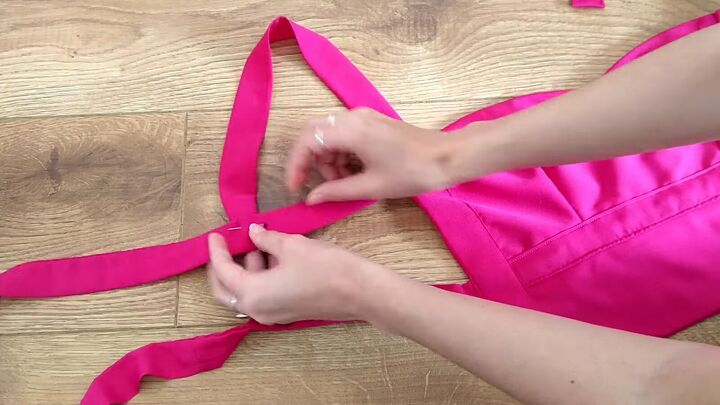
7. Make another strap
Using more of the lining material, make one more strap, with a dart in the middle, to fit around the sweetheart neckline.
Use a straight pin at the middle to mark your diagonal for the dart, then sew.
Next, pin the strap to the top and sew with a top stitch.
Now, fold the raw edges of the straps into a triangle and top stitch them.
8. Oops, let’s make one more strap!
Make one more strap that is the length of your waist to your back. Check where it needs to be top stitched to the bodice and back straps.
9. Make adjustments
This is where I realized that my bodice was too wide, so I just cut off the extra fabric and overlocked it again with a zigzag stitch.
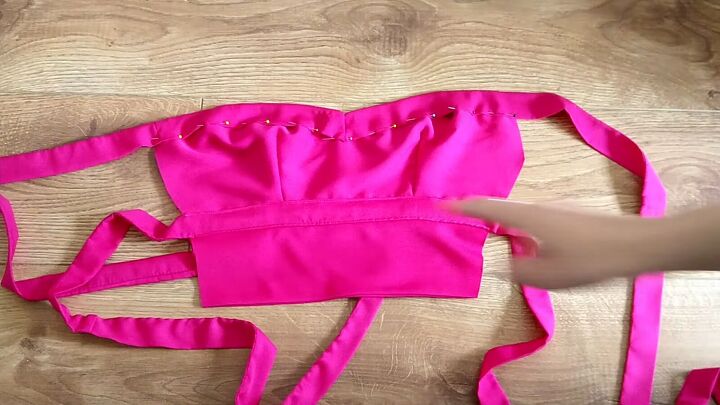
10. Attach final strap
Lay the strap along the bodice, pin it and stitch it along the edge of the bodice and onto the other straps.
11. Close the edges
Next, fold the raw edges of the straps in and attach to the back straps with a pin and sew.
Similarly, tuck in the raw edges of the side straps and sew them closed.
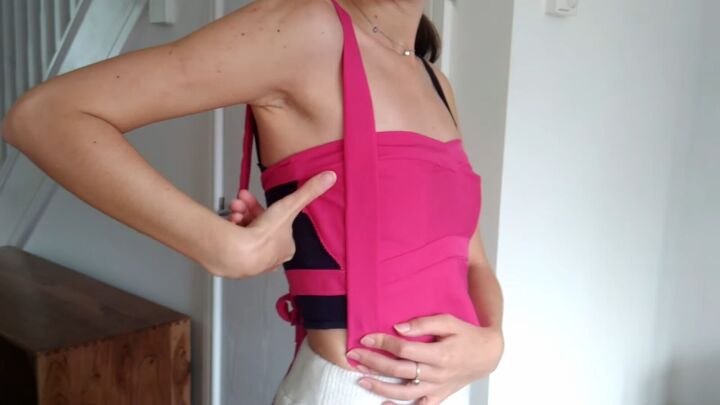
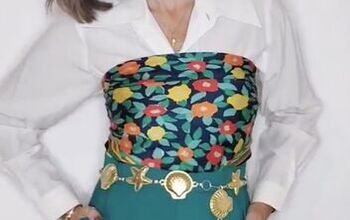
Here’s the final look:

Since it’s a two piece, I can also style the top and skirt separately for different looks:

Dress transformation
I absolutely love how this upcycled dress transformation turned out. It’s definitely giving Beyonce, Crazy in Love vibes. If you try this tutorial yourself, please share your results in the comments below.
The author may collect a small share of sales from the links on this page.


Comments
Join the conversation