How to Make a Cute DIY Scoop Back Top Out of an Old Romper

Rompers are a cute summer wardrobe piece, but if you have too many of them, you can turn your least favorite into a scoop back top. Follow along to learn the thrift flip way to sew your own DIY scoop back top that you can wear with any bottom piece in your summer collection. Let’s get started!
Tools and materials:
- Old romper
- Scissors
- Ruler
- Sewing pins
- Thread
- Sewing machine
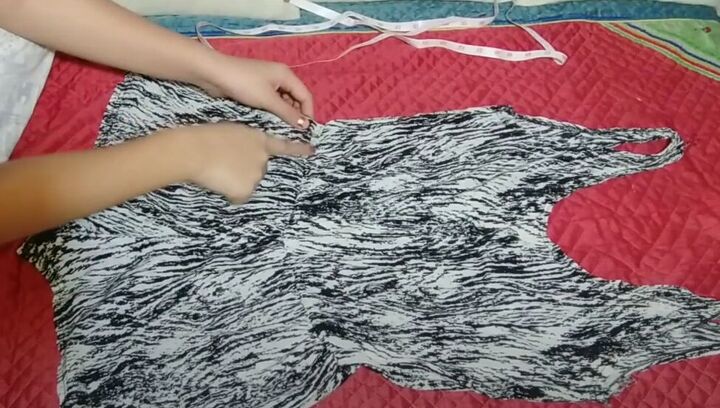
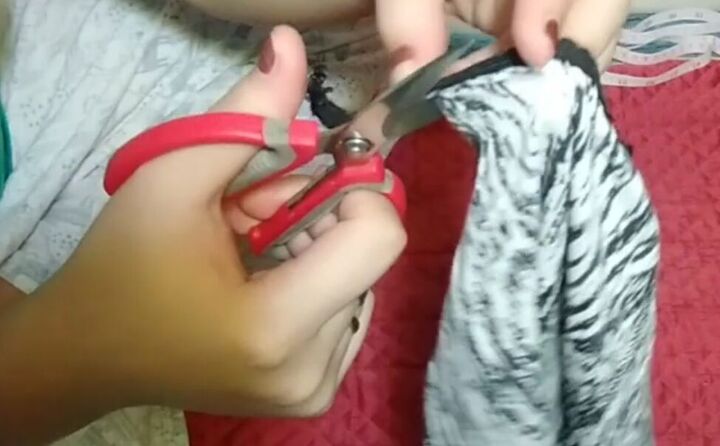
1. Disassemble the romper
Cut your romper horizontally at the waistline, keeping the elastic waist with the bottom half of the romper.
The top of the romper will become your scoop-back top bodice and the bottom of the romper will be used to make the sleeves.
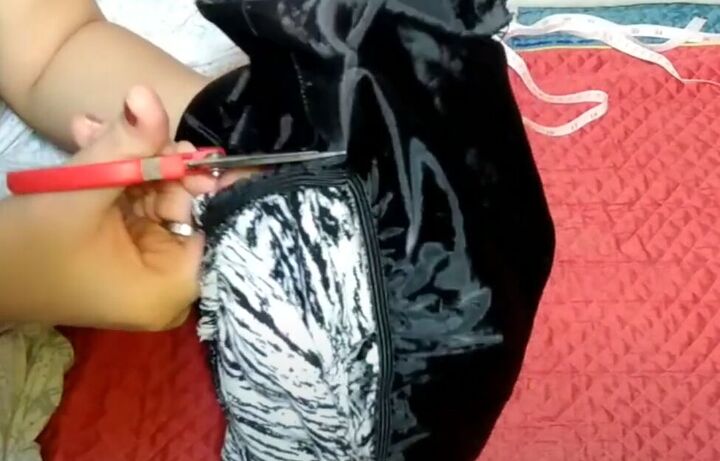
2. Make the sleeves
Cut the lining out of the romper bottom so you have just the outside fabric to work with.
Cut across the center of the romper crotch to open the bottom.
Cut open both side seams.so you have two pieces of fabric.
Then, cut off the elastic from both pieces and save it for later.
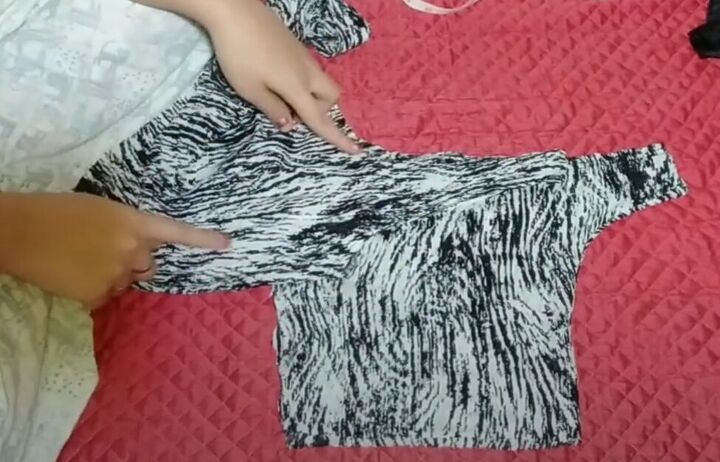
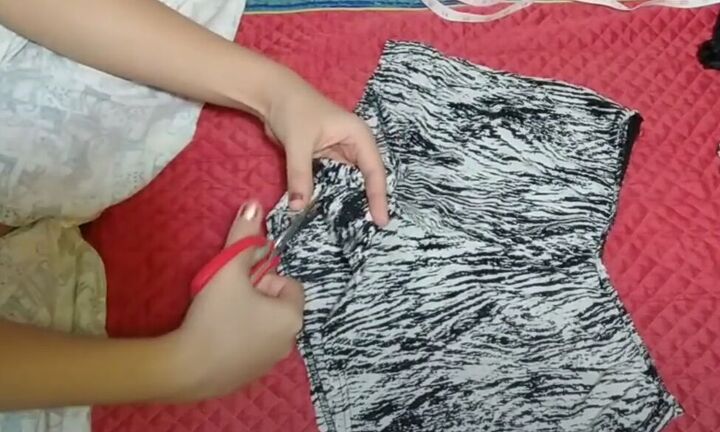
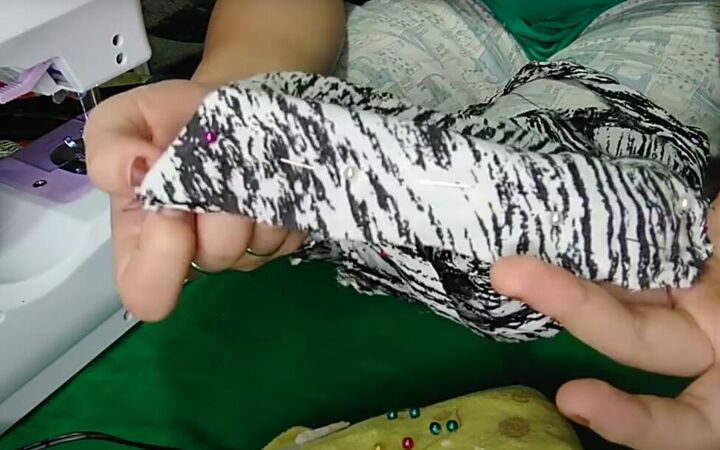
3. Shape the sleeves
Lay the sleeve pieces one on top of the other. Now, use the armhole from the romper top as your pattern in the position shown in the above image.
Trace the armhole of the top onto sleeve fabric.
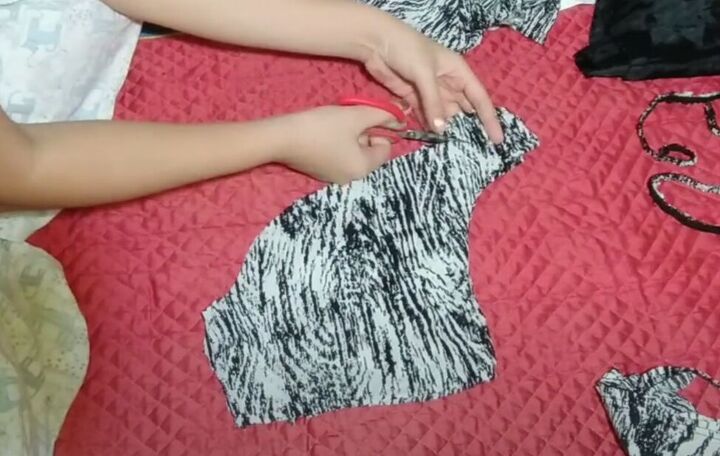
Cut along the armhole line through all layers of your top fabric. Make sure to then cut off the extra little end of fabric that was the romper crotch.

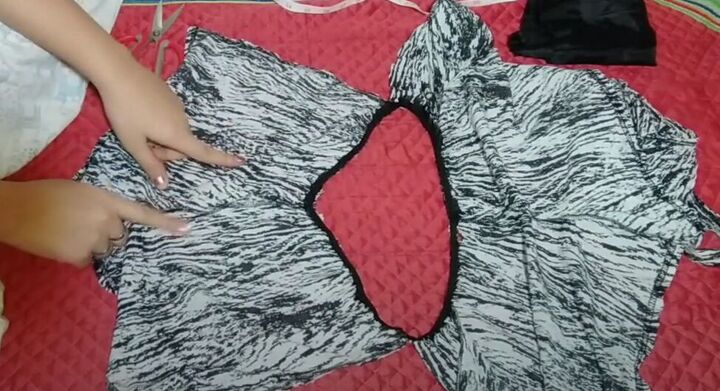
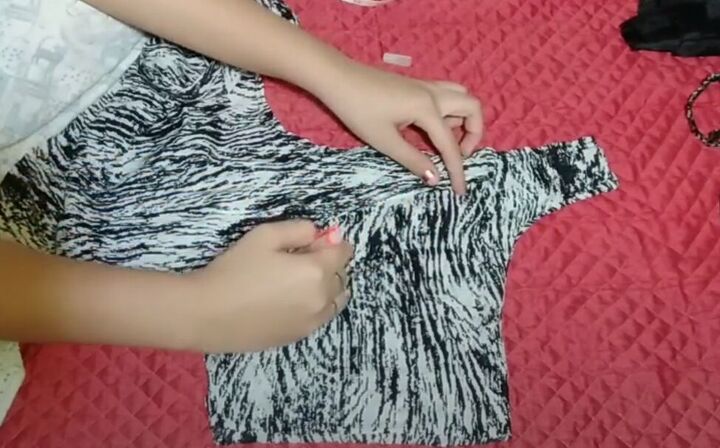
Here is how the crop top sleeve and bodice will fit together.
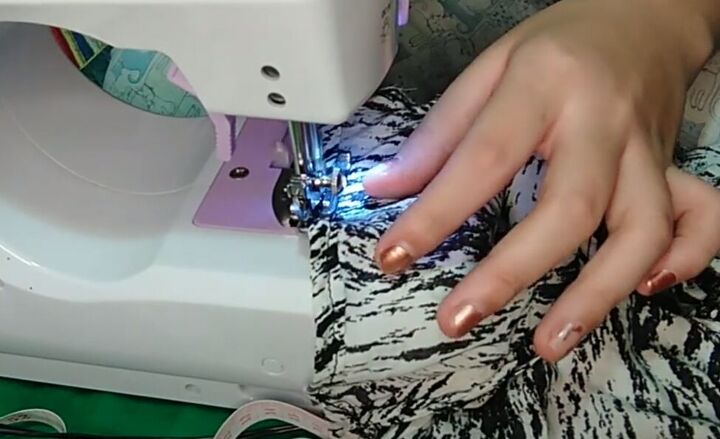
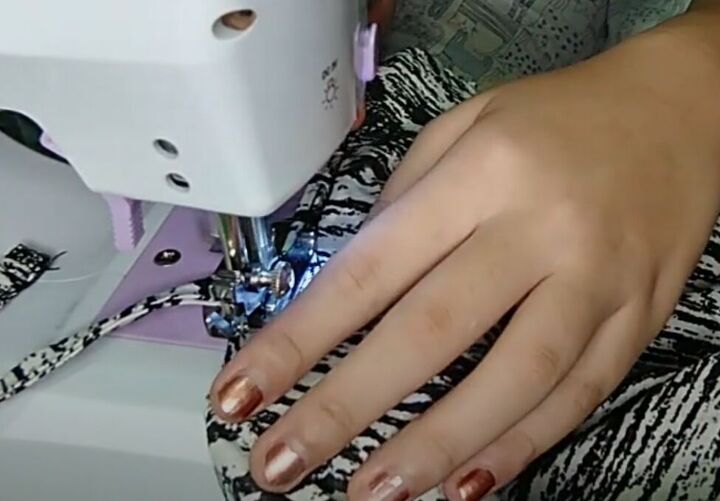
4. Attach sleeves to the bodice
Pin the sleeves to the bodice, and then sew the sleeves in place on the bodice armhole.

Try on the top and mark the sleeves at the length you would like them on the finished top.
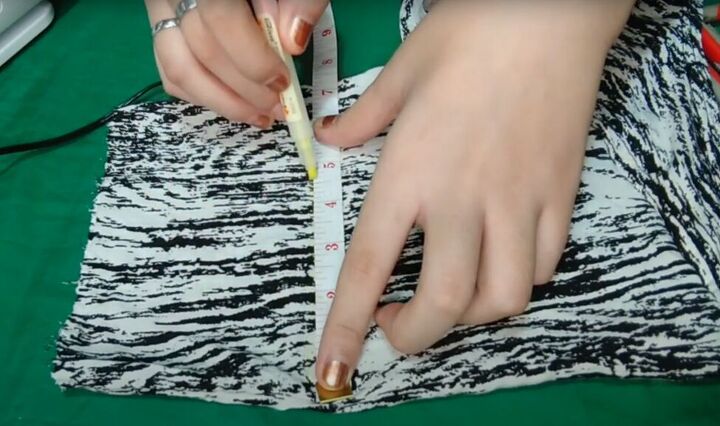
Measure and mark both sleeves for your cut line, to make sure they match.
Cut and hem the sleeves.
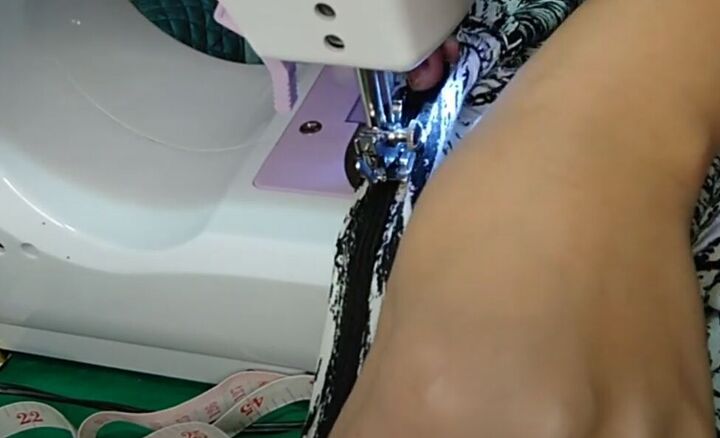
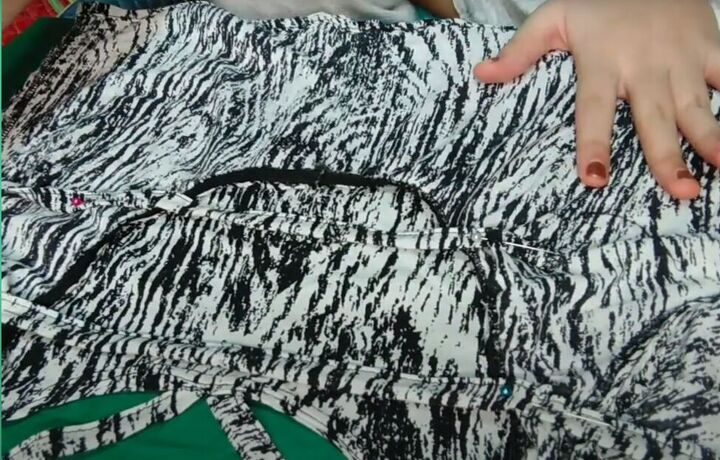
5. Add elastic to the scoop neck
Sew the elastic from the romper bottom to the inside of the scoop neck, stretching the elastic to fit the neckline and shirring the elastic to the fabric.
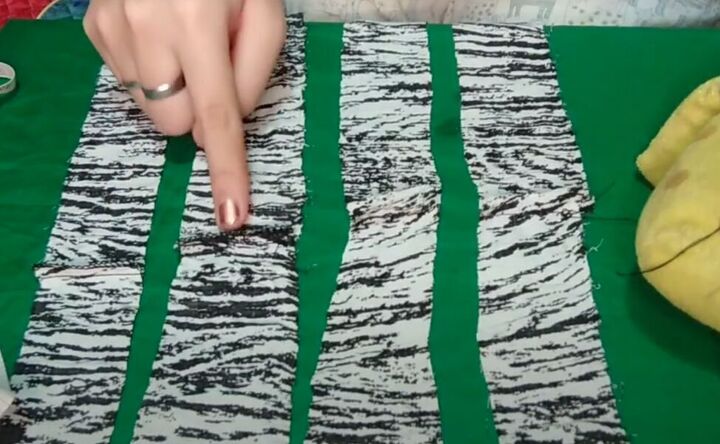
From your leftover romper fabric, cut four equal sized strips.

Fold and sew each strip into a strap. Cut one of the straps in half.
Pin the two short straps in a V-shape to the inside of the top from the center front neckline to the inner front shoulder, cutting those straps to the appropriate length.
Pin the other three straps horizontally to the inside of the top, across the scooped back, cutting them to the appropriate length as well.
Sew the straps in place.

Here is how the front of the top looks.

Here is the back! The straps really give this top a unique look and help hold it in place when you’re wearing it.
DIY scoop back top tutorial
What a great way to flip an unused summer romper into a stylish new scoop-back top. Leave a comment to let me know if you tried making this scoop-back top and how it turned out. Thanks for joining!
The author may collect a small share of sales from the links on this page.


Comments
Join the conversation