How to Make a Trendy Crochet Top Without Crocheting

Would you like to learn how to make a crochet halter top without having to actually crochet a single stitch? Then follow along with this tutorial and I’ll show you how to do just that. Start with an unwanted knitted top and refashion it into a trendy crochet top!
Tools and materials:
- Old knitted top
- Ruler
- Scissors
- Sewing pins
- Yarn (for strap)
- Thread
- Sewing needle or sewing machine
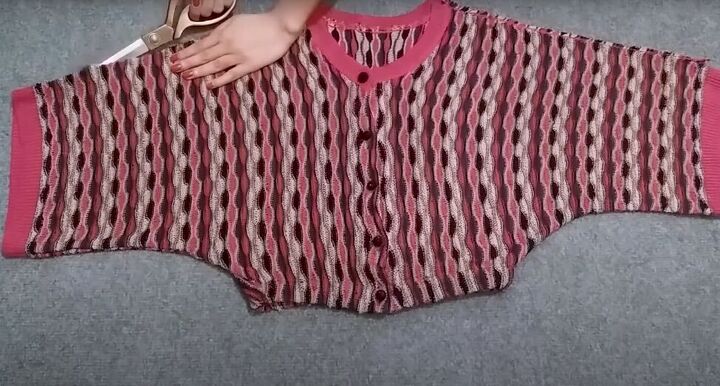
1. Deconstruct your old top
Separate the front and back of your old knitted top by cutting through the shoulder seams and sleeve seams. Also cut off the bottom of your old top to the length you would like your new halter top to be.
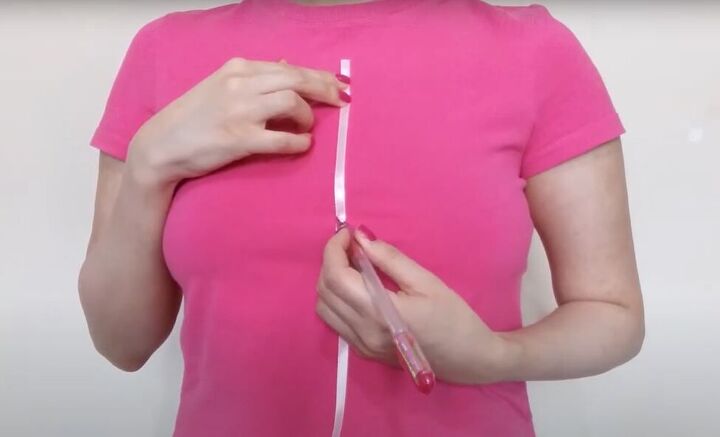
2. Size your new halter top
Lay a thin ribbon against the front of your body and cut the ribbon to that length. Now mark your bustline on the ribbon.
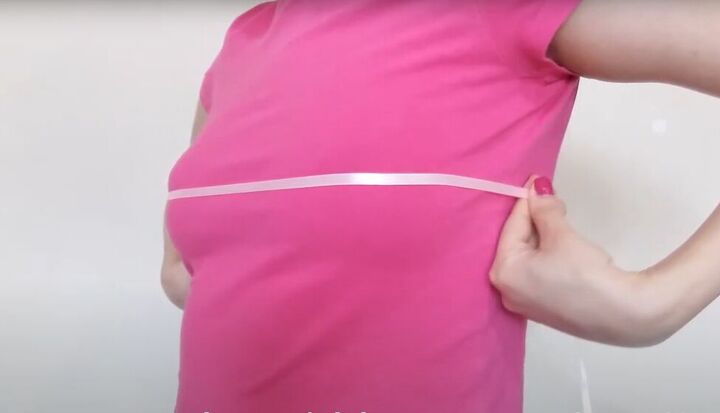
Cut another piece of ribbon to match the width of your bustline.
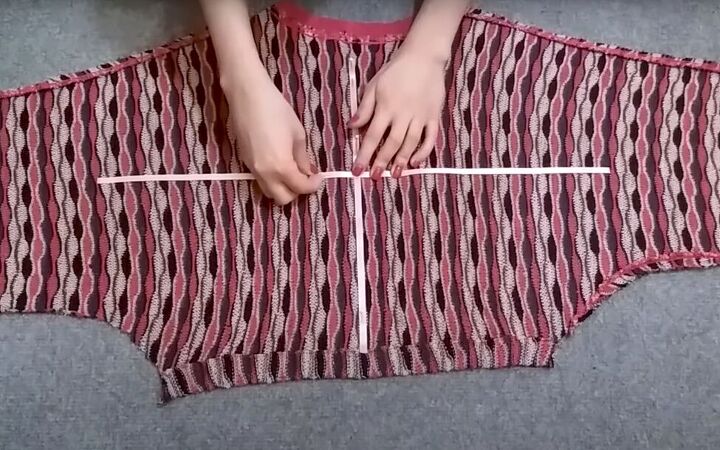
Now pin the first piece of ribbon vertically down the middle of the inside of the back piece of your deconstructed knitted top. Pin the second piece of ribbon horizontally across your deconstructed top.
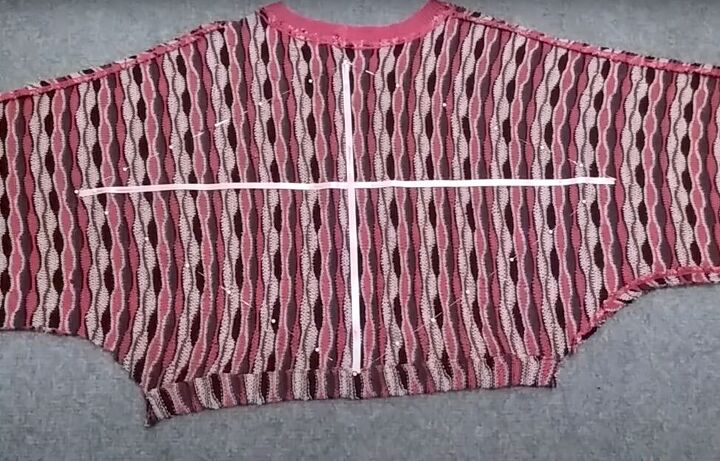
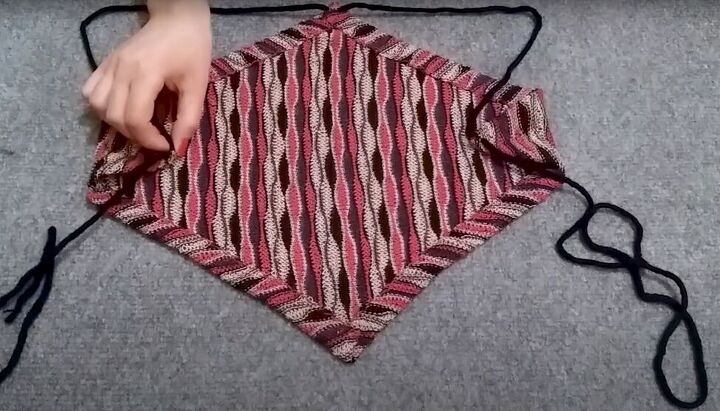
Use pins to mark a diamond shape on your fabric, joining the four ends of ribbon.

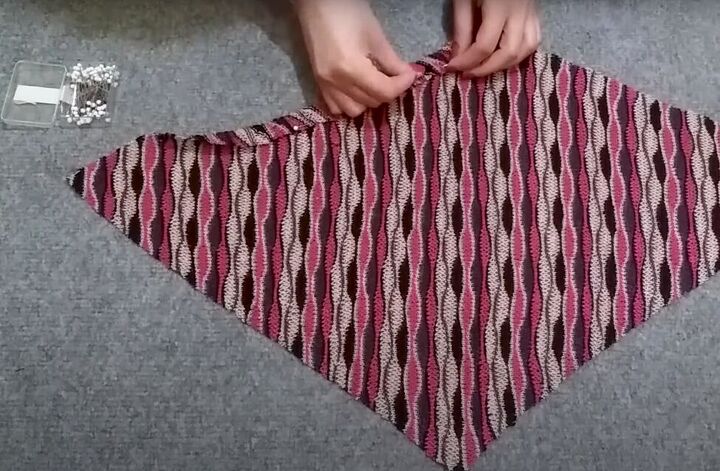
Cut out the diamond shape adding a 2-3-centimeter (0.78-1.18-inch) seam allowance.
3. Hem your crochet halter top
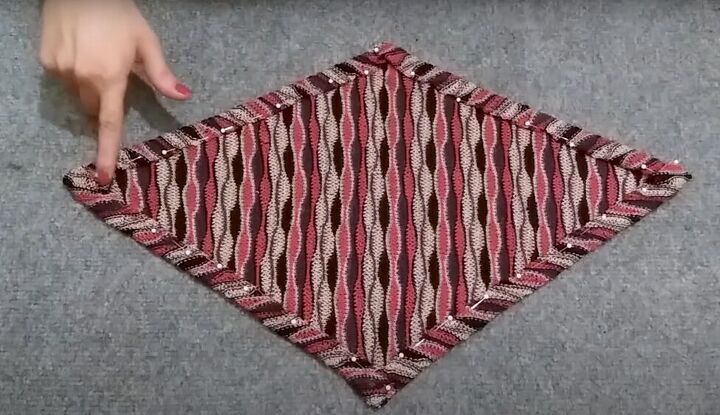
Fold in the edges of your diamond twice and pin in place.
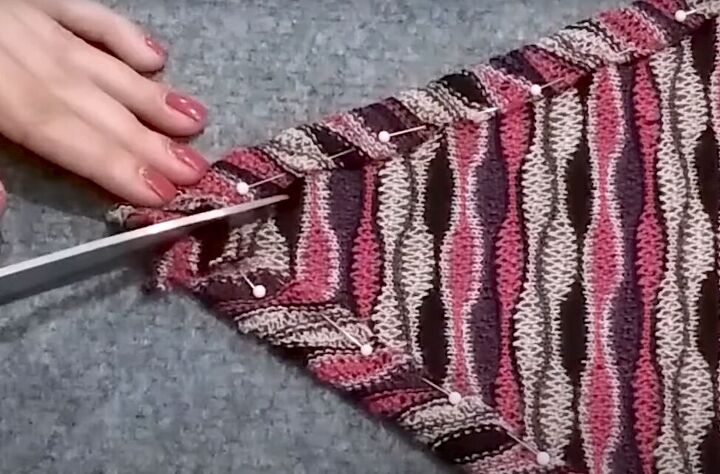
When you get to the corners of the diamond, cut off the excess fabric to create clean corners.
Sew all four sides of the diamond using a zigzag stitch so you don’t lose the stretch of the fabric. You can do this with a sewing machine or by hand. Watch the video from 2:56 – 3:31 to see how I sewed a zigzag stitch by hand.
4. Make the strap for your crochet halter top
Thread a large-eyed needle with your yarn. Start by inserting your needle from front to back at one corner of the diamond. Then insert the needle from back to front, then front to back on the next corner. Finally, pass the yarn from back to front on the third corner. Do not attach the strap to the bottom corner of your diamond. Tie knots on both ends of the strap.
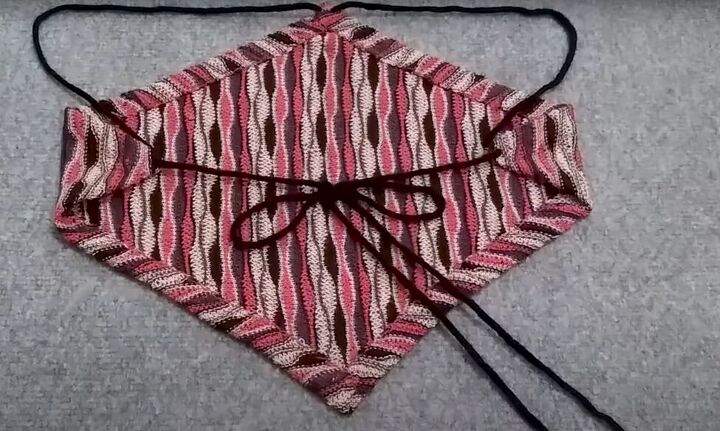
Now just tie the ends of the strap together to complete your crochet halter top.
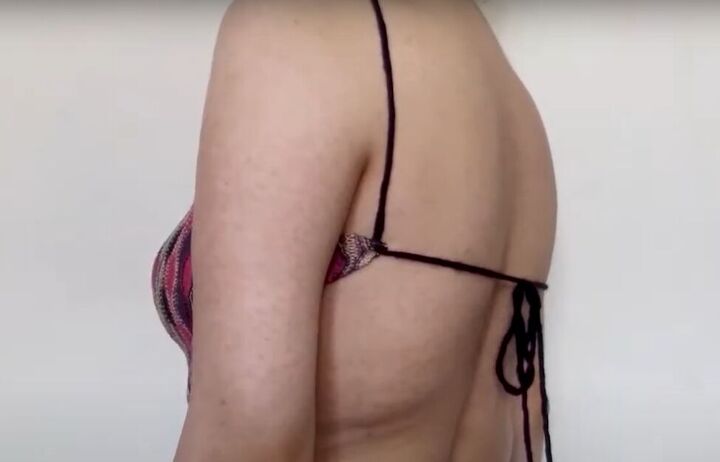
Here is how it will tie at the back when you wear it.
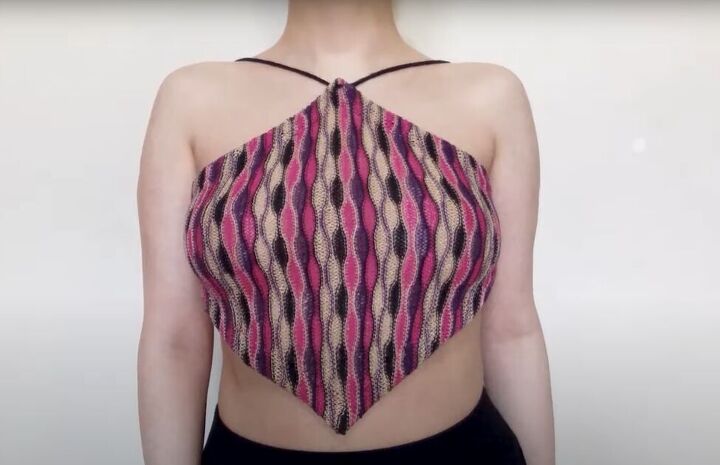
Crochet halter top tutorial
Ta-da! Here’s the big reveal. This no-crochet trendy crochet top is super cute, very cool, and really comfortable. It couldn't be easier to make, so give it a try for yourself, and repurpose some old, unwanted knitted tops.
Let me know how your backless crochet halter top worked out by leaving a comment.
The author may collect a small share of sales from the links on this page.


Comments
Join the conversation