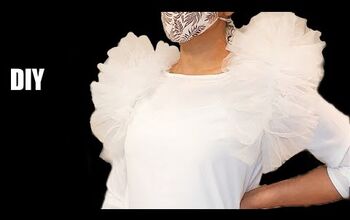
Make a Flattering DIY Blouse With Ruffled Sleeves

Here’s an amazing sewing project for you. This easy DIY blouse is unlike any other normal blouse- It has lovely ruffled sleeves, and the fit is just great. You can wear this DIY blouse on a fun night out or even to work. It’s seriously an incredible addition to your closet. Follow this easy DIY blouse tutorial and get all the steps, tips, and tricks. Keep scrolling.
Tools and materials:
- Loose-fitting top
- Sewing machine
- Pins
- Thread
- Scissors
- Fabric
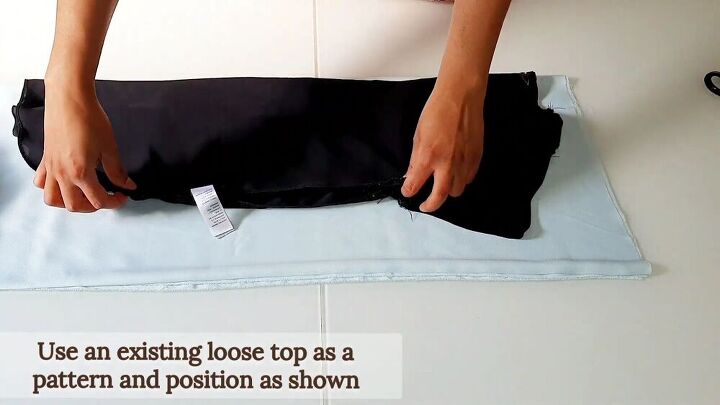
Cut the pattern
Use a 60-inch wide fabric. Fold it in half, and half again. Next, grab an existing loose top and position it in place and on the fold, as shown.
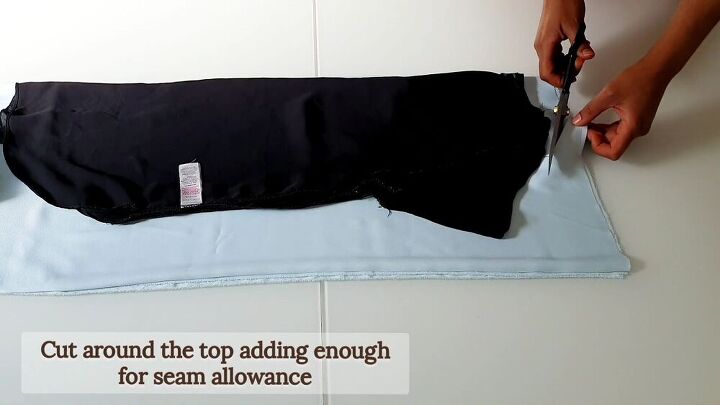
Cut around the shirt, leaving a few inches for seam allowance.
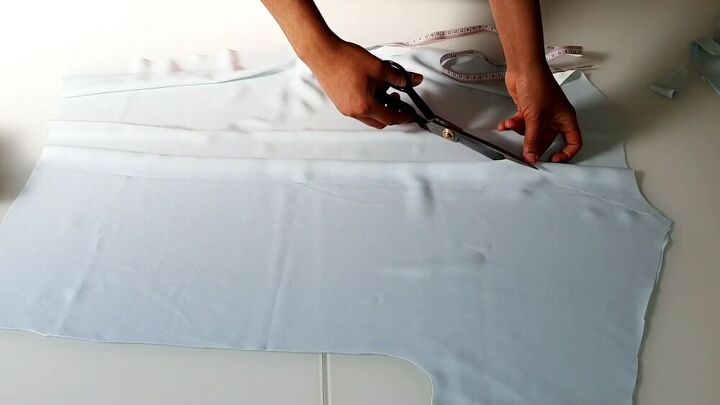
For the front bodice, extend the neckline down by 7 inches. Join the center point with the neck measurement so that you have a triangle. Then cut out the shape.
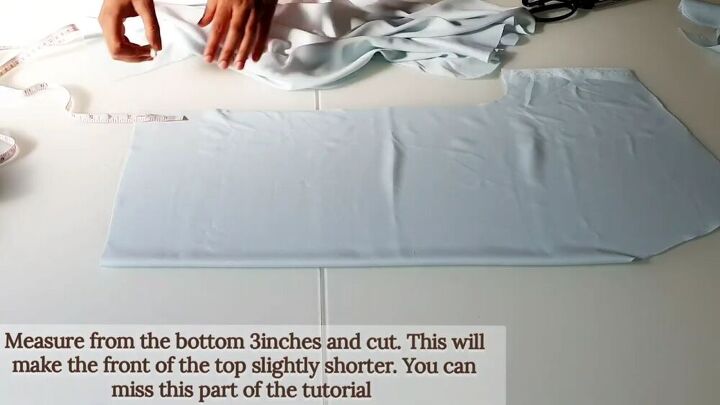
This is totally optional. If you want to make the bottom part of your front bodice slightly shorter, go ahead and cut off 3 inches from the bottom.
Make the ruffles
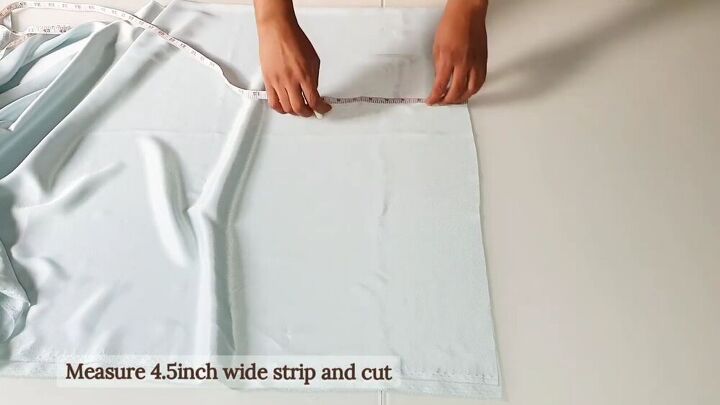
To cut the ruffles, fold the fabric in half. Measure a 4 ½ inch-wide strip and cut.
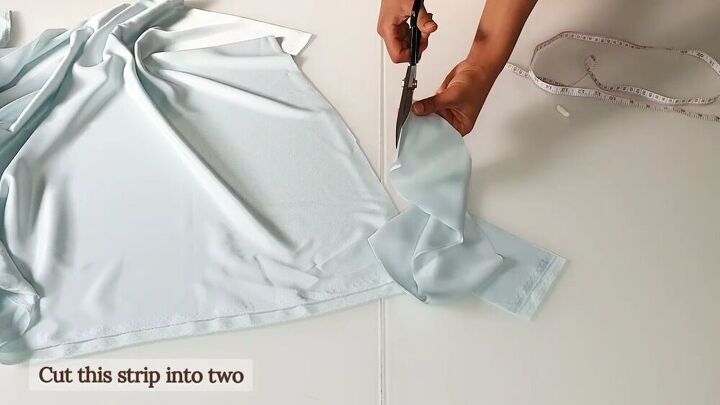
Then, cut the strip in two, from the folded edge. This will give you 2 ruffled strips for the left and right sleeve.
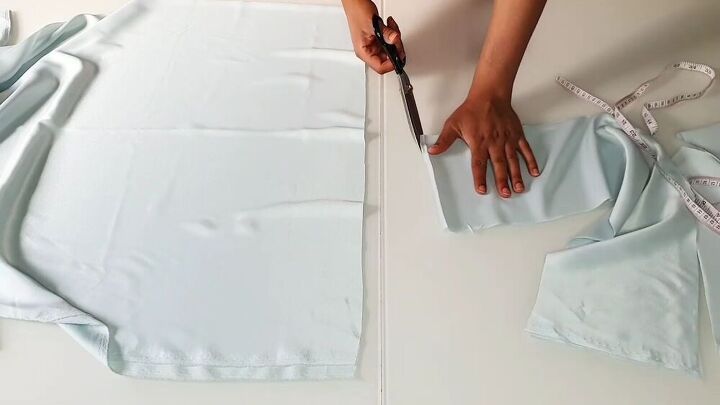
Next, measure another strip that’s 7.5 inches wide and cut. Again, cut the strip in half. This will give us the strip for the left and right sleeves for this easy DIY blouse.
Add the bias
Next, cut a one-inch strip on the bias and position the strip on the neckline (right sides facing) and pin.
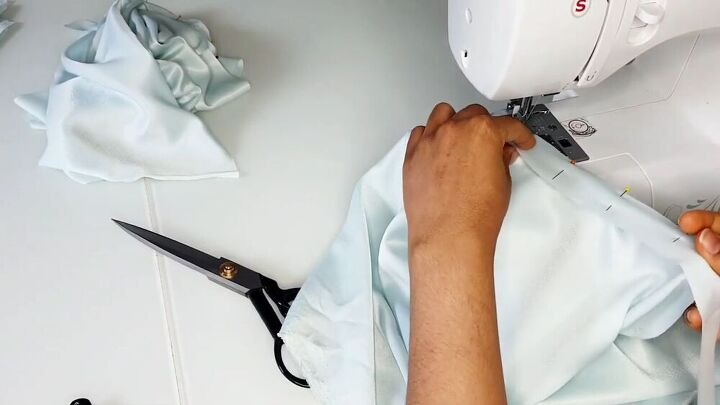
Once you’ve pinned this all the way around, stitch the strip into position and repeat this for the back neckline.
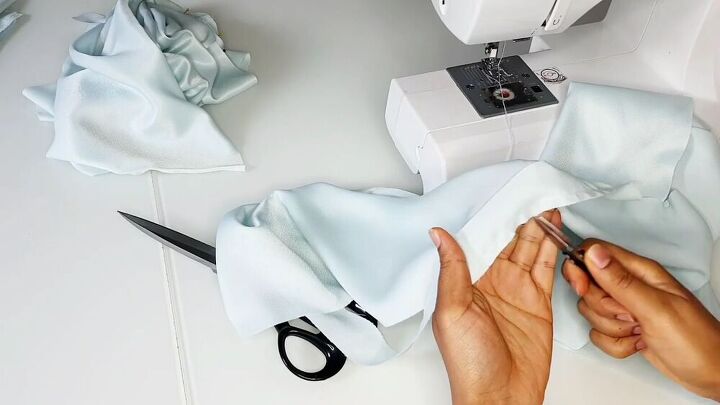
Clip all along the hem of the neckline, as shown.
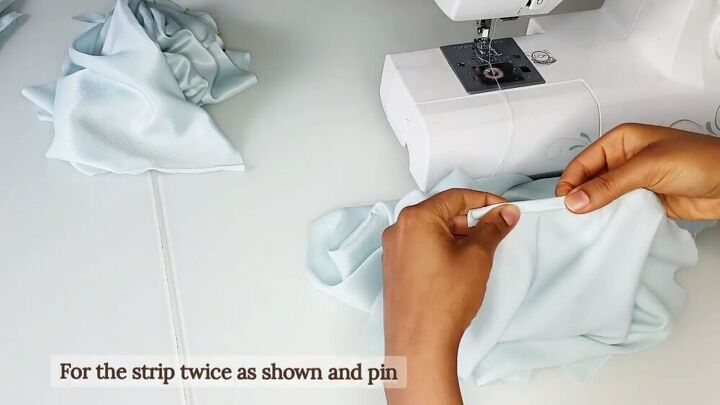
Fold the bias strip twice over and pin into position. Once it’s all pinned, topstitch directly on the edge of the fold to ensure a lovely finished look.
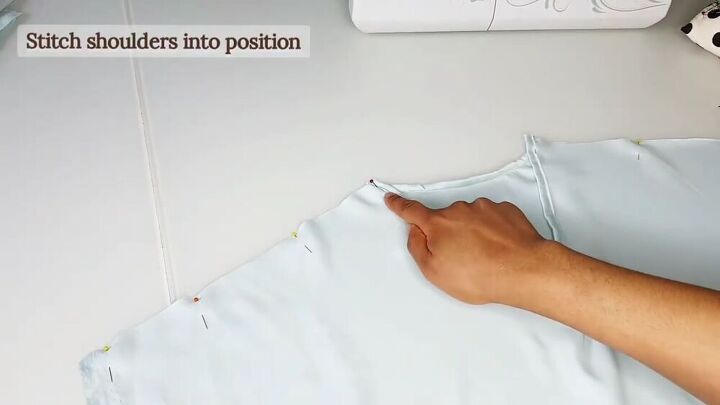
Now, layer the front and back pieces right sides together and stitch the shoulder seams.
Create the ruffle pieces
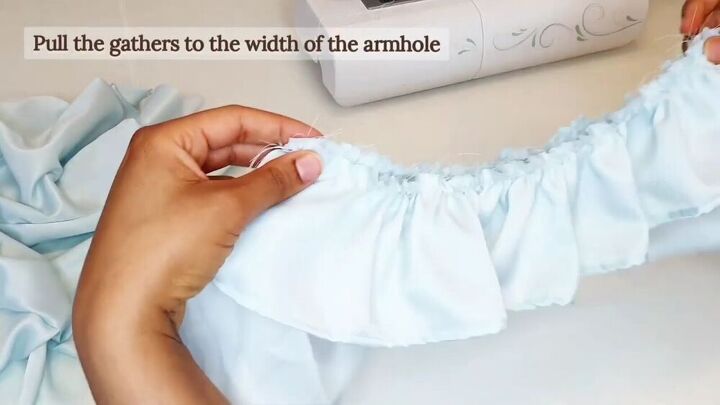
Hem one end of the ruffle pieces and on the other end, sew a gathering stitch. Do this for all four pieces. Then, pull the gathers to the width of the armhole.
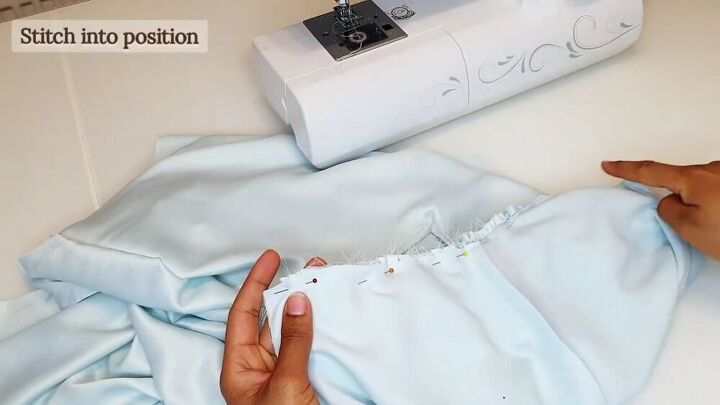
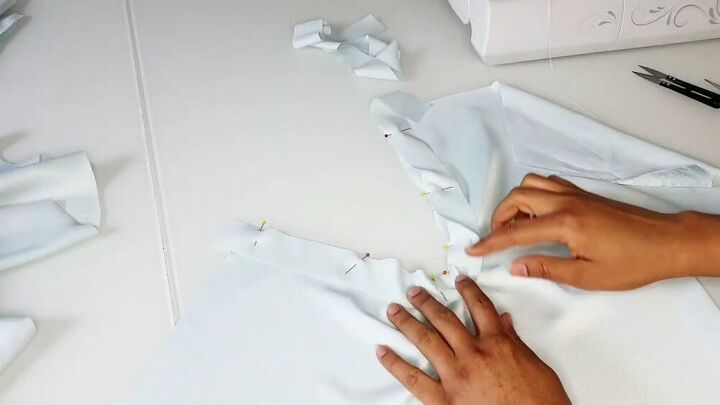
Place the smaller strip on the larger strip and position the ruffled pieces on the right side of the armhole. Pin the layers carefully and stitch to secure. Repeat the same on the other armhole
Assemble the shirt
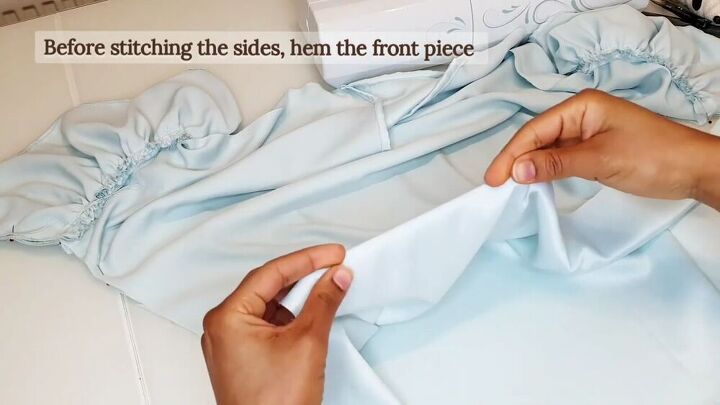
Turn the fabric wrong sides out and pin the sides. Before stitching the sides in place, hem the front piece and the back piece. Start with the sides and then finish off with the bottom.
TIP-
if the length of your blouse isn't the same as mine, be sure to hem the back sides 5 inches up.
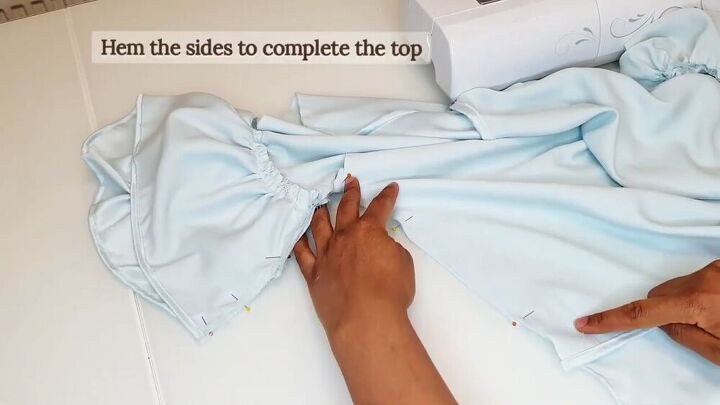
Now go ahead and stitch the sides of the entire DIY blouse.

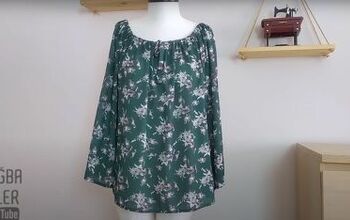
Here’s the final look! What do you think? I love this DIY blouse, it’s comfy and flowy. So there you have it, you now know how to make a DIY blouse without a pattern! What color will you be choosing for this fun project?
The author may collect a small share of sales from the links on this page.


Comments
Join the conversation