How to Sew a Henley Tee: A Buttony, Snappy DIY Tee
Today it’s all about how to sew a henley.
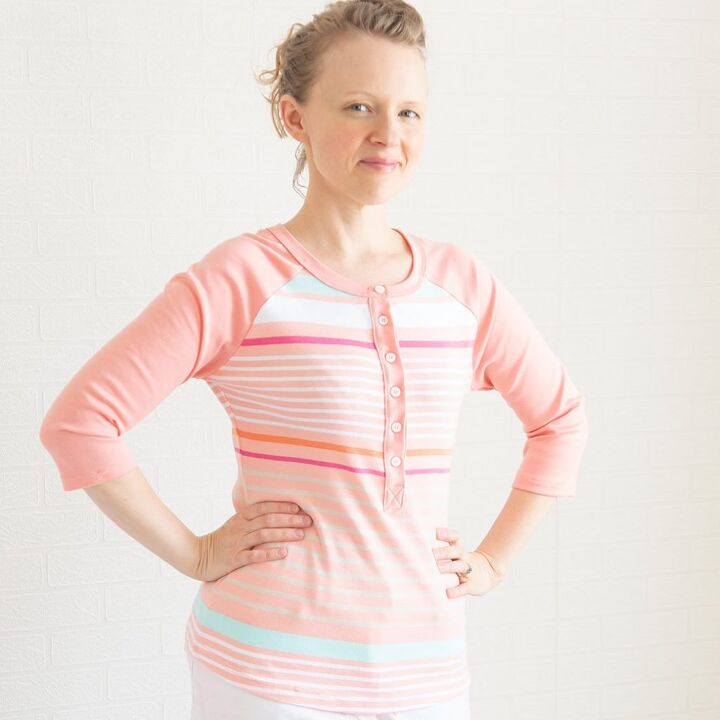
If ever there’s a t-shirt style I keep coming back to, it’s the classic henley. The front placket gives you a chance to use some nice buttons which can add some detail to a plain t-shirt. And if you’re suddenly sweating over the thought of sewing buttonholes in knits, we’ll deal with that fear!
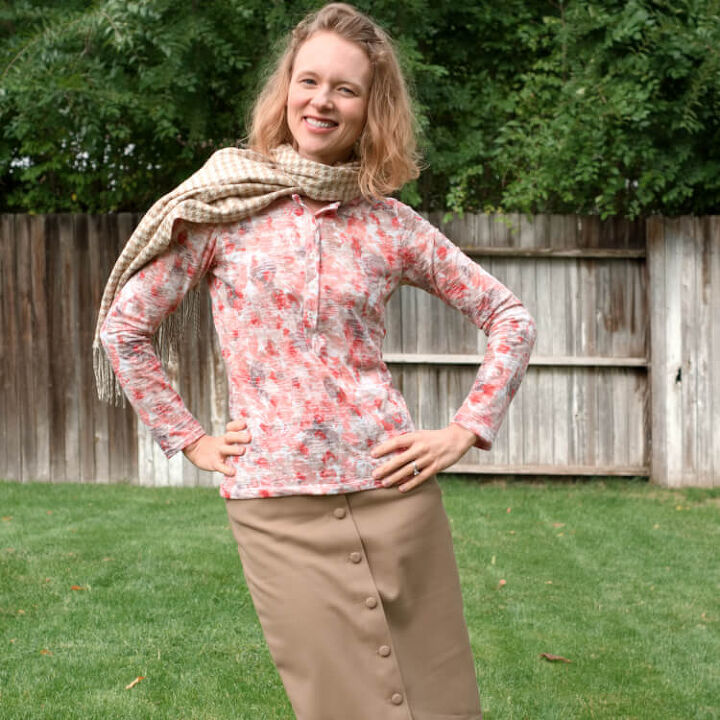
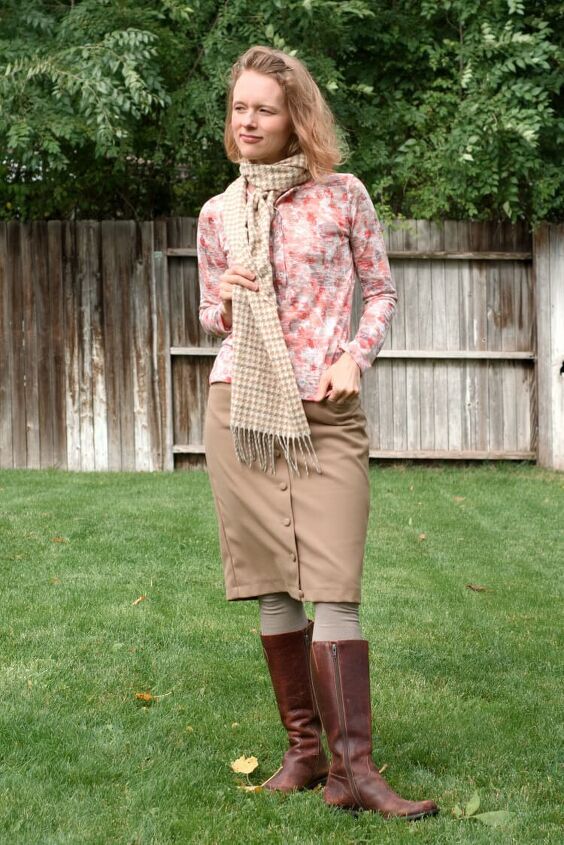
Plus henleys are awesome layering tops. Pop one on under a jacket or a sweater and you’re good to go.
I’ll walk you through how to change up a basic t-shirt pattern for the henley placket. Next I’ll show you how to sew a classic henley, then we’ll change it up with snaps for a different look.
Table of Contents
How to sew a henley: supplies
- Your favorite t-shirt pattern
- Ruler
- Jersey Knit fabric
- Chalk/marking pencil
- Lightweight knit interfacing
- Ballpoint or stretch machine needle + thread
- 6 buttons or ring/pearl snaps
- Snap setter if using snaps
Choosing a pattern for a henley
There’s plenty of stand alone henley patterns out there, but with 1 small change, you can easily make this add-on to your favorite t-shirt pattern.
You can make a henley with a raglan sleeve or a standard t-shirt or really any style. If you don’t have a t-shirt pattern that you love so much you’d bronze it, here’s some options.
- Raglan tee patterns for everyone
- DIY easy to make raglan t-shirt pattern.
- Jalie 2805
- McCalls 6964 (the C version would make a nice henley!)
- Cashmerette Concord t-shirt
Off to hacking your pattern!
How to sew a henley t-shirt
Make the henley pattern piece
To make the henley placket piece, draw a rectangle that’s 2 5/8″X11″.
The only other thing you’ll need to do is add 2 1/2″ to the length of your neckband.
There’s 1/4″ seam allowances for this tutorial.
How to cut a henley t-shirt
Now that you have your extra pattern piece, cut out your t-shirt. You’ll need:
PiecesHow many to cutBack1, cut on the foldFront1, cut on the foldSleeves2Neckband1 plackets2
Mark the front
There’s one more thing we need to do to the front to get ready for the henley placket.
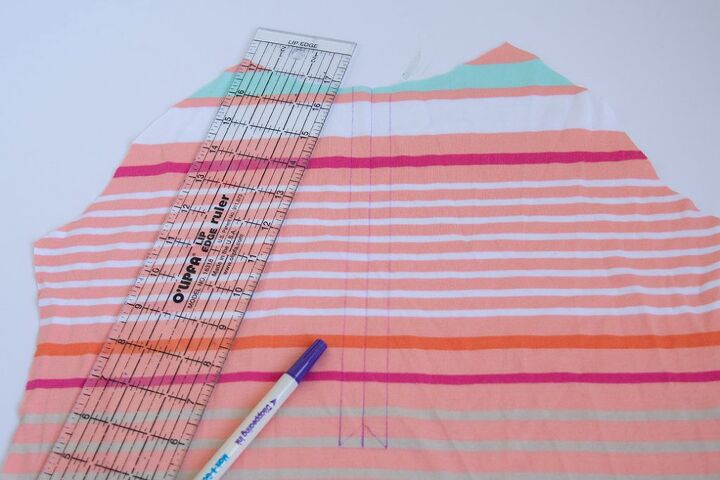
First draw a line 10.5″ straight down center front on the wrong side of the front. Make two more lines 1/2″ away from the first one.
Next draw a small line perpendicular to center front 10.5″ down from the neckline to connect all 3 lines.
Prep the henley placket pieces
Next we need to prep the placket pieces. First press 1 1/4″ of each placket piece to the wrong side.
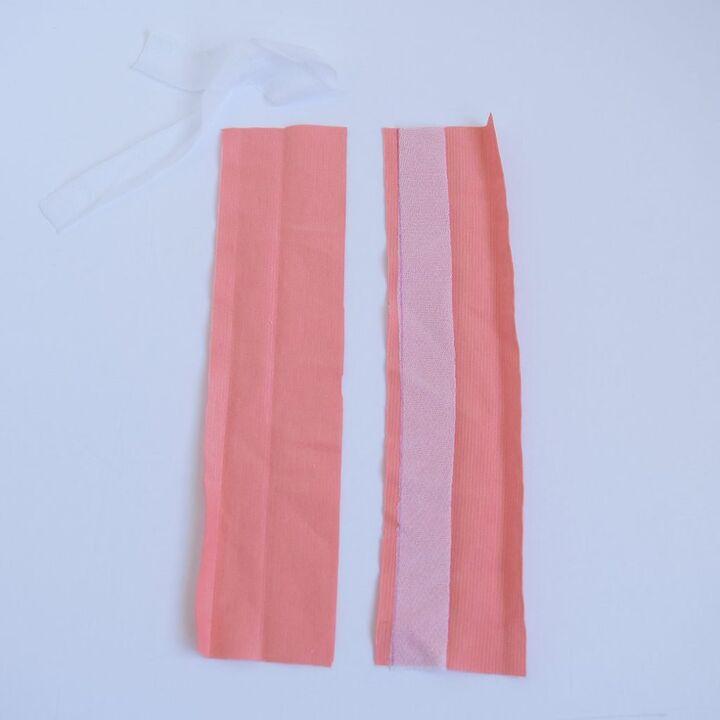
Open up each placket piece. Cut 2 strips of fusible knit interfacing that are 1″ wide. Fuse them to each piece, lining up the edge with the fold on the narrower side.
Press back 1/2″ on the side of the placket without interfacing.
Refold the plackets along the center fold and press them again.
Sew the placket to the front
Draw a line 1/4″ on the interfaced side of each placket piece.
Line up this line with each of the outer lines on the front. The right side of the placket should be facing the wrong side of the front. Pin in place.
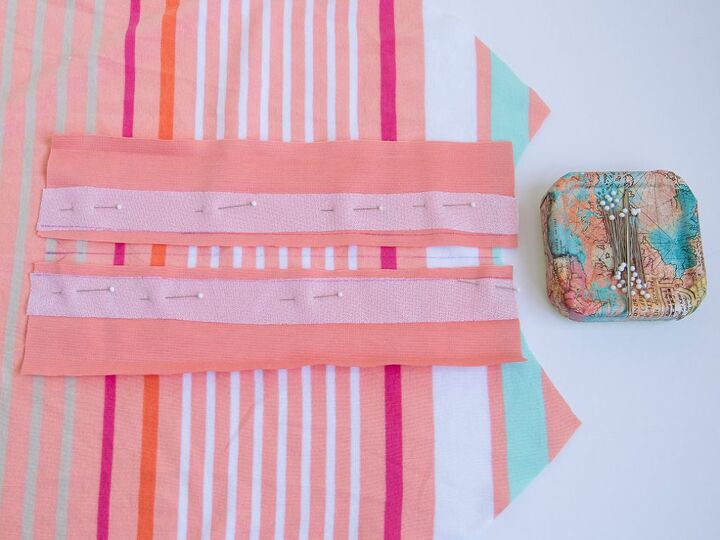
Next sew the long side of the placket piece to the front along the line you drew. Use a narrow zigzag stitch (0.5 width, 2.5 length) here.
Repeat for the second side.
Finish sewing the plackets
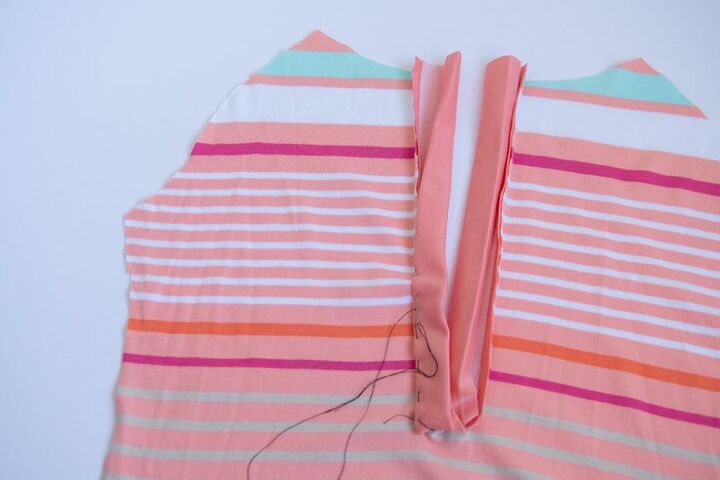
Next the careful bit. Cut down the center front line. About 1/2″ from the bottom, cut at an angle towards the corners. Carefully cut all the way into the corner. Trim the seam allowance on the top so that they’re even with the placket.

After that, wrap the plackets around to the right side. Cover the stitching line with the pressed edge. Pin or hand baste this in place.
Next, stitch through the sides of each placket piece close to the edge.

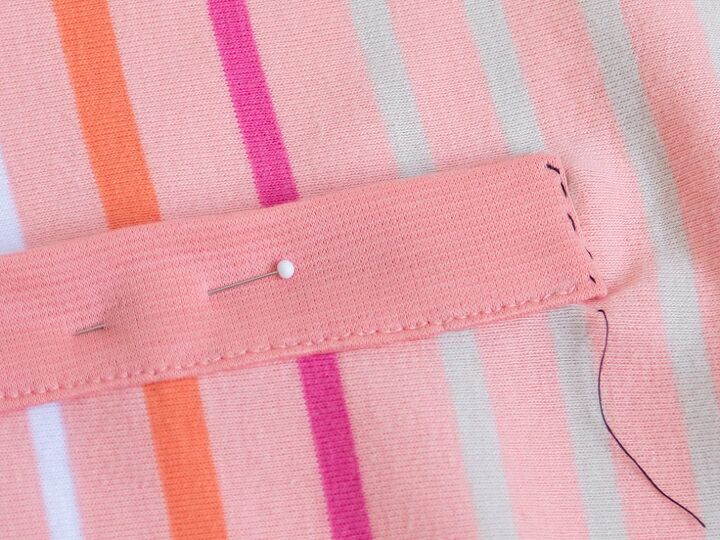
Overlap the placket pieces right over left. As you do this, sandwich the little triangle you cut open on the front in between the plackets. Fold the raw edges of the top placket in and press.
Stitch through all the layers, making a box with an X in the center.
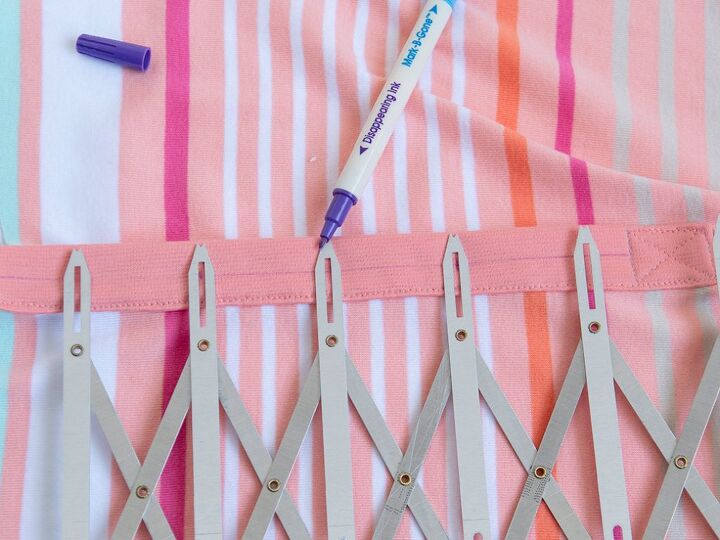
Sew the buttonholes
Now comes the buttonholes.
Make a mark 2.5″ from the bottom along that line and another 1″ from the top. Spread out the other buttonholes evenly between the two markings.
From there, sew the buttonholes. The interfacing in the placket will make it easier for you to stitch out nice looking buttonholes. If you’re having a hard time with the buttonholes, I would suggest making a sandwich with water soluble stabilizer. I talk about that more in Gamechanger Tips for Sewing Buttonholes.
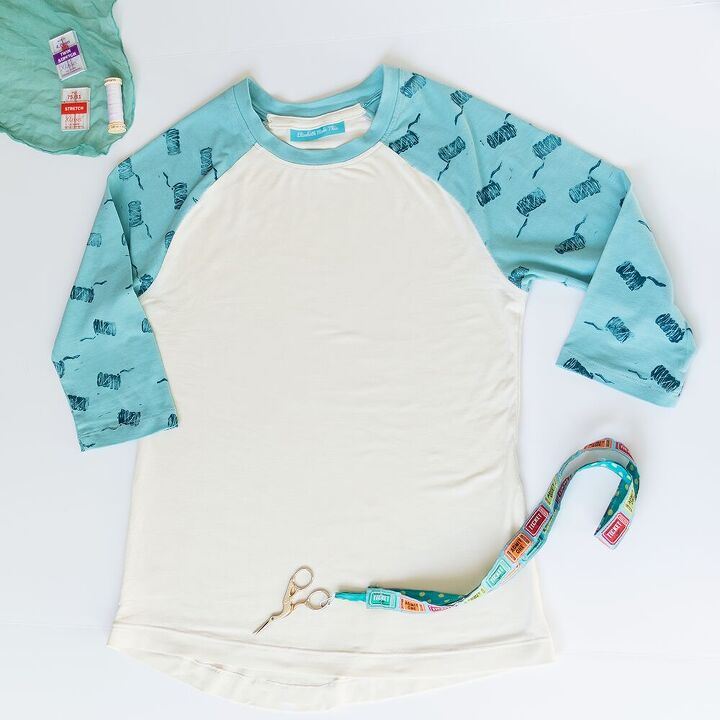
Make the top
At this point, sew the rest of the top together. For specific construction advice, check out how to sew your own raglan tee. You can use your pattern directions here too.
How to sew a raglan t-shirt
Baseball season is coming. Make a classic baseball tee now!
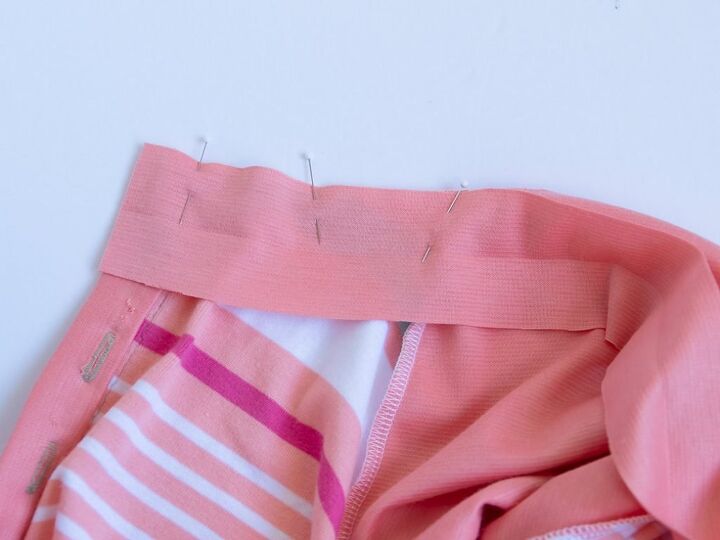
Finish the neckline
When you get to the neckline press it in half lengthwise. After that, press up one of the long raw edges by 1/4″. Add a scrap of interfacing to the end of the right side of the neckband.
Match the center back of the neckband to the center back of the top, pinning the right side of the neckband to the wrong side of the neckline. The ends of each side should go past the end of the front neckline by 1/4″.
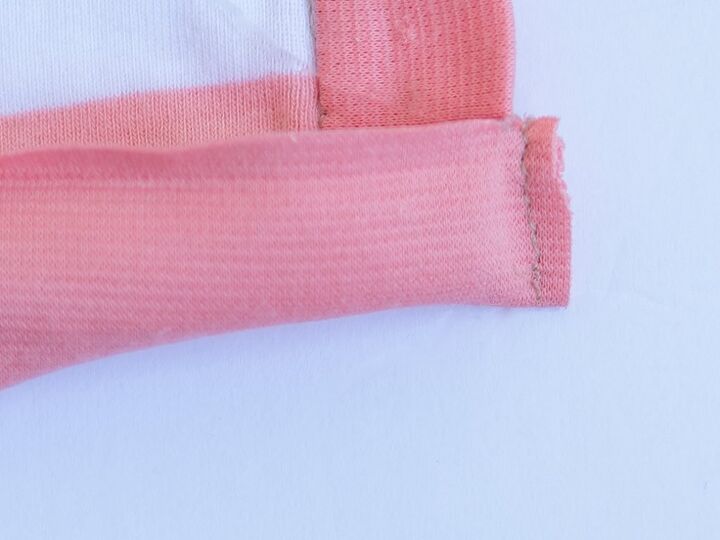
Stitch the neckband to the top, stretching the neckband to fit. Press the seam towards the neckband.
Now bring the ends of the neckband right sides together. Sew the end together with a short stitch length. Trim the seam if necessary, then flip the neckband to the right side.
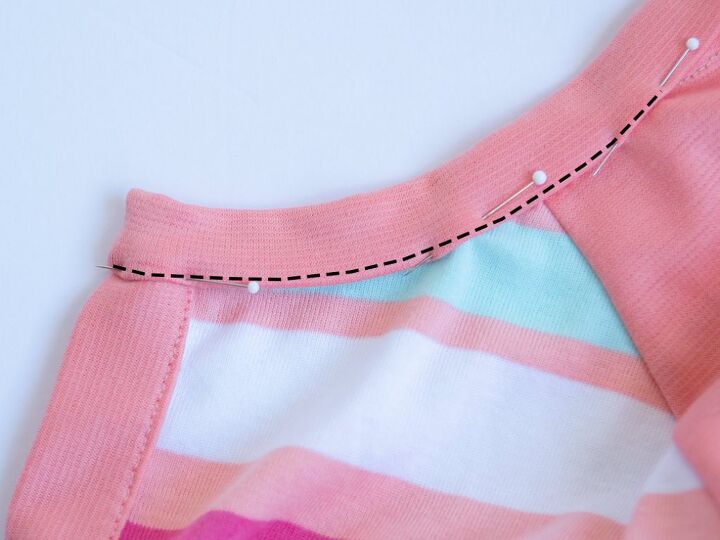
Overlap the stitching and pin or hand baste the band into place. Topstitch the neckband down close to the pressed edge. You can use a narrow zigzag, a twin needle or a coverstitch to do this.
Finish off the neckline by adding one more buttonhole in the band itself.
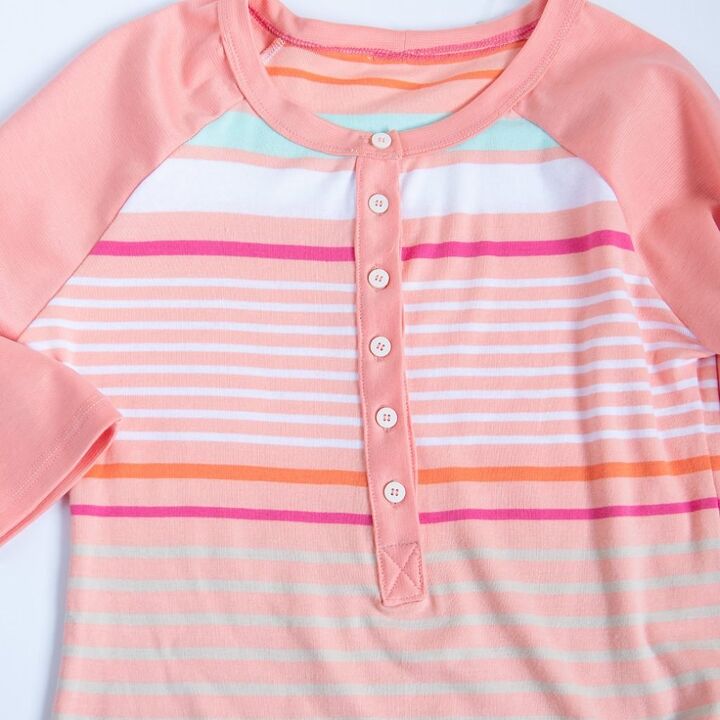
Sew on the buttons and your henley is finished!
Skip the buttons: How to add snaps to a henley
If you want to skip the buttonholes entirely, just add snaps.
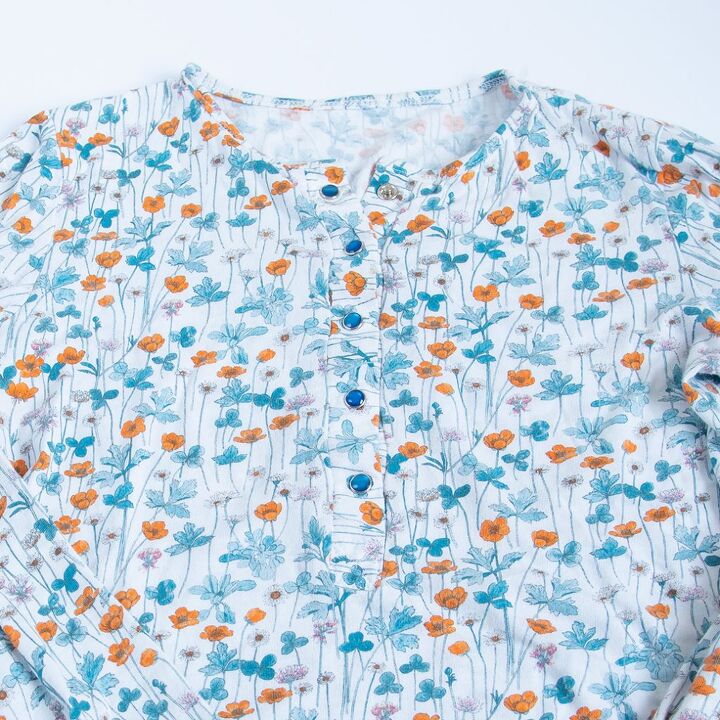
Ring snaps or pearl snaps will give your henley a totally different look, and the snaps are way easier than adding the buttonholes.
You can see how to add the snaps on this video starting at minute 26’29”.
So are you Team Buttonholes or Team Snaps when it comes to henleys? As we’ve walked our way through how to sew a henley top, you can see how that little placket can go a long way in changing up a basic tee.
Other raglan tee variations to try:
Elizabeth Farr is the writer behind the Elizabeth Made This blog where she shares helpful sewing tips, step by step sewing tutorials and videos to help you explore your creativity through sewing. She has written sewing Eguides and patterns, been a featured teacher at Rebecca Page’s Sewing Summit and Jennifer Maker’s Holiday Maker Fest and her work has appeared in Seamwork and Altered Couture magazines. She also created a line of refashioned garments for SEWN Denver. When her sewing machine isn’t humming, she’s playing and teaching violin, and hanging around a good strategic board game with her husband and 4 kids.
The author may collect a small share of sales from the links on this page.


Comments
Join the conversation