How to Sew a Gorgeous Puff-sleeve Blouse

In this tutorial, I’m going to share with you how to make a long, puff-sleeve blouse. It has a wonderful fit and flare look, and it’s also really light and feminine. Let's get started!
Best fabric scissors!
Tools and materials:
- 2 meters (2.2 yards) of cotton fabric
- Scissors
- Measuring tape
- Ruler
- Pins
- Fabric marker
- Sewing machine
- Elastic
- Iron
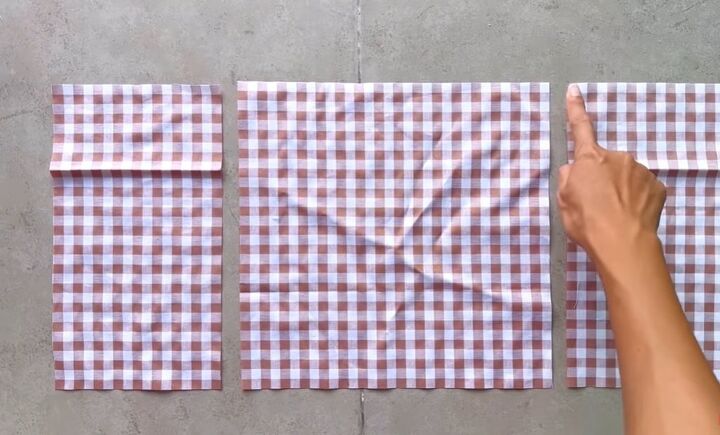
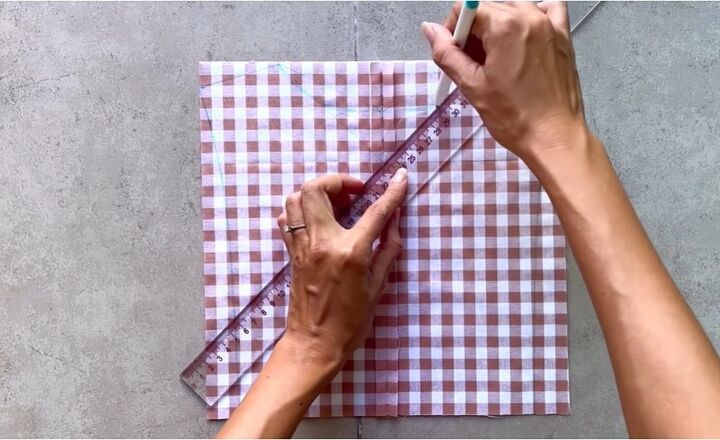
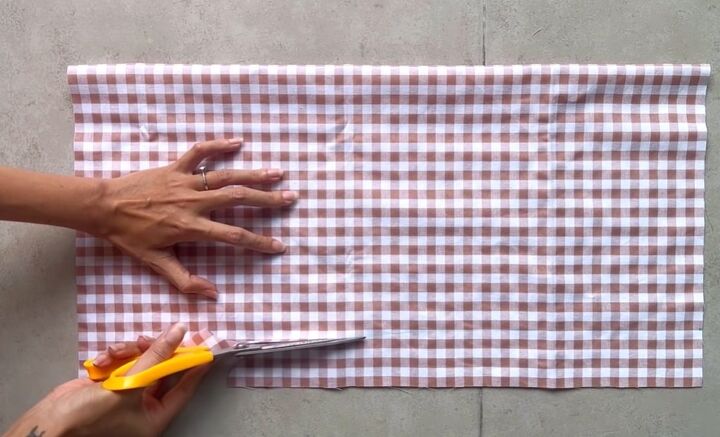
1. Cut the bodice fabric
See the video from 0:39-1:16 to see the measurements for the bodice.
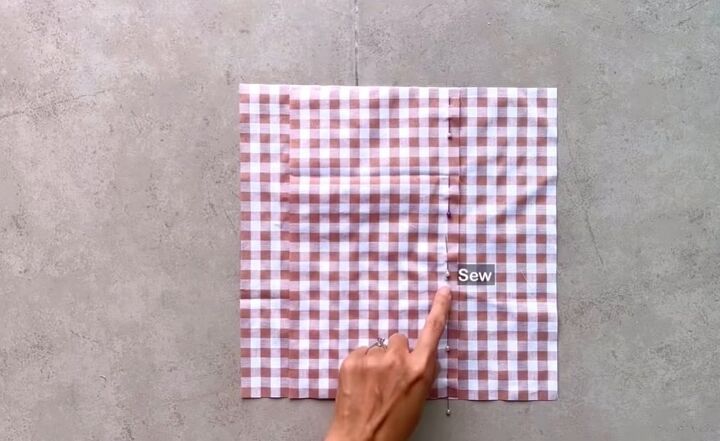
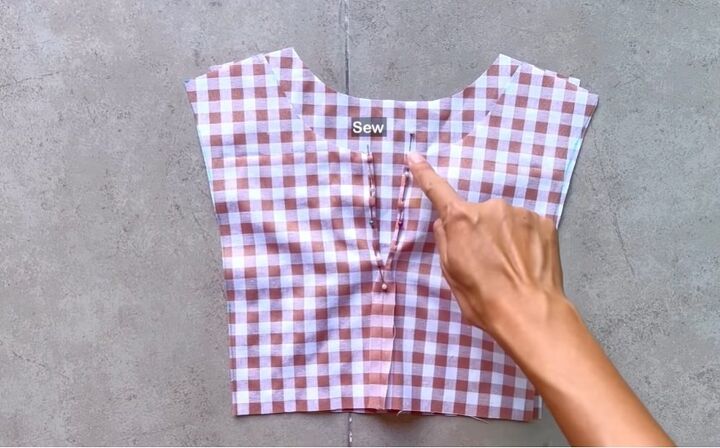
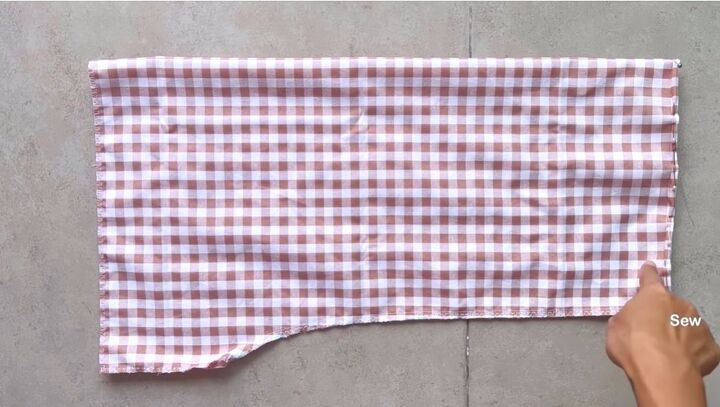
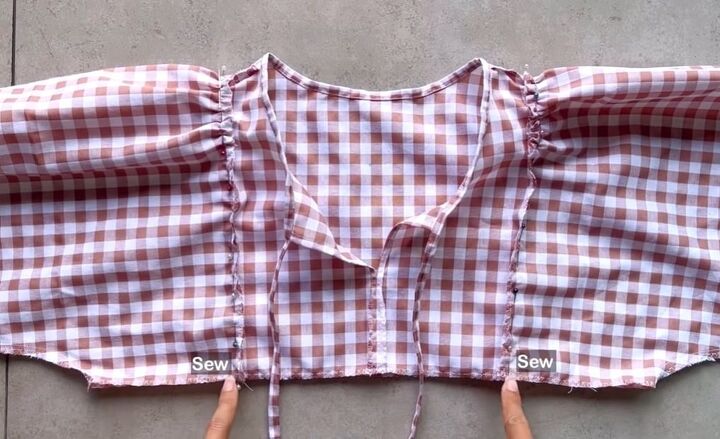
2. Sew the front bodice
Mark 20cm (8 inches) from the top of the connecting line.
This will be the depth of the neckline of the blouse. Sew the rest of the pinned side together.
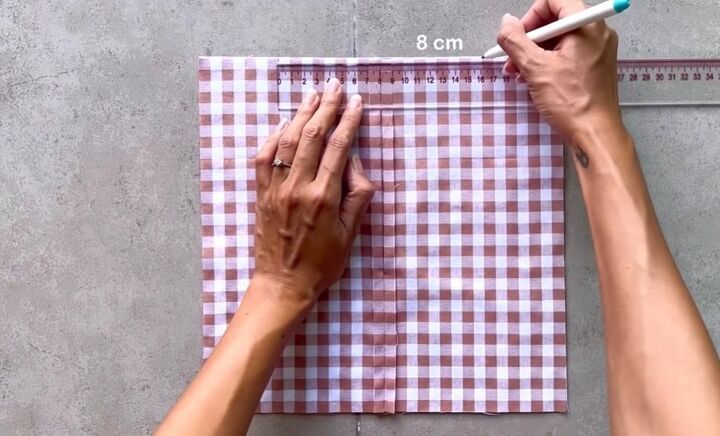
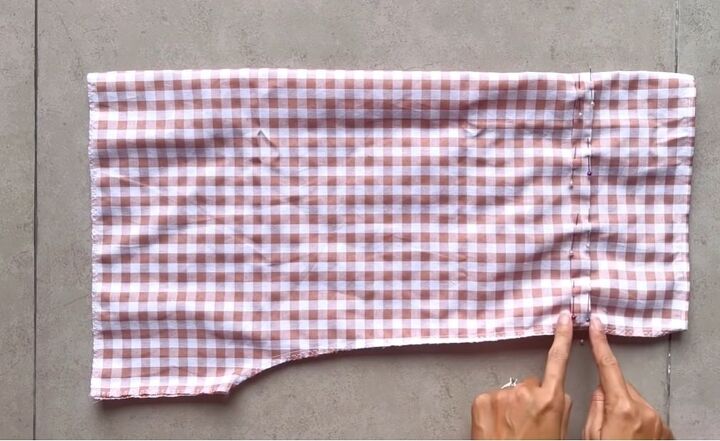
3. Mark the back neckline
Mark 8cm (3 inches) on either side of the centerfold at the top.
From the middle of the fold, mark down 4cm (1.6 inches).
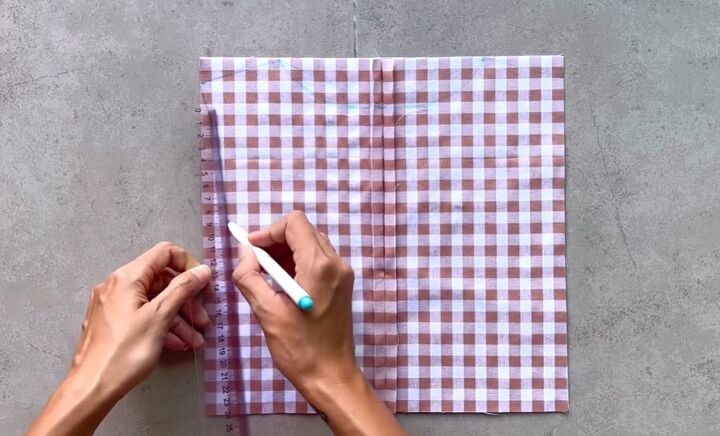
Connect these marks together with a slightly curved line. This will be the back neckline.
4. Mark the shoulder line
Mark 2cm (0.8 inches) down at the edge from the top. Connect this mark to one end of the neckline. This will be the shoulder line.
Draw a perpendicular line from the end of the shoulder line to finish the sleeve line of the blouse and bring this down to the bottom of the fabric.
5. Mark the front neckline
From the middle of the top width line, mark down 10cm (4 inches), which is the width of the neck.
Connect this mark to the two ends of the neckline that you drew before with a slightly curved line.
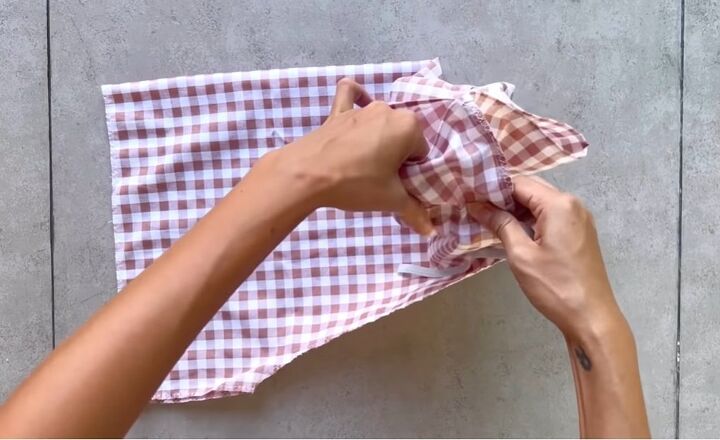
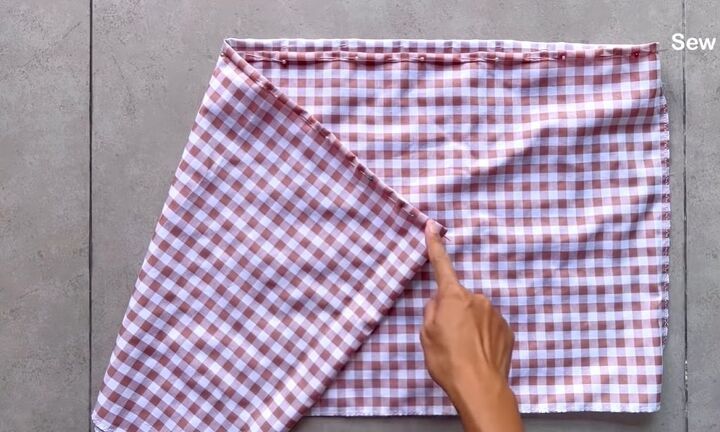
6. Cut out the bodice and finish the neckline
Proceed to cut the front and back pieces of the bodice out.
Fold the fabric inside twice by 1/2cm (0.2 inches) each time and sew it down. Sew the two pieces together at the shoulders.
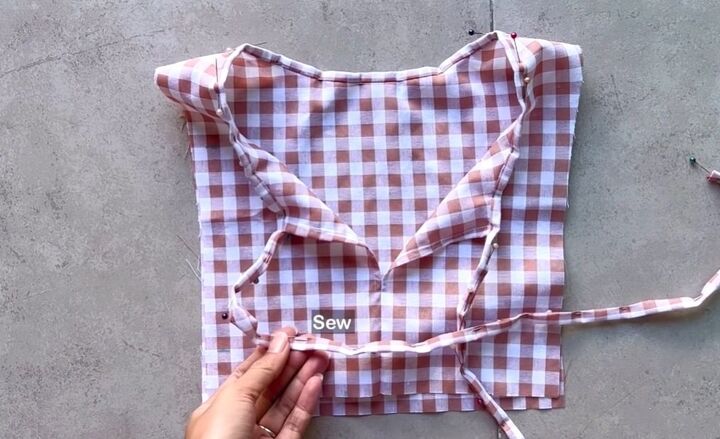
7. Sew and attach the necktie
Cut a long piece of fabric measuring 3.5cm x 120cm (1.4x47 inches).
Connect the middle of the fabric line to the middle of the back neckline. Join up the rest of it and sew it down.
After the first seam, fold the other side of the fabric to the middle and sew it down.
8. Cut the sleeve fabric
To make the sleeves, cut a long rectangle where the length is the measurement from the shoulder to the wrist, and the width is the length measurement + 15cm (6 inches).
Fold the rectangle in half lengthways.
9. Mark and cut the sleeves
On the bottom open side, mark across ½ the bust size - the width at the end of the bodice + 3cm (1.2 inches).
On the width side at the other end of the fabric, mark down ½ the width at the end of the sleeve that you want from the fold.
Join the two points with a curved line to create the under-armpit line of the sleeve. Cut along this line. Pin the two pieces of material together.
10. Sew the ends of the sleeves
Fold the end fabric inside twice by half a centimeter each time. Pin it down and sew it.
From the end of the sleeve, draw a line of 9cm down the width of the sleeves.
11. Attach a strip of fabric
Create a strip of fabric measuring 4cm [1.6 inches] x the width at the end of the sleeve + 2cm (0.8 inches). Sew the two ends together.
Fold over both sides and iron them down. Add the circle fabric to the line you drew before and sew it to the sleeve. Make sure to keep a small gap open to insert the elastic later.
12. Insert the elastic
Cut elastic measuring the width of the wrist + 4cm [1.6 inches] x 1cm [0.4 inches].
Insert the elastic through the channel. Sew up the elastic and the open gap.
13. Gather the top of the sleeve
At the top of the sleeve, make a loose seam, then gather the fabric. Attach the sleeves to the bodice.
14. Cut fabric for and sew the bottom part
Cut a long rectangle measuring 1.5 times the width at the end of the top blouse x your hip to chest measurement. Sew the width sides together.
Finish one end of the circle fabric by folding the fabric inside twice, by 1cm (0.4 inches) each time.
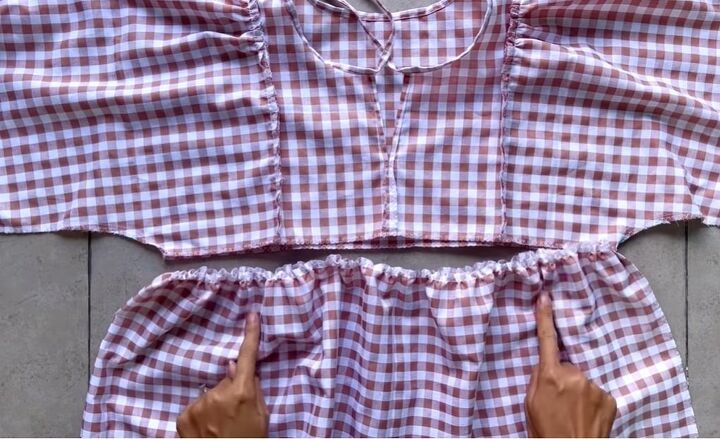
15. Gather the top and connect to the blouse
At the other side of the circle fabric, make a loose seam. Then gather the fabric and sew it to the bottom of the blouse.

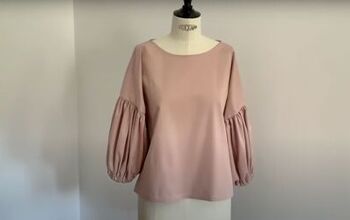
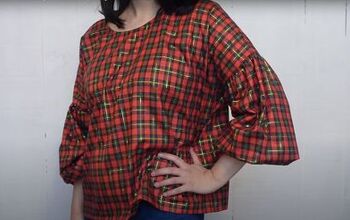
Puff-sleeve blouse
Here is the finished puff-sleeve blouse. It took a lot of effort, but with a blouse as gorgeous as this, you won't look back.
I adore each individual element - the tie around the neck with the peephole underneath, the elasticated frill on the sleeves, and the fit and flare look.
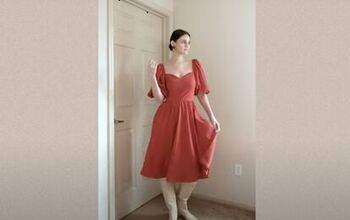
If you enjoyed this tutorial, leave me a comment and check out my post on How to Make a Gorgeous DIY Wrap Dress Out of 2 T-Shirts.
The author may collect a small share of sales from the links on this page.


Comments
Join the conversation