6 Simple Steps to Sewing Neck and Armhole Facing Perfectly

We’re back with another sewing how-to! This time, we’ll be showing you how to sew a neckline and armhole facing.
Often, some sewing patterns call for a full neckline and armhole facing and it can get a little complicated to sew. That’s why we’re here to show you a quick and seamless way!
After you’re done, you’ll see how easy sewing a neck and armhole facing actually is!
Tools and materials:
- Dress
- Pins
- Sewing machine
- Cut-out facing
- Scissors
- Thread

Before we get into the actual steps, I will be showing you how to do this on our Betty dress patterns. Of course, if you have another pattern to follow, the guidelines are basically the same.
Also, make sure the shoulder seams are not stitched.
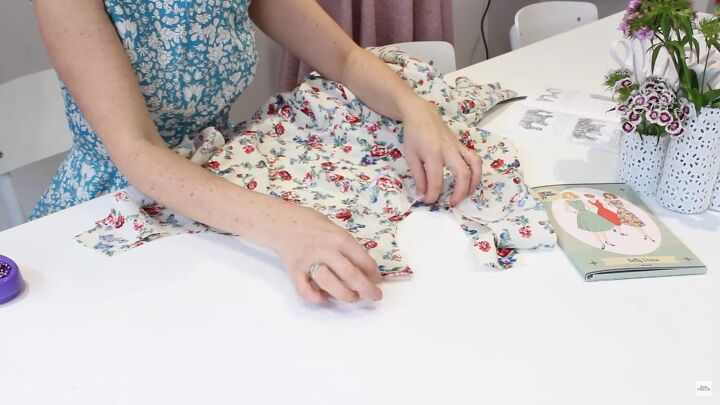
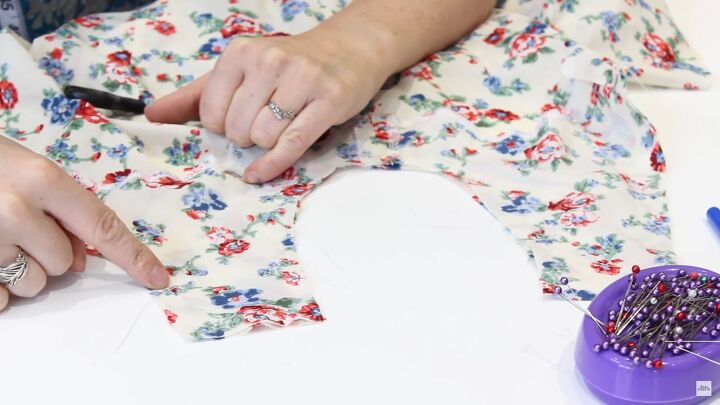
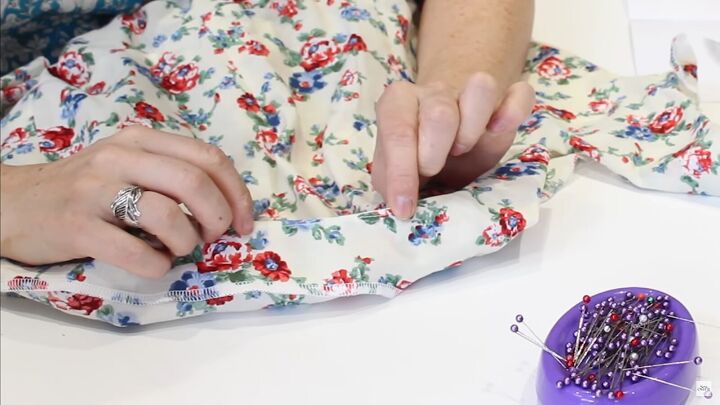
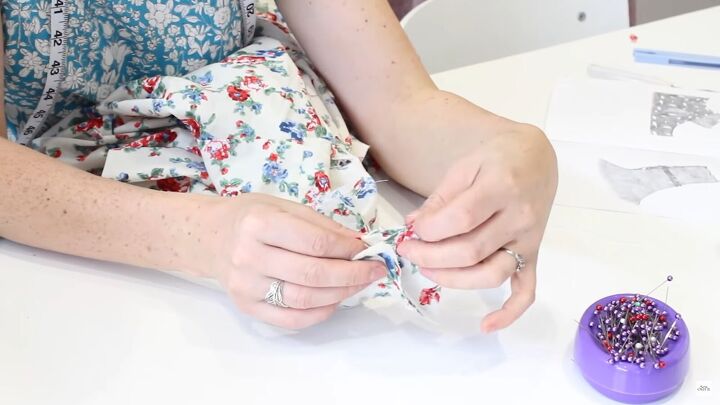
1. Pin and align
Place the facing right sides together with the bodice. Line up the edges, notches, and seams, too.
Pin the facing all the way around, carefully.
Measure 5cm (1.96 inches) from the edge of the shoulder strap and place a pin because that’s where’s you’ll stop sewing.
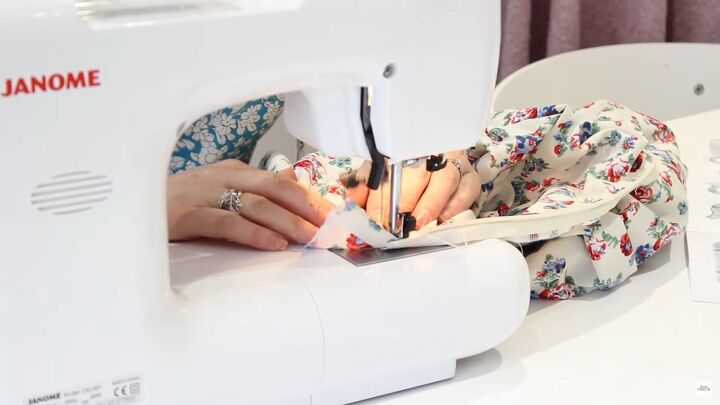
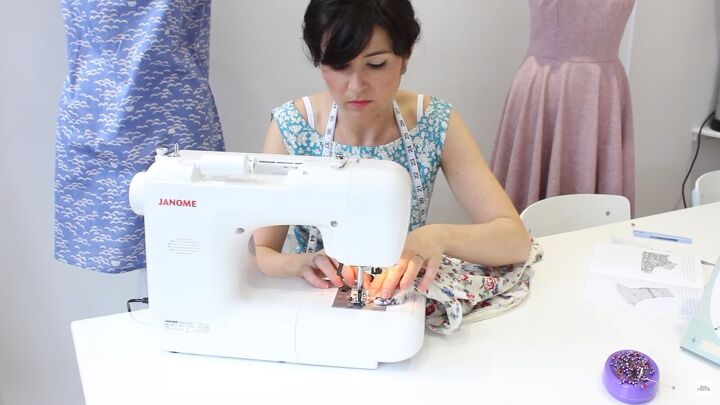
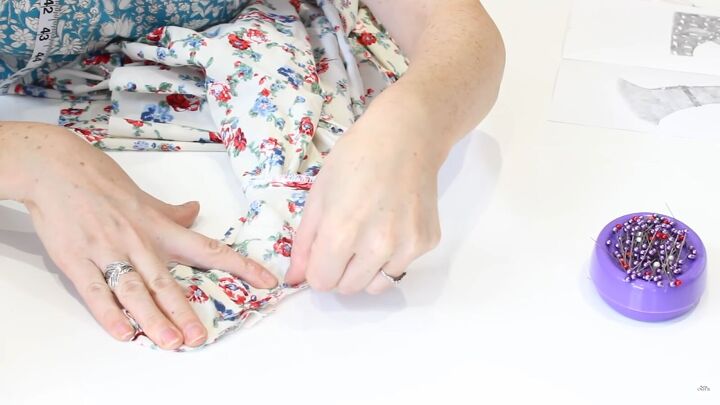
2. Sew
Now go ahead and sew along the edge, removing each pin so that it doesn’t go through the needle (this could potentially damage your needle and footer).
Again, make sure the stitching stops 5cm (1.96 inches) from the top of the shoulder seam.
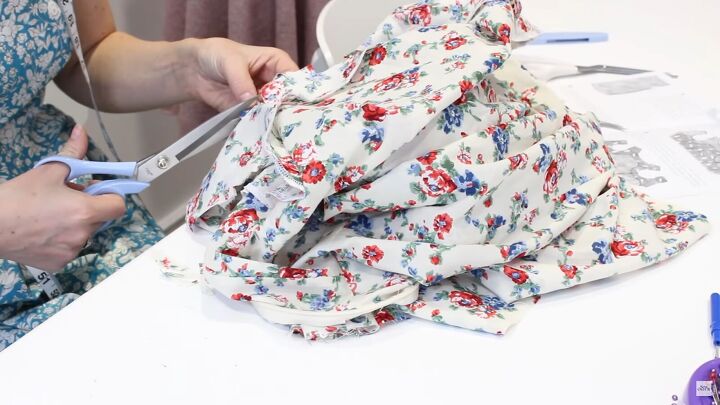
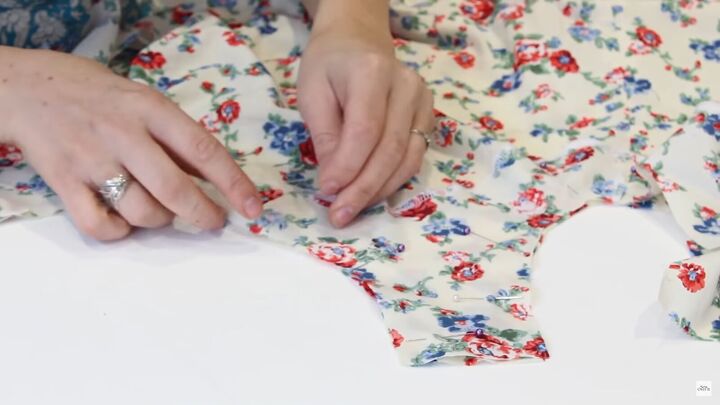
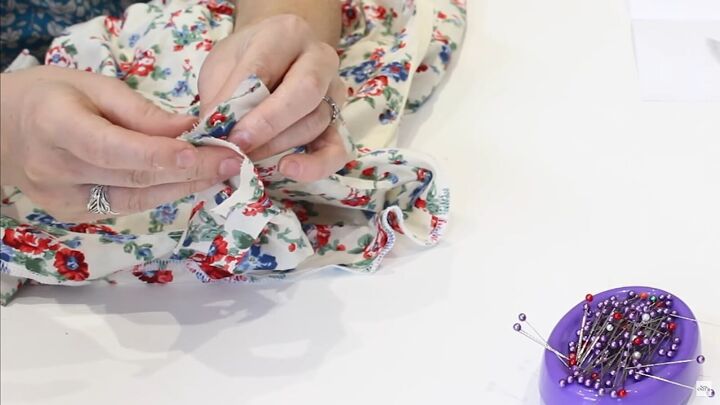
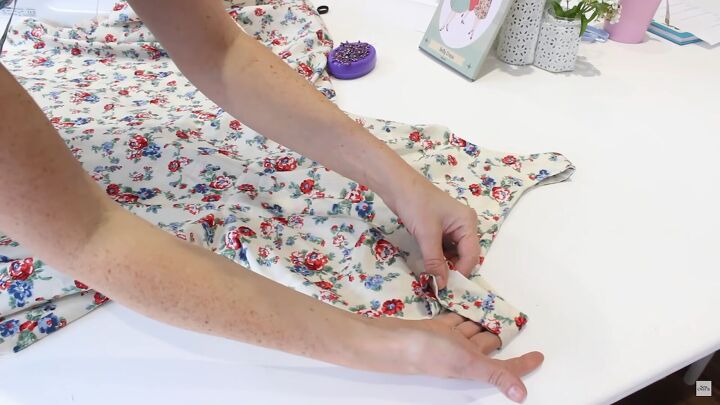
3. Clip and trim
Now, clip into the curve of the neckline to add some flexibility. Also, trim off the seam allowance for a cleaner finish.
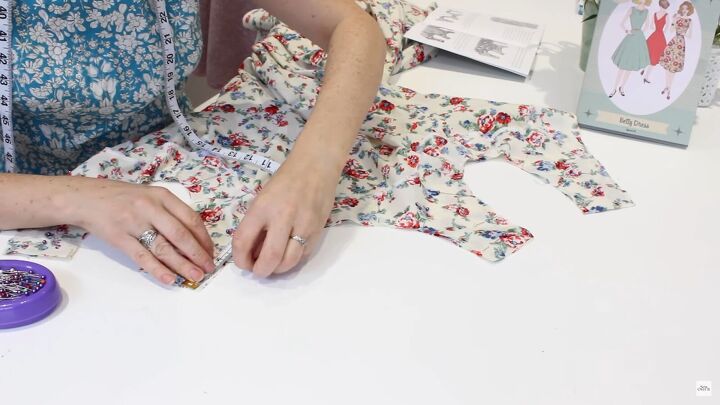
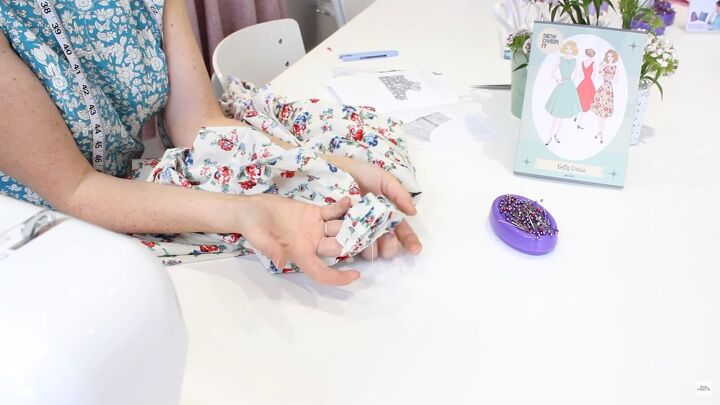
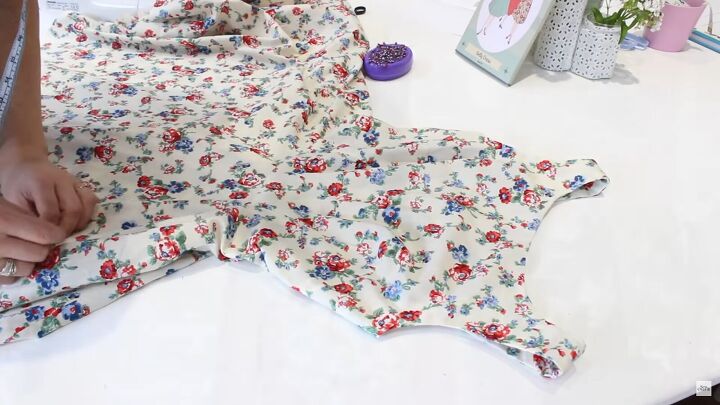
4. Iron the seam allowance
Go ahead turn the dress right sides out. Then, iron the seam allowance onto the facing’s side. This will prepare you for the next step; understitching.
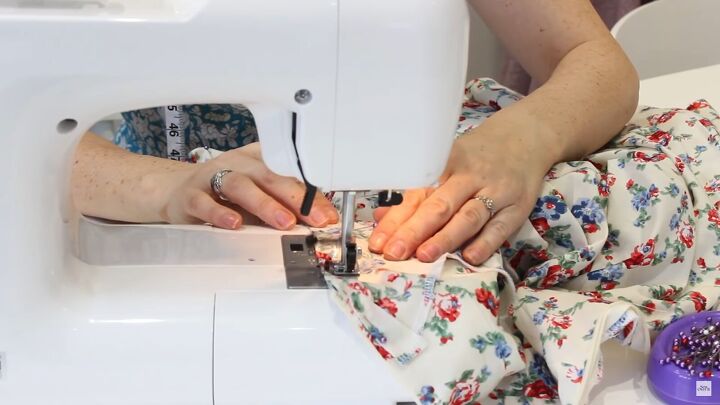
5. Understitch the seam allowance
Go ahead and stitch the seam allowance to the facing. Work on the right side of the fabric with your seam allowance going in the direction of the facing.
Stitch about 32-33mm (around 0.1 inches) from the actual seam. Understitching helps keep the facing inside the dress.
There’s my understitching; it’s sitting just below the stitch line.

6. Join the shoulders
Take one front shoulder strap and one back strap and place them right sides together, on the dress side (your dress should be right sides out).
Peel back the facing and working with the dress side, line up the shoulder seams. Then, stitch across.

Now, take the facing sides and place them right sides together, and stitch across to secure.
Press open the seams you’ve just stitched.
Pull the strap to the inside of the dress and line up the shoulder seams. Make sure you do not catch the rest of the strap that’s sitting inside the tunnel.
Stitch the 5cm (1.96 inches) gap closed. Make sure you overlap and do a start and reverse at the end.
Now, turn it through. See how seamless that looks? Next, give it a good press and repeat the whole process on the other side.
Sewing neck and armhole facing tutorial
Thanks for joining me and I hope you enjoyed my tutorial on how to sew a neck and arm facing. Just a few little tricks and you have yourself a seamless and polished dress or top.
The author may collect a small share of sales from the links on this page.


Comments
Join the conversation
Thank you for this tutorial! Perhaps in your next demonstration you can use solid colored fabric and a contrasting thread so your work can be seen by the eye a little better.