The Audrey Top

If you're looking for vintage glamour, comfort and an easy make, the Audrey Top has it all.

This is the Audrey Top from Sew Over It. It's a lovely, easy, make with several neckline and sleeve options.
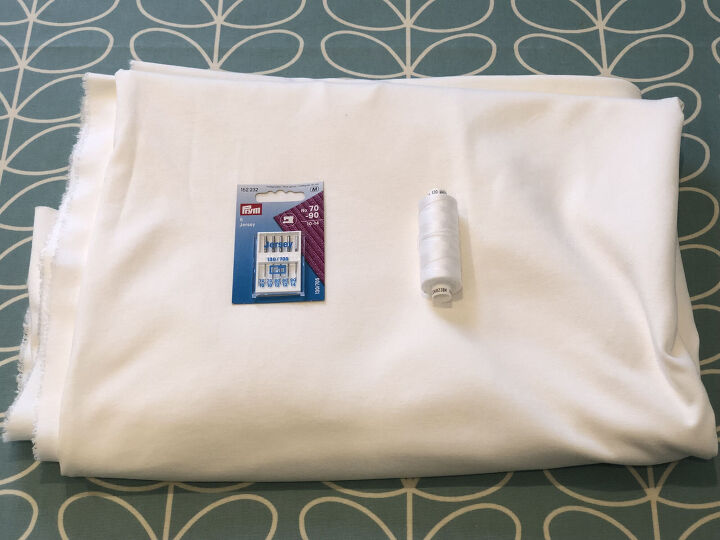
You will need:
- A stable knit fabric, such as ponte roma (see pattern for fabric requirements by size)
- Colour matched thread
- Stretch needles
Start by cutting the pattern to your size and then cutting the fabric according to the lay plan in the instructions.
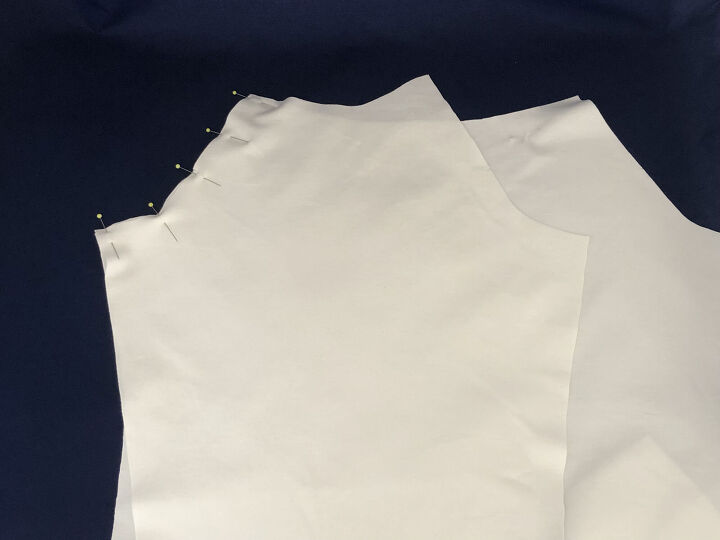
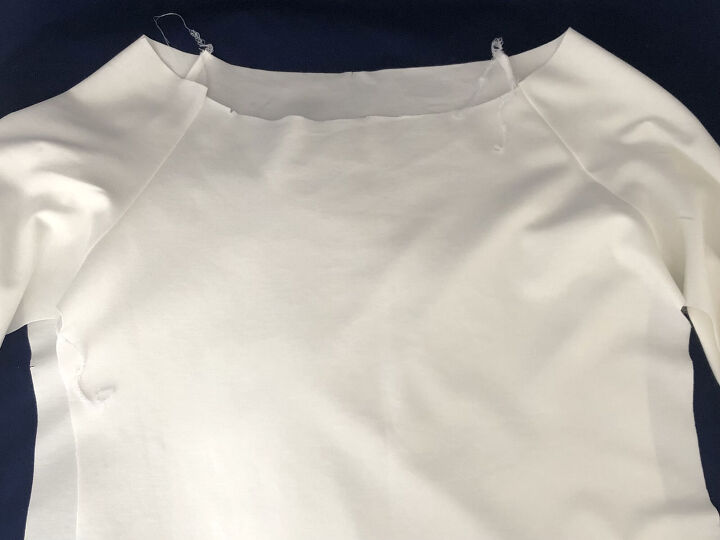
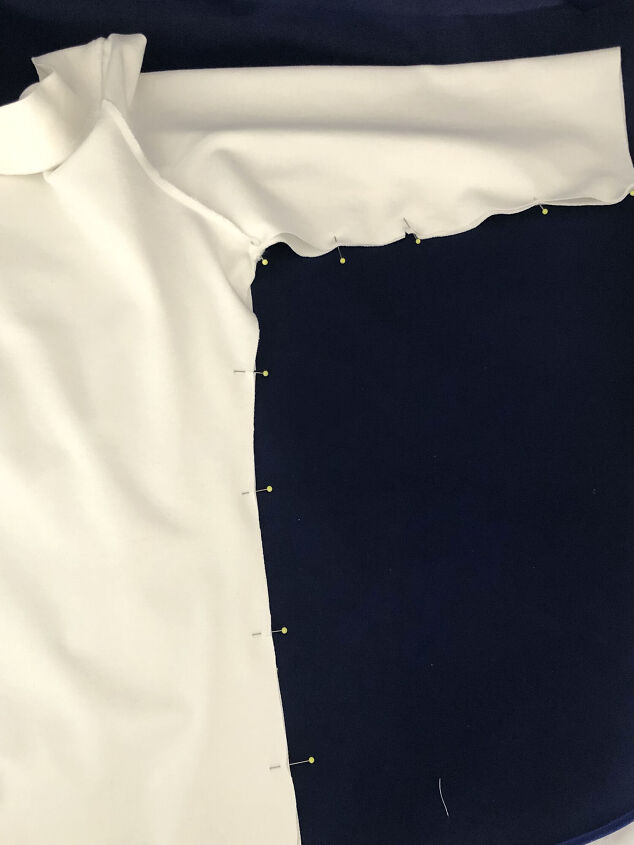
Step 1
Pin the sleeve to the front bodice right sides together and sew with 5/8 inch seam allowance. If you have a serger you can serge seams together, if not sew with a narrow zig zag stitch.
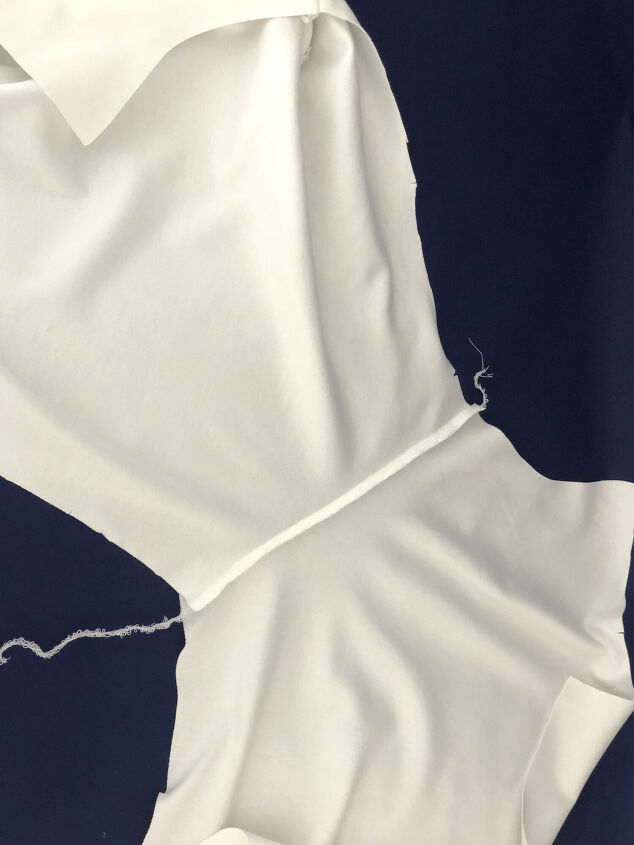
Step 2
Repeat with other sleeve and then attach to the back bodice in the same way. You should now have the sleeves and bodice attached at the four shoulder seams.
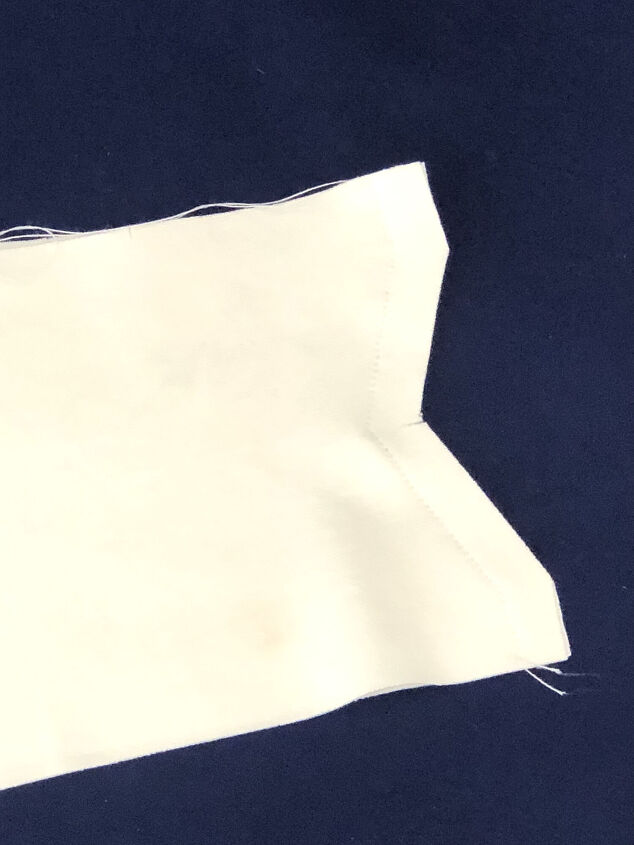
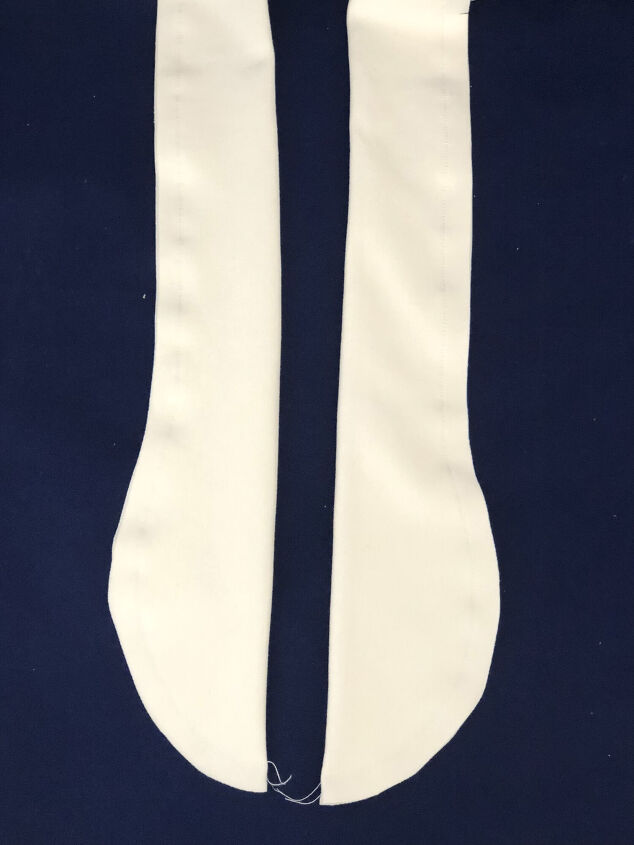
Step 3
Next, place the neckband right sides together and sew along the angled edge. Repeat for the other end. You should now have one long neckband piece made up of the three parts.
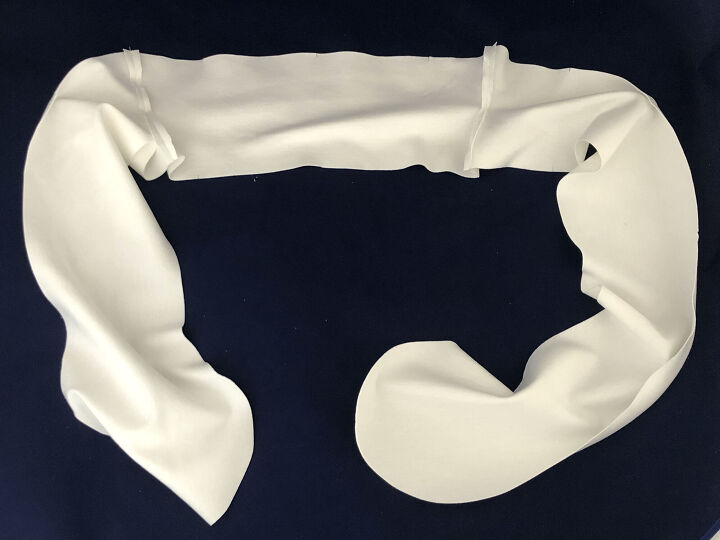
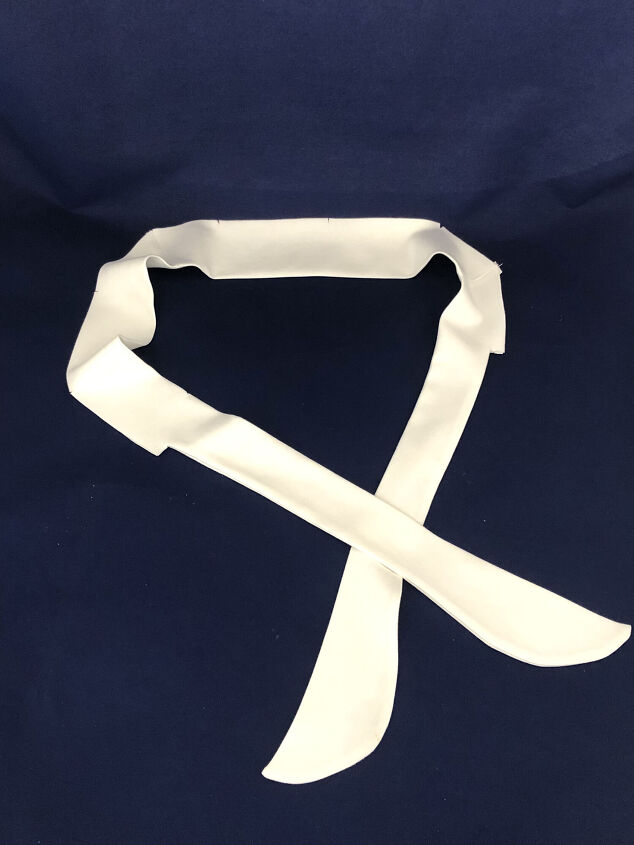
Step 4
Fold neckband in half right sides together along the long edge and sew together up to the notch. Turn right side out and press.
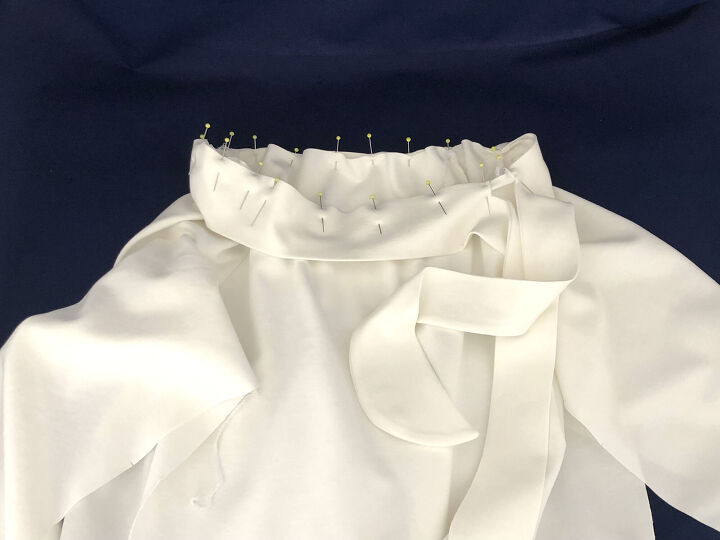
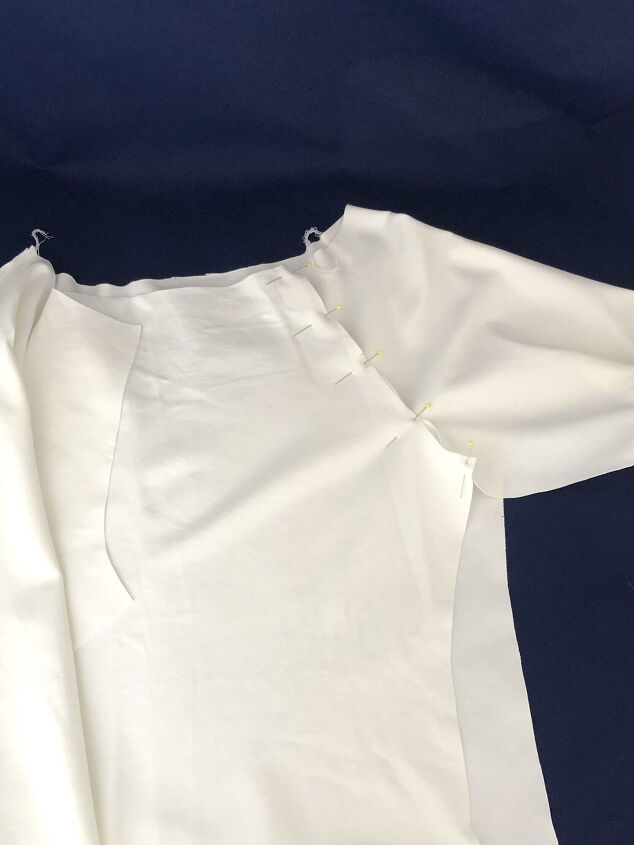
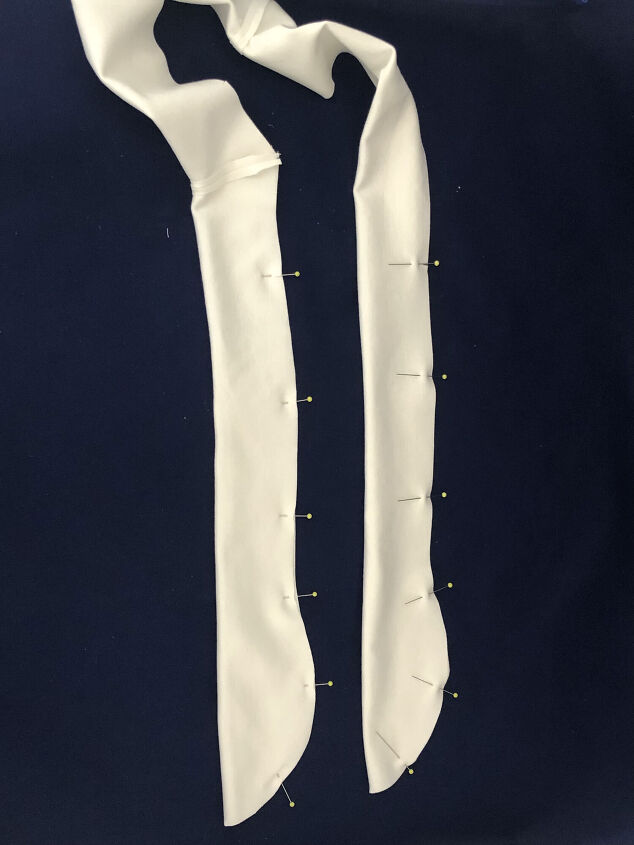
Step 5
Now, attach the neckband to the bodice, matching the notches. This is the trickiest part, as you have to stretch the neckband slightly as you sew. Use lots of pins and take your time.
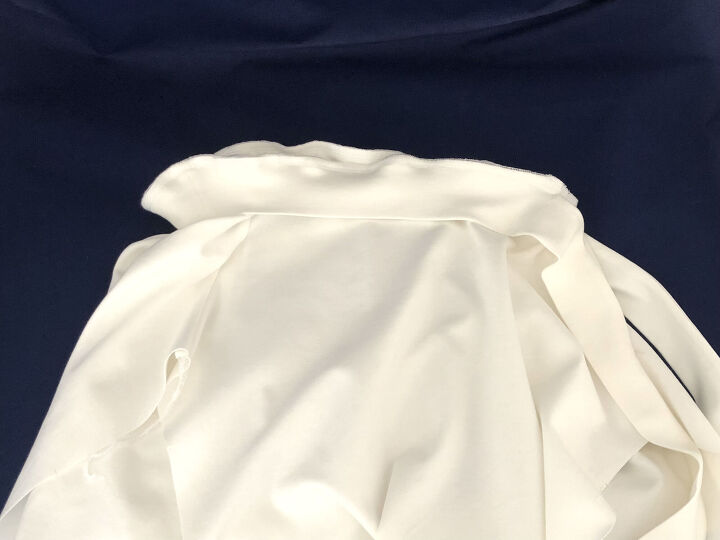
Step 6
For a neat finish, either serge the raw edge or finish with a zig zag stitch. Press and top stitch all around the neckline.
Step 7
Finally, stitch the sleeves and side seams together in one straight line. Again, if you have a serger you can serge this seam at 5/8 inch. Try the top on and check the length. Then hem the bottom of the top and the sleeves.


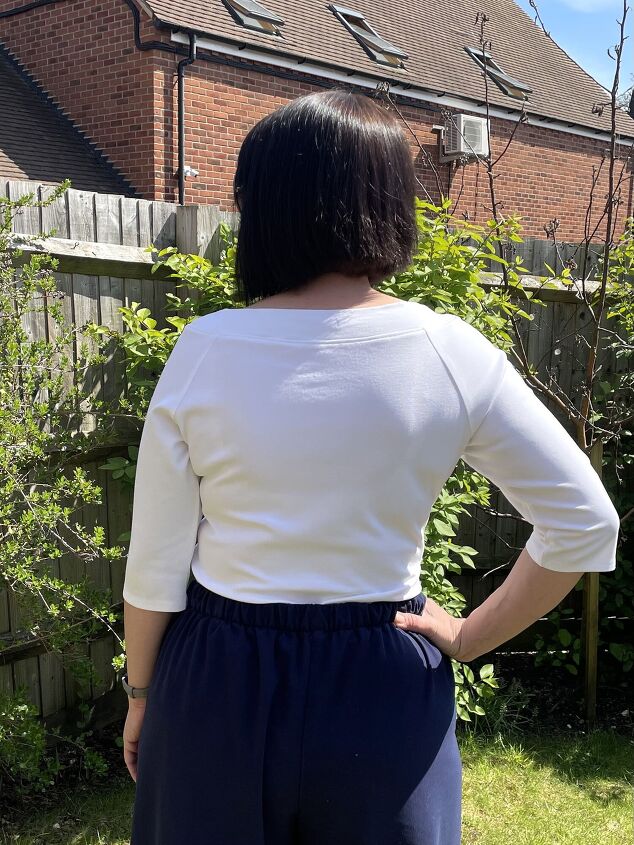
Ta dah! Enjoy wearing your lovely new Audrey Top x
The author may collect a small share of sales from the links on this page.


Comments
Join the conversation