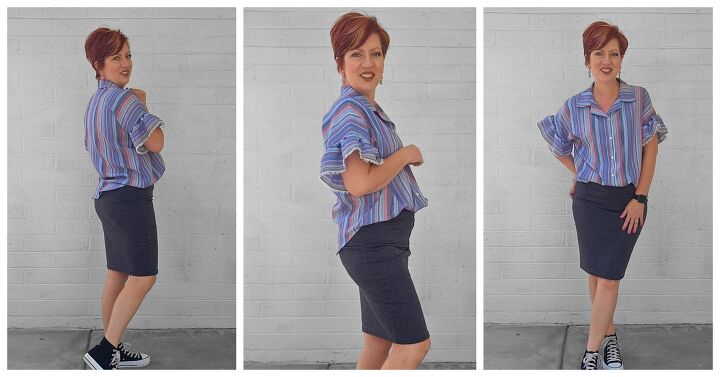
The Most Comfy Button Front Shirt Ever!

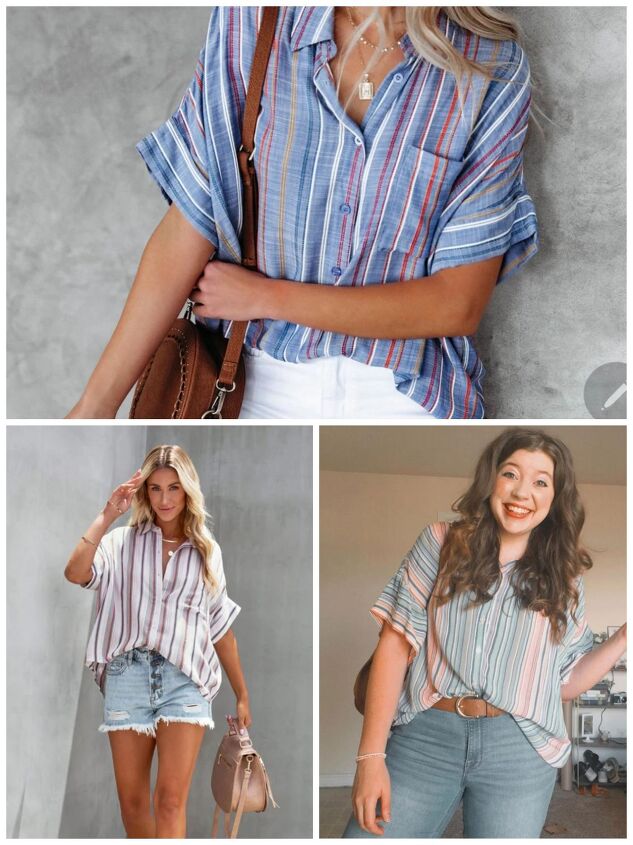
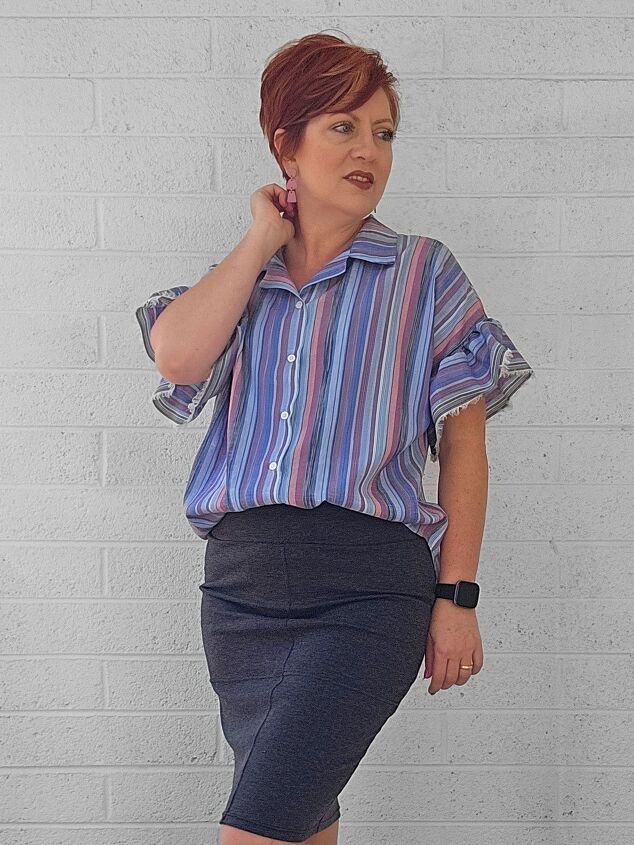
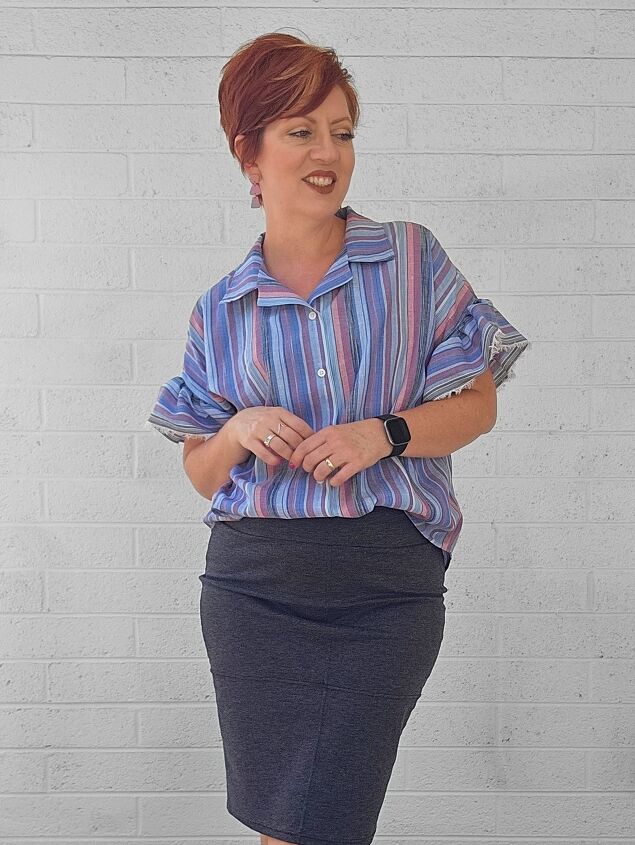
I don’t typically wear button front shirts. They just aren’t very comfortable for me. Recently I have been seeing a lot of striped, oversized, button front shirts all over the internet. I’m not gonna lie, those look super comfy and I absolutely love the oversized looks I’m seeing in fashion right now. So I decided to go for it and make a comfy, oversized button front shirt for myself.
Problem Solving…
Not only did I want this shirt to be comfy but I wanted it to be cute too. With button front shirts I always have a problem with them being too tight in the armpit. And even though I have a small bust the buttons always pull and gap in the front too. I Really liked this first Melody Dolman I made but it’s tight throught the armpit and I just dont wear it much because of that.
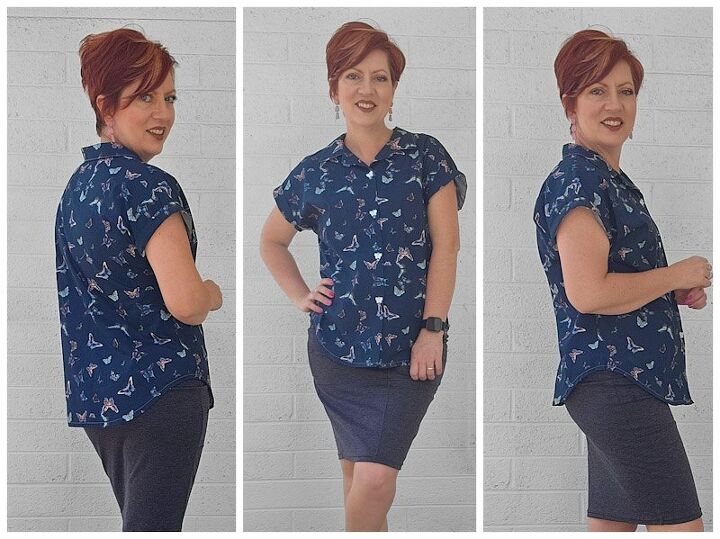
To solve both of those problems I decided to add a ruffle to the sleeve rather than a short sleeve cuff. To solve the gaping button problem I used the full bust front pattern piece that comes with the pattern I used. I have never done that before so I thought I should give it a try.
The Pattern…
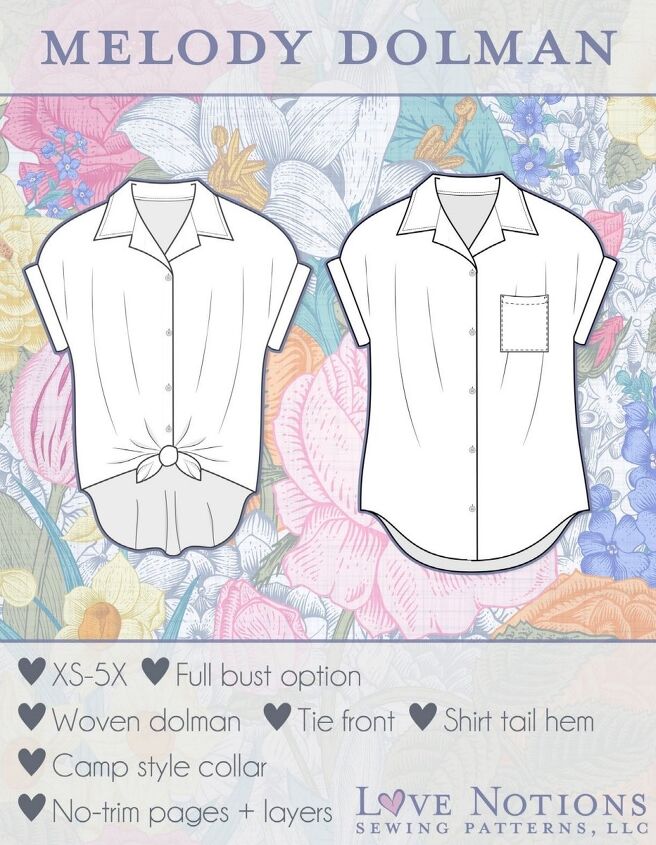
The pattern I used for this is called the Melody Dolman and it’s by Love Notions. I like it because rather than having “set in” sleeves, it has grown on sleeves. Meaning the sleeves are cut in one piece with the bodice making it essentially an extension of the shirt. Not only are dolman sleeve tops easier to assemble than typical shirts, the shape of the dolman sleeve can soften a strong shoulder line as well as strengthen a weaker one. Plus it would be super easy to attach a ruffle to the armhole.
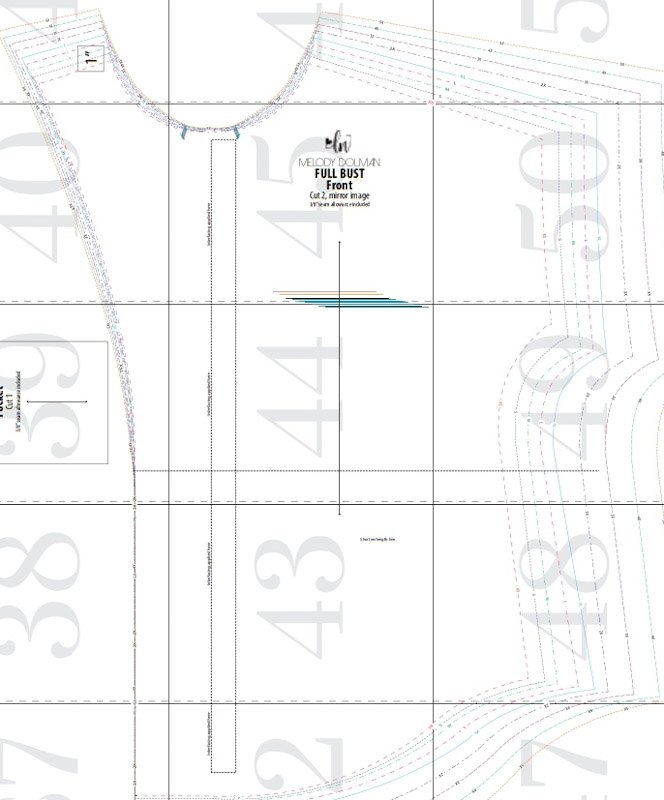
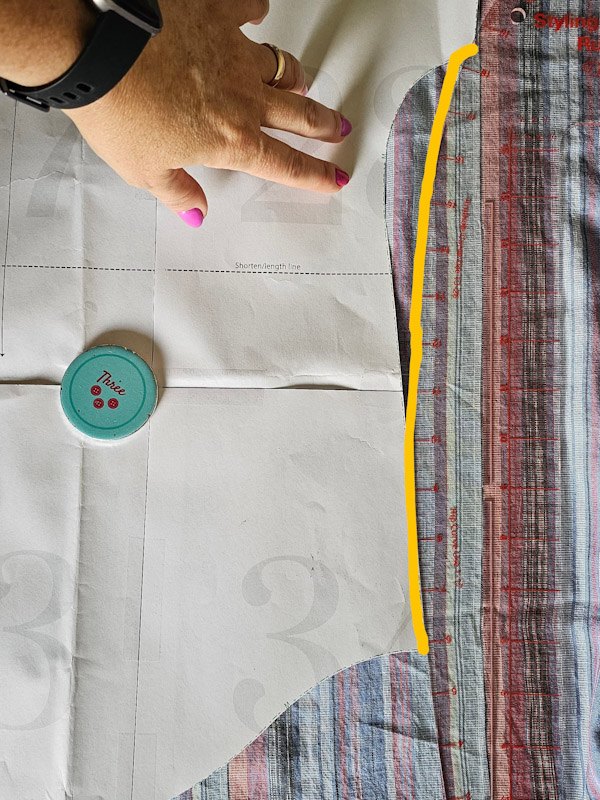
One Small Adjustment…
I wanted to make one small adjustment to the pattern as I was cutting it out. Because I wanted it to be a comfy oversized shirt, I didn’t want it to have the shaping that you can see in the pattern piece below. So I used my French curve ruler and gradually went from the hem to the sleeve opening, taking out that curve there at the armpit. I want to have a lot of room in the armpit so it could be as comfortable as possible. If it was tight at all I wouldn’t wear it.
Frayed Edge Ruffle…
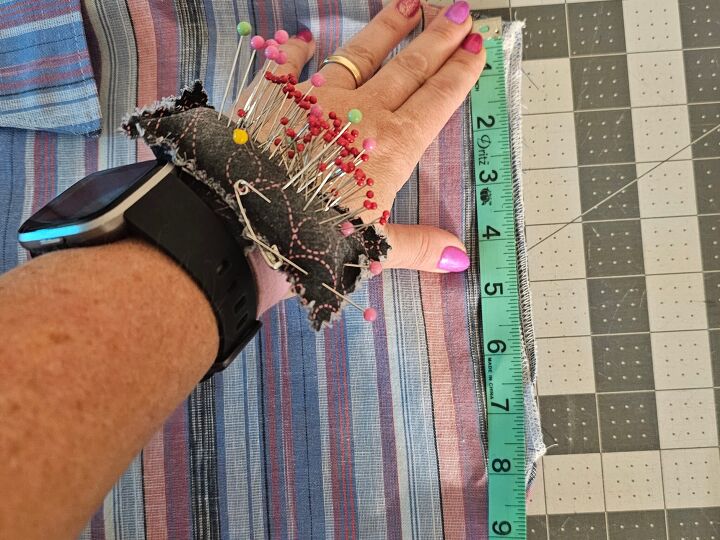
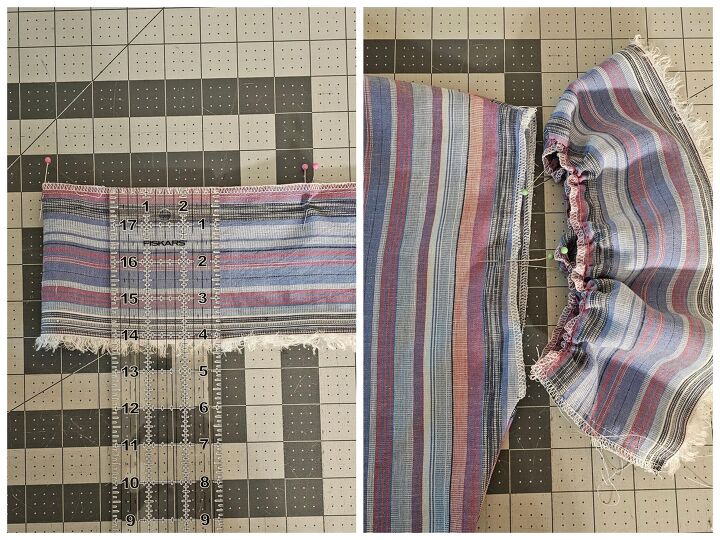
I cut the shirt out and assembled it just as the directions say. When it came time to finish the sleeve I measured the sleeve opening so I could make the ruffle. I made the ruffle 1 ½ times bigger than the entire sleeve opening.
The fabric selvedge was frayed really nicely so I decided to use it as detail on the ruffle rather than hem it. Then I gathered the unfrayed edge and attached it to the sleeve opening. I really like how it turned out. I have to say this might be the first comfortable button front shirt I have ever worn!
Let’s be friends!
If you are looking for a pattern suitable for more than one occasion, hopefully this post helps you figure out what will work best with your wardrobe needs. Let’s be friends on all the socials! Come follow along on Pinterest, Instagram and Facebook so we can chat about all our sewing projects!
The author may collect a small share of sales from the links on this page.


Comments
Join the conversation