Bubble Up Your Bath: Try This DIY Bubbling Bomb Recipe
These bubbling bath bombs not only transform your bathwater into a kaleidoscope of colors but also infuse the air with captivating fragrances. While you can easily find an array of bath bombs on the market, there is something truly special about crafting your own. In this article, we will explore the world of bubbling bath bombs and guide you through a step-by-step process to create your very own luxurious and personalized bath time experience.
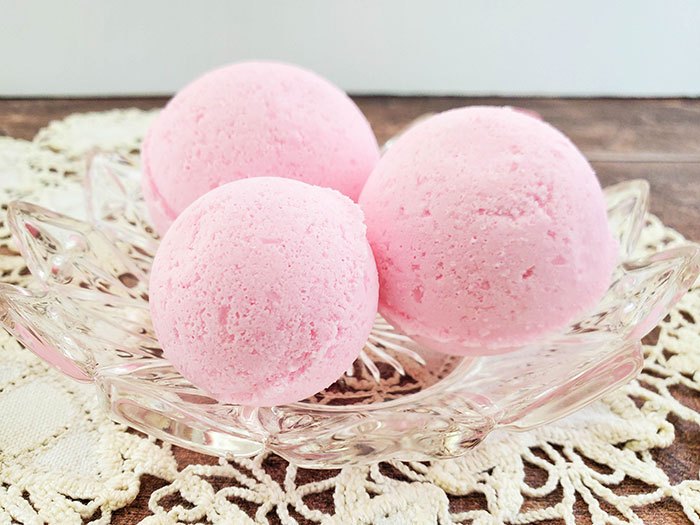
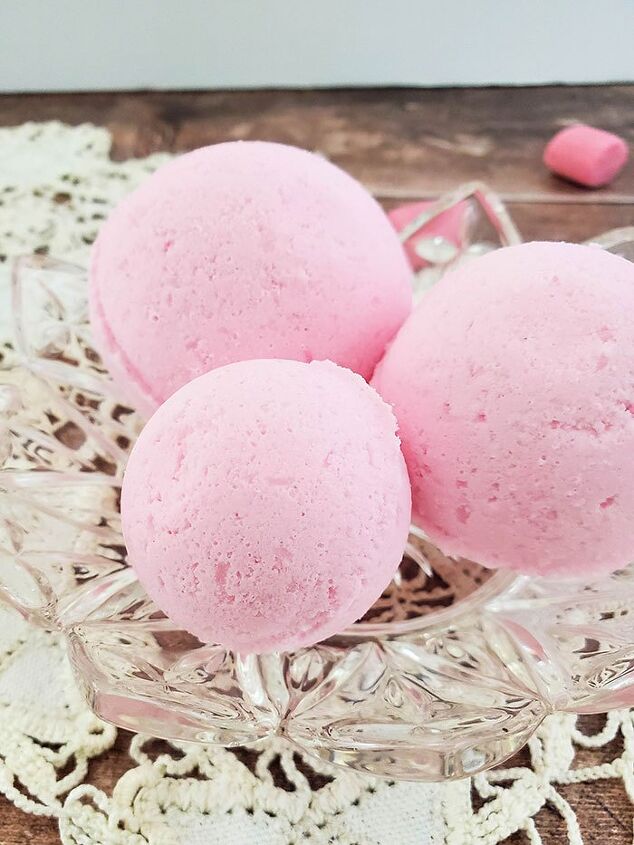
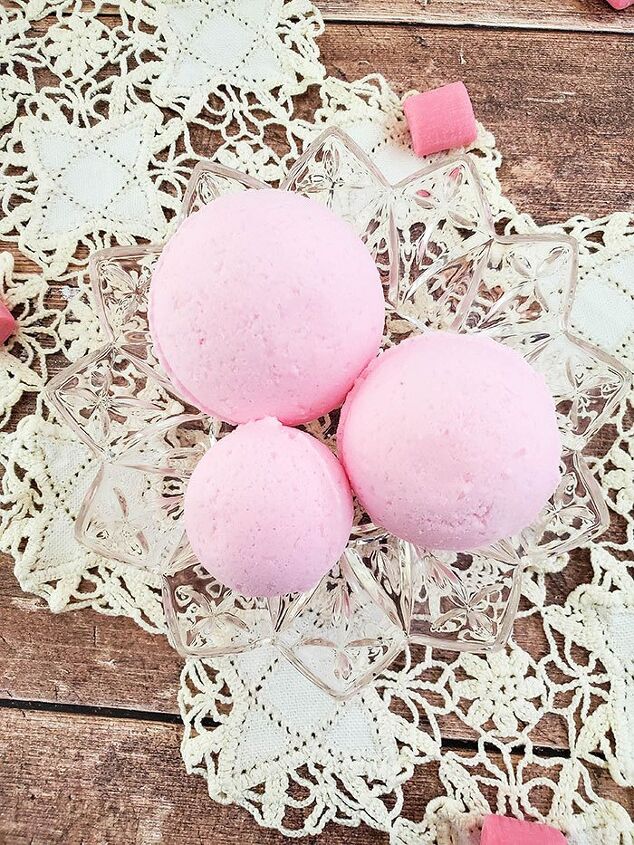
My daughter loves bath bombs. She would go through so many of them, it's pretty much necessity that we make our own.
This bubbling bath bomb recipe is one of her favorites because it has a lot of bubbles and fizz. It uses SLSA to get more fizz than just using baking soda and citric acid alone.
For more bath bomb recipe, try one of these:
Understanding the Science Behind Bubbling Bath Bombs
Bath bombs are the result of a chemical reaction that occurs when baking soda and citric acid are combined and come into contact with water.
This reaction releases carbon dioxide gas, creating those satisfying fizzing bubbles that make bath bombs fun. Adding SLSA makes these foaming bath bombs.
Baking soda acts as the base ingredient, providing the necessary effervescence. Citric acid is the star component responsible for the fizzing effect, while cream of tartar helps enhance the longevity and volume of the bubbles.
Essential Oils: Adding Fragrance to Your Bath Bombs
We like to add a fragrance to our bubble bath bomb recipe. You can use essential oils or natural fragrance oils to scent your foaming bath bomb recipe with SLSA.
Here are some good essential oils and blends to try:
- Lavender essential oil
- Lava blend
- Vanilla Woods blend
- Unicorn blend
- Love blend
- Lime in the Coconut blend
- Honeyball blend
- Happy Joy blend
You can also try one of these essential oil blends that smell like candy.
For more variety, try using a natural fragrance oil from Nature's Oils.
Natural Colorants for Foaming Bath Bombs
You can color your bubble bath bomb recipe with mica powder for a natural colorant. You can also use strawberry powder. Learn how to make fruit powders for natural colorants.
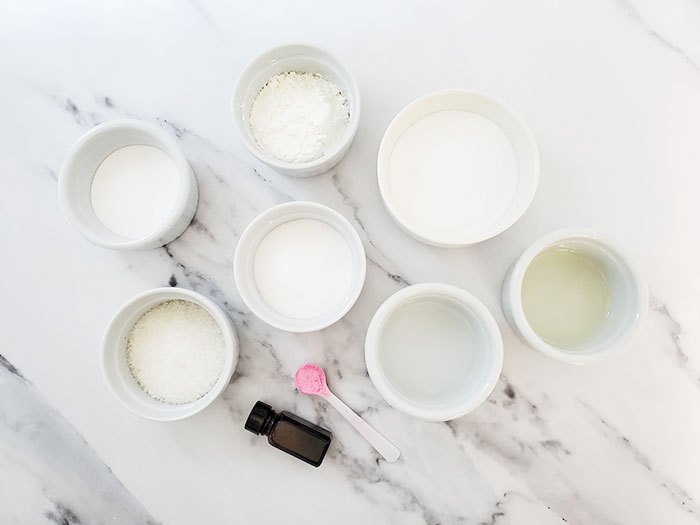
Gathering Your Ingredients and Tools
Baking Soda: The Key Ingredient for Bubbling Bath Bombs
Baking soda, also known as sodium bicarbonate, forms the foundation of any bath bomb recipe. Its alkaline nature reacts with the citric acid, creating the fizzy reacti
on that makes bath bombs so captivating.Epsom Salt: Promoting Relaxation
Epsom salt, scientifically known as magnesium sulfate, not only enhances the therapeutic effects of your bath but also aids in relaxation by soothing tired muscles. Its inclusion in your bath bomb recipe will elevate your bathing experience to new levels of tranquility.
Citric Acid: Creating the Fizzing Effect
Citric acid, a naturally occurring acid found in citrus fruits, is the primary component responsible for the fizzing and bubbling spectacle. When combined with baking soda and water, it triggers the effervescent reaction that brings your bath bombs to life.
Cream of Tartar: Enhancing the Bubbles
Cream of tartar, a byproduct of winemaking, serves as a booster for the bubbles. Adding this ingredient to your bath bomb recipe helps create a more voluminous and long-lasting fizz.
SLSA: Even More Bubbles
SLSA is what makes thick bubbles. It's a plant based surfactant that helps create lather in bath and body products.
Mica Powder: Color Your Bubbling Bath Bombs
I like to use mica powder for a natural colorant. Start with a small amount, about 1/4 of a teaspoon, and add more as needed.
Carrier Oils: Moisturizing Your Skin
To ensure your bath bombs provide more than just visual and olfactory delights, consider incorporating carrier oils into your recipe. Almond oil, coconut oil, or jojoba oil are excellent choices, as they moisturize and nourish your skin, leaving it soft and supple.
I like to get my carrier oils from HB Oils or Crafty Bubbles.
Witch Hazel: Binding and Spritzing Your Bath Bombs
Witch hazel, a natural astringent derived from the witch hazel plant, plays a crucial role in binding the ingredients of your bath bombs together. Witch hazel can be used as a spritzing agent to add moisture to the mixture when necessary, aiding in the molding process.
Molds: Choosing the Perfect Shape for Your Bath Bombs
Selecting the right molds for your bath bombs allows you to unleash your creativity and personalize your creations. You can find a wide range of molds in various shapes and sizes, including spheres, hearts, stars, or even novelty shapes. I used traditional sphere bath bomb molds.
Step-by-Step Guide to Making Bubbling Bath Bombs
1. Preparing Your Workspace
Before you embark on your bath bomb-making journey, it's important to set up a clean and organized workspace.
Gather all your ingredients, tools, and molds, ensuring everything is within reach. Lay down a protective covering, such as a plastic sheet or parchment paper, to make cleanup easier.
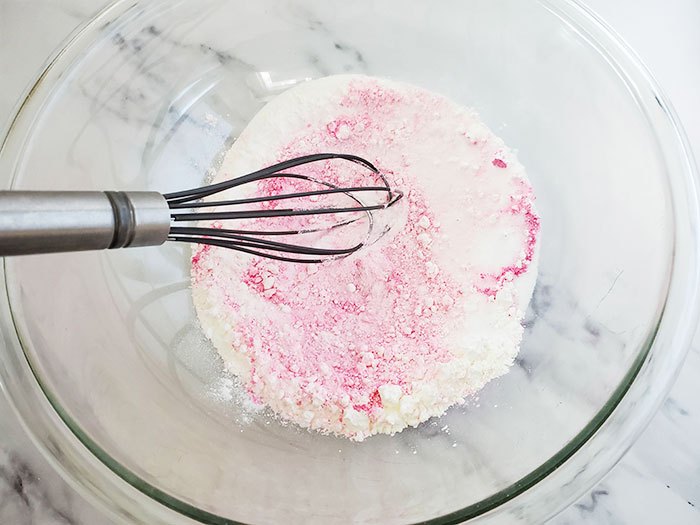
2. Measuring and Mixing the Dry Ingredients
Start by measuring the dry ingredients: baking soda, citric acid, cream of tartar, and Epsom salt. Accurate measurements are crucial for a successful bath bomb. Combine these ingredients in a mixing bowl, using a whisk or your hands to ensure even distribution. I also add the mica with the dry ingredients.
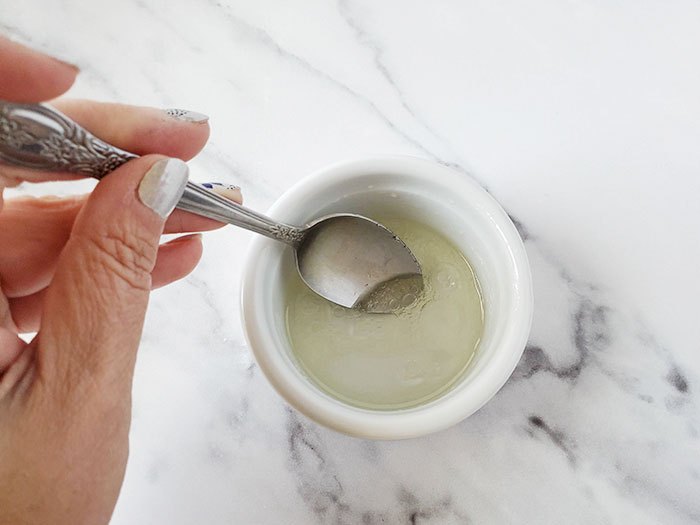
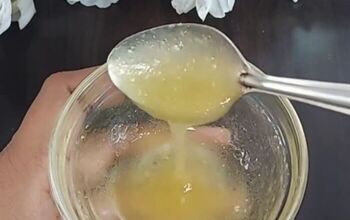
3. Combining the Wet Ingredients
In a separate container, combine the carrier oils and a few drops of your chosen essential oils. Mix them well to distribute the fragrance evenly. This mixture will act as the moisturizing and aromatic component of your bath bombs.
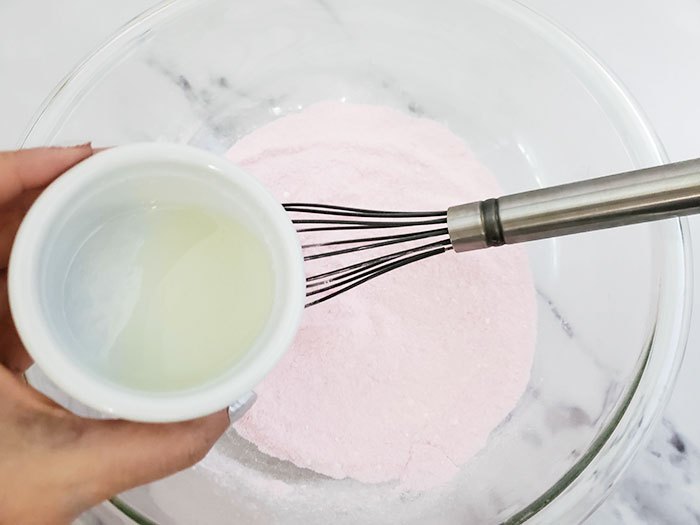
4. Incorporating the Dry and Wet Mixtures
Pour the wet mixture slowly into the dry ingredients while continuously stirring. This step requires patience to avoid triggering the fizzing reaction prematurely.
Gradually incorporate the wet mixture into the dry ingredients, using your hands or a spoon. The mixture should start to clump together but still hold its shape when pressed. If the mixture feels too dry, spritz it lightly with witch hazel, one spritz at a time, until it reaches the desired consistency. Be careful not to oversaturate the mixture.
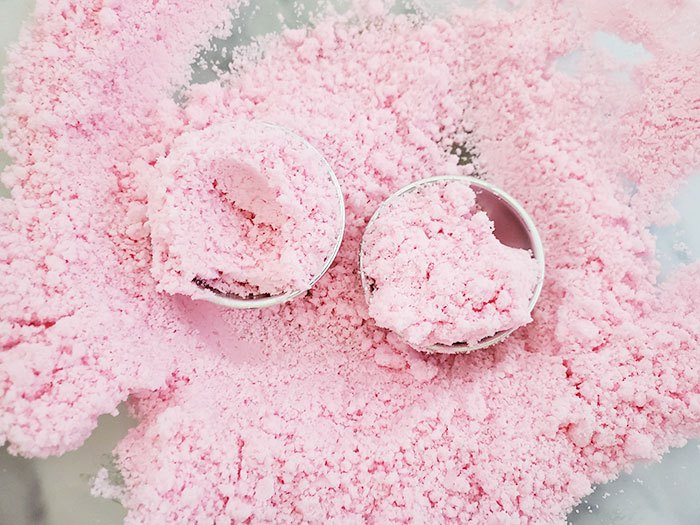
5. Testing the Consistency of Your Bath Bomb Mixture
Take a small amount of the mixture and squeeze it in your hand. If it holds its shape and feels compact, it's ready for molding. If it crumbles or falls apart, it may need a bit more moisture or compression.
6. Packing the Mixture into the Molds
Fill each mold cavity with the mixture, pressing it down firmly to ensure it is tightly packed. Overfill slightly, then press the molds together firmly, removing any excess mixture. This will help create a solid and compact bath bomb.
7. Pressing and Releasing the Bath Bombs
Once the mixture is packed into the molds, gently tap the back of the molds to release any trapped air bubbles. Press the mixture down firmly once again to ensure it is tightly packed. Carefully remove the bath bombs from the molds and set them aside on a clean surface to dry.
Proper drying is essential to maintain the structural integrity of your bath bombs. Place them in a cool, dry area with good airflow. Let them dry undisturbed for at least 24 to 48 hours, or until they are completely hardened. This waiting period ensures that your bath bombs will hold their shape and fizz beautifully when introduced to water.
Troubleshooting: Common Issues and Solutions
If you encounter any issues during the shaping or drying process, don't worry. Here are some common problems and their solutions:
- Cracked bath bombs: Cracks can occur if the mixture is too dry. To remedy this, lightly spritz the mixture with witch hazel to add moisture.
- Bath bombs expanding or losing shape: This can happen if the mixture is too wet. To fix this, add a small amount of additional dry ingredients to absorb excess moisture.
- Bath bombs sticking to molds: If your bath bombs are stubbornly clinging to the molds, gently tap the sides of the molds or place them in the freezer for a few minutes to help release them.
By understanding the science behind their fizzing and bubbling effects, selecting the right ingredients, and adding fragrances and colorants, you can craft your own spa-like oasis at home.
Not ready to try making your own bubble bath bomb recipe? You can make a bubbling bath truffle or bubble bath salts instead. This moisturizing bath powder recipe is like a bath bomb in a jar, so it's easier to make. You can also try this easy homemade bubble bath recipe.
The author may collect a small share of sales from the links on this page.


Comments
Join the conversation