Can You Use UV Resin and Epoxy Resin Together?

Follow along with this step-by-step tutorial to learn how you can use both UV resin and epoxy resin together in the same jewelry piece.
There are so many possibilities and the result is a one of a kind piece. Let’s get started!
Tools and materials:
- Jewelry cutters
- Popsicle stick
- Small silicone measuring cups
- Safety gloves, apron and mask
- Round nose pliers
- Long nose pliers
- Epoxy resin 1:1 ratio
- UV resin
- UV resin light
- Pendant mold
- Small paintbrush
- Epoxy resin color pigment powder
- Sand
- Moose
- Spray bottle with rubbing alcohol
- Sandpaper
- Leather black necklace
- Jump ring
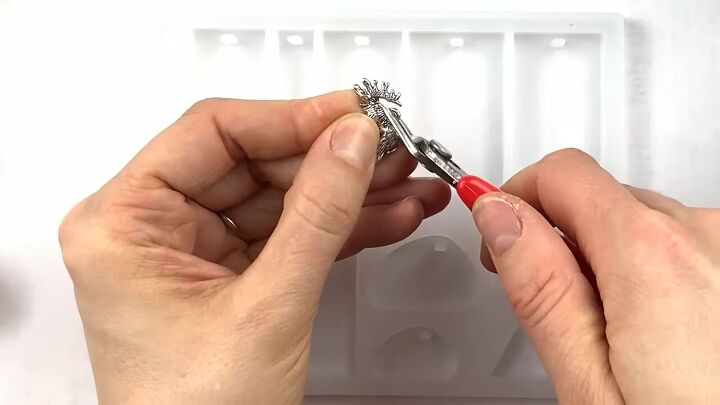
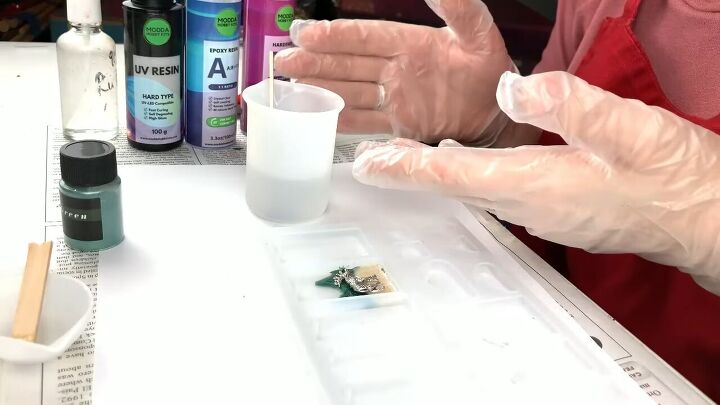
1. Prepare your trinket piece
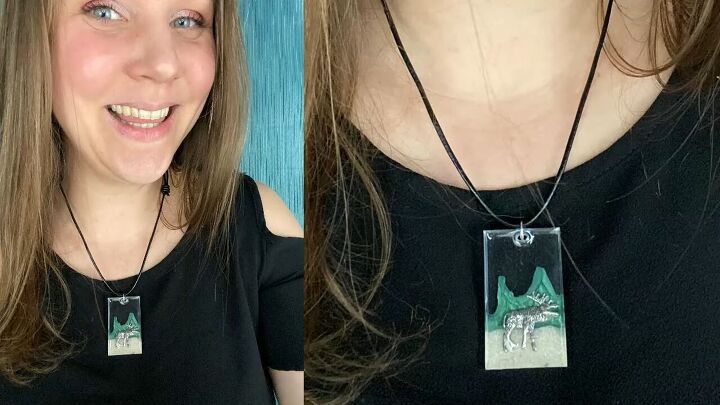
For this necklace, we’ll be submerging a small moose into the pendant. Whatever trinket piece you use, if it has its own pendant loop, cut that off.
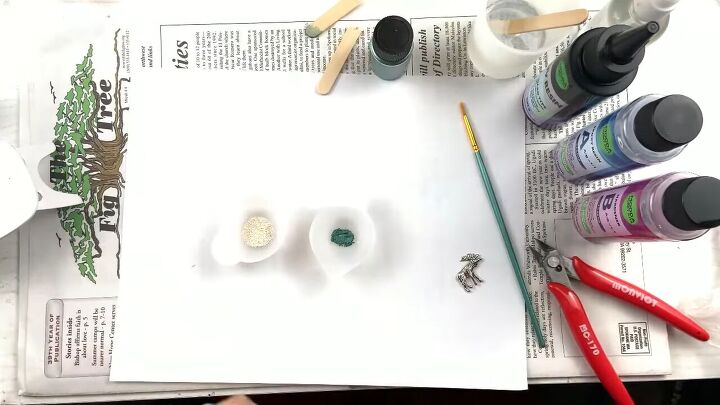
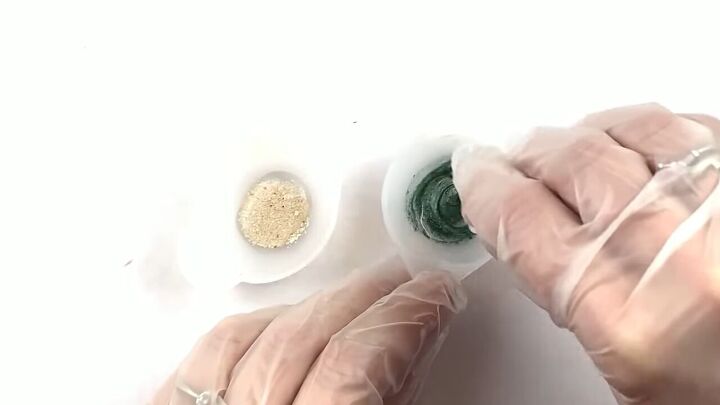
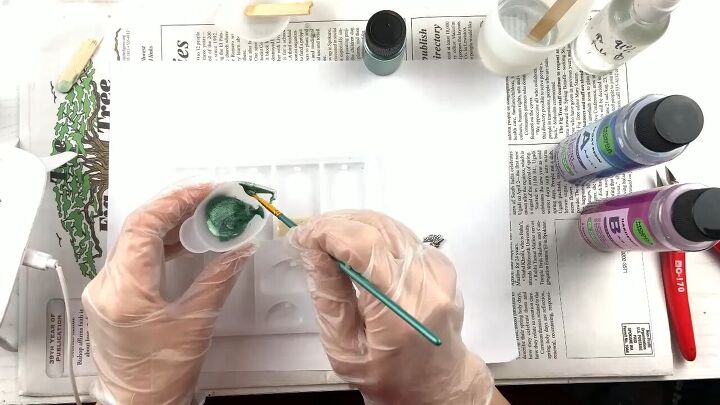
2. Prepare green resin and sand
Pour roughly a ½ teaspoon of sand into 1 silicone measuring cup and a ¼ teaspoon of green resin into another cup.
Use a popsicle stick broken in half to roughly measure out the pigment.
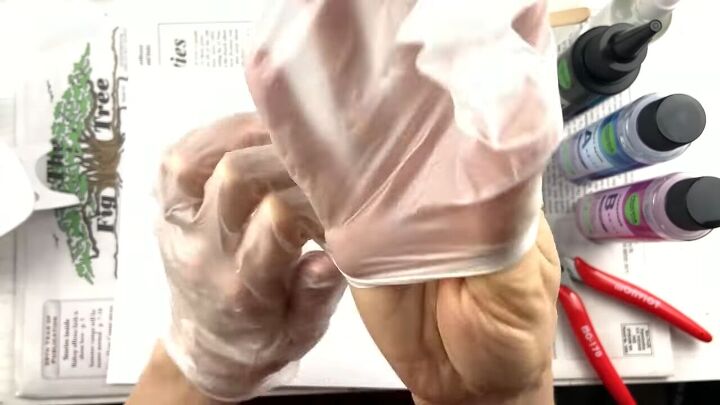
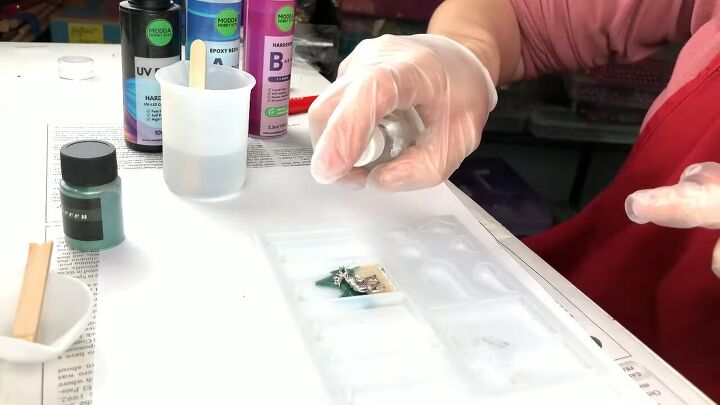
Next, put on safety gloves, an apron and a mask because we’ll be working with toxic materials!
Next, squeeze the UV resin into the green pigment and in the sand.
Make sure the sand is completely covered.
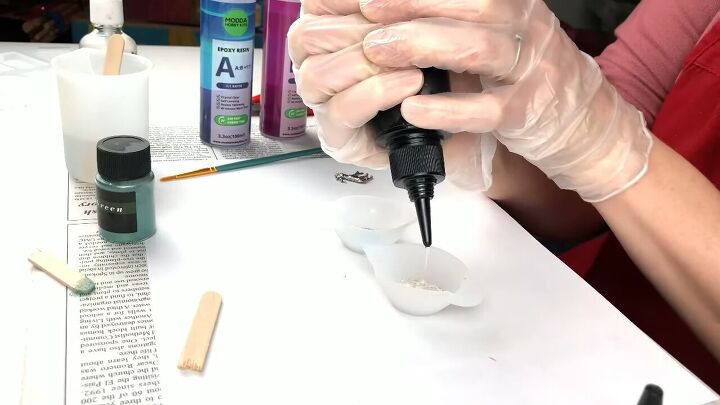
Then use a broken popsicle stick to mix the sand and the pigment, each separately, until they’re completely mixed.
Make sure there are no clumps and no dry powder underneath.
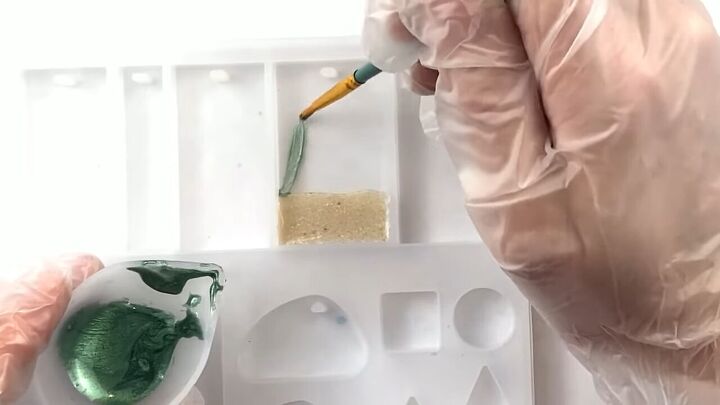
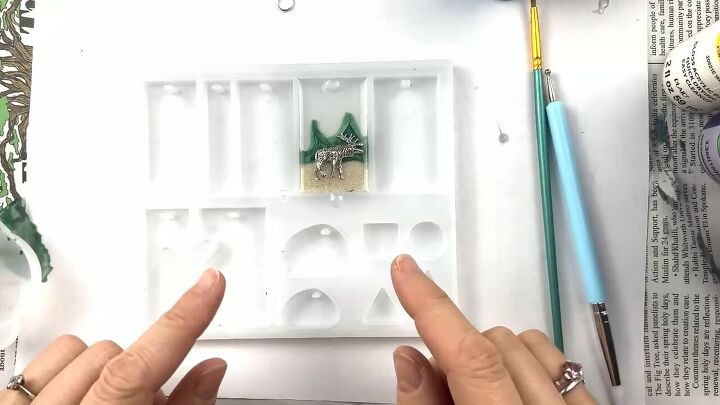
3. Add sand in the pendant mold
Put the sand mixture at the bottom of the pendant shape of your choice in the mold.
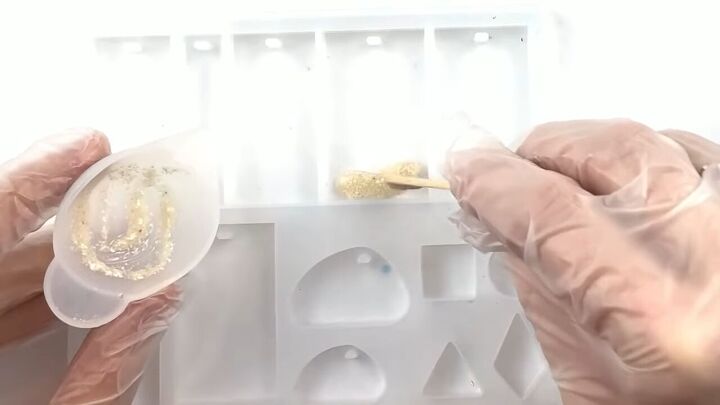
These are really deep molds so don’t feel as though you need to fill them all the way to the top – we will use the epoxy resin to fill in later.
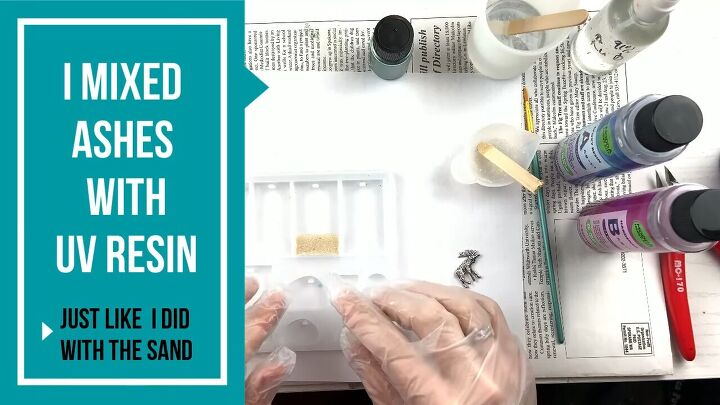
If you are interested in incorporating a loved one’s ashes (as I did), you can replace the sand with the ashes for this section of the pendant.
4. Dry
Use your UV light to dry the pendant for 2 minutes on each side of the mold.
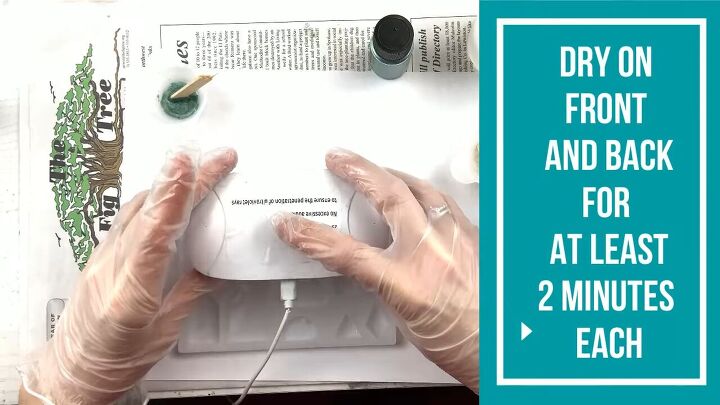
Then use your finger to check if that section of the pendant is completely dry.
If it still feels soft, add more time under the lamp.
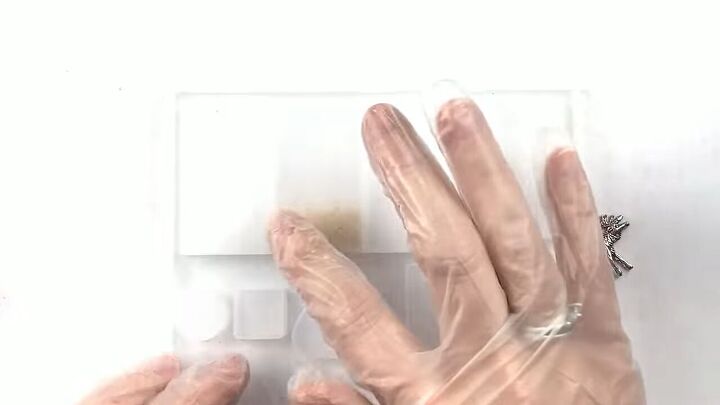
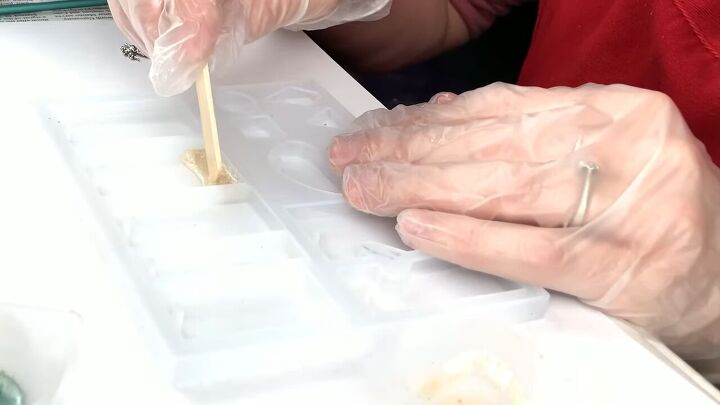
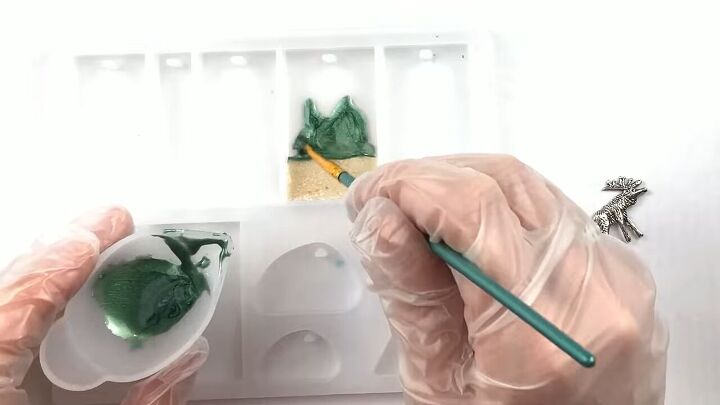
5. Create mountains in the mold
Next, dip a small paintbrush into the green resin mixture.
Paint 2 freehand peaks above the level of sand.
What’s great about the UV resin is that it stays put because you can dry it.
With epoxy, it takes 24 hours to dry and it moves all over the place which could change your design.
6. Dry
Hit both sides with about 2 minutes under the UV lamp, or until completely dry.
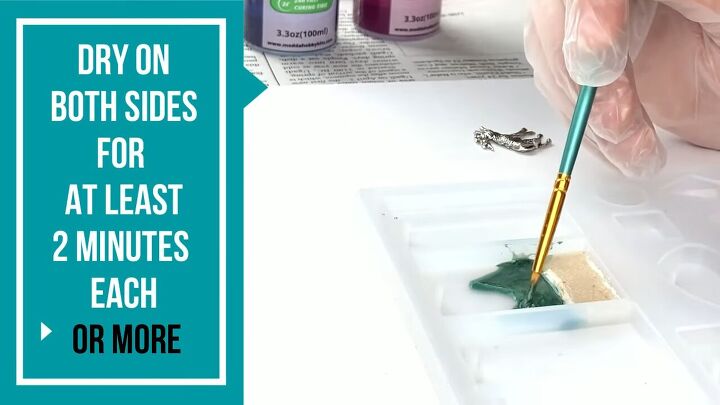
Note that with dark colors like this, it’s harder for the light to penetrate, so it might take longer than 2 minutes.
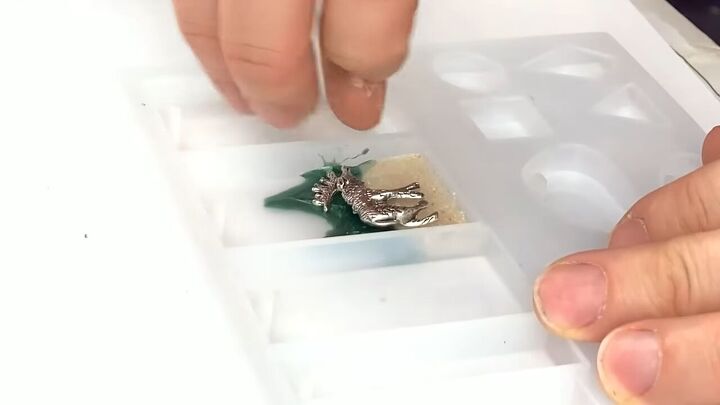
7. Place the trinket
Once dry, put your moose trinket in place. If there is any pigment on the sides of the mold, remove it now with your fingers.
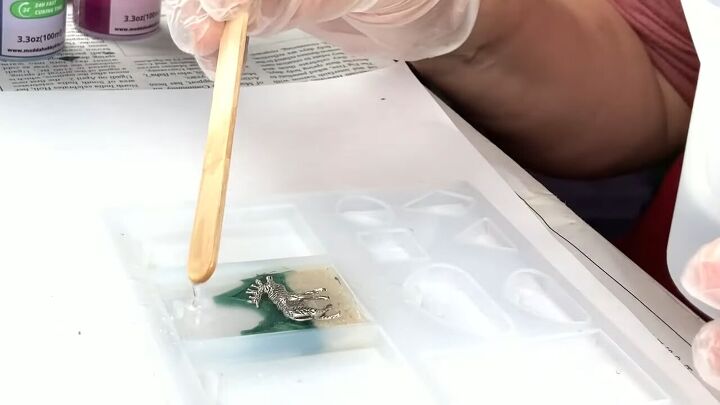
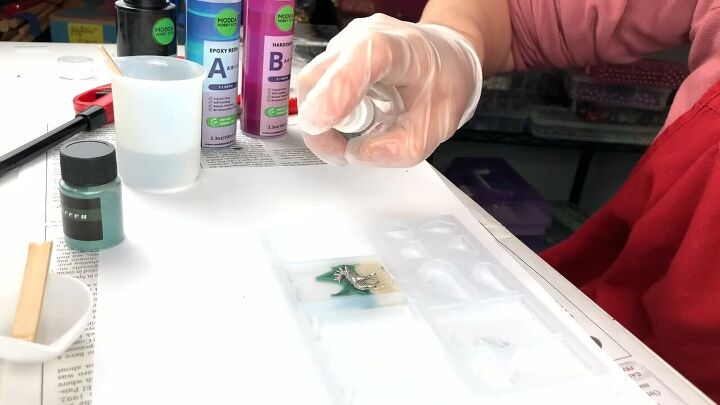
8. Add the epoxy
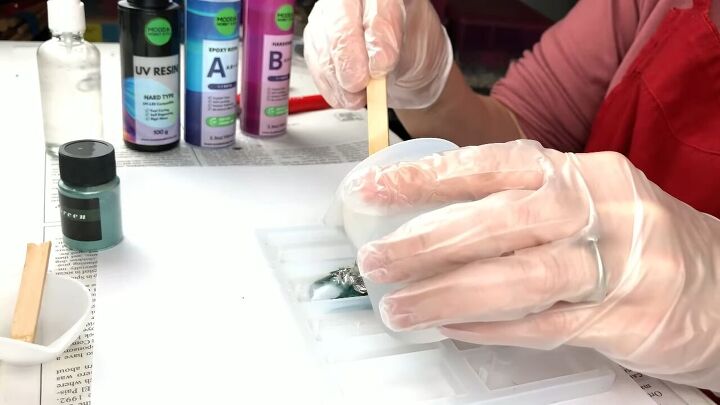
Mix your epoxy according to the directions on the package.
To make sure there are absolutely no bubbles, spray the resin in the mold with rubbing alcohol.
Then gently pour the epoxy into the mold.
Avoid overflowing the mold, but also make sure that the moose is completely covered.
If you see any bubbles, spray them again with rubbing alcohol.
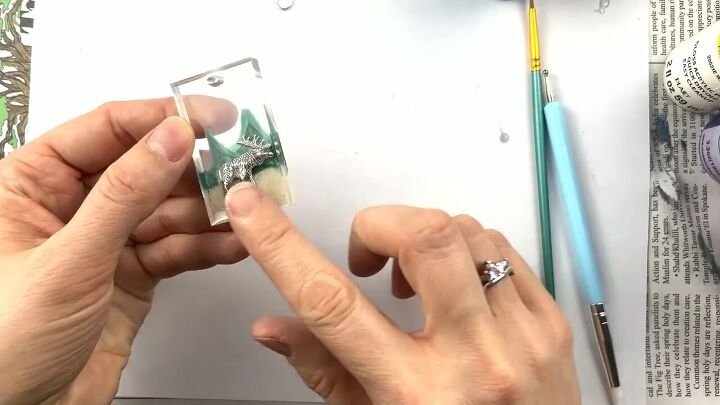
9. Allow the epoxy to dry, then remove and sand the edges
Let the epoxy dry completely for 24 hours.
After 24 hours, the pendant should be easy to remove and not sticky.
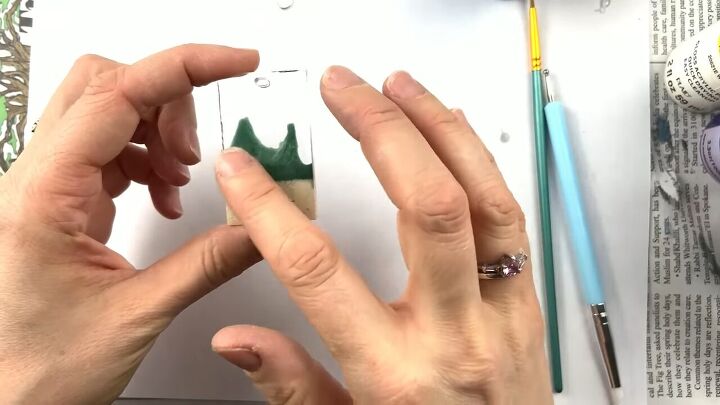
Sand the edges to soften anything rough.
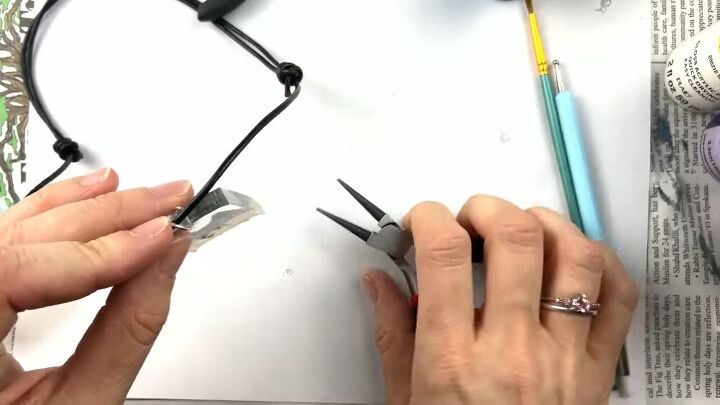
10. Attach a leather necklace
I’ve made an adjustable black leather necklace which I show you how to make in my Easy Sliding Knot Necklace Tutorial.
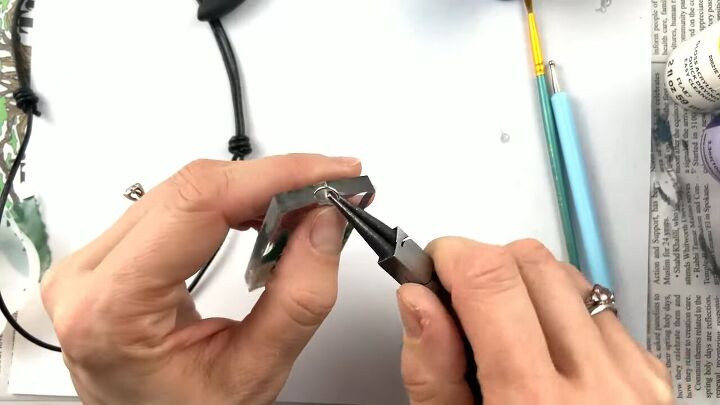
Open up a jump ring using 2 pliers, pulling in opposite directions.
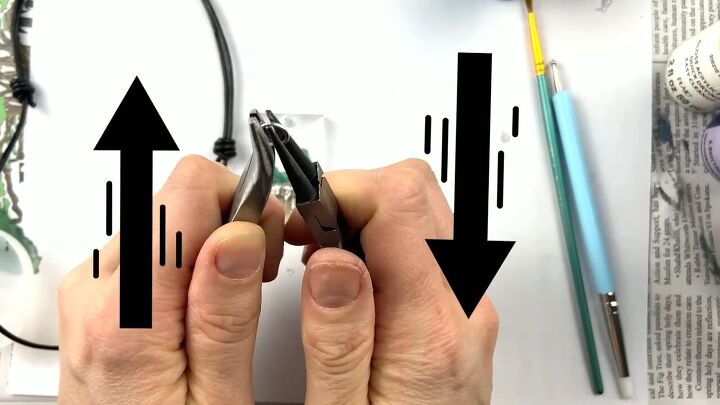
Put it through the hole of the pendant.
Then put the leather necklace through the opening of the jump ring.
With both pliers, squeeze the jump ring closed.

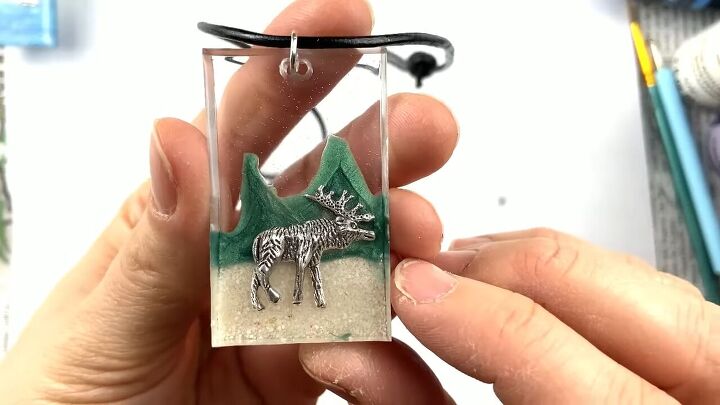
Now, my fellow jewelers, you have a beautiful pendant necklace made with both UV and epoxy resin.
Can you use UV resin and epoxy resin together?
Now you know that it’s possible to use both UV resin and epoxy in the same jewelry piece.
Use this basic “recipe” to make your own version and feel free to share your results in the comments!
For more DIY jewelry inspiration, check out my post on how to Make Your Own Stunning Seed Bead Earrings in a Few Simple Steps.
The author may collect a small share of sales from the links on this page.


Comments
Join the conversation