How to Make DIY Cinderella, Totoro & Kiki's Delivery Service Costumes

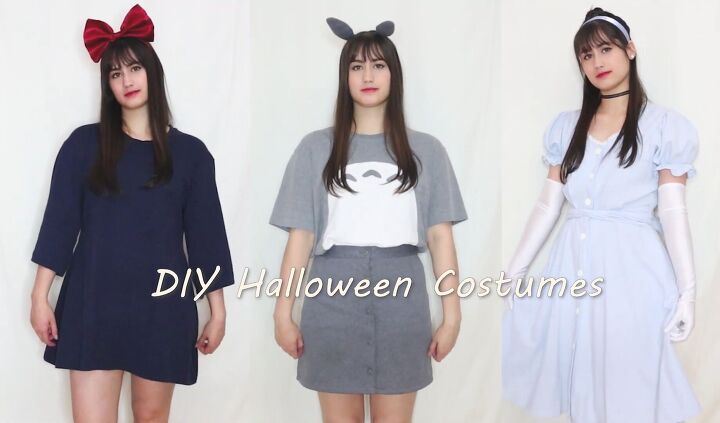
I went to the thrift store and bought things to help me make three easy Halloween costumes, inspired by Disney and Studio Ghibli characters: a Kiki's Delivery Service costume, a Totoro costume, and a DIY Cinderella costume for adults.
In this tutorial, I'll show you how I made these DIY costumes with thrifted items.
Tools and materials:
Cinderella costume:
- Blue dress
- Pearl earrings
- Black choker or ribbon
- Blue headband or ribbon
- Long white gloves
Totoro costume:
- Gray t-shirt
- Gray skirt
- White t-shirt
- Headband
- Paper
- Pen
- Interfacing
- Fabric glue
- Brush
- Fiberfill
Kiki's Delivery Service costume:
- Two extra-large navy t-shirts
- Medium size t-shirt
- Red fabric
- Red headband
DIY Cinderella costume for adults
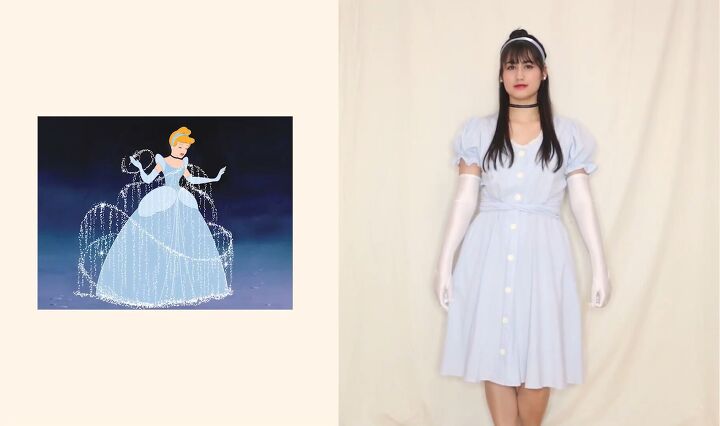
I made an outdated vintage blue dress into something a bit more modern style, and without realizing it, it actually came out to look a bit like a Cinderella dress!
Cinderella originally has all of her hair up, but I’m going to have mine half-up, half-down because I feel that it suits me better. I’ve also tied some blue ribbon over my head to make it look like a headband.
For jewelry, I added some pearl earrings. Cinderella also wears a black choker, I don’t have one, but I do have this black mesh ribbon that I used instead. I just tied it around my neck and then turned the knot to the back so that you don’t see it.
The last and most important step for this transformation is her white gloves (I didn’t own glass slippers).
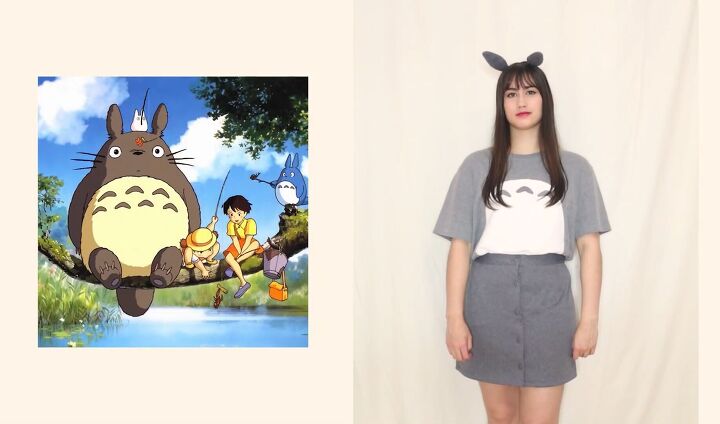
Totoro costume
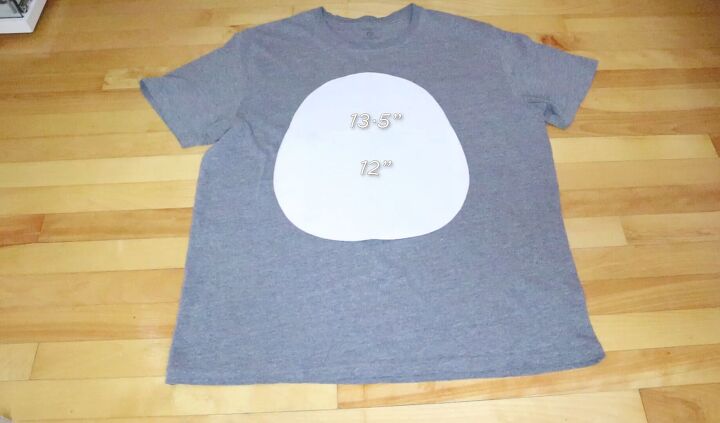
1. Make the belly
Draw and cut out a circle that is about 13.5 inches long and 12 inches wide. Then trace the belly both onto the gray shirt and the white shirt. For the white shirt, you want to cut on the outside of the marking, and for the gray shirt, you want to cut on the inside of the marking.
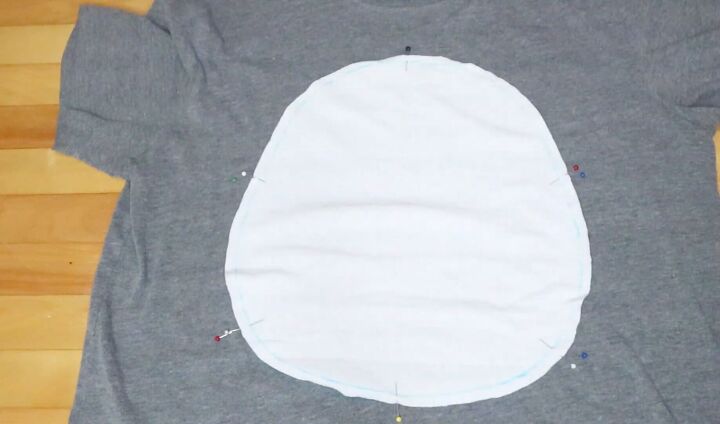
2. Sew the white to the gray
To sew the belly on evenly, add pins at each halfway point and do the same on the belly piece. Pin those first, and it will make it easier to pin the rest. Sew it all around.
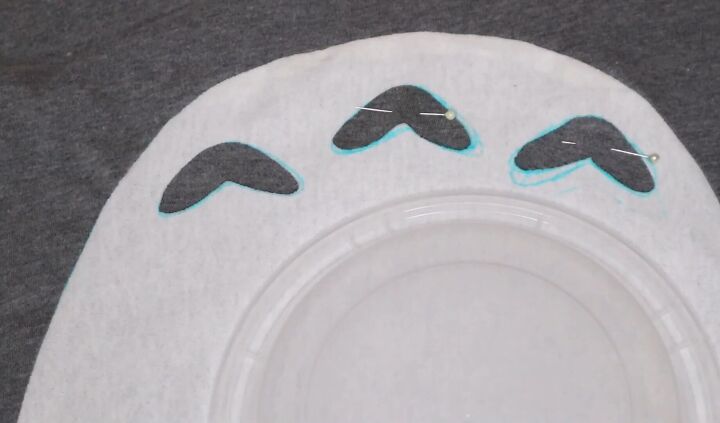
3. Make the crescent shapes
To make the crescent shapes on Totoro’s belly, make templates out of paper. Totoro originally has seven, but I only made three to keep it simple.
Use the gray part that you cut out from the shirt to make them. You want to directly cut the pieces with interfacing. Then, trace a template piece where you want them to be on the shirt. Next, use fabric glue to stick them on.
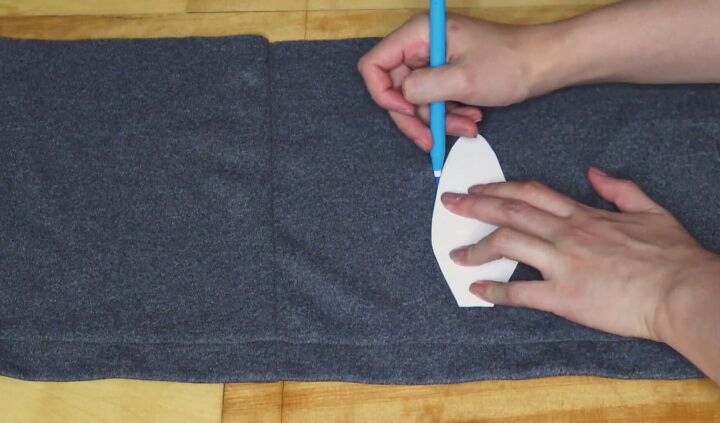
4. Make the ears
I cut out my desired length on the skirt and also hemmed the bottom. I then used the remaining fabric from the skirt to make the ears. Start by drawing them on some paper to make a template. Mine were 4.5 inches long and had a sort of boxy bunny ear shape.
Cut them out and place them onto the fabric. Trace them four times and flip the template to have two mirrored pieces. Place the pieces right sides together and sew them, but leave the bottom part open. Flip them so that the raw edges are inside the ear.
Use some fiberfill to make the ears have some shape to them.
Next, fold in the bottom edge of the ears and hand sew them closed. Lastly, you can sew the ears onto the headband.
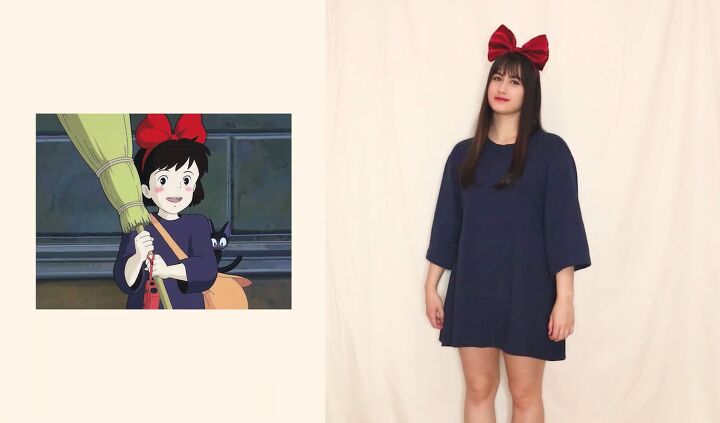
Kiki's Delivery Service costume
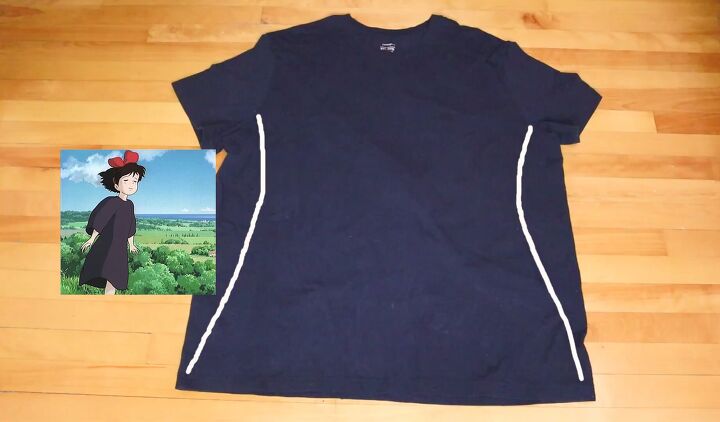
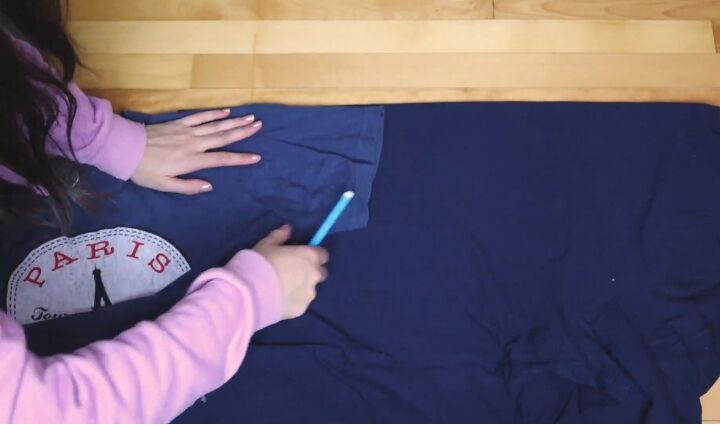
1. Draw the new shape
To make the t-shirt look a bit more like a dress, place a medium-sized t-shirt over it and trace some new armholes. Kiki’s dress is flowy, so you want to make sure not to make the top part too tight.
Then, freehand the dress shape by connecting the new armholes to the bottom of the shirt. Cut off any excess fabric.
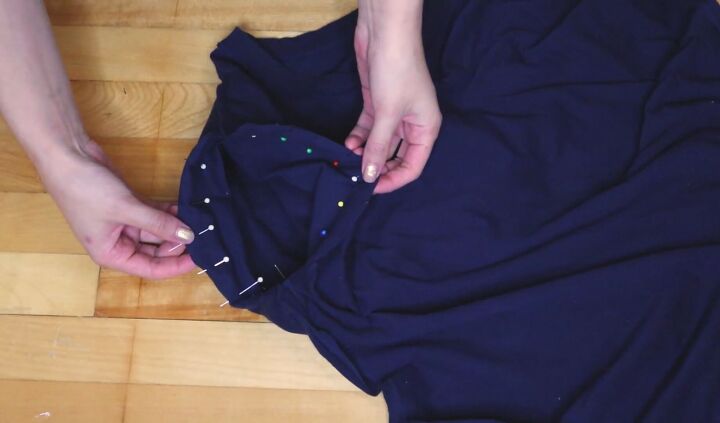
2. Sew the dress
Flip the shirt so that it’s right sides together and sew by following the line you drew. Try it on to make sure you like the shape and both sides are symmetrical.
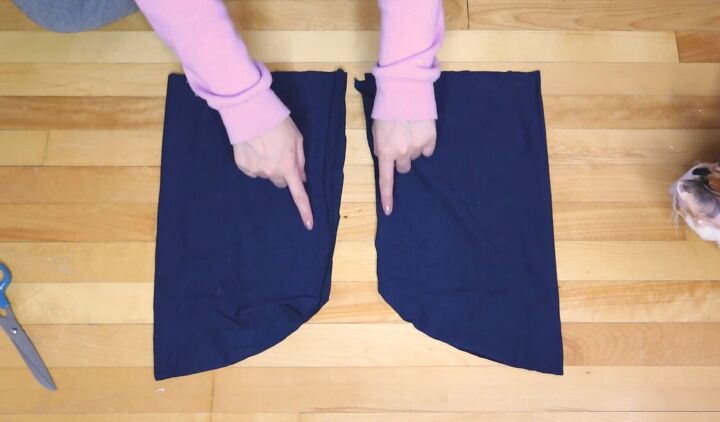
3. Trace the sleeves
Use the second t-shirt to make the sleeves. Fold it in half lengthways, and then lay it down flat. Using the same medium-size t-shirt as a pattern, trace the armhole.
Kiki’s sleeves are at a ¾ length and flare out just a bit, so I made the sleeves 15 inches long and 10 inches wide.
Leave some seam allowance and then use the sleeve as a pattern piece for the second sleeve. Then cut both sleeves out.
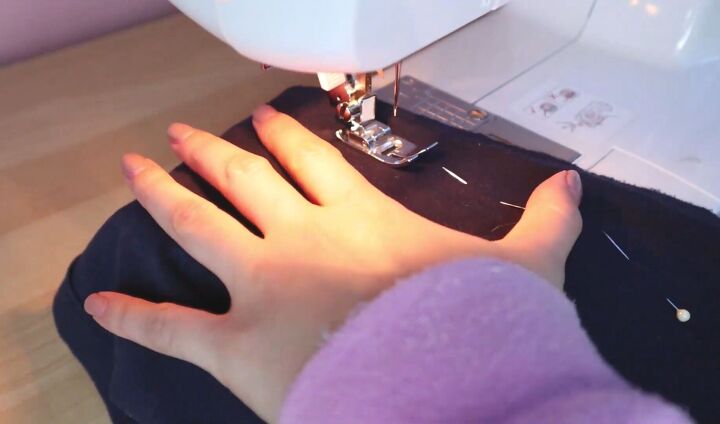
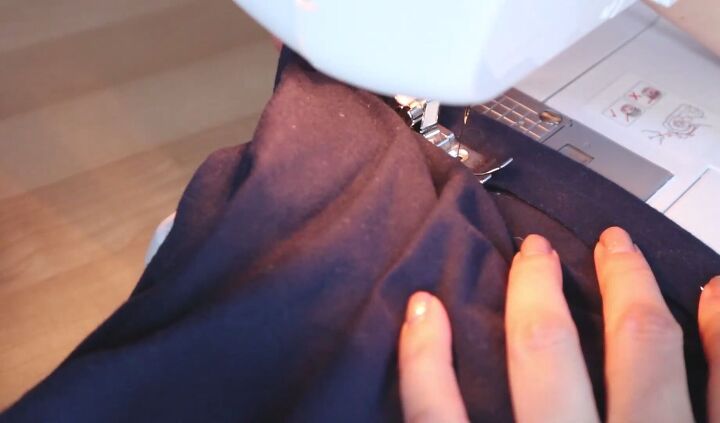
4. Sew the sleeves
Fold the sleeves lengthways, right sides together and sew them closed.
5. Attach to the dress
Next, sew the sleeves to the dress. Turn the dress inside out and insert the sleeves inside so that they are right sides together, and sew.
6. Hem
Next, hem the edges of the sleeves.
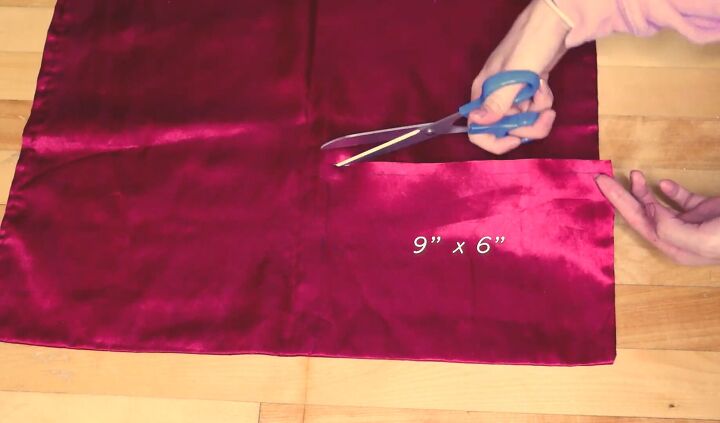
7. Sew a rectangle
Cut two rectangles that measure 9x6 inches from your red fabric. Flip it so that the right sides are touching, and then sew along the edges. Leave a gap because you’ll need to turn it inside out. Flip the fabric so that the raw edges are inside. Then, hand-sew the gap closed.
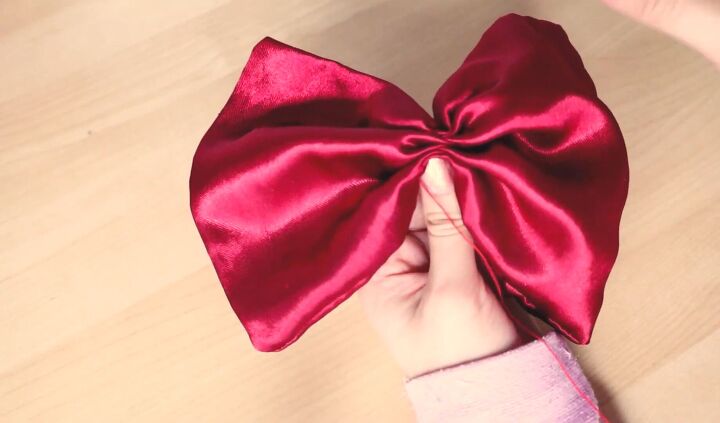
8. Make the bow
To make the bow shape:
- Use a running stitch where you just pass the needle up and down through the fabric straight down the middle.
- Push the fabric together into a bow.
- With the remaining thread, wrap it around the center to secure it.
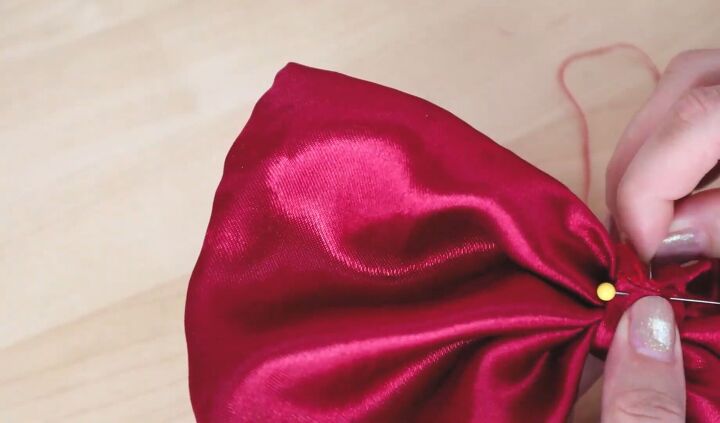
9. Finish the bow
Cut a tiny rectangle that is 2 x 4 inches and sew it into a tube. Flip it inside out and wrap it around the center of the bow. Then hand stitch it to secure it. Finally, slip the headband through the center of the bow and sew the two together.
Easy Disney and Studio Ghibli Halloween costumes
I hope this tutorial has inspired you to make your own Halloween costume. Let me know which of these costumes is your favorite and what you’ll be going as to Halloween this year!
The author may collect a small share of sales from the links on this page.


Comments
Join the conversation