Classy Pink and Black Nails Tutorial

Hey guys! I’m excited to show you how to do some classy pink and black nails with your nail polish.
We’re going to do this using some gel polish and transfer foil. I love fun and funky nail art. I got inspired by a look I saw on Instagram and decided to try my own version of it here with you today.
Let’s get started!
Tools and materials:
- Light pink basecoat
- Transfer foil
- Transfer base
- Silicone tipped tool
- Line brush
- Black gel
- Hot pink gel
- Topcoat
- Cuticle oil

1. Apply a basecoat
The first thing I did was apply a basecoat. I used Young Nails in the color rosebud. It’s a really pretty pale pink.
I’ll tell you the exact brands and colors I’m using in case you want to follow along exactly, but if you have other colors you want to use, go ahead and use those.
2. Prepare for transfer foil
Start by cutting your foil to the size you need and then coat your nails with a foil transfer base.
I’m using the Young Nails foil transfer base.
We’re just going to be coating the part of the nail we’re putting the foil on. In this case, we’ll only need to apply it to half the nail.

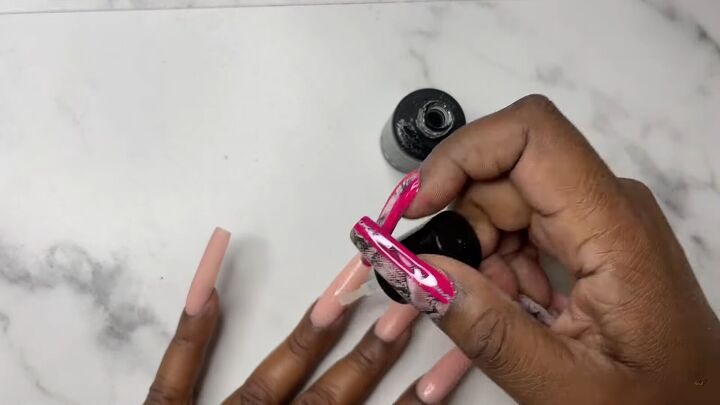
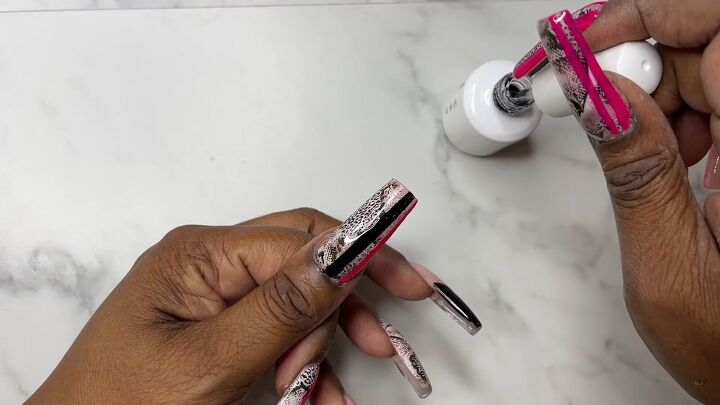
3. Press on the foil
I used my double-sided tweezer with a silicon tip to press on the transfer foil.
Make sure to apply a sufficient amount of pressure all over every little bit of the foil or it won’t transfer cleanly.
If you don’t push down all over, you end up with gaps in the foil and it will look messy.
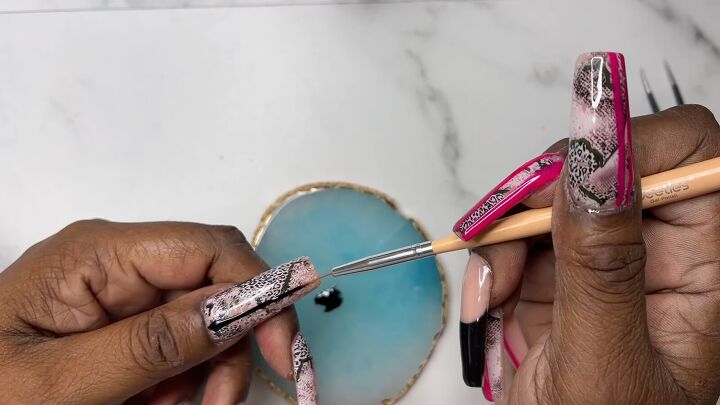
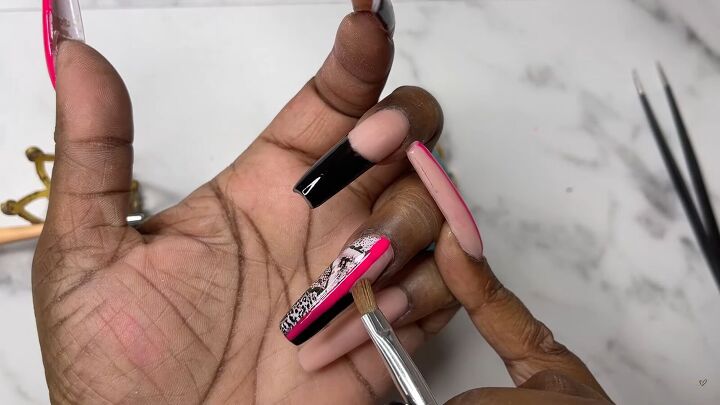
4. Apply the first color
Once you finish getting your transfer foil on, you’re going to start to apply the first color.
To do this, I’m using a gel liner brush and some black nail polish. You can dab your nail polish on a resin plate and work off that or just dip the liner brush into the nail polish.
I made a thin vertical line on one nail and did a French tip on half the nail for two other nails.
We’re going to add other colors here too after we’re done with the black.
On the two remaining nails, I used the black to make the full French tip.
I recommend flash curing as much as possible while doing your line work so the gel doesn’t run.
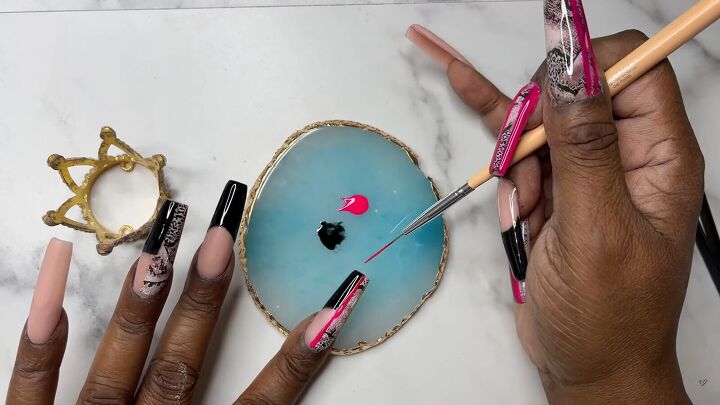
5. Apply the second color
The next color I’m using is a hot pink called Macau from Makartt’s Birds of Paradise collection.
Use the pink to make a straight vertical line on the nails with the half-painted French tip.
Draw the line right down the center separating the half-polished French tip.
You can use a dry gel brush to clean up any mistakes you may have made.
For the pinky nail, use the pink to paint a vertical line in the center of the nail.
You can also add a pink vertical line to the nail with the black vertical line.
If you feel like you don’t have enough color on the nail, give it a full cure and then add a second coat.
Remember to do the full cure. Don’t cut it short. Give it the full minute of curing. Patience will make all the difference when trying to achieve a clean-looking design.
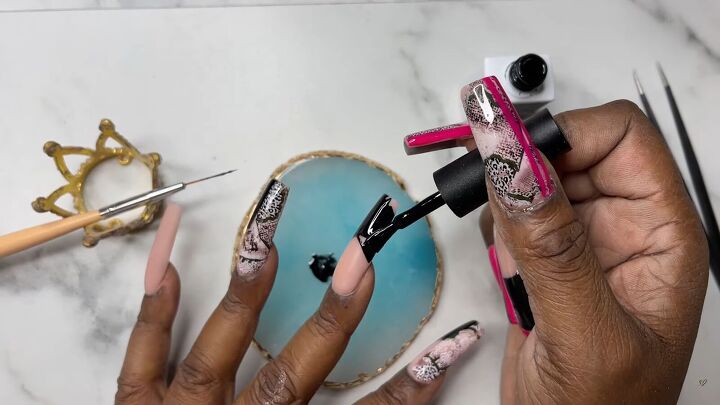
6 Finishing touches
I’m using E.Den’s Rose Stainless-Steel topcoat. It’s a thicker topcoat. This will help smooth the surface.
We need a thick topcoat because we have so many different layers with foil and lines.
Before curing, use a cloth to make sure there is no topcoat dripping down the sides of the nails.
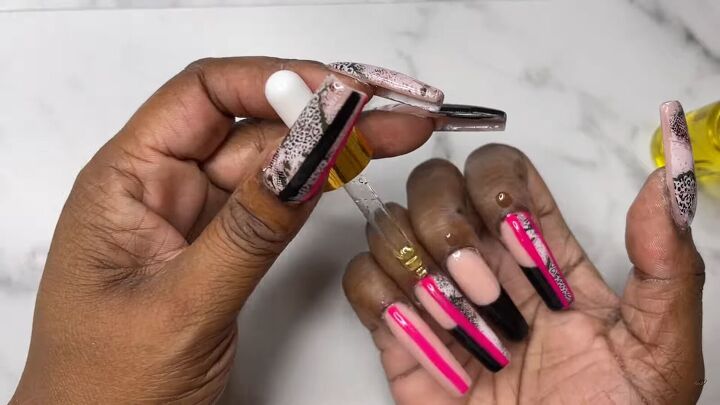
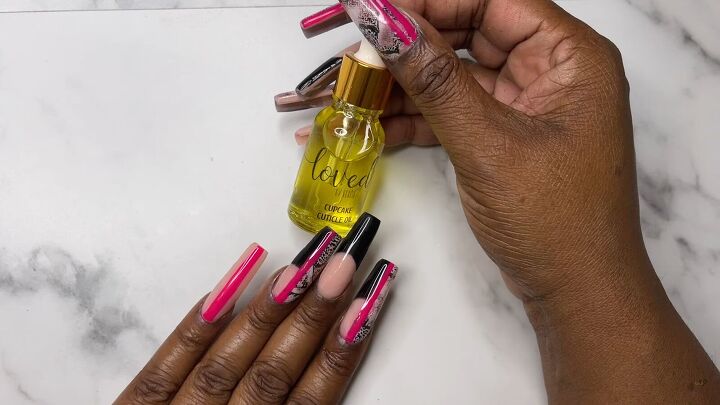
Once the topcoat is cured and the nail has cooled down, go back in with some cuticle oil.
Just remember, a little cuticle oil goes a long way. I like to rub the excess oil onto my hands when they’re dry.
This helps hydrate my skin and it absorbs nicely so my hands aren’t greasy afterward.
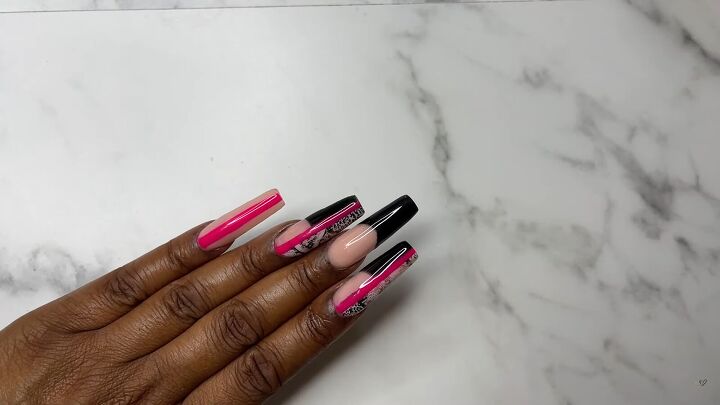
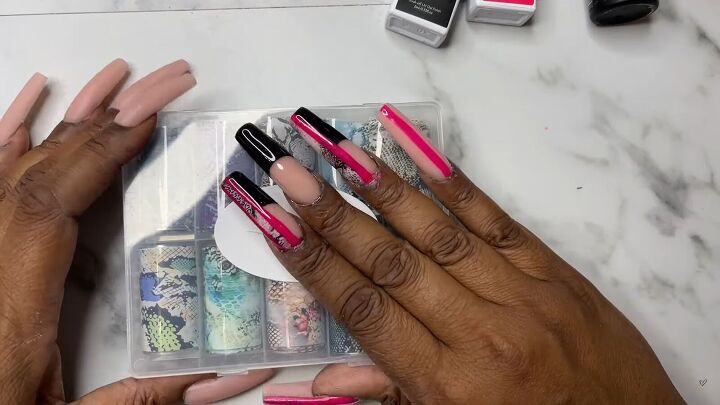
Classy pink and black nails
I am very pleased with how this set came out. As always, there is room for improvement. I’m not a professional. I do this as a fun hobby, so there is always something I can find to improve on.
Let me know what you guys think of this set. Leave me a comment!
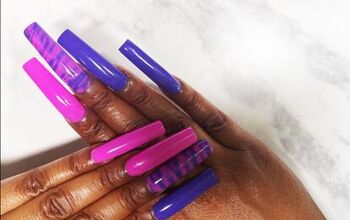
Next up, check out my post on How to DIY Gorgeous Neon Abstract Nails.
The author may collect a small share of sales from the links on this page.


Comments
Join the conversation