Glam Red and Black Nail Art Tutorial

With the holidays ending and Valentine's Day just around the corner, red and black are the perfect transition colors.
I’ll show you how to do effortless red and black nail art to hold you through the new year. Let’s get into it.
Tools and materials:
- Solid black gel polish
- Glitter black gel polish
- Solid red gel polish
- Glitter red gel polish
- UV lamp
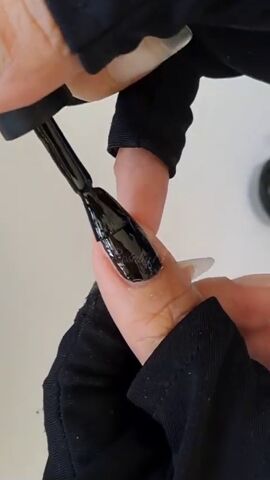
1. Apply black nail polish
Apply solid black gel nail polish to your thumb. Cover the entire nail.
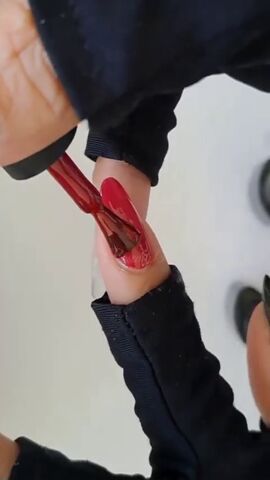
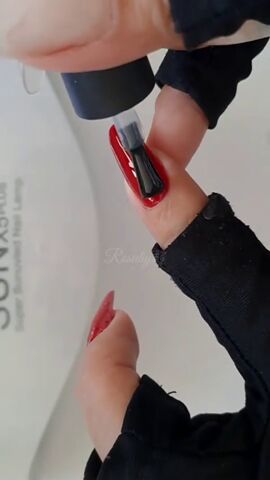
2. Apply red nail polish
Apply solid red gel nail polish to your index and pinky finger.
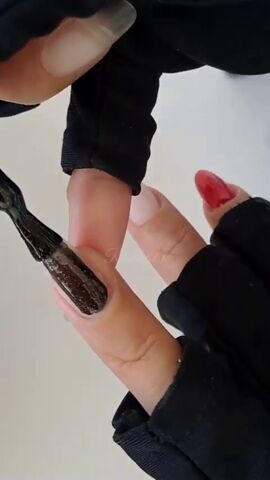
3. Apply glittery black nail polish
Apply glittery black nail polish to your ring finger.
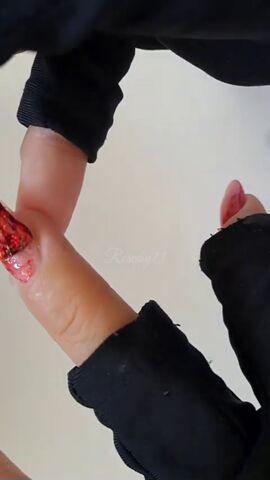
4. Apply glitter red nail polish
Apply glitter red nail polish to your middle finger.
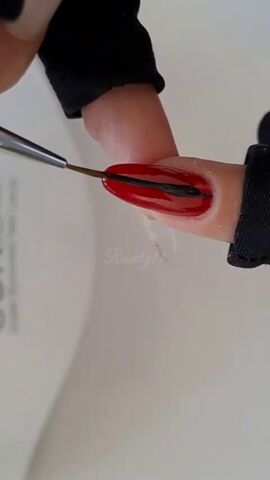
5. Apply a black stripe of nail polish
Apply a black stripe to the center of your red pinky finger using a fine detail brush.

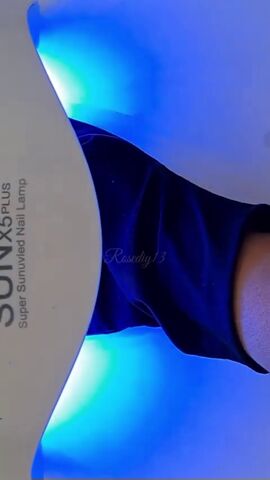
6. Cure
Cure your nails under a UV light.
7. Apply a top coat
Apply a top coat to each of your nails.
8. Cure again
Cure your nails again under a UV light.
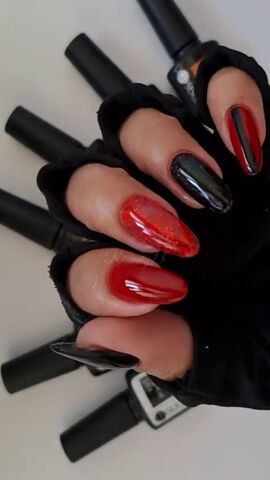
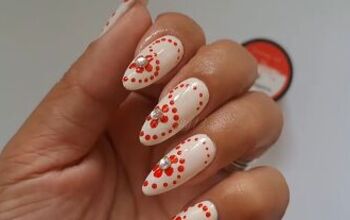
Glam red and black nail art
Here is the finished red and black nail art! Let me know what you think about this nail look in the comments below.
Next, learn How to Do Mirror Chrome Nails.
The author may collect a small share of sales from the links on this page.


Comments
Join the conversation