How to Create Unique Statement Fabric With Ribbon
How to Create Unique Statement Fabric with Ribbon
June 5, 2020 11 min Read
This article provides detailed instructions on how to use the strip piecing sewing technique to create unique, one-of-a-kind fabrics from ribbon and coordinating fabrics that create design detail in specialty garments.
Several years ago, I wanted to create an elegant blouse with beautifully detailed sleeves that I could wear with a simple vest. I wanted the sleeves—not the vest—to make a statement. I searched high and low for the perfect fabric. Fortunately for me, I discovered the perfect fabric for my dream blouse–a beautiful, paisley embossed, silky polyester on a fabric shop clearance table.
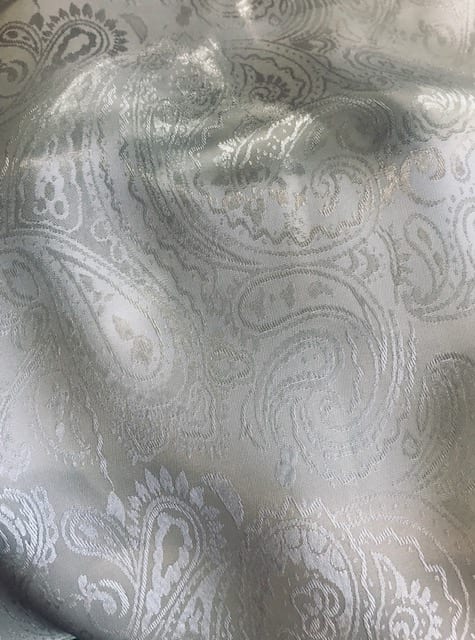
The ivory fabric was gorgeous! I loved it, but it lacked the “pizazz” I wanted for my statement sleeves. So, I continued looking in the shop for a great coordinating fabric. After conducting a comprehensive search of the store’s inventory, I realized that my dream blouse fabric was a lonely single. Undeterred, I bought my fabric and headed home. After a few months of unsuccessful searches for a great (and affordable) coordinate, I set the fabric aside and took a break from my blouse project. I needed to clear my mind. Those dream sleeves were never far from my thoughts. I realized that I needed a different approach to achieve the sleeves I was envisioning. But, how could I create the look I wanted without landing in the poor house?
If I couldn’t find my ‘dream fabric’ I would create it. I pulled out the blouse fabric and began looking thru my fabric stash to see what I had that may possibly work. I discovered that my ivory fabric coordinated beautifully with 2 brocade trims I owned.
I laid a few inches of the trims beside the fabric and was immediately in love– I just needed to figure out a way to marry everything together. Out of the corner of my eye, I noticed a flat lace laying on the trim shelf that just happened to look like it might match. I carefully removed it from the shelf and added it to my mix. It worked! I now had my puzzle pieces, but I wasn’t sure how to assemble them. I took stock of my yardages and realized that I could carefully build my sleeves from the center towards the seams if I strategically placed my trim strips along my fabric strips. Here’s how I did it.
I used the following items for ONE sleeve:
(2) different brocade ribbons
My focal ribbon measured 1 1/8” wide (1 strip)
Ribbon #2 was ¾” wide (4 strips of ribbon
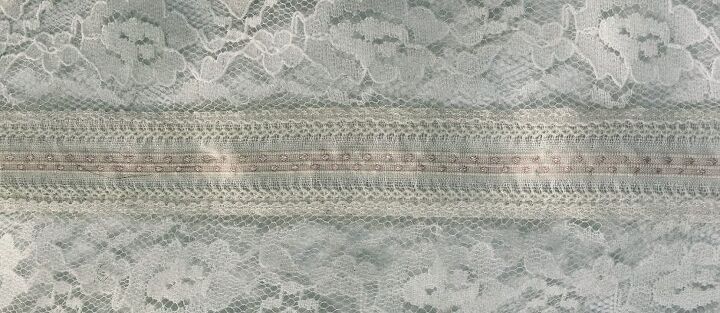
(2) different flat laces
Lace #1 measured 2” (at the widest point) (6 strips)
Lace #2 was 1” wide (4 strips)
(5) strips of blouse fabric 2.5” wide
(1) strip of blouse fabric 4” wide (this was placed at the sleeve seam area)
I then doubled all items so that I had enough for the sleeves. It’s easier to cut everything at one time.
ASSEMBLY:
- I measured the length and width of my sleeve pattern to determine the necessary raw size of my piecework fabric and added 2 inches to each number. Once I knew my measurements, I wrote them down for easy reference and began to build my fabric. It is very important to begin with the center piece and work outward. I determined that it would be best to use a tight zig zag stitch with a 1/8” overlap for this piecework.
- Cut one piece of the focal trim to desired length. (This is the sleeve center—the focal point).
- On BOTH sides of the focal trim, I placed the straight side of a 2” wide lace atop the focal ribbon. This wide lace overlapped the focal ribbon by 1/8”. Pinned in place. I then sewed the pieces together.
Since the curved edge of the lace faced out, I placed a 2.5” wide strip of blouse fabric underneath the edge of the lace. I aligned the fabric under the “v” dip in the lace scallops ensuring that I had a ¼” seam allowance under these valleys. I sewed the fabric and lace together following the scalloped edging. After sewing this seam, I carefully trimmed the excess fabric from the underside of the scalloped edge. This ensured that the lace maintained the see thru effect. (This placement created a straight edge on the opposite side that allowed me to connect the straight edge of the narrower width lace.)
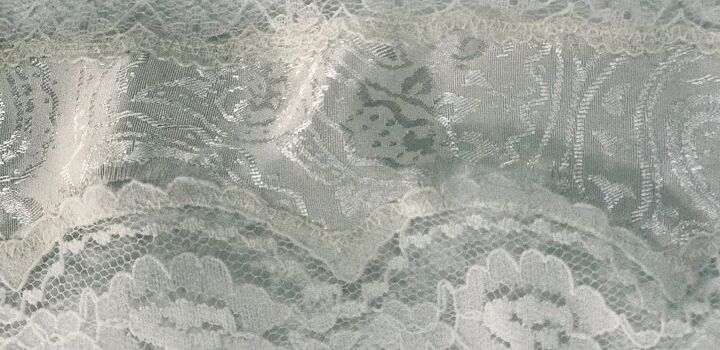
For the next piece, I overlapped curved edge of lace #2 and sewed it to my fabric strip. Once I was satisfied that the fabric and lace were secure, I trimmed the excess fabric from the underside using applique scissors.
To the straight edge of lace I overlapped it with a ¾” wide brocade trim(ribbon (See above photo)
Next, I added a row of lace to the raw edge of brocade trim #2 by placing the straight edge of lace #2 under brocade trim #2. (This creates a mirror affect—see above photo).
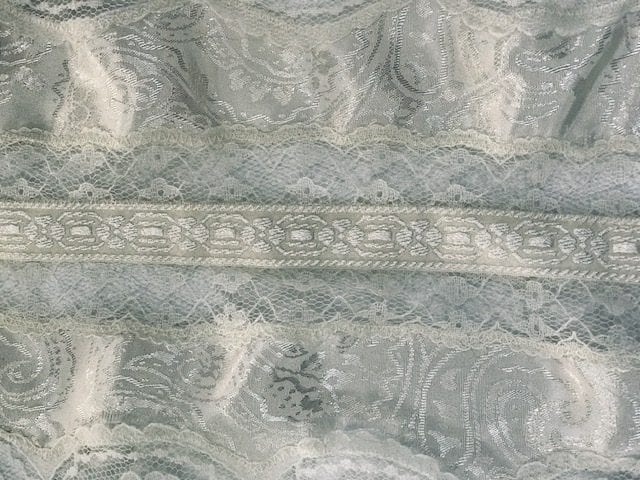
I needed more width, so I continued to build out my pieced fabric. I placed another 2.5” wide strip of my fabric under the lace, in the same sewing and trimming manner as the previous fabric pieces.
Since I had a straight edge, I then selected brocade trim #2.
To brocade I attached a strip of the wider, lace #1. I overlapped the STRAIGHT lace edge with the brocade. I then pinned and sewed it in place.
I laid my piecework over the pattern piece and discovered that I needed a few more inches of fabric. At this point, I decided to use the fabric again and cut (1) 3.5” wide strip for the front side of my sleeve and (1) 2” wide strip for the back. I laid the fabric behind the lace and attached it.
After making the first sleeve, I went back and repeated the steps to create the mirror affect for the second sleeve.

I finally had a piece of fabric wide enough to cut my sleeve piece. I carefully lined up the center of my sleeve pattern with the center of my piecework and pinned it in place. I cut out each sleeve SEPARATELY so that I could make sure that the focal trim was correctly aligned on my pattern piece and each sleeve would mirror one another.
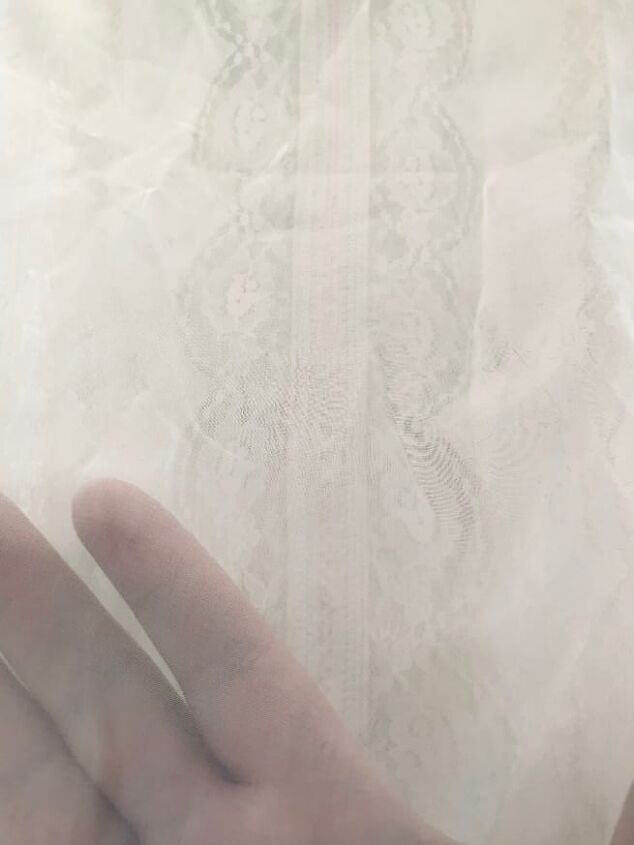
Uncertain if the lace seams would scratch, I decided to line each sleeve with a layer of chiffon. By using a polyester chiffon, I was able to keep the sheer look of the lace without sacrificing comfort.
THINGS TO CONSIDER:
When using this strip piecing for a sleeve or other pattern piece such as a skirt panel or vest front, make sure you have enough room to comfortably move in garment without stressing the seams! Otherwise, the piecework may tear.
Be mindful of the laundering instructions of each ribbon or fabric you use to create your statement fabric. Some fabrics are dry clean only while others are machine washable. It’s best to stick with one laundering method so try to find trims that recommend the same laundering method.
This method of strip piecing fabric provides great detail accents to historical clothing or Renaissance costumes. The possibilities are endless!
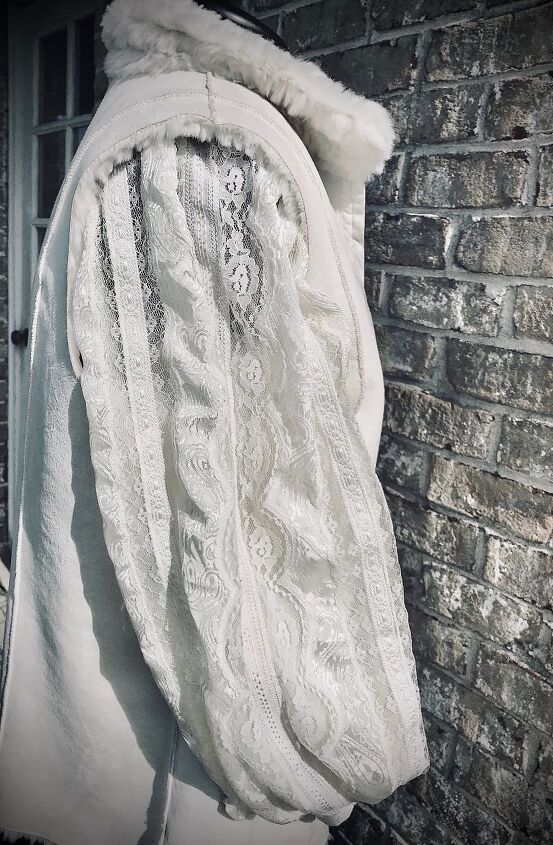
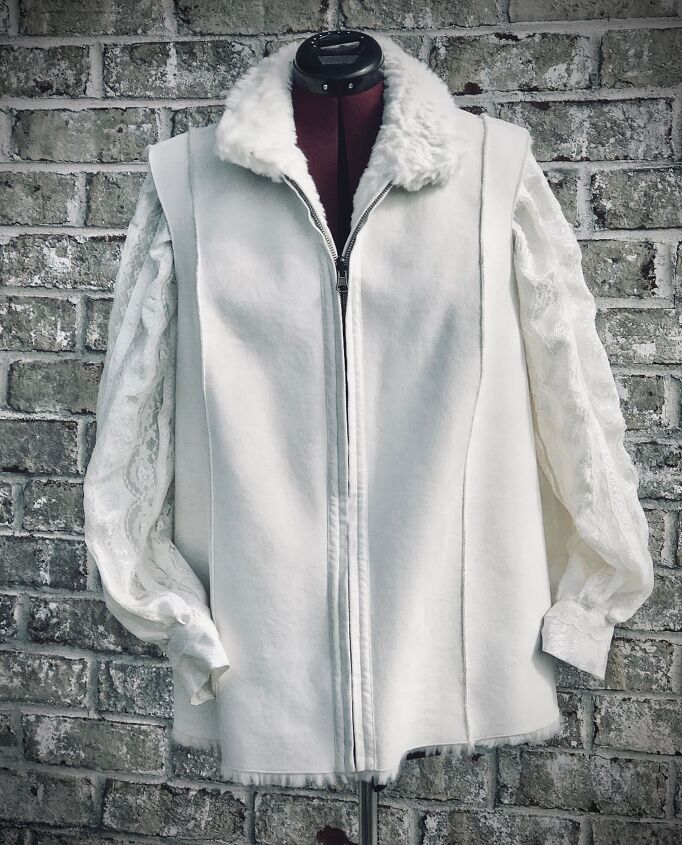
Overall, I was extremely happy with the results and received many compliments every time I wore my blouse.
Realizing that I could easily create my own statement fabrics using beautiful ribbons, flat lace trim, and a coordinating fabric with strip piecing was a game changer for me. This new trick allowed me to marry trims and fabrics that would otherwise remain wrapped on bolts sitting on the shelf. I’ve used this technique several times throughout my career to create one-of-a-kind pageant winning costumes and works of decorative art. If you love the idea, but don’t want to make a garment, consider using this technique for a decorative accent pillow, table runner, or dresser scarf!
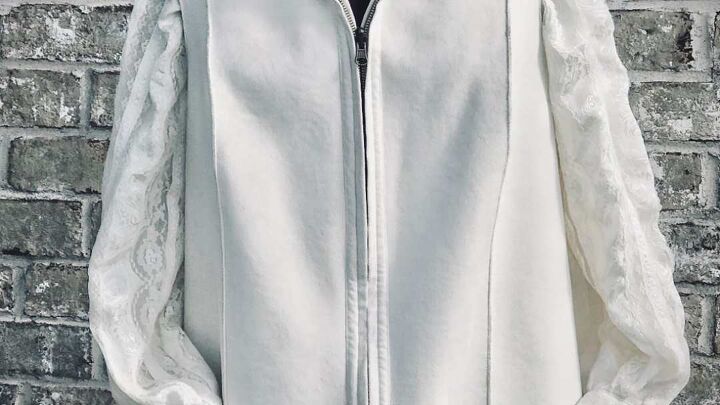
Several years have passed since I’ve created my blouse, and my love of the puffy sleeve has faded. Sadly, I no longer wear my blouse and it has been pushed to the back of my closet. I still love that piecework and after much thought and consideration, I’ve decided to give it another life as the focal point of another project. Stay tuned and I’ll update you on its newest life in an upcoming post!
If you have a question or comment, please log in and leave your message below. I’d love to hear from you and see your creations!
The author may collect a small share of sales from the links on this page.


Comments
Join the conversation