How to Dye Fabric With Onion Skins | Elise's Sewing Studio

We may earn money or products from the companies mentioned in this post.
An introduction to a more sustainable way to dye fabric.
Ever have a piece of clothing or other textile that you felt had potential, but you wish it was another colour, or maybe you just want to change it somehow? Dyeing the fabric can be a fairly straightforward way to give something old a new look.
This post contains affiliate links. Should you click the link and make a purchase, I receive a small commission at no extra cost to you.
Before you begin dyeing fabric, a few notes:
- Natural dye works best on natural fibres such as cotton, linen and wool.
- Results vary for natural dye. Your dye project may not look like my dye project due to differences in you onions, amount of onion skin in the dye bath, length of time in the dye bath, fabric choice. Natural dye is often a bit of an experiment, something to play around with, not something to follow an exact system for exactly repeatable results.
- Dyeing fabric with items in your kitchen is a more eco friendly way to change the colour of something when compared to chemical dye.
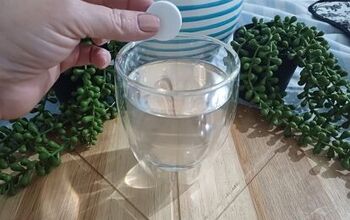
- Begin with pre-washed, wet material. You can use fabric for sewing, clothing you want to upgrade, or other textiles such as a pillow case, fabric napkins, etc. You can use regular detergent but I’ve started using Tru Earth Eco Laundry strips (affiliate link) – eco friendly laundry detergent in a convenient strip – no more big laundry jugs!
- Onion skin from about 10-12 onions. I just keep mine in a bag in the fridge that I add to whenever I cook with onions.
- 1/2 cup of salt
- 1 tsp alum OR cream of tartar (alum gives a brighter colour while cream of tartar gives a more golden colour). If you don’t have these, you should be able to get them at the grocery store, alum is used for pickling.
- Fabric ( natural fibre)
- Large pot of water
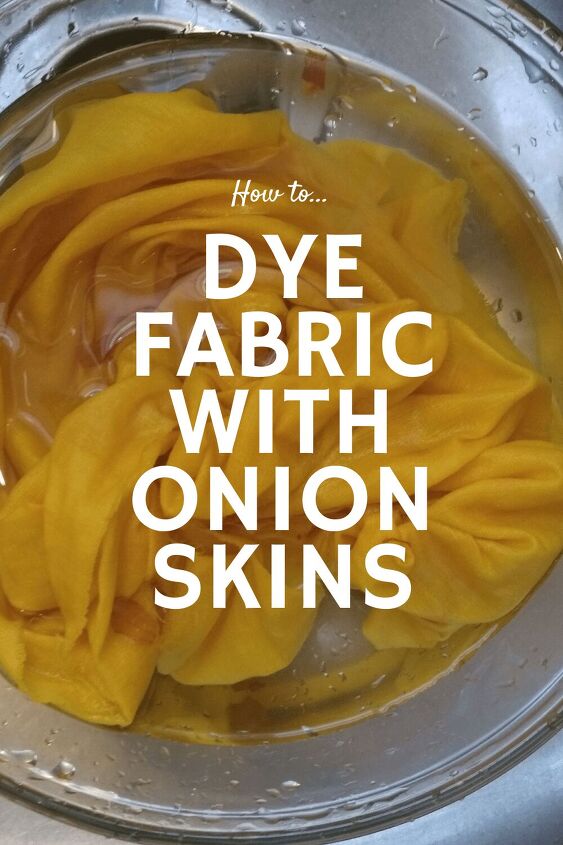
Bring the onion skins, salt, and alum or cream of tartar to a boil. Reduce heat to simmer and add your wet fabric. Make sure that your fabric has some room to move in the pot, do not overfill the pot. This is best suited for smaller amounts of fabric unless you have a huge pot. If you wish to tie dye the fabric, tie it, wet it, then add it to the pot, being sure not to use ties/clamps made from plastic or something else that will melt in the hot water. Wooden clothespins and twine work.
WARNING! NEVER LEAVE YOUR PROJECT UNATTENDED. Steam can form under the fabric and cause the fabric to bubble up above (and possibly spill over) the pot.
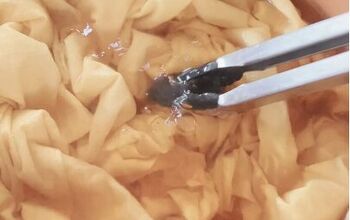
Stir the fabric about once a minute or more. I simmered my fabric for about 10-15 minutes here. You will notice the fabric start to change colour, and then it will stay the same colour when it is saturated. When you are happy with the colour, turn off the heat and carefully remove the fabric (I used tongs) to a bowl to cool down before rinsing. I recommend letting the fabric cool a few minutes to avoid scalding yourself and cold water can shock the fabric.
Rinse your fabric in lukewarm water. You will have to rinse it a few times until the water runs clear. This can take a few minutes.
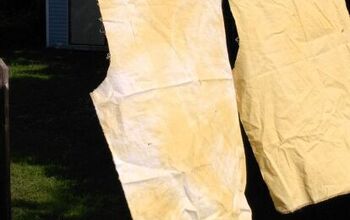
Once the excess dye has been removed from your fabric, hang to dry. I recommend washing your fabric again with dark colours before using/sewing.
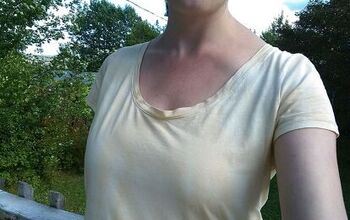
You now have beautiful yellow coloured fabric.
What do you plan to dye? Leave a comment to share what you are planning to use this on or to let me know how it went.
YOU MAY ALSO LIKE: Sew Leggings from an Existing Pair
Want to learn more about altering clothes you already have, to fit your unique body and style? Receive my free guide full of tips to get you started doing your own clothing adjustments by signing up to my newsletter here.
Enjoyed the project?
The author may collect a small share of sales from the links on this page.









Comments
Join the conversation