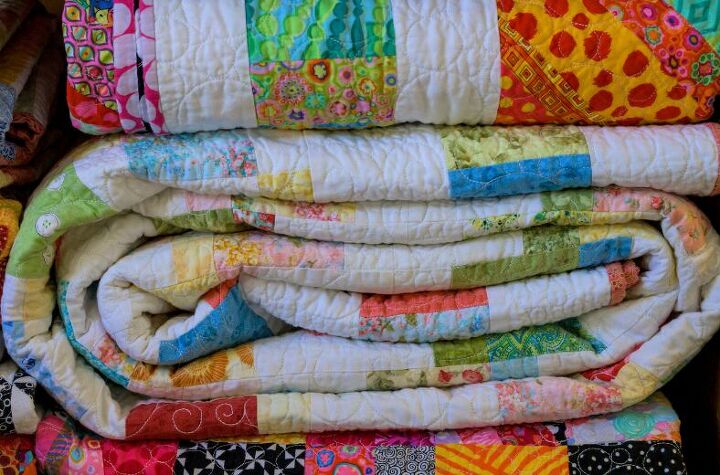
How To Make A Quilter’s Knot
A quilter's knot is a useful technique used in quilting and sewing to start a new thread without leaving a visible knot on the fabric. It is a secure and neat way to begin stitching without any loose ends.
Here’s how to do it yourself:
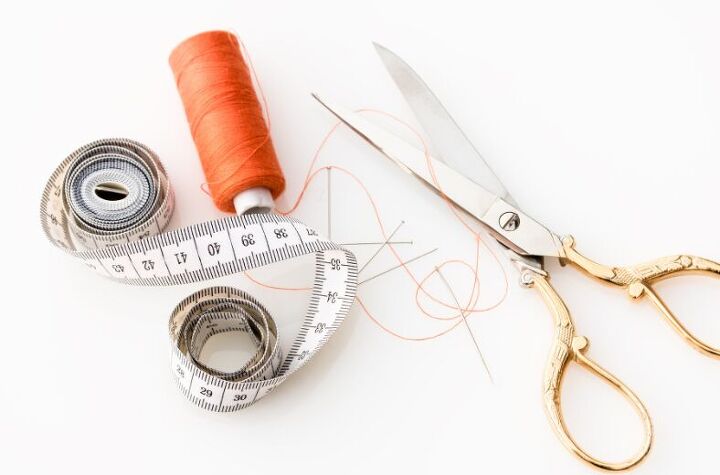
Materials you'll need:
- Sewing needle
- Thread
- Scissors
- Quilting or sewing project
Step 1: Prepare the thread
Cut a length of thread, approximately 12-18 inches long. Longer threads can be more challenging to work with and may tangle easily. You can use single thread or double the thread for extra strength, depending on the requirements of your project.
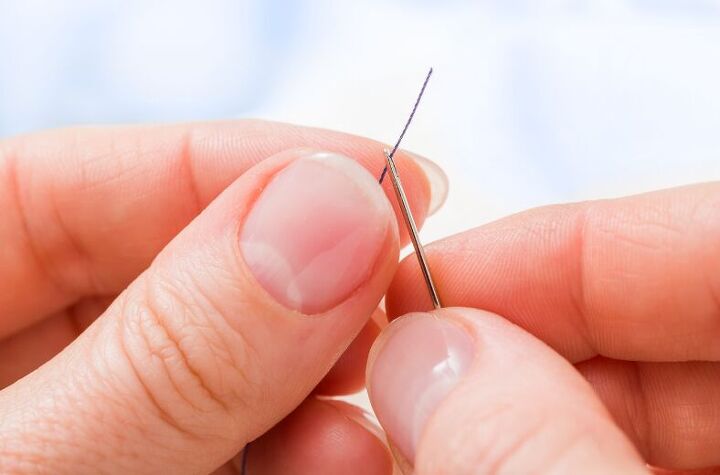
Step 2: Thread the needle
Insert one end of the thread through the eye of the sewing needle, leaving the other end loose.
Step 3: Hold the needle and thread
Pinch the needle between your thumb and forefinger of the hand opposite to your dominant hand (if you're right-handed, hold the needle with your left hand, and vice versa). The loose end of the thread should be hanging freely from the needle.
Step 4: Wrap the thread
Using your dominant hand, take the loose end of the thread and wrap it around the thumb and the needle held by the other hand. Wrap the thread around the needle 3 to 4 times, moving away from the needle's eye.
Step 5: Secure the wraps
Still holding the wraps in place, slide the needle down towards the loose end of the thread. This will cause the wraps to bunch up and form a small, tight coil near the eye of the needle.
Step 6: Tighten the knot
With your non-dominant hand, continue holding the wraps tightly against the needle. Use your dominant hand to pull the loose end of the thread (the one hanging freely) away from the needle. As you do this, the wraps will be pulled down into a knot around the needle.
Step 7: Lock the knot
Keeping tension on the thread, slowly pull the needle through the wraps until the knot is close to the fabric surface. Be careful not to pull the knot entirely through the fabric.
Step 8: Trim the excess
Once the knot is secure, trim off the excess thread close to the knot, leaving a short tail. Take care not to cut the knot itself.
Step 9: Start stitching
Now that your quilter's knot is in place, you can begin stitching on your quilting or sewing project. The knot should sit flush against the fabric surface, and the loose tail should be hidden within your stitching.
Congratulations! You've successfully made a quilter's knot and are ready to start your quilting or sewing project with a neat and secure beginning. Remember to practice the technique a few times on scrap fabric to become comfortable with it before using it on your main project.
Happy quilting!
The author may collect a small share of sales from the links on this page.


Comments
Join the conversation