How to Make a Sliding Knot Bracelet or Necklace in 3 Easy Steps

If you’re into jewelry and accessory DIYs, then this pretty simple yet cool knot technique is something that will come in handy. I’m going to show you how to make a sliding knot bracelet or necklace without overcomplicating the steps.
After you’re done with this sliding knot tutorial, you’ll know the basics and be able to do this on your next DIY. Let’s start!
Tools and materials:
- Cord
- Scissors
- Measuring tape
- Charms
- Beads
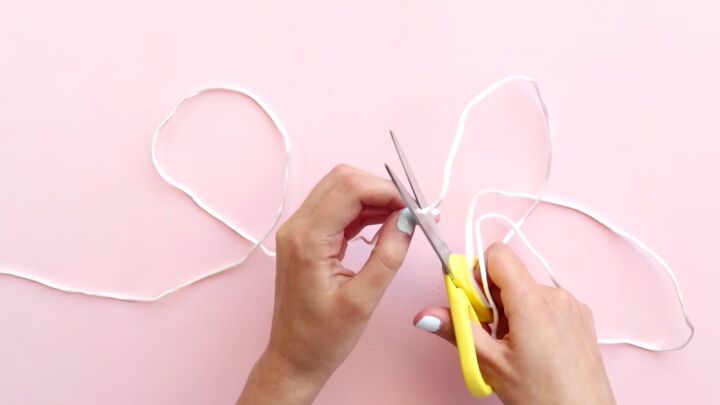
1. Cut the cord
Cut your cord to the desired length. Keep in mind that if you’re doing a necklace, you’ll need enough to go around your head and a little extra for the knots themselves.
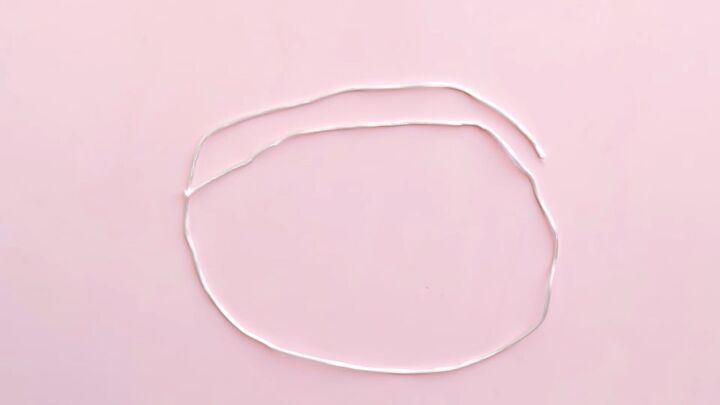
2. Make the sliding knot
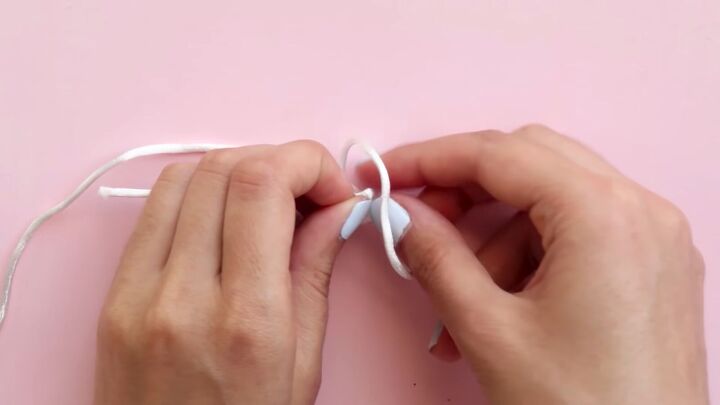
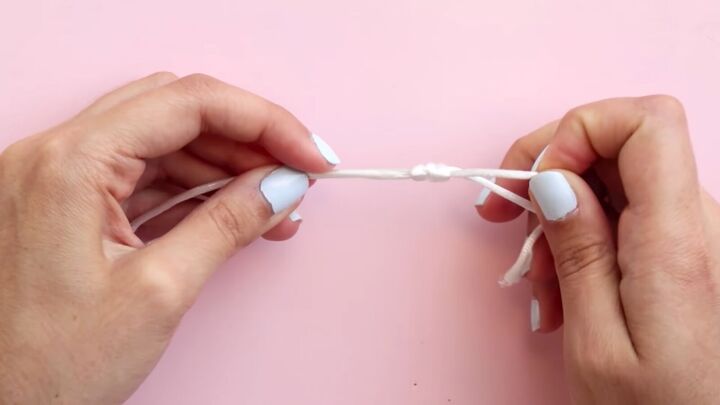
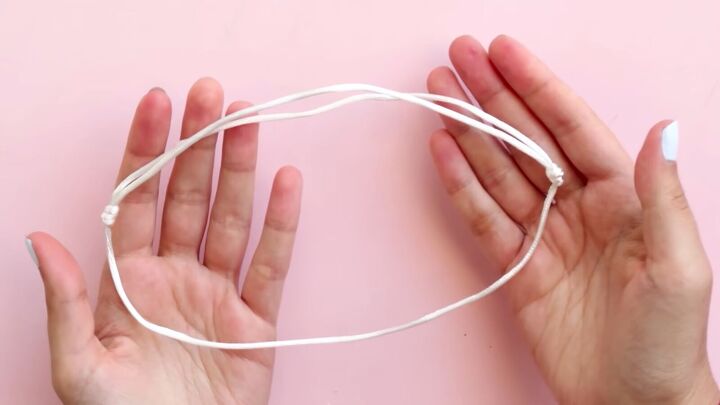
Now, lay out your cord as pictured above, both ends on the opposite sides.
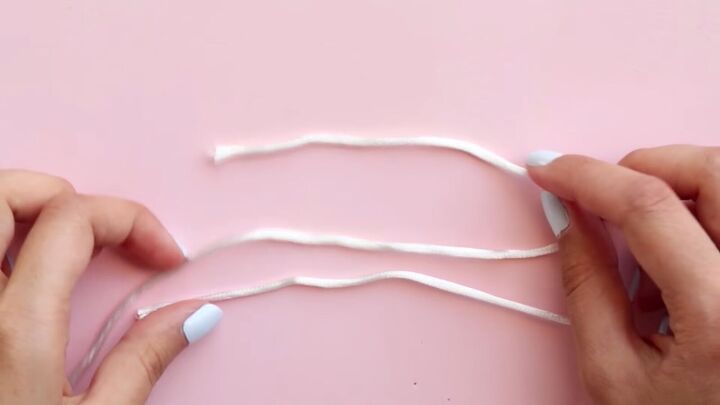
Bend the end backward.
Then, push the end underneath the rest of the cord.
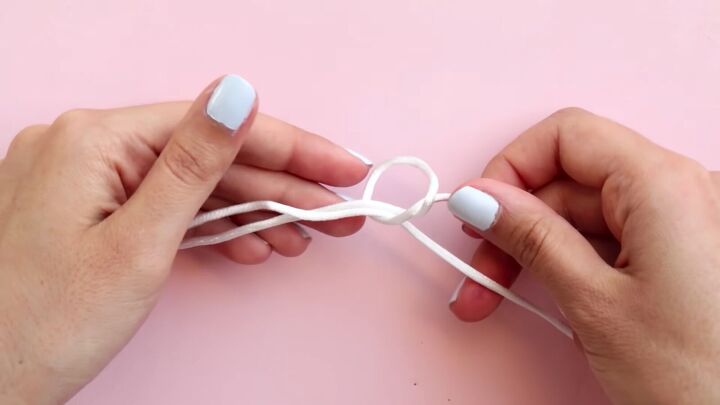
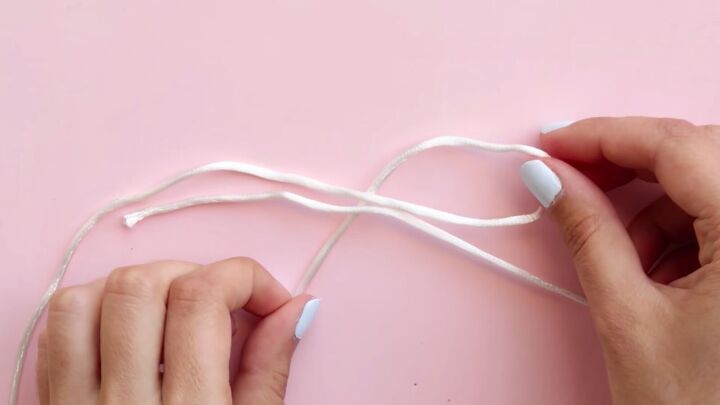
Pull it through the loop you just created; don’t tie it entirely just yet.
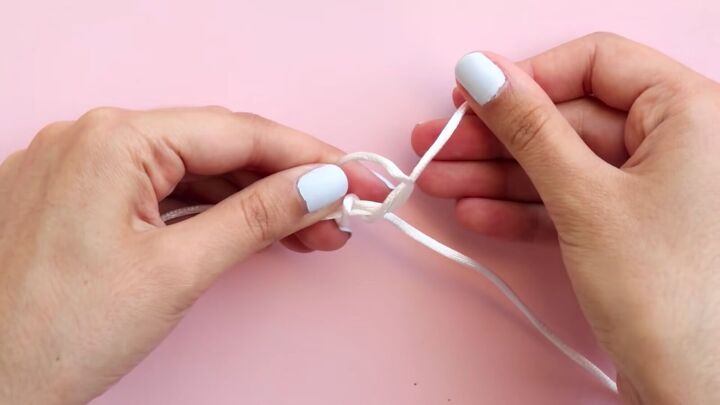
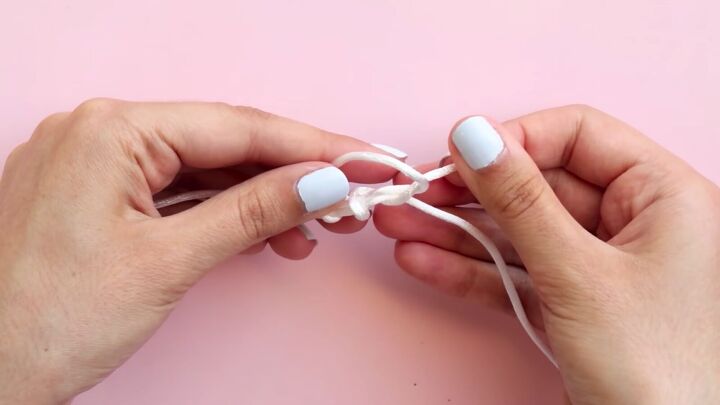
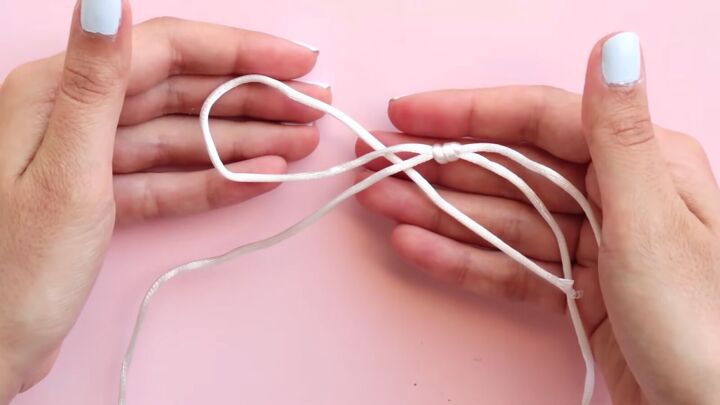
Now, wrap the cord around the loop twice, and then tighten to secure.
Tip: Make sure it’s not super tight, as then you won't be able to pull the cord.
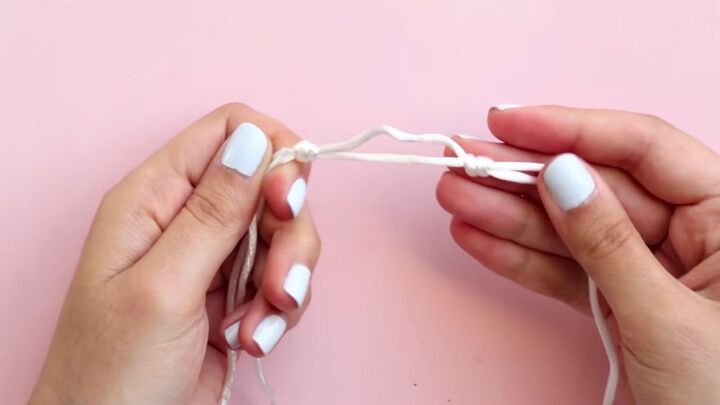
Now, repeat the technique on the other end of the cord. Bend it towards the opposite direction and follow the steps as listed above.
3. Finish the ends
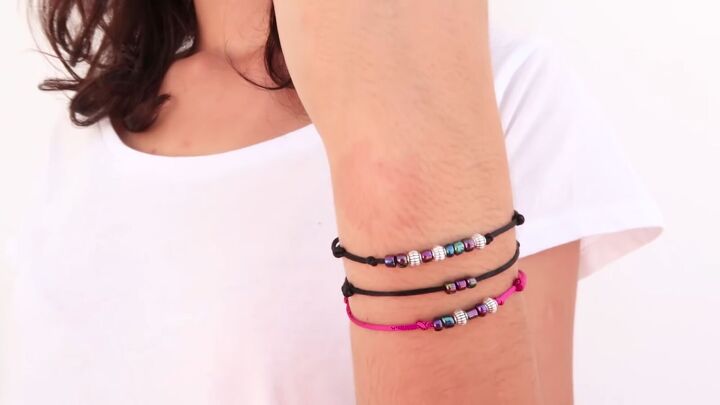
Now, see if the sliding knots are working correctly and put it on to see that it fits through your head.
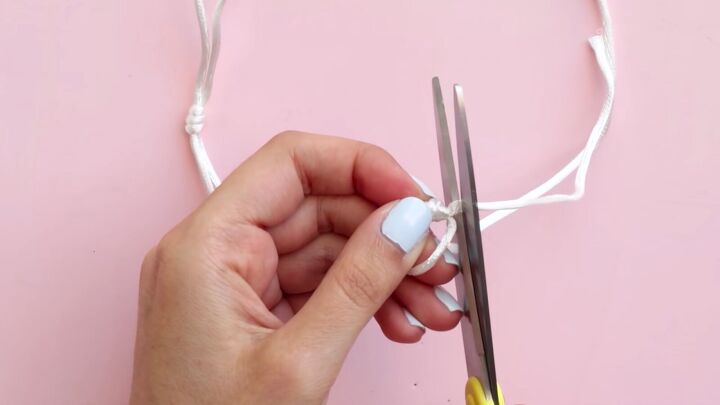
Cut the excess cords.
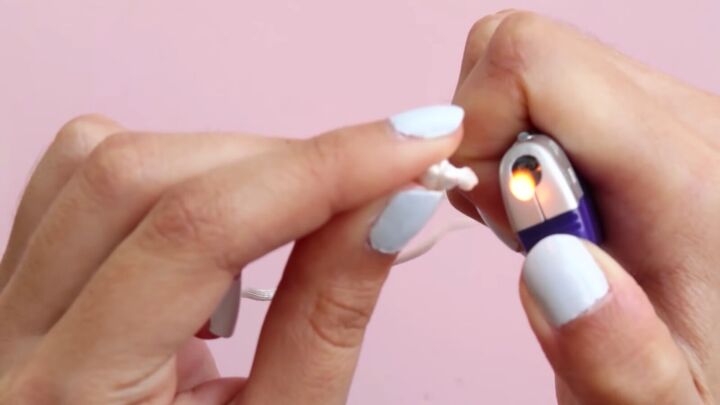
To ensure the knots don't come undone or fray, melt them using a lighter. Do not place the lighter directly onto the knot, as that can be a fire hazard.
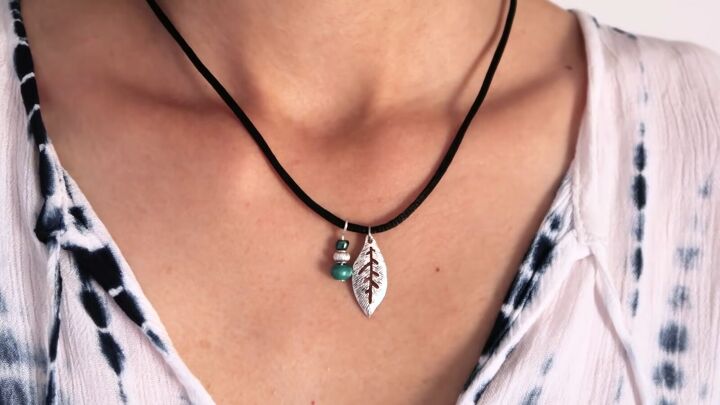
Voila! You did it! See how easy this sliding knot tutorial is?
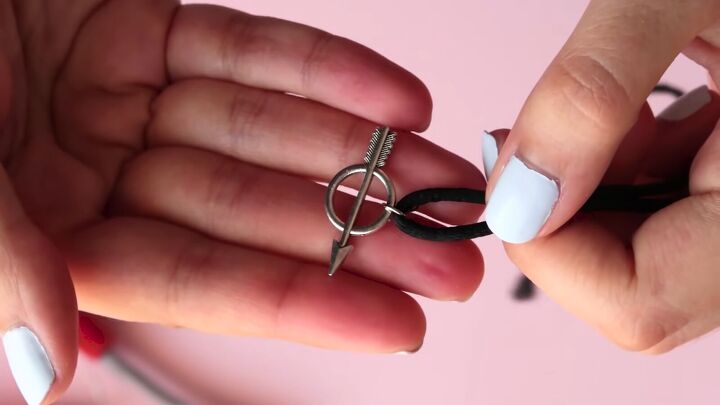
Of course, this doesn't end here! Give your creation a personal touch and add some incredible and lovely charms to your new necklace or bracelet.
Remember, if you want to add beads, you need to do it before tying the sliding knot.
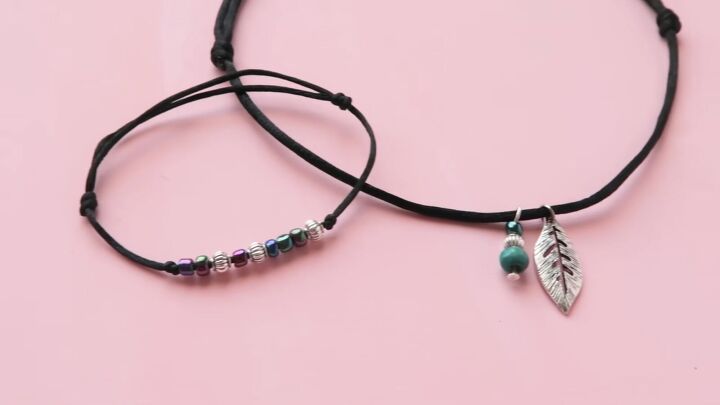
How to make a sliding knot bracelet tutorial
Thank you so much for watching this tutorial on how to make a sliding knot bracelet! As you can see, the technique is really simple, and the sky’s the limit when it comes to personalizing each piece. Let me know what you think of this tutorial in the comments below.
The author may collect a small share of sales from the links on this page.


Comments
Join the conversation
Thank you so very much for this easy to follow tutorial! For some reason I've never been able to figure out how to do that sliding knot, lol, but after watching your video I actually learned how!! 😀 I have collected so many containers of beads, charms and that silky jewelry rope that it all fills a 3 drawer bin that's been just sitting there, waiting for me to make stuff.......This comes at the perfect time too I'm! Christmas is coming and I don't have much money for gifts, that has had me really sad, to be honest. Thanks ro you now,, I'm excited to make personalized, pretty jewelry for my family and friends as Christmas gifts. I appreciate you sharing your talents with the world more than I can say and you're such a beautiful girl with a lovely way of speaking. Bless you, sweetheart!
Can’t see and the cord is all wrinkly making it even harder to figure out what you’re doing. Yes, visuals are key, not the writing when it comes to instructional technical writing involving rope, knots, braids etc that is digestible to the avg layperson