How to Make a Gigantic DIY Chunky Knit Cardigan By Doing Slip Knots

We all know that chunky knitting is great for blankets and such, but today I decided to do a different project - a DIY chunky knit cardigan. Even if you’re not that into knitting, this oversized chunky knit cardigan is pretty straightforward. Let's get started.
Tools and materials:
- Chenille yarn
- Measuring tape
- Sweater as a guide
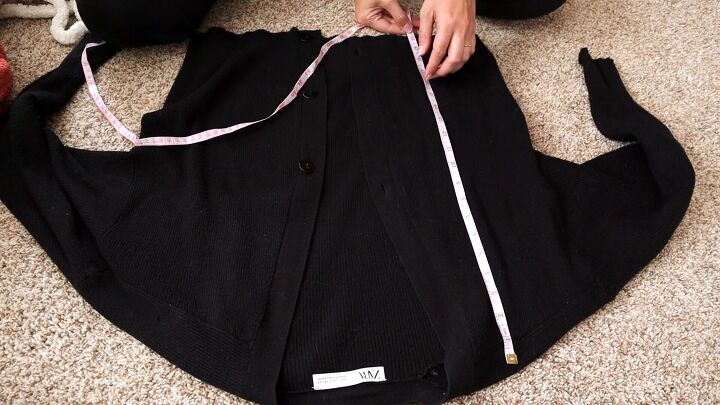
1. Take measurements
Grab a sweater that fits you well, and take its measurements.
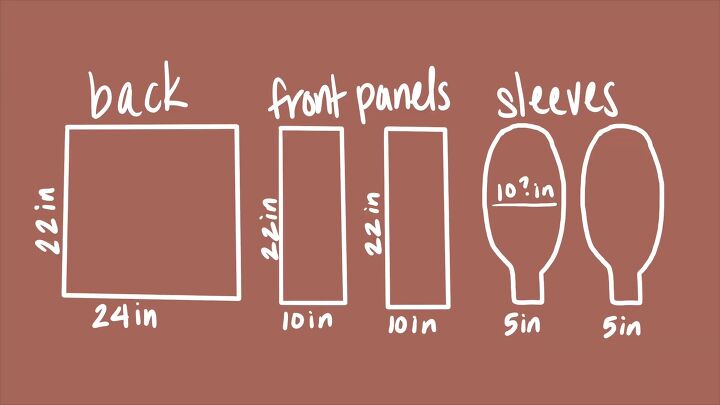
You need these measurements to make the panels of the cardigan. See above for reference.
Tip: Choose the best yarn for your budget, since you want your chunky knit cardigan to last long. Invest in a yarn that has structure to it.

2. Knot the back panel
Right, let’s get into the fun part! I worked on my back panel first, and I suggest you do the same. We're actually going to be knotting, rather than knitting!
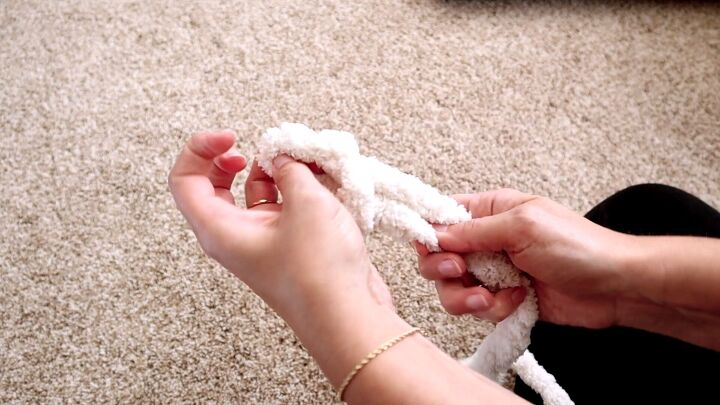
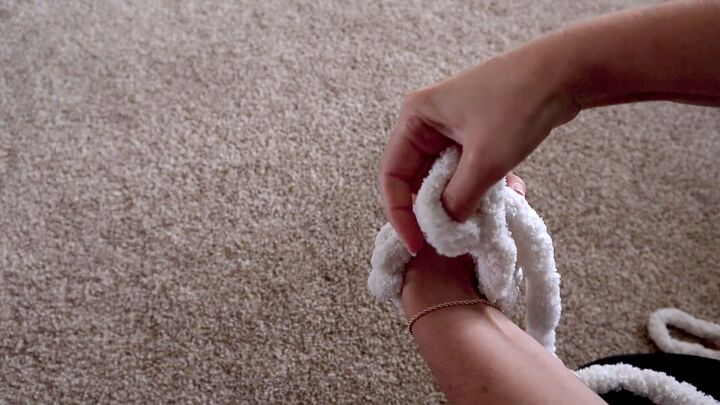
First, make a slip knot.
Wrap the yarn around your fingers, pull through twice, and then you have a slip knot.
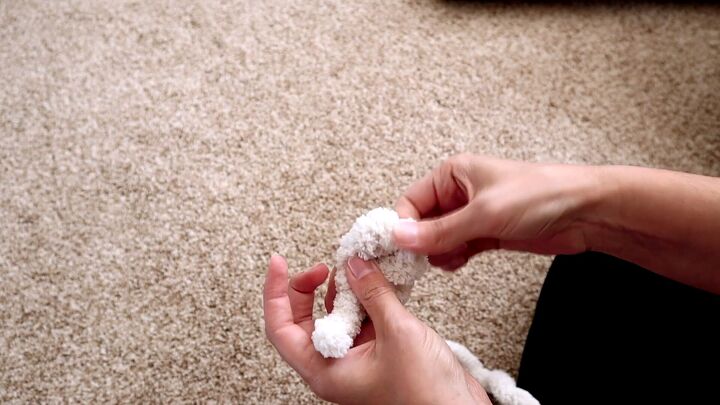
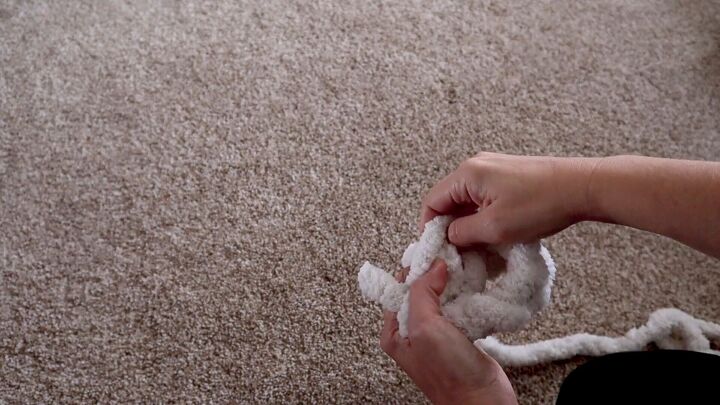
Now, take the dangling string, pull it through the knot, and make a loop that’s the same size as the first knot.

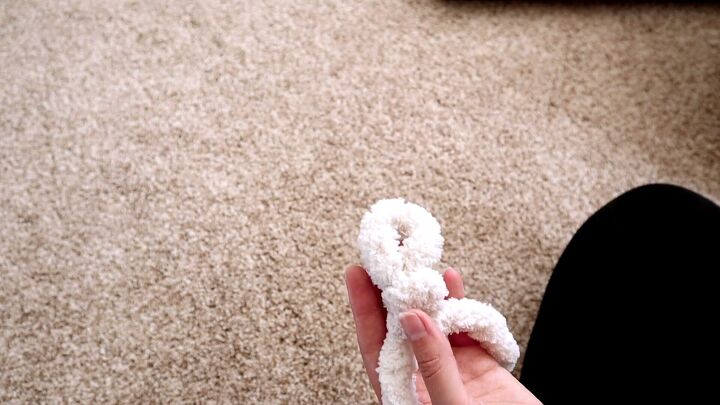
Repeat this process until you get to your desired length.
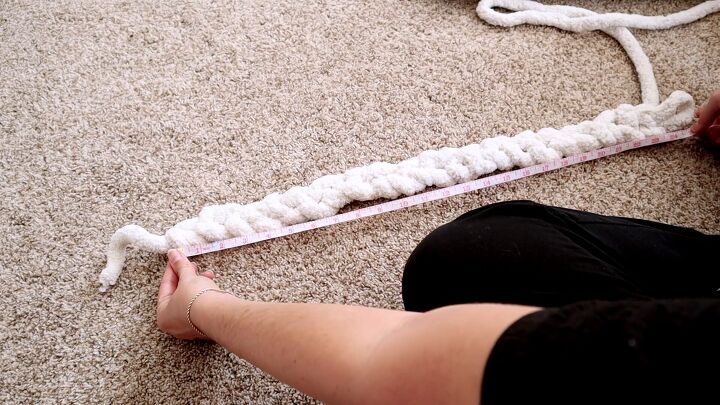
Keeping measuring, so you don’t knit too little or too much.

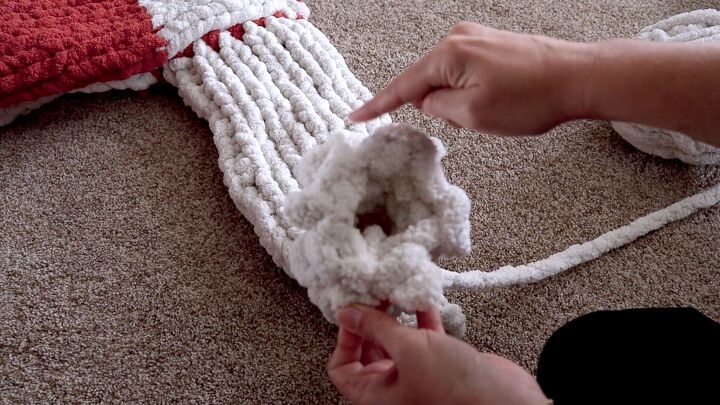
Now, feed the dangling yarn through each gap of the chain you just knitted, creating more loops as you go along.
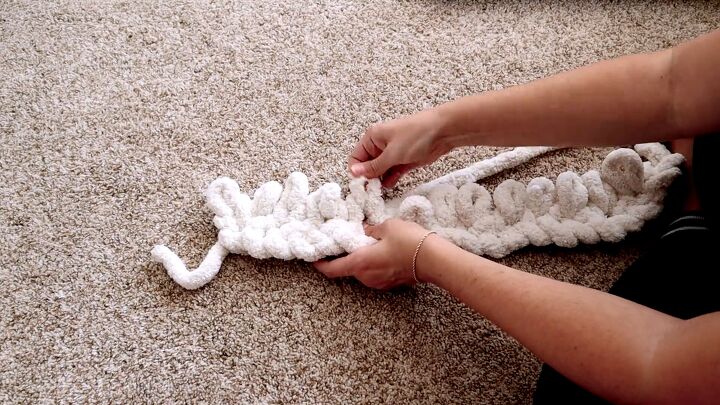
Once you get to the end, repeat the process going back the other way. What you’re essentially doing is looping through the existing loops and building them up.
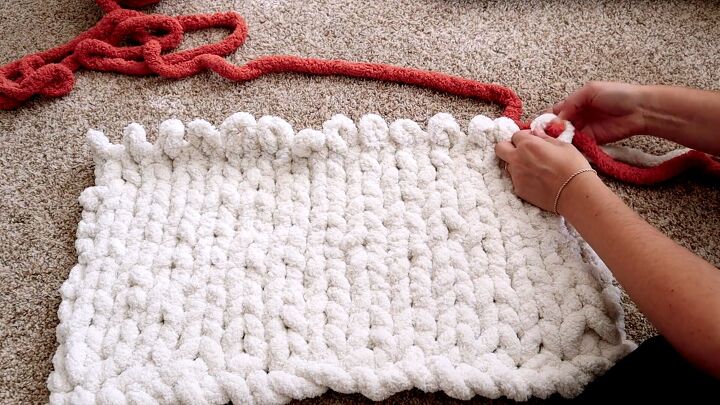
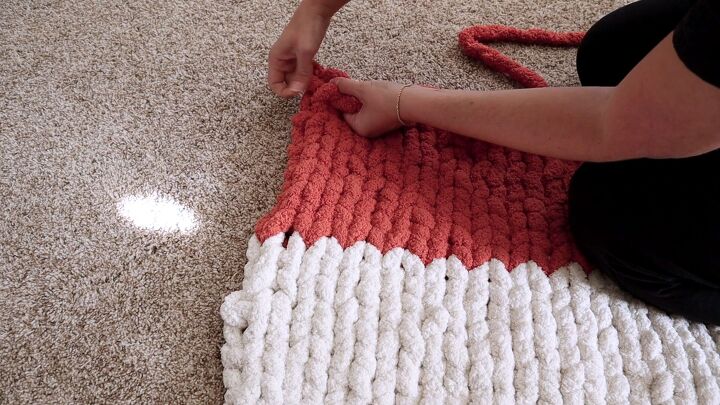
If you want two colors (or more), start looping the newly colored yarn on the existing loops. Be sure to keep the first piece of dangling yarn out the way (don’t cut it).
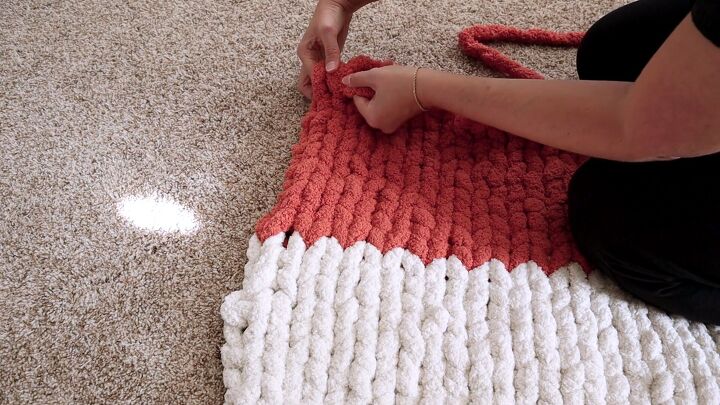
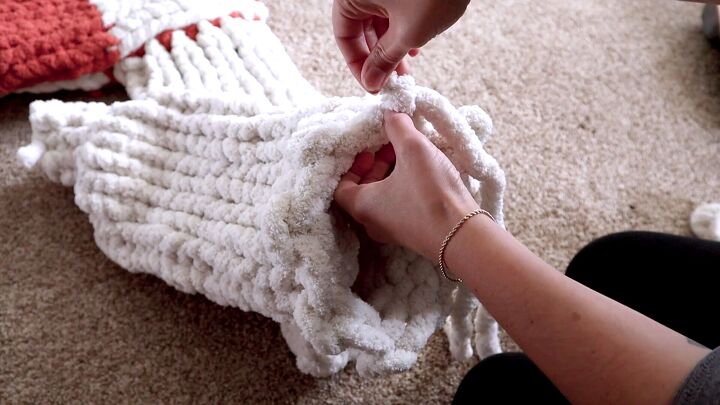
Repeat the looping process until you get to your desired length. To close it up at the top, simply grab the last two loops and insert your dangling yarn through them.
Once inserted, create another loop on end.
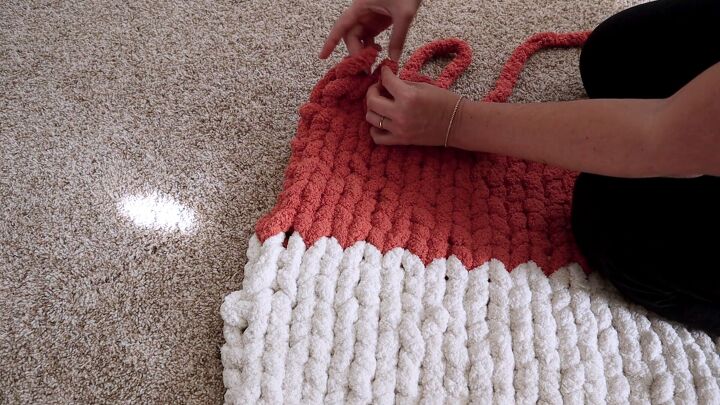
Pull the new loop at the end, and connect it to the next loop. Then, pull the string through to create a new loop.
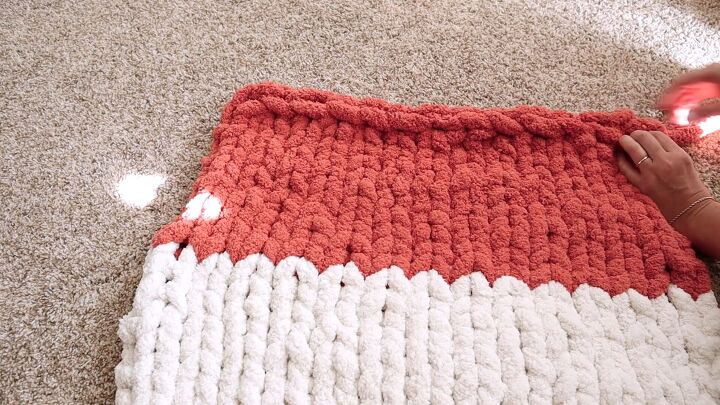
Repeat the process to create a chain. Once you get to the end, snip off the excess and pull it through the last loop.

Tip: You can leave all these strings dangling for now.

3. Knot the front panel
After successfully knotting the back panel, go ahead and do the two front panels the same way. You can also use your back panel as a guide and do it side by side for better reference.
4. Make the sleeves
Start off with a slip knot to make the sleeve, and make the same chain as you did with the other chunky knit cardigan pieces.
Now, measure the chain around your wrist. If it fits, great; if it’s too big, undo some loops, and of course, if it’s small, add a few more loops.
Tip: You want it slightly loose but not too loose, so it falls down your hand.
Pull the little end tail through the last loop and carry on creating and building upward loops ( same process as the back panel referenced above). The only difference here is, you’re doing it in a circle.
Repeat the same process of creating loops over and over again until you get to your desired sleeve length.
Tip: If you try the sleeves on, don’t put it all the way up to your shoulder as they’ll come out too long.
Now, cast off the sleeve by feeding the yarn through the loops.
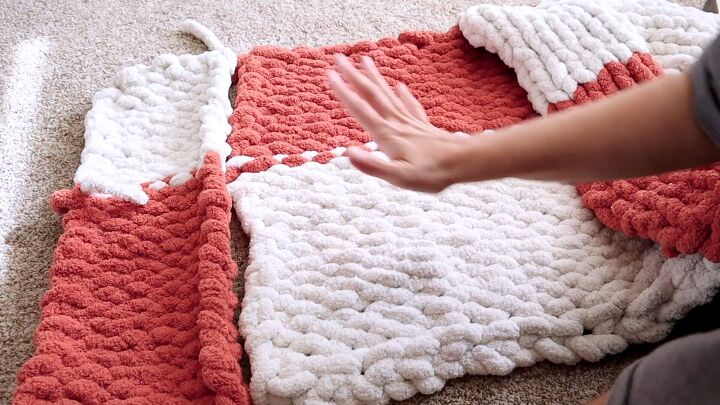
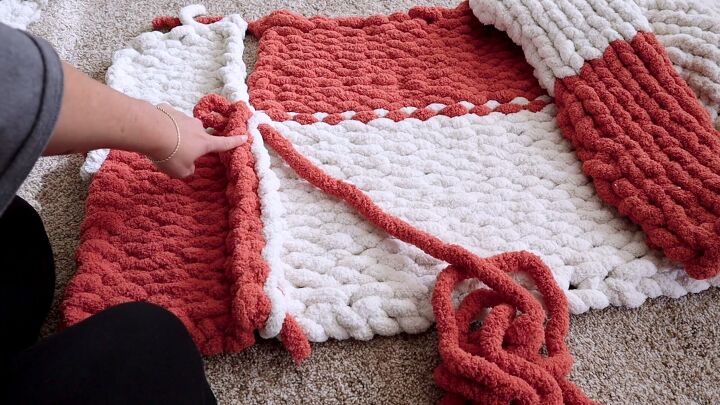
5. Attach the panels
Now, it’s time to attach the panels. Make sure that the panels are the wrong sides out.
Insert your sleeve too, as you need to make sure you don’t close the upper area.
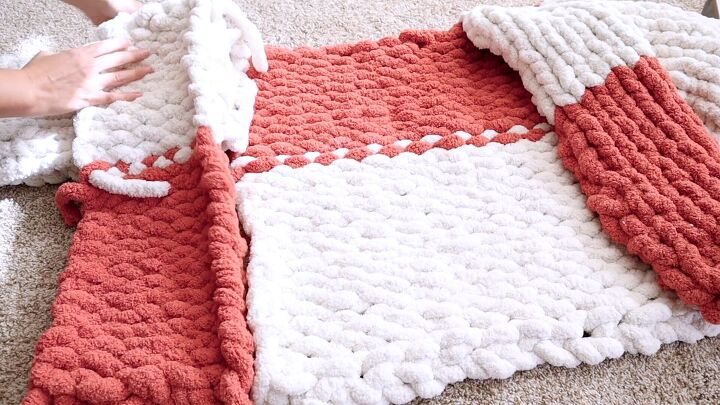
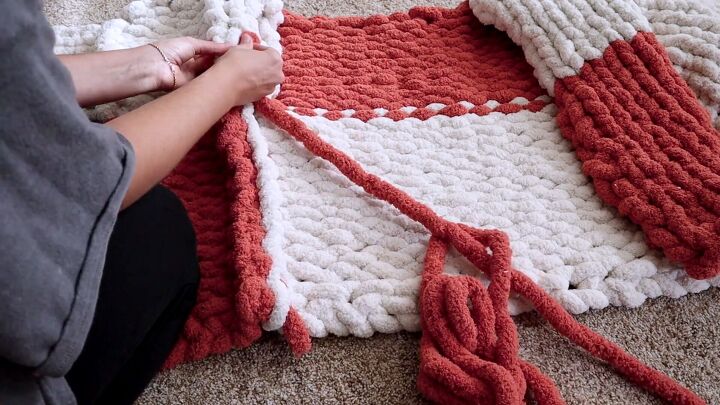
Starting with a slip knot, find the last bottom loop of each panel, and feed your slip knot through both loops.
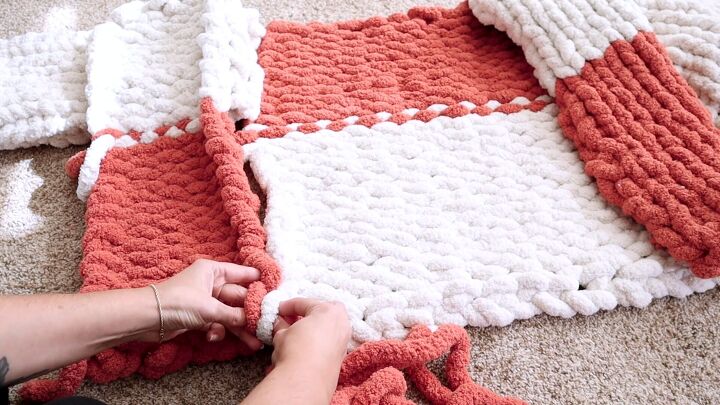
Then, take the slip knot up to the following two loops and feed your dangling yarn all the way through both loops and the slip knot. Then, pull it out.
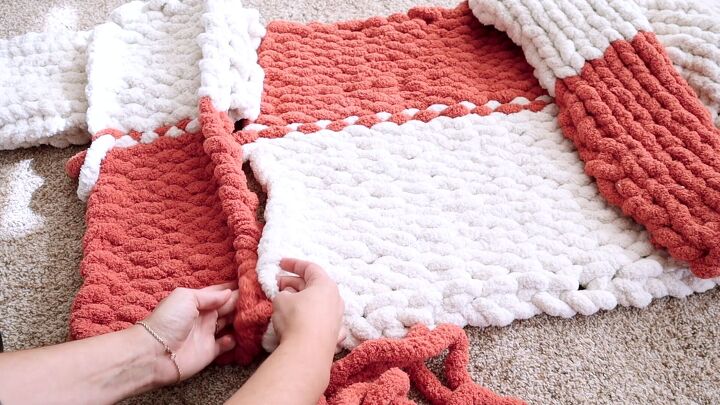
Repeat the process and make your way up the DIY chunky knit cardigan until you get to the sleeve part.
Now, using the last open loop, continue looping through both layers of the front side panel and the top edge of the sleeve.
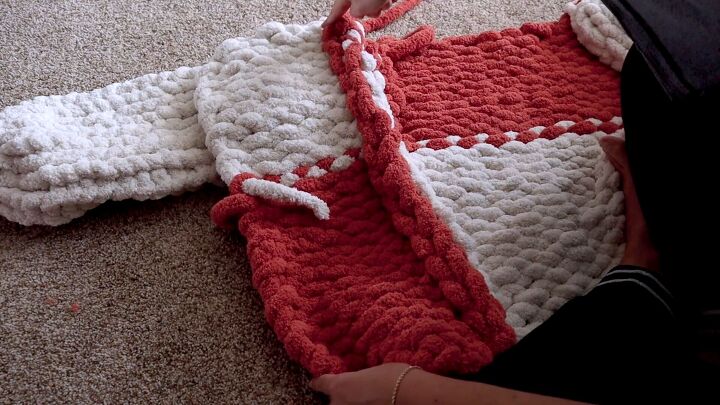
Also, repeat the same on the bottom of the sleeve and attach it to the back panel.
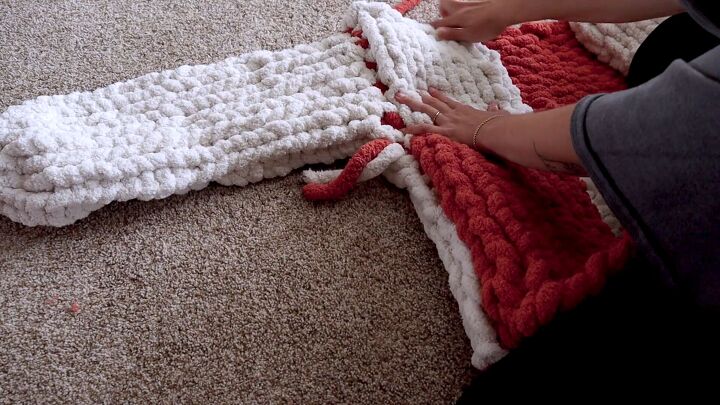
Attach the top edge of the front panel to the back.
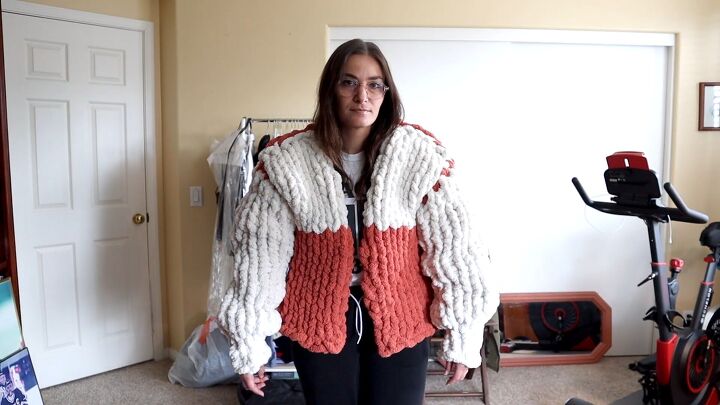
DIY chunky knit cardigan tutorial
Here’s the reveal! So, although this chunky knit cardigan didn’t come out as planned, I’m still proud of myself for completing this project when I’ve never knitted before. I won’t leave the house in this, but It’s still super warm and cozy to wear at home.
In the future, I highly suggest not using yarn as thick as mine and doing a tighter knit so that the DIY chunky knit cardigan doesn’t come out as big.
Thanks for joining me, and I hope you took some inspiration on the dos and don’ts of knitting a chunky knit cardigan- sometimes it’s best to learn from others’ mistakes!
The author may collect a small share of sales from the links on this page.


Comments
Join the conversation
Thank you for this insightful post! I I think you are wonderful for letting us know what not to do, with suggestions for HOW to do it next time( I hope that makes sense). I would like to try to make one.
Omg! Thank you thank you thank you lovely lady! I have been desperately searching and skimming through Google, pintrest, etsy, etc. For a free, simple, jumbo chenille yarn, crochet sweater/cardigan; and alas, you have saved me!! I'm using your pattern, right this instant! Thank you so again and again!!