How to Replace a Sewing Machine Needle in Under 5 Minutes

If you’re a sewer, you know that there are few things worse in the craft than a dull needle. Dull needles can create weak stitches that break easily and even ruin fabrics. Replacing your sewing machine needle is an easy task that pays off by improving the quality of your sewing, and it’ll save you a headache in the long run.
Once you change your sewing machine needle once or twice, it’ll become second nature and one of the quickest ways to maintain your sewing machine and create beautiful, strong stitching. Read on to learn how to replace your sewing machine needle, how often to do it, and how to choose the right needle.
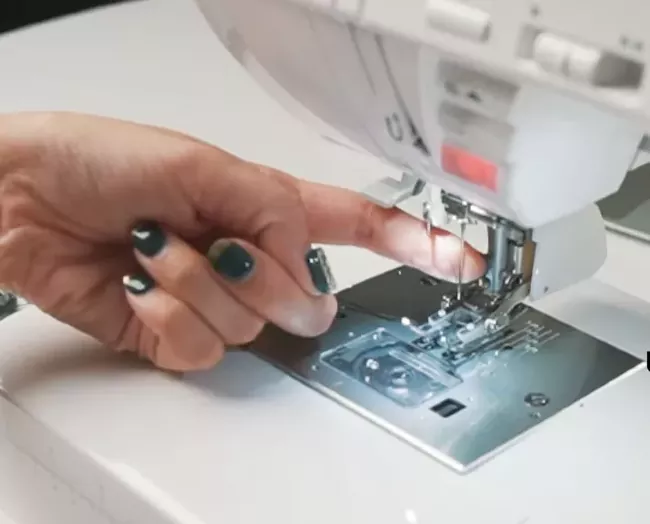
Photo via Sara SJ Kim
How often to replace a sewing machine needle
A general guideline is to change your sewing machine needle after 8 hours of sewing time. If you don’t want to keep track of how long you sew, consider changing the needle each time you start a new project. And if you notice that your needle is bent or broken, change it immediately.
It’s best not to wait for sewing problems to crop up before changing your sewing machine needle. Changing the needle on your sewing machine can’t be done too often, but it can be done too infrequently. A dull or damaged needle can not only destroy your sewing project, but it can cause injury if it breaks while you’re sewing.
It’s also a good idea to change your sewing machine needle if you’re working with a much heavier or lighter fabric than usual or a type of material that requires a specialty needle.
How to tell if your sewing machine needle is dull
If you notice issues with your stitching, the first thing to troubleshoot is your sewing machine needle. Telltale signs that your needle is dull include:
- Your thread breaks while you’re sewing.
- The needle leaves large holes in the fabric.
- Your fabric is getting snagged as you sew.
- Your stitches are uneven, or the needle skips stitches.
- You hear a clunk or a pop when the needle punctures the fabric.
You should replace your sewing machine needle at the first sign of any problems; they’ll only worsen if you continue to sew with a dull needle.
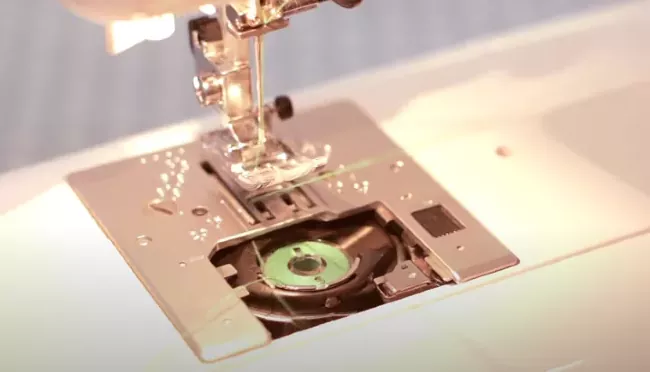
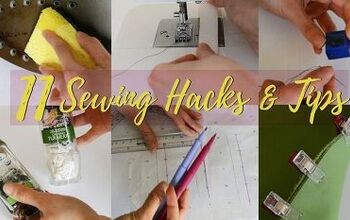
Photo via Sew Over It
How to choose needle size for sewing machine
There are as many sewing machine needles as there are fabrics. The fabric you are using for your project determines the correct needle size for your sewing machine. Here are the two factors to consider when choosing your next sewing machine needle replacement:
Needle size
When choosing a needle size, you’ll notice numbers on the flat (non-pointy) end of the needle or on the needle's package. Needles with higher numbers are made for thicker, heavier-weight fabrics, whereas needles with lower numbers are made for more delicate, lightweight fabrics like silk and satin.
An all-purpose needle falls in the mid-range of needle sizes. An 80/12 needle will sew most fabrics with a straight, even stitch. A needle size of 110/16 is needed for heavy canvas and denim fabrics. Fine silk requires one of the smallest needles, numbered 65/19.
Needle tip
Along with the size of the needle, you'll also need to consider the tip against the type of fabric you're sewing.
- Sharps are very sharp-point needles that can go through heavyweight fabrics.
- Rounded-point needles work well with knits and spandex because they won’t snag or cause runs in the fabric.
- Universal needles are a great all-around choice for a needle that works well with knits and many heavier fabrics.
If you’re sewing very heavy fabric, denim, or leather, choose a specialty needle made especially for sewing straight, even stitches on the toughest fabrics.
How to replace a sewing machine needle
Now that you’ve determined what size sewing machine needle you’re looking for, it’s time to put it into the machine. Replacing your sewing machine needle is easy with the step-by-step directions below.
Tools and materials needed:
- Small flat-head screwdriver
- New replacement needle
1. Turn machine off
Turn your sewing machine off and unplug it. Raise the needle to as high as it will go using the handwheel, then lower the presser foot.
2. Loosen clamp
Use the screwdriver to loosen the needle clamp screw while holding the needle between your thumb and index finger. Do not remove the screw; just loosen it enough so the needle can be removed.
3. Pull needle
Gently pull the needle downwards, then pull it away from the clamp that holds the needle in place.
4. Insert new needle
Insert a new needle with the flat side facing upwards and toward the back of your sewing machine. Push the needle up until the back of the needle hits the needle stop.
5. Tighten clamp
Begin tightening the needle clamp screw using your fingers, then finish tightening it with a small screwdriver. Be sure to tighten the screw as tight as possible so the needle won’t wobble while sewing.
6. Thread
Thread your needle with the end of the thread that came out of the needle when you removed it, going through the eye of the needle from the front to the back.
What’s your next sewing project? Let us know in the comments, we love to hear from you!
The author may collect a small share of sales from the links on this page.


Comments
Join the conversation