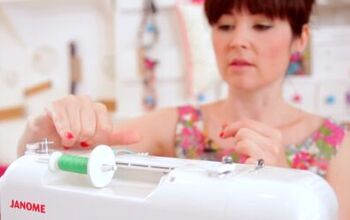
How To Replace a Sewing Machine Needle
The needle is an essential component of a sewing machine, responsible for creating precise stitches. Over time, needles can become dull or damaged, affecting the quality of your sewing projects.
Knowing how to replace a sewing machine needle is a valuable skill for any sewing enthusiast.
Here's a step-by-step guide to help you easily replace your sewing machine needle.
Step 1: Gather the necessary tools
Before you begin, gather the following tools:
- New sewing machine needle (ensure it is compatible with your machine and the fabric you'll be using)
- Screwdriver (often included with your sewing machine)
- Seam ripper or small pliers (optional)
Step 2: Power off your sewing machine
To ensure safety, turn off your sewing machine and unplug it from the power source.
This step will prevent accidental needle movements and potential injuries.
Step 3: Remove the old needle
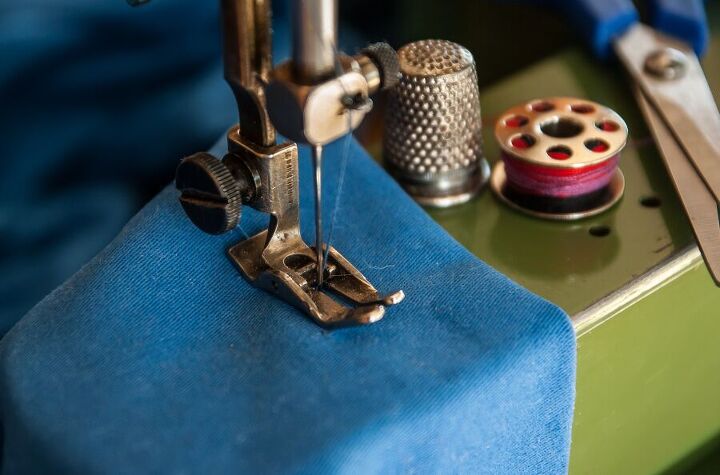
Locate the needle clamp screw, which secures the needle in place. It is usually located on the right side of the needle bar.
Using the screwdriver, loosen the clamp screw by turning it counterclockwise. Do not remove the screw completely; just loosen it enough to release the needle.
Once the clamp screw is loose, carefully pull the old needle down and out of the machine. If the needle is broken or stuck, you can use a seam ripper or small pliers to gently pry it out.
Step 4: Examine the needle and machine
Take a moment to inspect the needle and the area around it. Look for any broken pieces or fabric remnants that may have been left behind.
Clean any debris using a small brush or compressed air to ensure the new needle is inserted into a clean space.
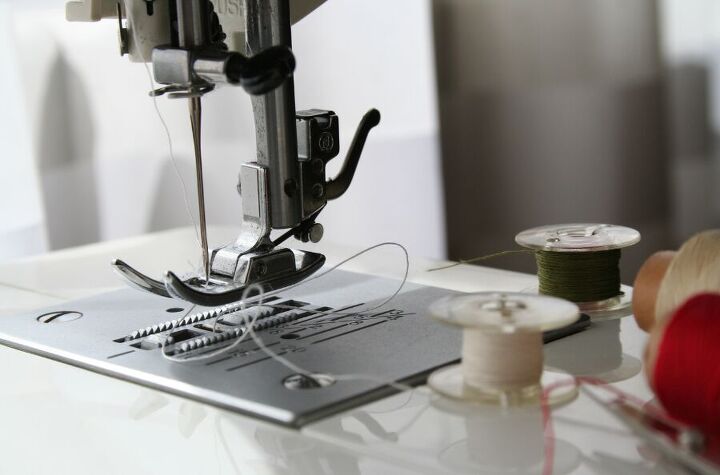
Step 5: Insert the new needle
Take the new needle and observe its design. Notice that one side of the needle is flat and the other has a groove. Hold the needle with the flat side facing the back of the machine.
Align the flat side of the needle with the needle clamp. Slide the needle up as far as it will go, making sure it is fully inserted into the needle bar.
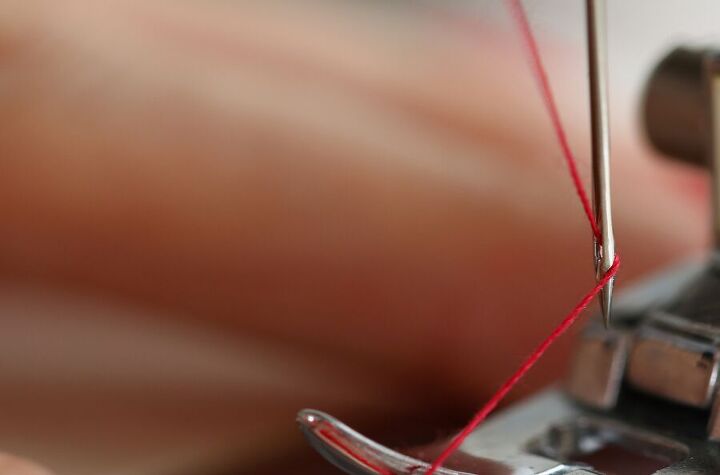
Step 6: Tighten the needle clamp
With the new needle in place, use the screwdriver to tighten the needle clamp screw. Turn it clockwise until it is snug, but avoid overtightening, as it may cause damage to the needle or the machine.
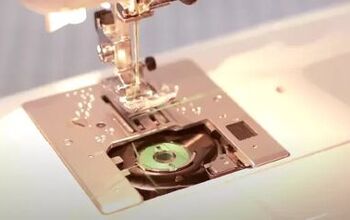
Step 7: Test the new needle
Once the needle is securely in place, turn on your sewing machine and run a few test stitches on scrap fabric. Observe the stitch quality and listen for any unusual noises. If everything looks and sounds normal, congratulations! You have successfully replaced your sewing machine needle.
Replacing a sewing machine needle is a straightforward process that can greatly enhance your sewing experience.
By following these step-by-step instructions, you can confidently replace the needle whenever necessary, ensuring optimal stitch quality and preventing potential sewing mishaps. Remember to always prioritize safety by powering off your machine before attempting any maintenance procedures.
Happy sewing!
The author may collect a small share of sales from the links on this page.


Comments
Join the conversation