How to Sew a Collar to Make Handmade Shirts Look Sharp
In this post, you’ll learn how to sew a collar.
I’ve been sewing shirts for my boys now for over a decade, and my first few collars were…rough. Learning to sew a shirt collar can come with a little bit of a learning curve. And tears. And wonkiness.
But if you follow what I’m going to show you here, your own DIY shirt collars are going to start to look crisp and professional. You will so proud of yourself when those collar points are crispy crisp and the stand sits up to salute you.
I will walk you through all my best collar sewing tips that’ll help you get the best handmade collars.
So grab a point turner and let’s make some collars.
elizabethmadethis.com is a participant in the Amazon Services LLC Associates Program, an affiliate advertising program designed to provide a way for websites to earn advertising revenues by advertising and linking toSome of the links below are affiliate links. This means that, at zero cost to you, I will earn an affiliate commission if you click through the link and finalize a purchase.
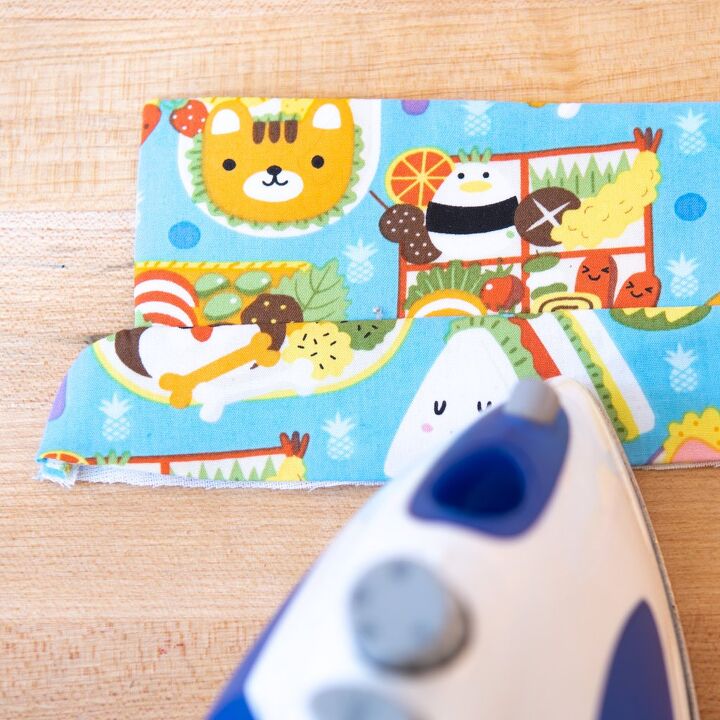
Table of Contents
The secret reason why your collar points aren’t pointy
One of the reasons why sewing collars is tough is because we’re sewing with inside and outside curves in a small area. Because of this, any bit of extra fabric will gum up the process.
Sewing collars also needs a little bit of accuracy and patience. Take your time when you get to making a collar and you’ll never regret it. The way I’m going to teach you, you have lots of opportunities to adjust things without adding extra work.
If you’ve ever sewn a lumpy collar, you’ve seen the result of what I’m talking about. The good news is, we can fix this.
How to sew a collar supplies
- Fusible interfacing
- Point presser
- fabric marker
- quilting ruler
- contrast thread for basting or a glue stick
- Tailor’s ham
- sewing pins or Clover Wonder Clips
What kind of interfacing should I use for shirts?
You’ve got lots of choices when you pick an interfacing for sewing shirts. Here are my favorite choices from favorite on down. I’ve made shirts with all of these, and they all give you good results.
- Pro-woven shirt crisp from Fashion Sewing Supply: this is the best choice for collars on men’s shirts. You get a lot of support and a collar that stands up beautifully.
- Silhouette Patterns fusible interfacing: this knit interfacing is my favorite all-purpose interfacing. It makes for softer collars on most fabrics and is perfect for making crisp collars on fabric that already has a lot of structure.
- Pellon Shir-Tailor: this one is easy to find in most fabric stores. It makes for a good crisp collar with excellent shape.
How to sew a collar step by step
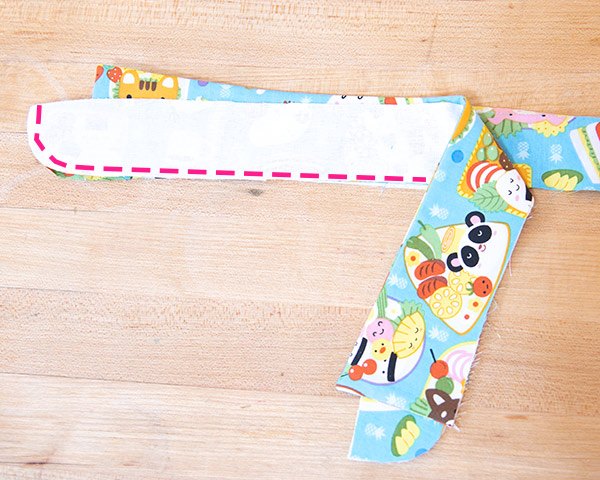
Remove extra seam allowances
On a collar, it’s nice to work with 1/4″ seam allowances. This might seem small, but sewing with a narrow seam allowance on a collar will help you do 2 things:
- Stitch more accurately: because the raw edge is closer to the stitching line, curves will be easier to sew.
- Eliminate the need for lots of grading, and trimming.
To remove the extra seam allowance on your pattern, check your pattern first to see what your seam allowances are for the pattern.
On the collar and the collar band, use a ruler to mark where the seamline is by measuring from the cut edge in the seam allowance’s width. Next, measure 1/4″ away from the seam line and mark it with a pen. Cut off the extra bit of the pattern past this line.
Repeat this process for the front and back neck edge. You might need to do this on the front band if it’s not a foldover band.
Cutting out the collar pieces
Cut out 2 collar pieces and 2 band pieces. You’ll also need to have your fronts and back cut to sew a shirt collar.
Be sure to mark all of the marking points, but especially center back with a fabric marker or a small clip.
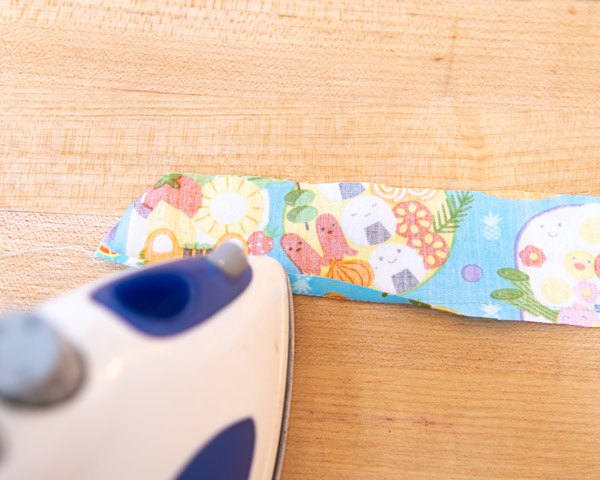
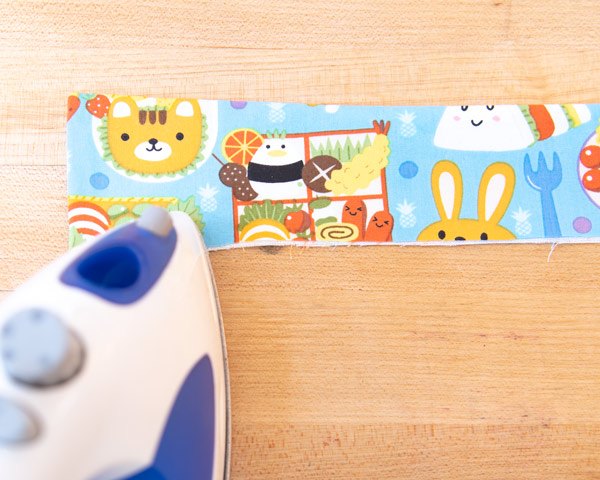
Interfacing the collar pieces
Apply fusible interfacing to one collar and one collar band. Use lots of steam and press on both sides of your piece.
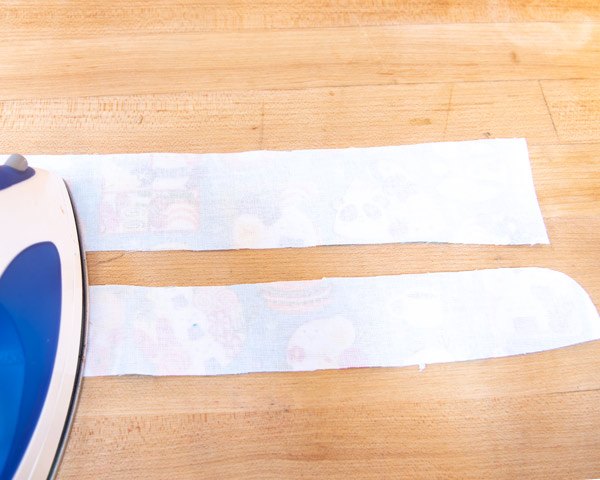
Check out how to use fusible interfacing for more details on interfacing your pieces.
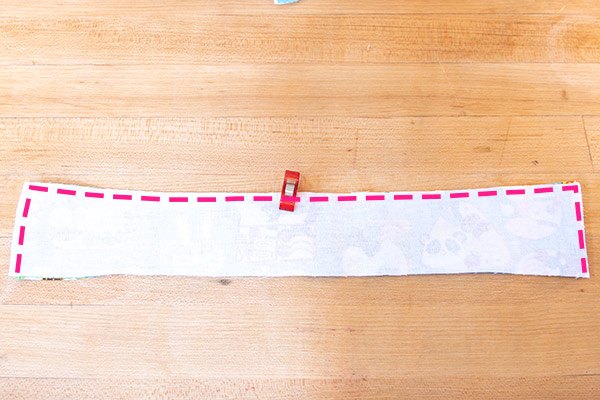
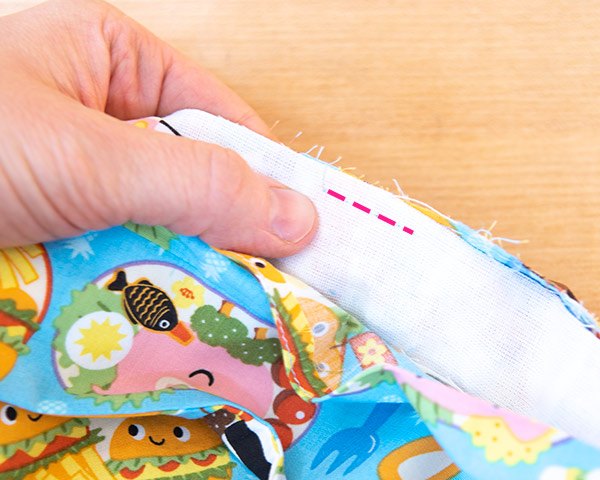
Prepare the inside band
On the non-interfaced band, sew a line of stitching 1/4″ from the bottom edge.
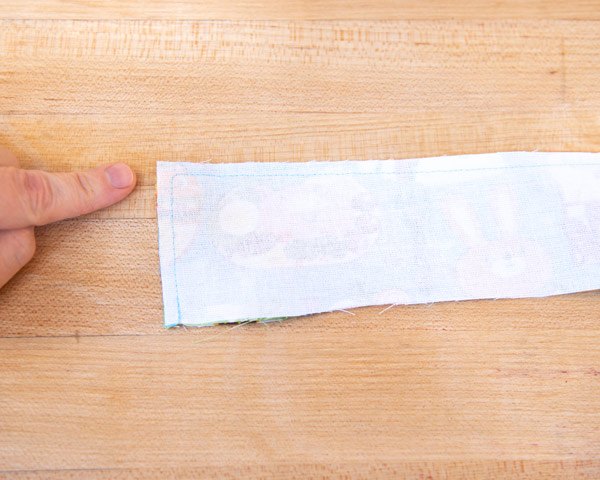
Press up the raw edge on the stitched edge towards the wrong side of the band right on the stitching line.
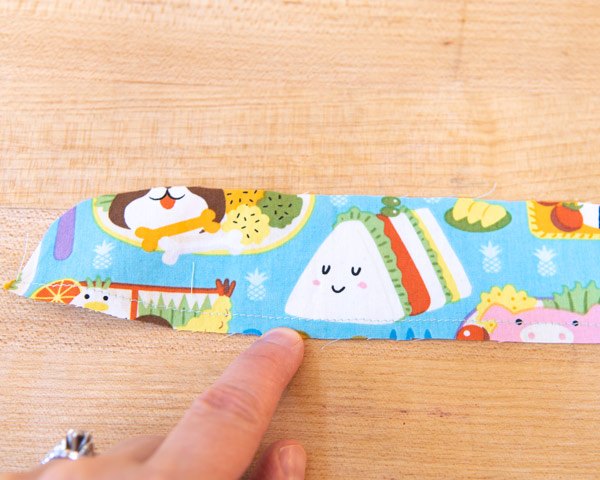
Sew the collar pieces
Place your collar pieces right sides together, pinning at center back.
Sew around the sides and the top of the collar with the interfaced piece on top. When you get to the corner, pivot exactly at the intersection of the 1/4″ seam allowances. If you’re not confident you can hit that point accurately, use your ruler to mark the 1/4″ seam allowance for about 1″ on the side and the top. That point is right where you need to pivot your needle.
If you’re working with a bulkier fabric, stop half a hair shy of that point and instead take 1-2 stitches at an angle in the corner. I did this here so you can see it. That tiny bit of space will help that collar point turn a little easier with bulkier fabrics.
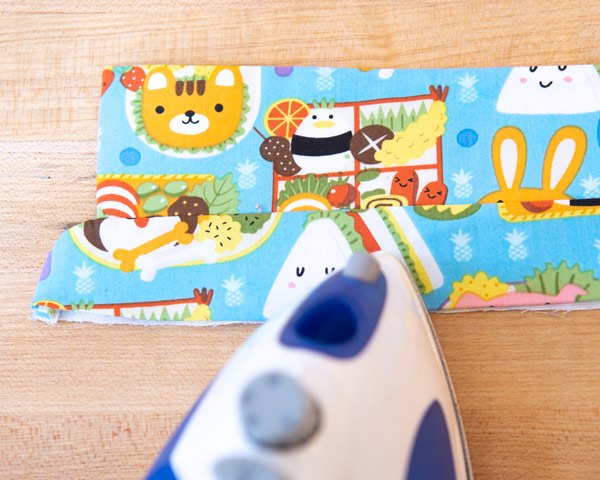
Press the collar
Place the collar on the point turner.
Note: You can do this without a point turner, but it’s a little tougher. If you sew a lot of collars, a point turner is a worthy tool investment.
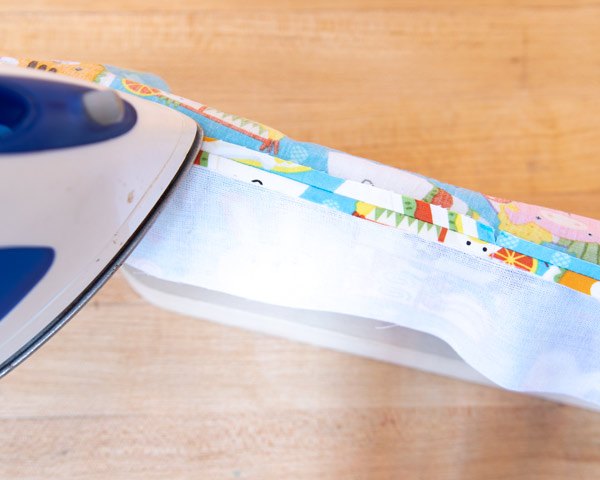
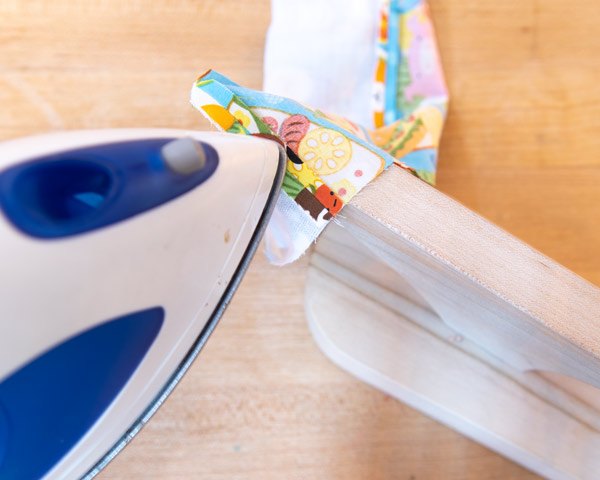
From here, press open the seam allowances. Drape the collar side over the point to press the seam allowance. Use a lot of steam here. Repeat for the second side.
Turning the collar
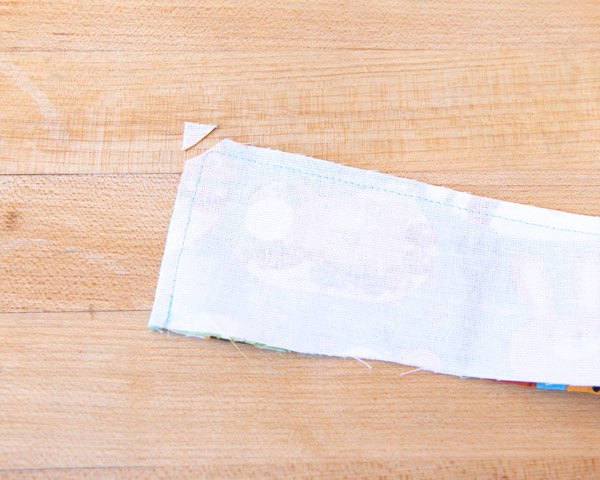
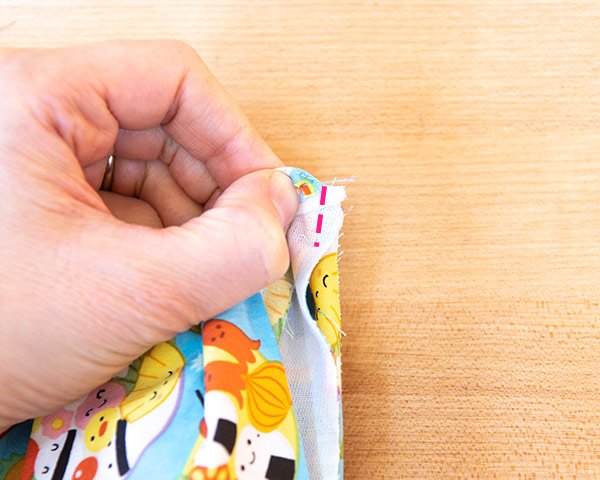
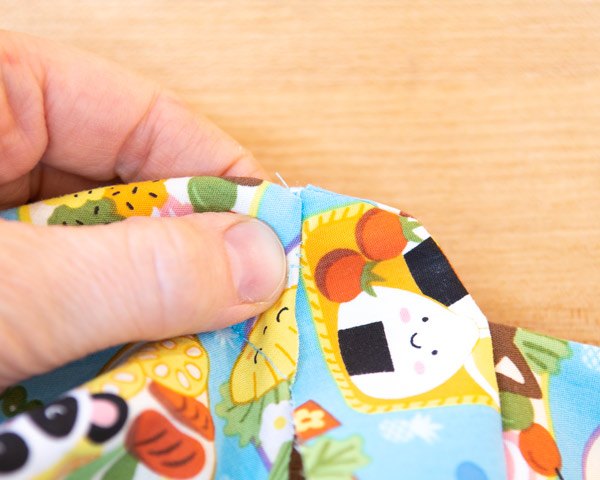
Trim off the corners of the collar, being careful not to cut into the stitching.
Use your fingers to grasp the points, folding them on each other.
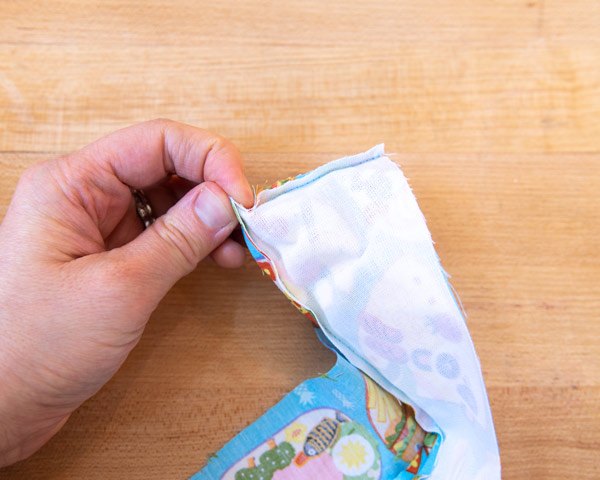
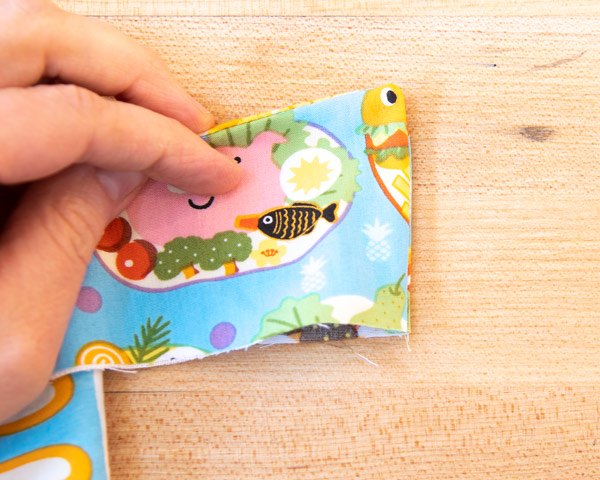
Turn the collar right side out. Use your fingers to wiggle out the corner. You can use a chopstick to gently tease out the corner. Always finish with easing out the corners by hand. Sometimes point tools can inadvertently stuff a tiny lump of fabric into the corner. Stay patient here, wiggling out that point.
When your collar is turned, press it flat. Baste the bottom edge of the collar together.
Sewing the collar to the collar band
From here, use a fabric marker to mark the seam allowance on the curved side edges of the collar band on the interfaced piece. These are tight curves and it’s tough to eyeball these things.
Sandwich the collar between the two band pieces, matching up the marks, especially center back.
Sew the collar to the band around the sides and top of the band.
Turn the collar unit right side out and press.
If the curved sides are looking pinched or aren’t pressing smoothly, turn it back to the wrong side and clip into the seam allowance along the curve. It’s such a small seam allowance most fabrics won’t need this, but this is the fix if the curve isn’t smooth.
Elizabeth Made This Tips
Now the collar is ready to sew to your shirt.
Basting the collar to the shirt
Before you can sew a shirt collar in place, be sure that you’ve sewn your shoulder seams on the back and front. The button bands also need to be stitched in place.
Match up the unpressed edge of the band to the right side of the shirt at one front edge. Fold back the seam allowances, adjusting so that it ends exactly at the edge.
Set your machine to about a 3.5mm length straight stitch. Baste the front edge of the collar to the front edge of the shirt for about 1″.
Fold the band seam allowance to the inside and check your work. You can see my collar’s edge sticks out past the band by a hair. If that happens, simply pull out those few stitches and try again. The stitches will pull out easily since they’re longer.
This might seem tedious and nitpicky, but that front edge is what makes a good shirt great. You will never regret spending another minute trying again. Persevere here: getting a clean edge is worth the effort.
Baste the opposite edge of the collar and for about 1″ at center back. With these 3 points in place, there’s no need to pin the collar.
Sew the rest of the collar band to the shirt
From here, sew the collar band to the neck edge from front edge to front edge. Take your time here, lining up the raw edges and sewing slowly.
Press the seam towards the collar band.
Baste the inside collar band
Flip the inside collar band so that it just covers the seam. Line up center back.
With a needle threaded up with a contrast thread, make large basting stitches to hold the collar to the inside neck.
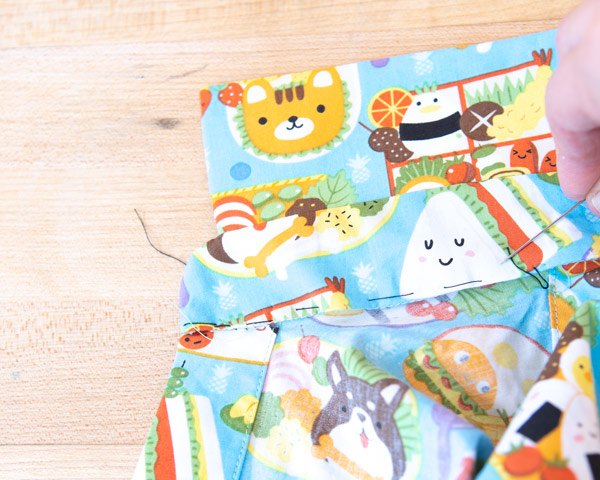
You’ll find it’s best to to this task on a curved surface. You can drape it over your hand, but I like to pop the collar onto my tailor’s ham to baste the band in place. The natural curve of the ham mimics the inside curve of the neck well.
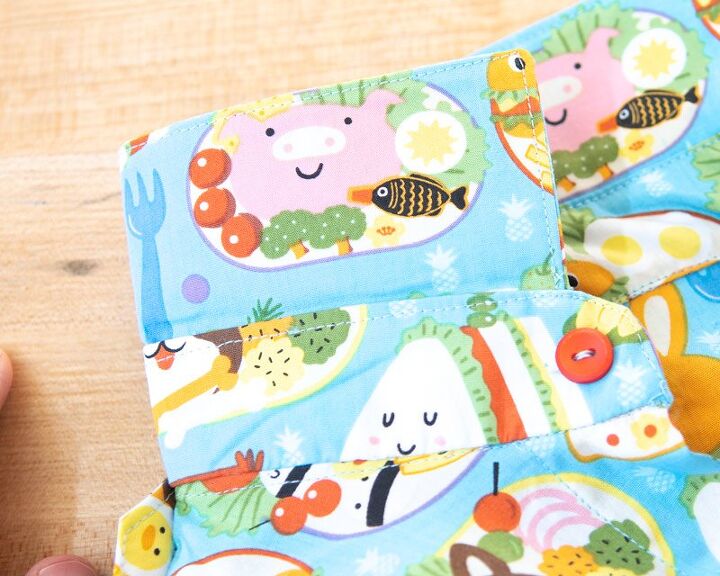
Topstitch the collar
Stitch close to the pressed edge on the bottom of the collar band.
To finish off the collar, topstitch the collar with a 2.8mm straight stitch on the top of the collar band and along the pressed edges of the collar.
Check out how to topstitch for my pro topstitching tips.
Press the finished collar
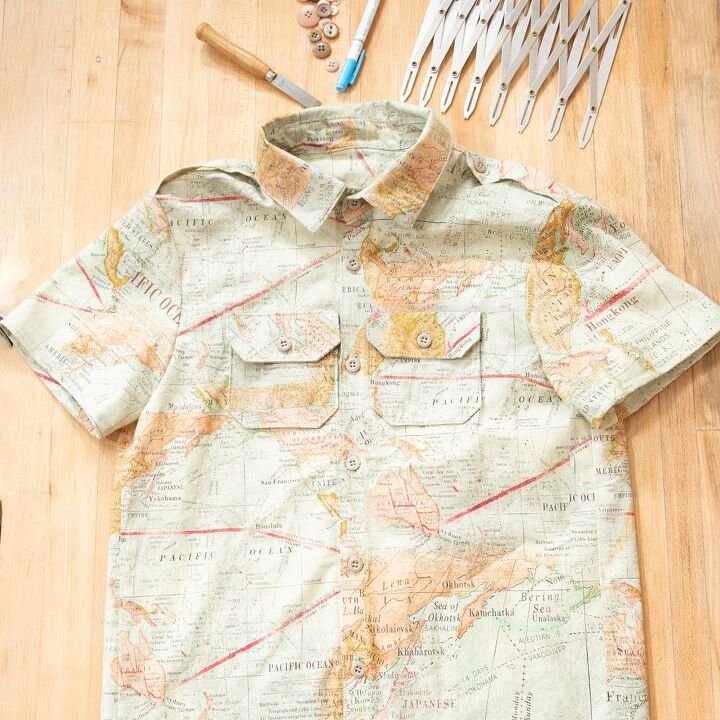
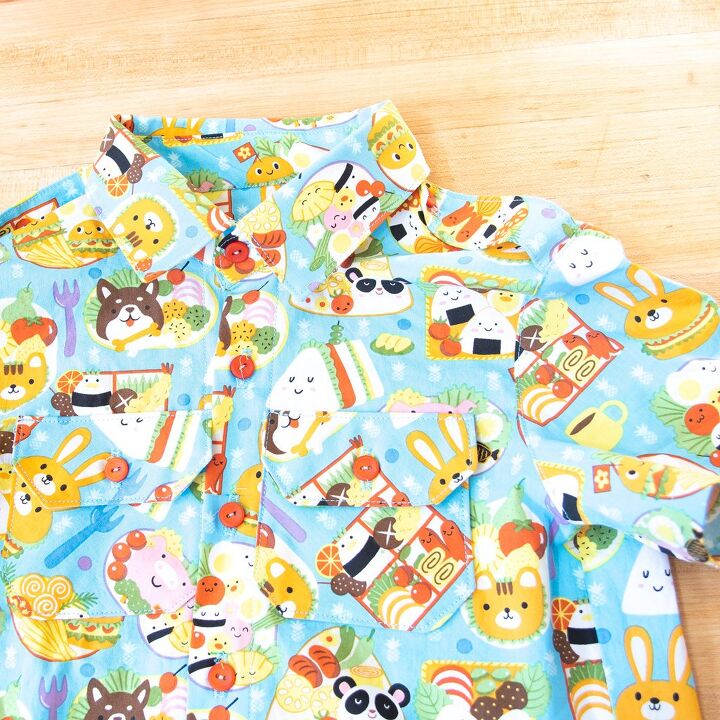
And that’s how to sew a collar from start to finish. After you’ve added your shirt collar, you can finish off making your shirt, adding the buttons and so forth.
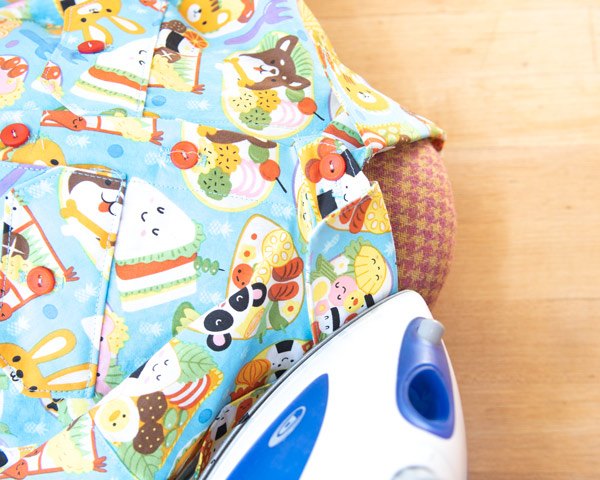
Once the buttons are in place, button up the shirt and place it on a Tailor’s ham, folding down the collar.
Steam and press the collar along it’s roll line on the ham for some final shaping. Allow the shirt to cool, and you’ve now got a pretty beautiful collar you’ll be proud to say you made yourself!
Learn to make beautiful shirts step by step
How to sew a collar to make handmade shirts look sharp
In this post, you’ll learn how to sew a collar. I’ve been sewing shirts for…
How to sew buttonholes by machine (it’s not as scary as you think)
Let’s talk about how to sew buttonholes. I know sewing buttonholes can be one of…
Sewing a yoke: shirtmaking with the burrito method
Today I’m talking about sewing a yoke. Making a yoke is one step in shirtmaking….
Elizabeth Farr is the writer behind the Elizabeth Made This blog where she shares helpful sewing tips, step by step sewing tutorials and videos to help you explore your creativity through sewing. She has written sewing Eguides and patterns, been a featured teacher at Rebecca Page’s Sewing Summit and Jennifer Maker’s Holiday Maker Fest and her work has appeared in Seamwork and Altered Couture magazines. She also created a line of refashioned garments for SEWN Denver. When her sewing machine isn’t humming, she’s playing and teaching violin, and hanging around a good strategic board game with her husband and 4 kids.
The author may collect a small share of sales from the links on this page.


Comments
Join the conversation