How to Sew a Patch on a Hat
Adding patches to hats is a great way to personalize your accessories and showcase your unique style. Follow these instructions to achieve professional-looking results effortlessly.
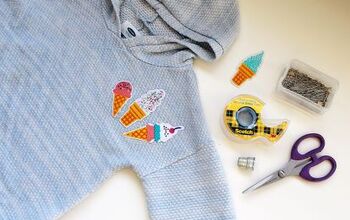
Step 1: Gather the necessary materials for sewing a patch on a hat
Before you start sewing, collect the essential materials: hat, patch, needle, thread, scissors, and pins. Having everything ready will ensure a smooth sewing process.
Step 2: Choose the perfect spot to sew your patch
Find the ideal location on your hat to attach the patch. Experiment with different positions and use pins to temporarily secure the patch. Discover the placement that suits your style best.
Step 3: Prepare the hat and patch for sewing
Lay your hat on a clean surface and flip up the brim if applicable. Ensure the area for attaching the patch is clean and free from debris. Check the patch for loose threads or excess fabric that could hinder the sewing process.
Step 4: Thread the needle for sewing
Thread the needle with a color of thread that complements the patch. Make sure to use a thread length twice as long as usual. Tie a knot at the end of the thread to secure it.
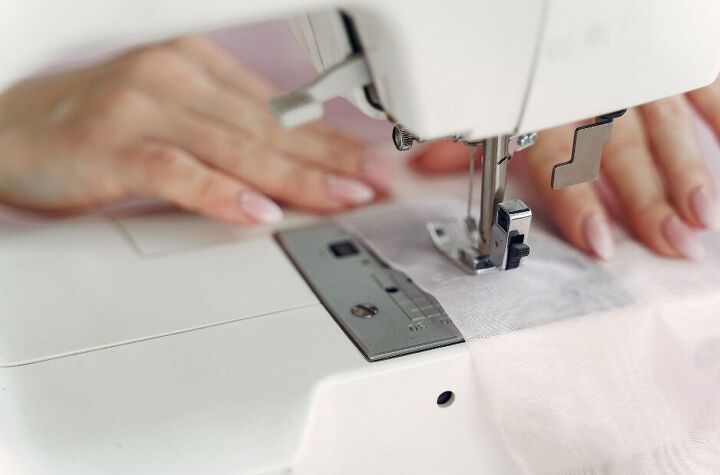
Step 5: Begin stitching the patch onto the hat
With the patch pinned in place, start stitching along one edge. Opt for a running stitch or a whipstitch for a clean and professional finish. Pass the needle through both the patch and hat fabric, starting from the backside.
Step 6: Ensure a secure attachment
Reinforce the stitching by passing the needle through the fabric and patch a few extra times. This step will add strength and durability to the attachment.
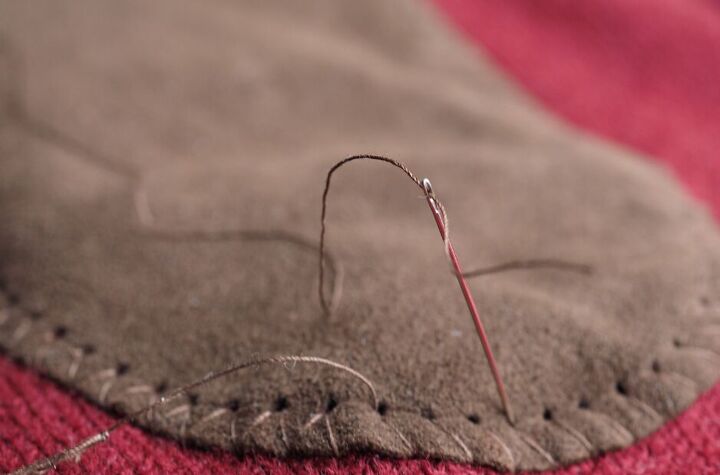
Step 7: Complete the stitching process
Continue stitching around the entire patch until you reach the starting point. Tie a knot on the backside of the hat to secure the thread. Trim any excess thread, being careful not to cut too close to the knot.
Step 8: Inspect and refine your work
Take a step back and evaluate the patch attachment. Check for loose areas or uneven stitches, and make necessary adjustments using the needle and thread. Aim for a neat and polished appearance.
Step 9: Clean up and final touches
Remove the pins and brush away any loose threads or debris from the hat. Give the hat a gentle wipe if needed, ensuring it looks clean and presentable.
Congratulations on successfully sewing a patch onto your hat! Now you can proudly wear your personalized accessory. Remember that practice leads to perfection, so don't be discouraged if you're new to sewing. With time, you'll become more confident in your skills, creating beautifully customized hats that reflect your style.
The author may collect a small share of sales from the links on this page.


Comments
Join the conversation