How to Sew Ruffle Sleeves: Making Puffy Sleeves in 7 Simple Steps

Say goodbye to plain old regular sleeves! In this tutorial, I’m going to show you how to sew ruffle sleeves. These cute sleeves are very trendy, very classy and they’re very easy to make. Let’s get sewing!
Tools and materials:
- Fabric
- Scissors
- Sewing machine
- Measuring tape

1. Cut fabric to size
Start by taking a piece of fabric. You want something that is longer and wider than what you actually need.
Try to look at 13 inches (33cm) length and 13 inches width or maybe 25 inches (64 cm) length and width. The whole tacking process is going to reduce your fabric.
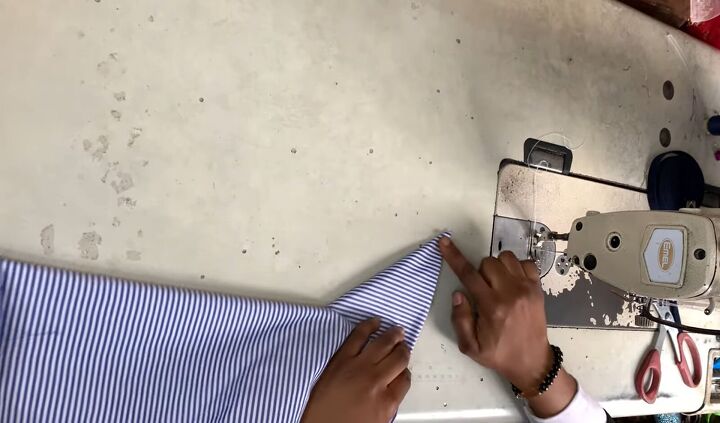
2. Fold and sew the point
Next, fold your fabric lengthwise, fold it widthwise, and then fold it diagonally. Now at the tip, you’re going to go ahead and sew that point.
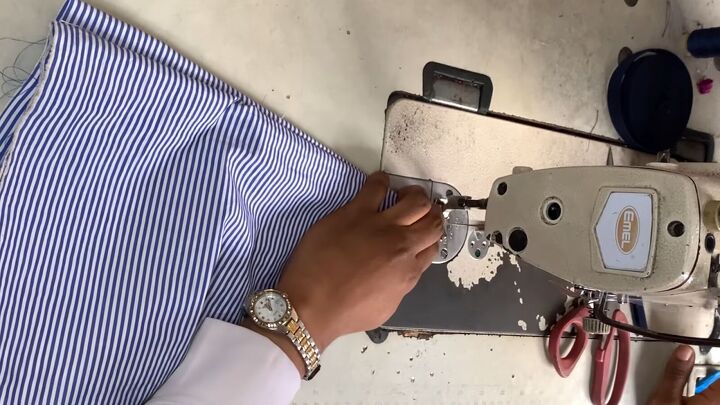
3. Repeat
Now do it again, open up your fabric randomly, don’t try to do it in a straight line, just at any random point, fold your fabric lengthwise, fold it widthwise and then fold it diagonally and then sew the tip.
Continue the process a couple more times at other points along the sleeve. The reason that you’re folding it three times is so that you can have that sort of triangular, diamond-shaped effect.
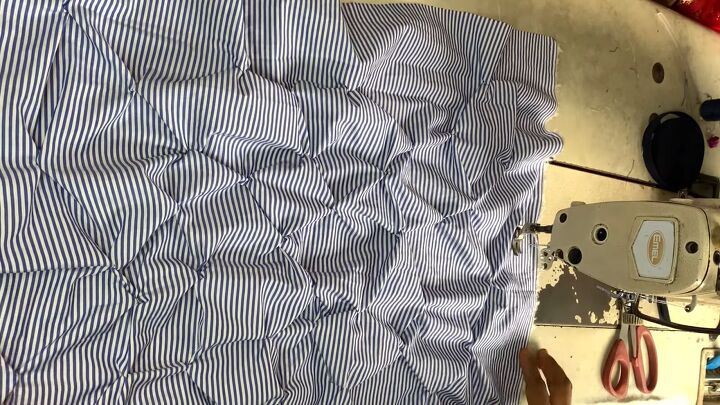
This is what it looks like once we are done.

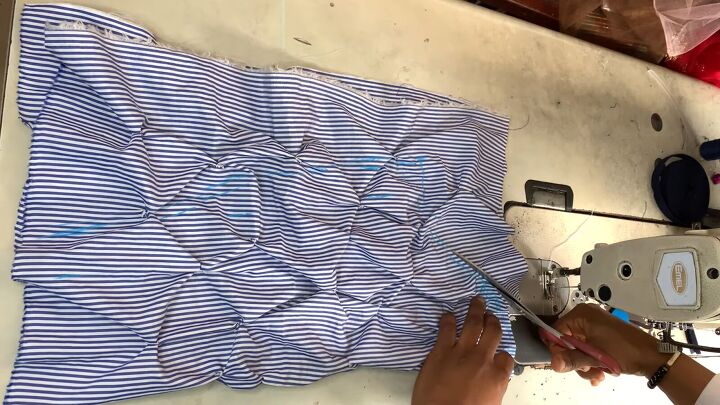
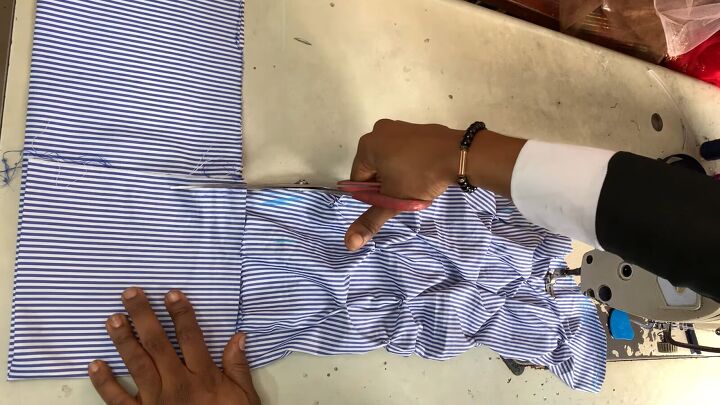
4. Measure the sleeve
The bottom of the sleeve is more fitted. This is where we are going to attach the bottom part of the sleeve. I wanted it to be 6 inches wide, and I also added half an inch for my seam allowance.
Your fabric should be folded in half and folded in half again which means that the full measurement is about 24 inches.
I folded the fabric, and now I have 19 inches. When I started with this, it was about 23 inches long.
5. Cut out
Mark the shoulder, elbow, and wrist measurements at the top, middle, and end of the fabric. You want to add 2 inches (5cm) seam allowance at each of these points. Also, draw the sleeve for the armhole. Then connect them and cut out the sleeve pattern.
6. Cut another piece
Now you’re going to attach another piece of fabric to the bottom of the sleeve. Fold the fabric in half, mark it so that it is the same width as your sleeve and then cut.
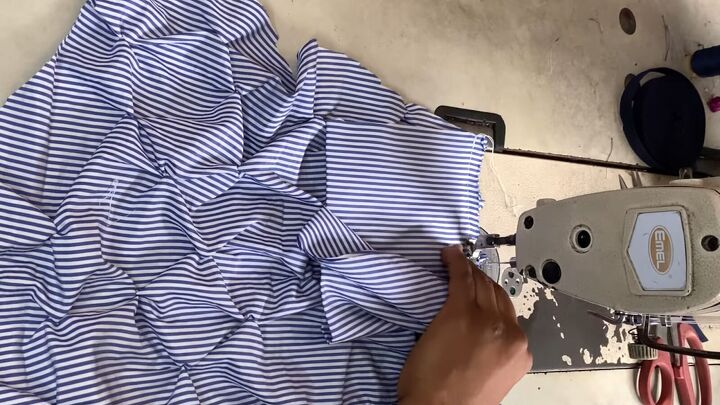
7. Attach the two pieces
Place the second piece of fabric on top of your sleeves with the right sides facing and sew leaving a half-inch (1cm) seam allowance.
Proceed to fold the sleeve in half lengthways and sew it up. Once done, turn the sleeve right side out.
Repeat the process to make the other sleeve and then you’re done!

How to sew ruffle sleeves
Here we have the finished look. I attached the statement ruffle sleeves onto a dress and they really do make a statement! They are much more trendy than plain old regular sleeves. You also have the option to incorporate the ruffle sleeves into a design for a shirt or a dress.
The author may collect a small share of sales from the links on this page.


Comments
Join the conversation
So cute!!
I love this so much! You got mad skills, lady.