How to Make a Cute Custom Raincoat From an Old Coat & Gingham Fabric

The inspiration for this custom raincoat with gingham lining came from a clear raincoat. You may have one in your closet, too, and it’s cute but can be even cuter by up styling it with cute fabric to make a fun design that can be seen through the clear plastic. Let's get started.
Tools and materials:
- Clear PVC plastic raincoat
- Reversible fabric
- Scissors and pinking shears
- Zipper
- Pins and paper clips
- Bias tape
- Thread
- Sewing machine with zipper foot
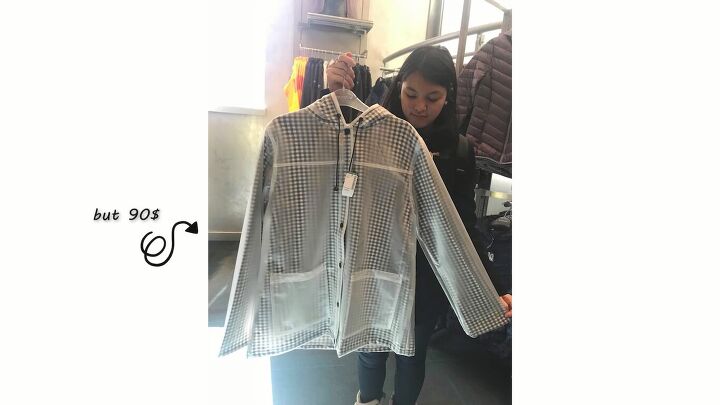
I was inspired to make a gingham raincoat after seeing this one from Simons. However, it's $90!

This was the secondhand clear raincoat I used for this DIY.
I wanted it to be shorter and to lose the collar. Also, there were features that needed fixing: the zipper broke off, the wrist parts were old and the elastic had turned yellow, plus there was a section where the plastic looked like it had been melted by an iron.
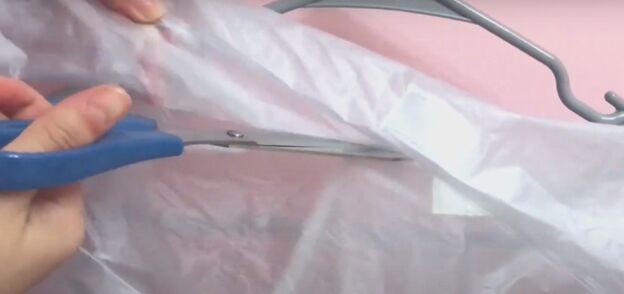
1. Disassemble the plastic raincoat
If your plastic raincoat has both a hood and a collar, you may want to cut off the collar to streamline the look of your new DIY raincoat.
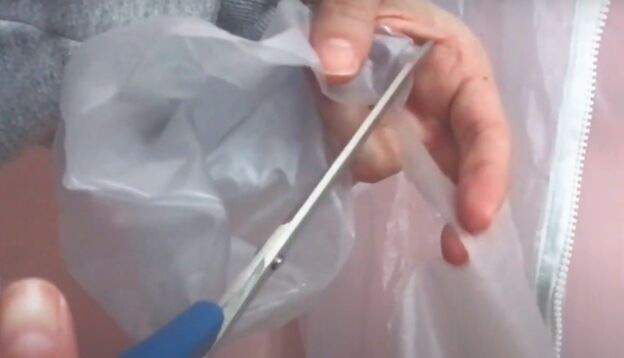
Remove the elastic cuffs from the raincoat if it has them and cut off the existing zipper.

Cut off a length at the bottom of the raincoat and from the bottom of the sleeves to whatever new length you want your DIY raincoat to be.
If you want to replace the pockets on your DIY raincoat, follow the demo from 1:30 to 1:55 in the video.
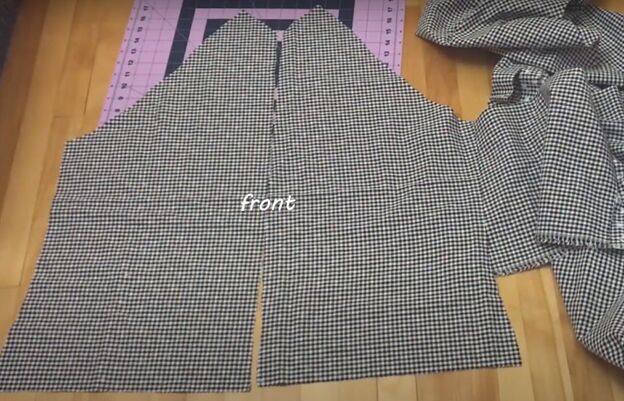
2. Create the fabric raincoat pieces
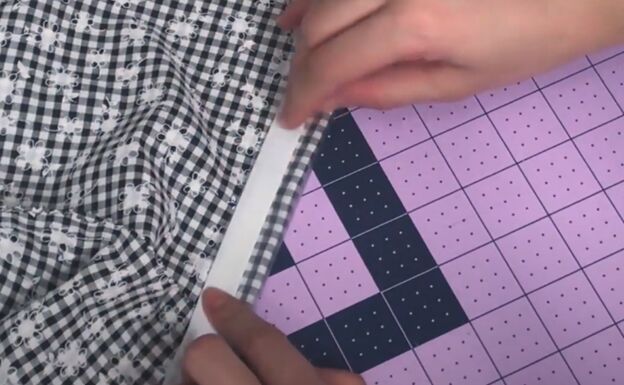
Open the plastic raincoat and trace the outline of the front of the jacket onto your chosen fabric. Don’t add a seam allowance to the front pieces, but do add one inch on the bottom.
Use pinking shears to cut the 2 x 2 front pieces of the raincoat, so the edges don’t fray.
Now, fold the raincoat in half and lay it on your fabric with the fabric folded in half and the fold of the raincoat aligned with the fold of the fabric.
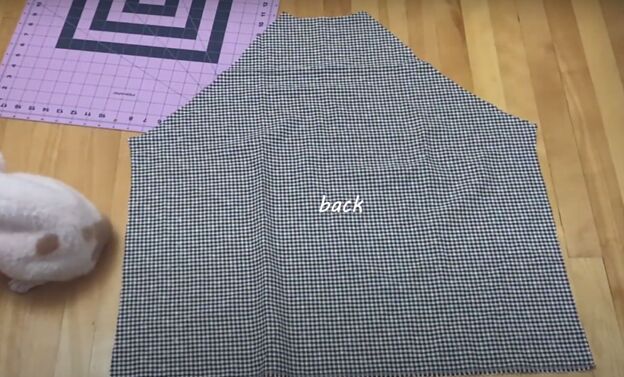
Trace the back of the raincoat on your fabric and cut it out so that you have one large back piece.
If you have reversible fabric, like in this tutorial, you may want to make the sleeves from the reverse side of the fabric to the front and back for a cute style.
Trace the sleeves from the raincoat onto your fabric along the fold of the fabric and cut them out. Now you have all your raincoat pattern pieces.
3. Sew the fabric pieces
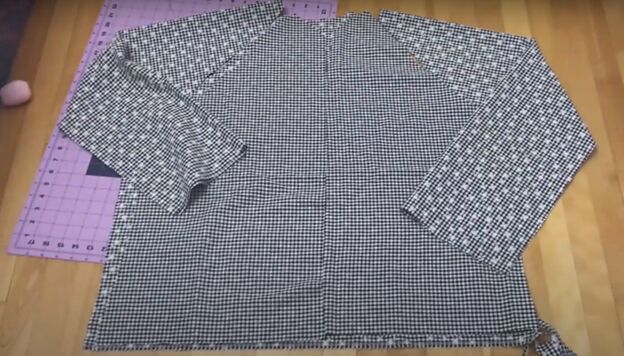
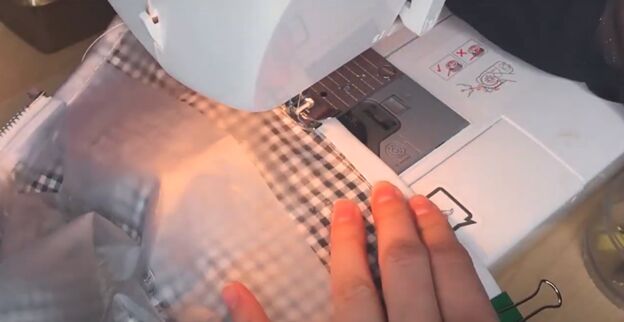
With right sides together, pin the sleeves to the front pieces of the raincoat. Sew the sleeves to the front pieces using a straight stitch.
Now pin the sleeves to the back piece and sew in place with a straight stitch.
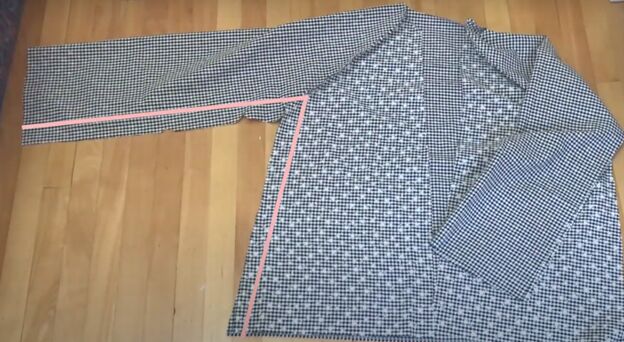
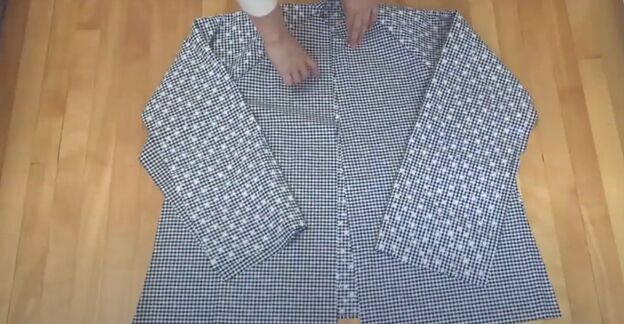
Flip the raincoat inside out and sew the side seams and the inside sleeve seams with a straight stitch. You can sew one side and inside the sleeve in a continuous seam by rotating the presser foot of your sewing machine at the underarm.
Try on your DIY raincoat and if you need to trim the width of the sleeves, you can do that now.
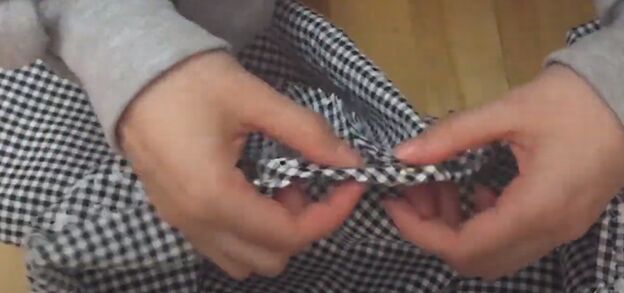
Fold in the neckline of the raincoat twice and pin it, then sew it in place.
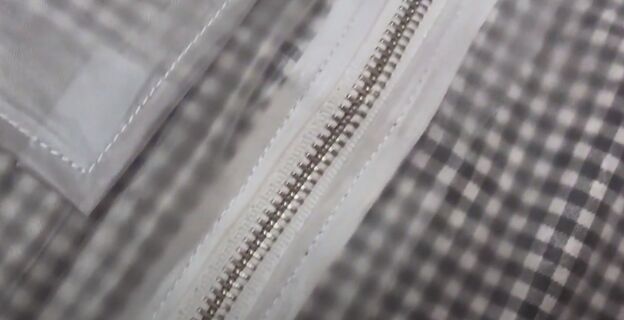
4. Attach the zipper to your DIY raincoat
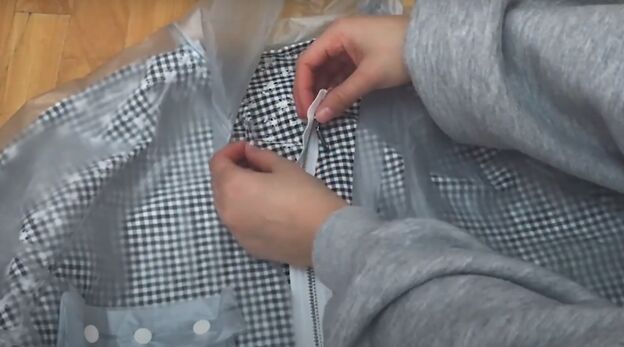
Put the fabric raincoat inside the PVC raincoat. Now you have a two-layered raincoat. Sandwich the zipper between the two layers of front fabric.
Pin the outer edge of the zipper to the fabric. Use a zipper foot on your sewing machine to sew the zipper in place, keeping the stitches as close as possible to the zipper. Topstitch the zipper to the inner side of the fabric using a regular presser foot.
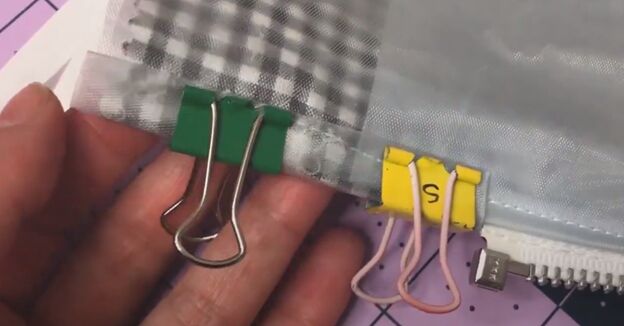
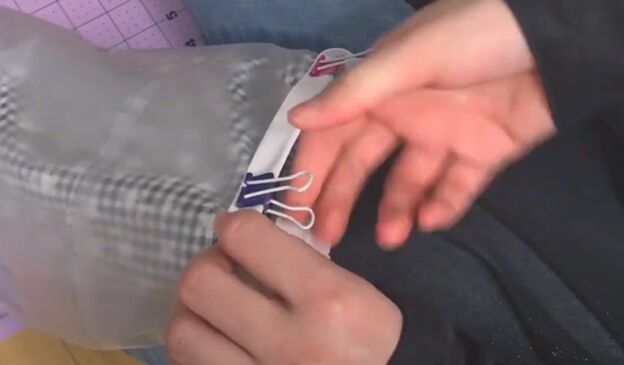
Now use paper clips to pin the PVC plastic raincoat to the fabric raincoat. Don’t use regular pins on the PVC because it will tear the plastic. Pull the PCV in about one inch from the edge of the fabric.
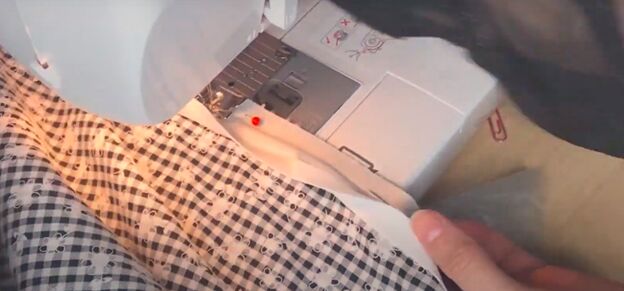
Now slowly and carefully sew the PVC to the fabric, using a long stitch to keep the plastic from ripping.
5. Add bias tape
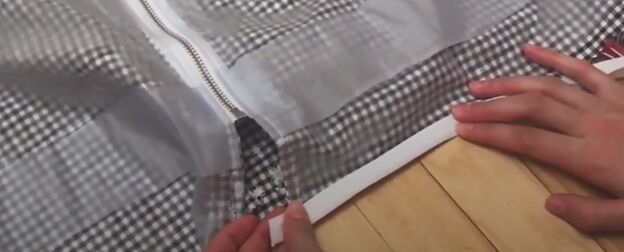
Cut two 4 x 2-inch strips from the excess PVC plastic to use as bias tape. Fold it over the bottom edge of the front of the raincoat, below the zipper end, and sew it in place.
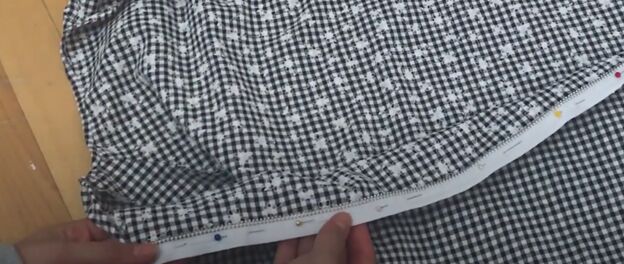
Pin regular bias tape to the inner fabric layer of the hem of your raincoat.
Sew the first fold down with a straight stitch.
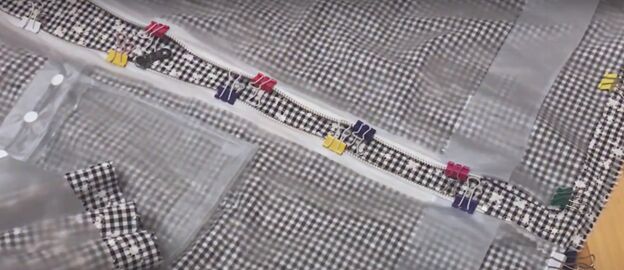
Now align the hem of the PVC layer with the hem of the fabric layer and fold the other side of the bias tape over to hide the raw edges. Use paper clips to pin it in place. At the ends of the bias tape, tuck in the raw edges.
Topstitch the bias tape in place as close as possible to the edge.
Repeat the same process with the bias tape on the hems of the sleeves. Follow the video from 6:50 to 7:30 for a demonstration.

Custom raincoat tutorial
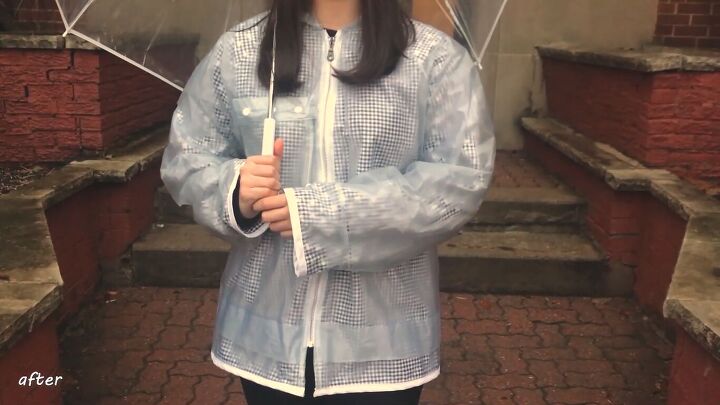
Now you’ve stylishly recycled your old plastic raincoat. Suddenly a rainy day doesn’t seem so bad when you have this cute DIY raincoat to show off! Leave a comment to let me know how yours turned out.
The author may collect a small share of sales from the links on this page.


Comments
Join the conversation
You could use a dollar tree shower curtain...