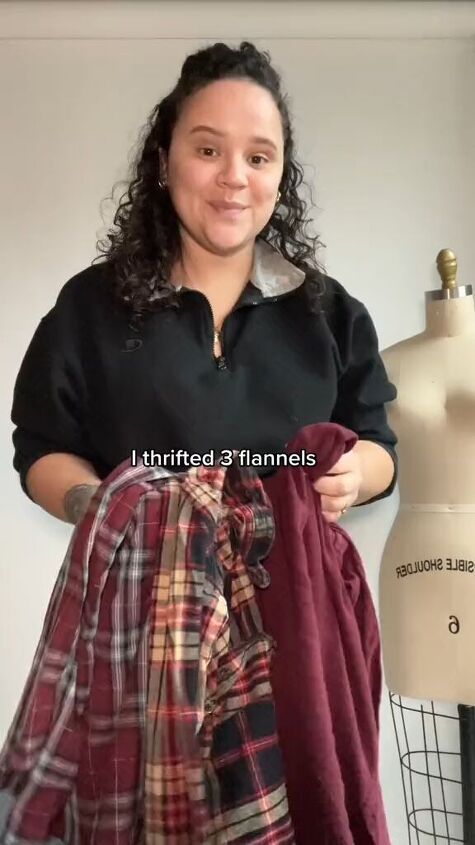
Thrift 3 Flannels to DIY Your New Favorite Fall Piece

Thrift 3 flannels to DIY your new favorite fall piece. I’ll show you how I made my go-to layering piece for the winter.
I’m calling it a flannel trench. The idea is to use these 3 flannels to make one extra-long flannel.
Tools and materials:
- 3 old flannels
- Scissors
- Sewing machine or needle and thread
- Pins
- Buttons
- Measuring tape
- Fabric marker or chalk
1. Prepare
Start by selecting the flannels you want to use for the top, middle, and bottom of your trench.
Button and lay out the flannel you chose for the top.
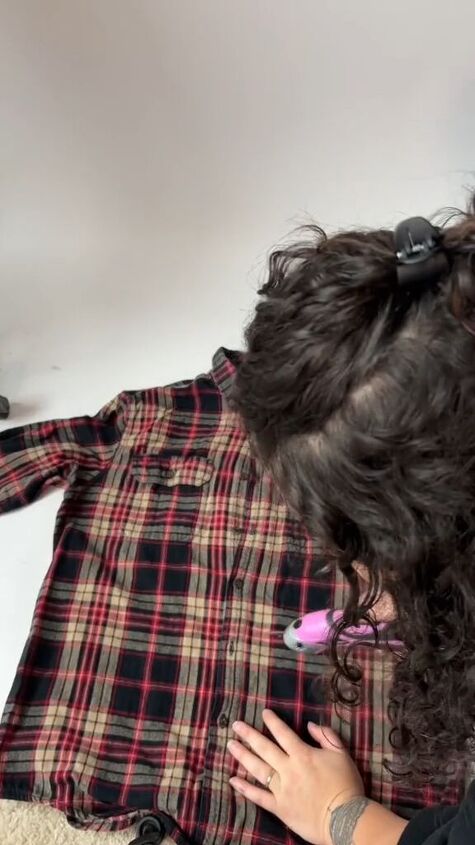
2. Cut
Carefully cut off the bottom half of the shirt. Button and lay out the flannel for the middle section and cut out the midsection.
Lay out the third flannel, and cut off the bottom half of the shirt.
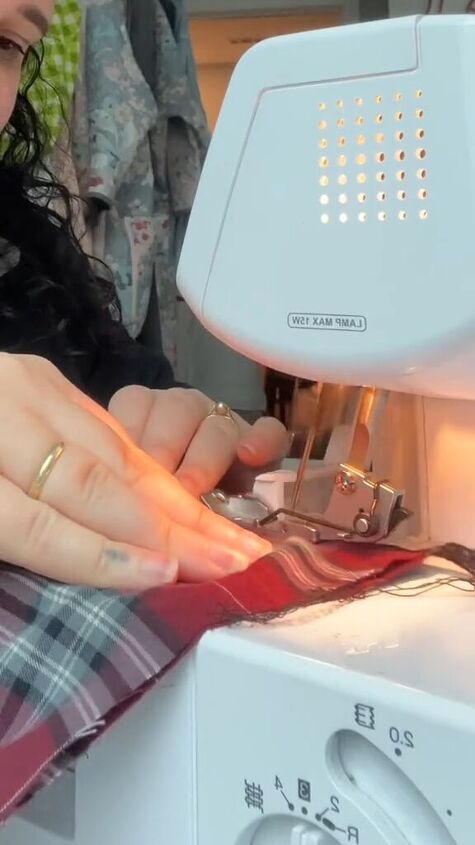
3. Sew
Unbutton the shirts and pin the middle section to the top section with the right sides facing in. Then, sew the pieces together.
Now, pin the bottom piece to the bottom of the middle section with the right sides facing in and sew them together.
4. Hem
Trim any excess fabric and hem the bottom to create a straight hemline.
This step will give your flannel trench a polished and finished look.

Thrift 3 flannels to DIY your new favorite fall piece
Congratulations! You've successfully turned three old flannels into a trendy and unique flannel trench – your new go-to layering piece for the winter.
Give this DIY project a try and enjoy the satisfaction of turning old clothing into a stylish and sustainable fashion statement.
Leave me a comment to let me know what you think.
Next, learn how to Mesh Your 2 Favorite Sweaters Into 1.
Follow me on Instagram: @pxgon
Follow me on TikTok: @pxgon
The author may collect a small share of sales from the links on this page.


Comments
Join the conversation
I could see using this as a winter robe - it just looks so comfy! Thanks for the idea!