Make a Patchwork Coat the Easy Way!

The Coda Quilted Jacket is a great transitional pattern for quilters who want to dip their toes into garment sewing OR for garment sewists who want to try out quilting. However, if you’re a lazy sewist like me and want the Quilted look without the hassle then I’m here to support you. Let me show you exactly what I did to achieve this fun denim patchwork coat without having to patch any fabric together.
The Fabric!
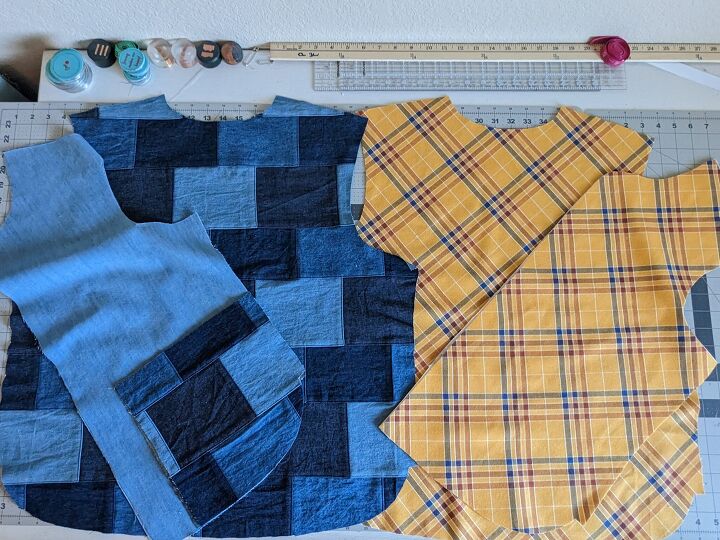
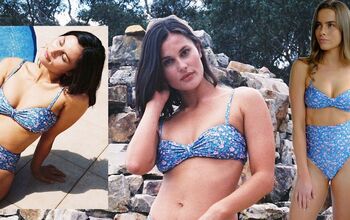
First, I found this cute patch work fabric at Joann’s. It was a bit pricey so I waited until it was on sale and then purchased only a yard. I had some light weight denim in my stash that matched it perfectly. I planned to use my stash denim for the front, sleeves and collar and the patch work for the back and pockets. Because the jacket was blue I thought it would be nice to have a bright, contrasting plaid on the inside. So I chose this mustard colored flannel.
Lengthening the Pattern….
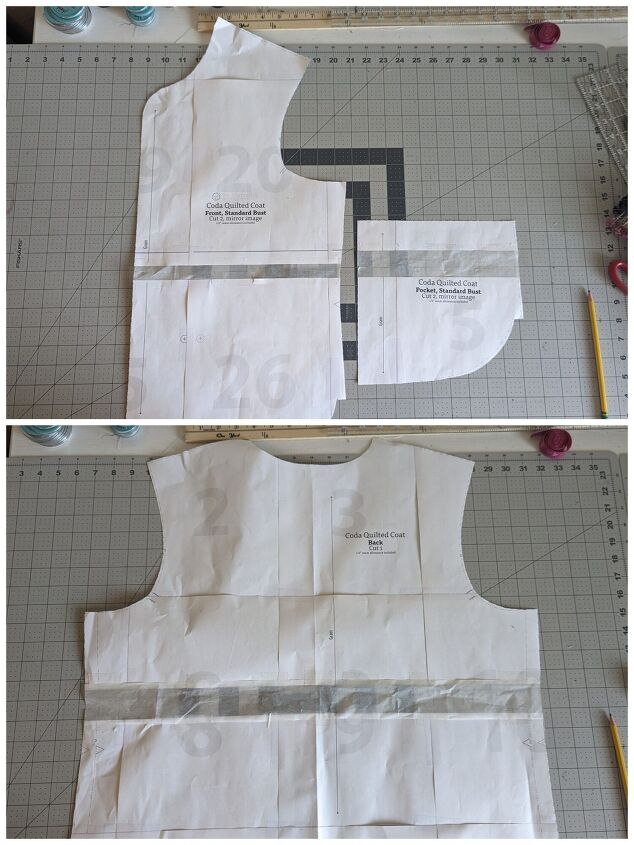
Before I cut everything out though, I wanted to make a simple pattern modification. I wanted to lengthen the jacket by 1 ½ inches. So I added some tracing paper to the front, back and pocket pattern pieces. Once I had that done I cut everything out. I wanted to change things up and have some variety, that’s why I used the collar option rather than the hood like I did with my two previous Coda Coats.
The Zipper and Collar!
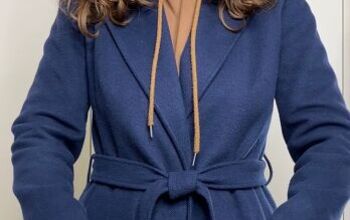
I also wanted to do a zipper like I did in the Coda Jacket I made for my mom. So I used a 20 inch navy blue separating zippe r. I chose the navy colored zipper rather than a light denim color because it was what was available and I liked the contrast. It also matched the patchwork pockets and just looked cute to me.
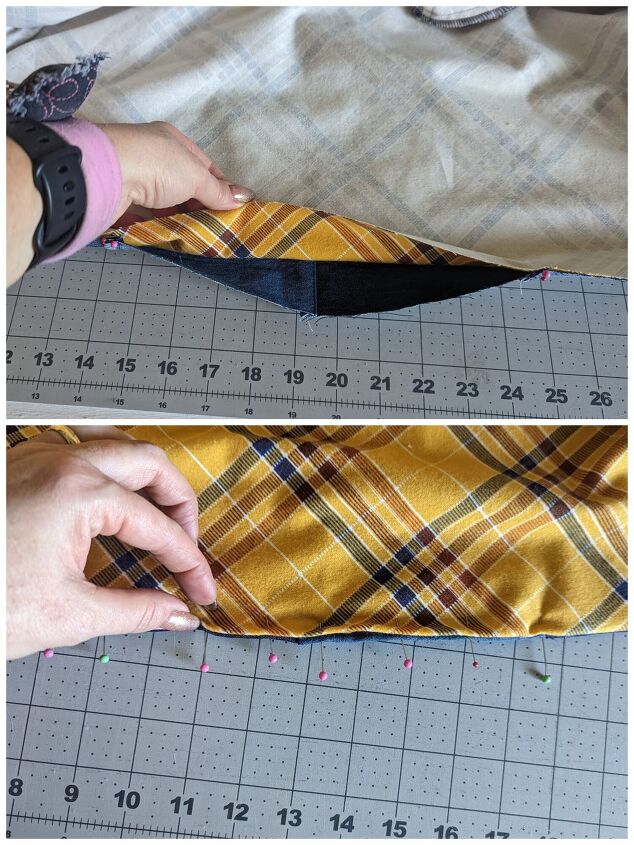
Just like my two previous Coda Coats, I sewed the outer coat and liner right sides together and turned it right side out through an area I left open. Because I used the collar this time I had to do it a bit differently than the other two.
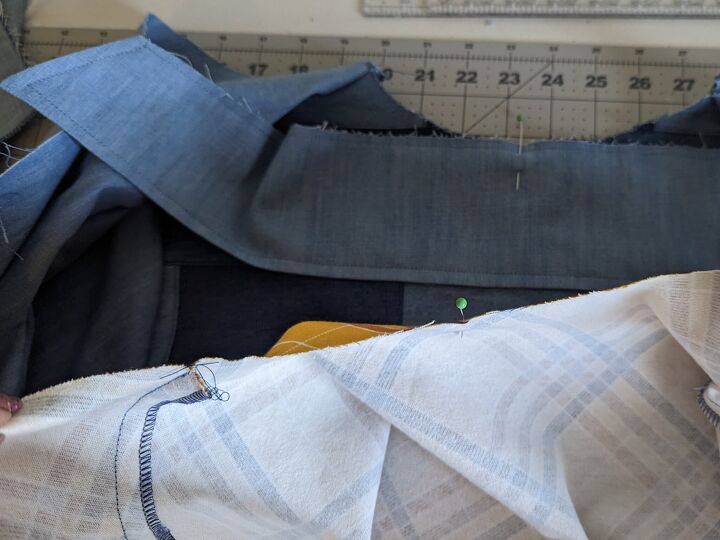
I sandwiched the collar between the two right sides and sewed it. Then I sandwiched the zipper just like I did in my mom’s coat and sewed it all together. I left an opening on the middle back hem, big enough to turn the jacket to the right side. I made sure to clip the curves before I turned it right side out. That way it would lay nicely.

Once It was turned right side out I ironed it flat and pinned it in place. Then I did a top stitch all the way around. This enclosed the portion I left open at the middle back hem area.
Finishing the Coat!
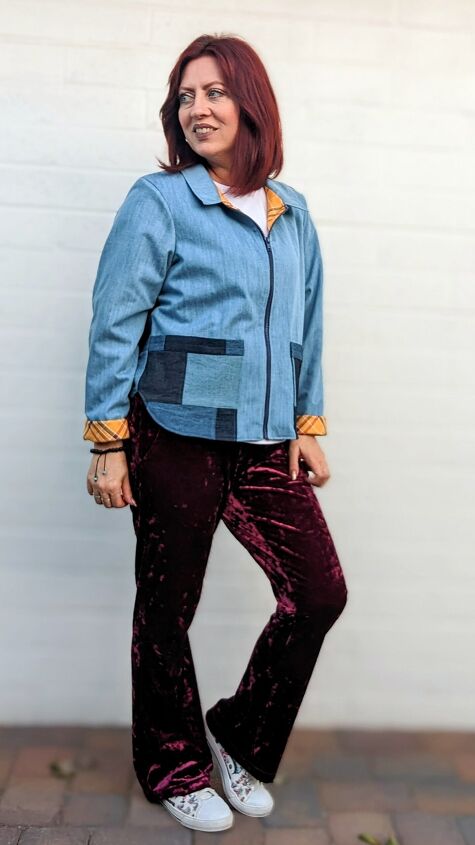
The sleeves were finished by turning the edges to the inside and top stitching in place. Just like I did in this post. I will probably just wear them rolled up though because I love the contrasting mustard plaid color.
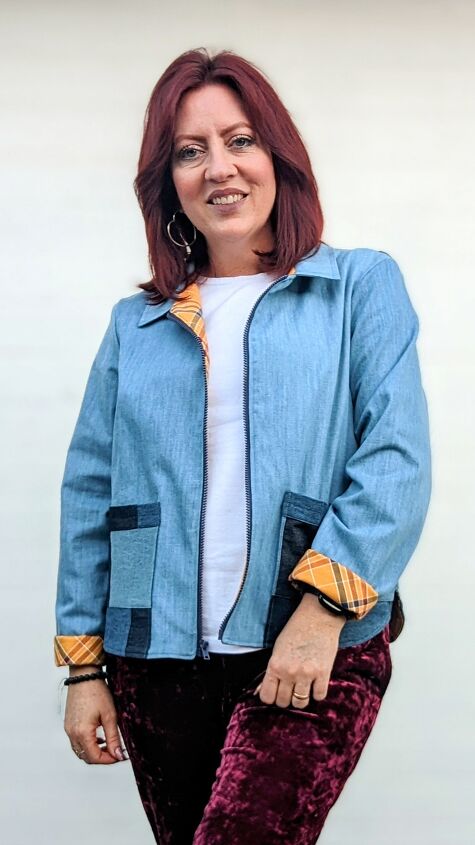
This was such an easy way to make a patchwork jacket without having to sew my own patchwork fabric together. This pattern does come with a quilted pattern design if you do want to put in the extra effort and piece something together. For those of you who don’t you can simply purchase a small amount of patchwork fabric like I did.

I thought I'd include a picture of my mom in the jacket I made her. So Here is my super cute mom in her flannel Coda with a zipper! Below are all three Coda coats I made. I love how each one is a bit different.

Let’s be friends!
If you are looking for a pattern suitable for more than one occasion, hopefully this post helps you figure out what will work best with your wardrobe needs. Let’s be friends on all the socials! Come follow along on Pinterest, Instagram and Facebook so we can chat about all our sewing projects!

The author may collect a small share of sales from the links on this page.


Comments
Join the conversation