Sew a Teddy Jacket in Just 5 Easy Steps

I have the perfect jacket for you! A teddy jacket is the perfect fashion item to have year round. It's stylish, textured, and really fits in with just about any outfit. I also love the feel of it. It's cozy, and I feel like I'm wearing my favorite blanket. You can easily sew a teddy jacket with a few materials. Keep on scrolling to get my step-by-step tutorial on how to make a teddy jacket!
Tools and materials:
- Fabric lining
- Teddy fabric
- Sewing machine
- Pins
- Thread
- Scissors
- Measuring tape
- A cardigan that fits
Trace the bodice and sleeves
Using your favorite button-down cardigan as a guideline, lay it out on your tracing paper and trace the two front sections, including the curved armhole.
Next, trace your back piece, as shown. Fold your cardigan in half as you will be cutting the back piece on the fold.
Now, trace the sleeves, too.
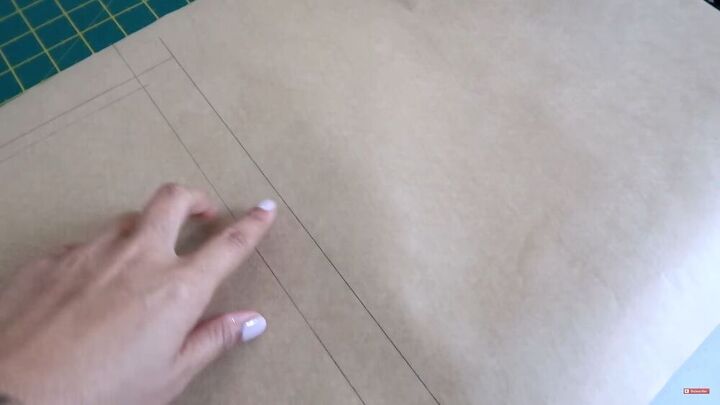
Add a seam and hem allowance. Here I used about an inch all around.

Cut out your pattern pieces
Using a sharp pair of scissors, cut out your pattern pieces around the outer lines.
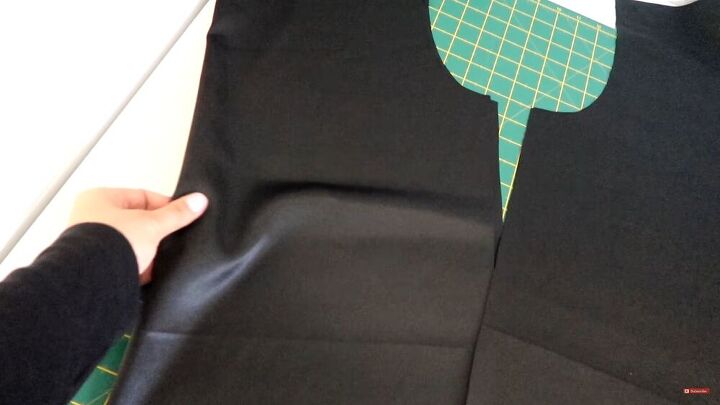
Cut your fabric pieces
Place the pattern on your silky lining fabric and cut out the fabric accordingly.
Also, cut out all the main fabric pieces too.
Assemble all the lining pieces
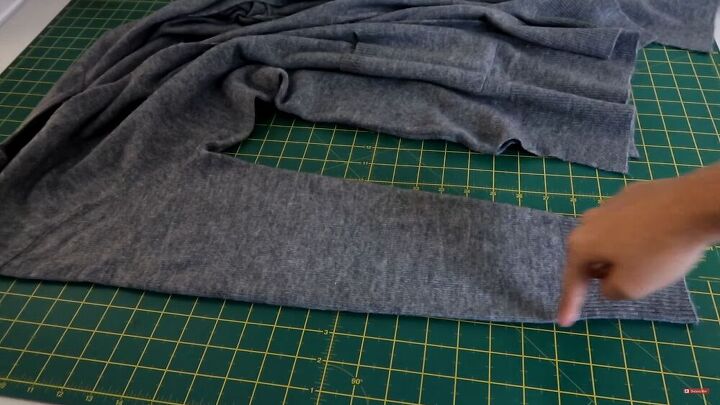
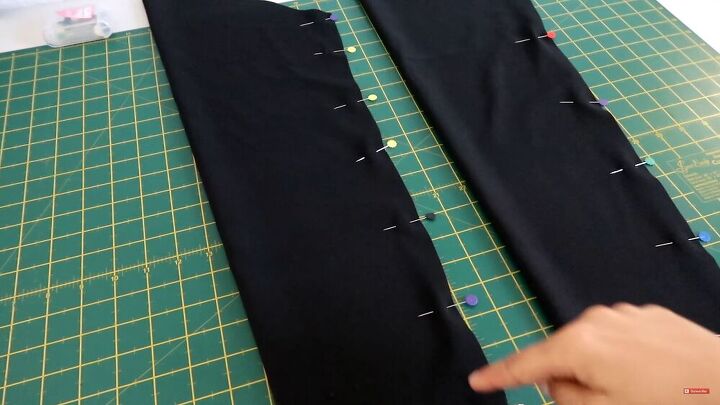
Place your lining sleeves right sides touching, pin, and stitch to secure.

Pin and sew the front and back bodice pieces at the shoulder seam
Attach the sleeves to the bodice. Make sure to match the seams accordingly and sew all around to secure them in place. Then, give all the seams a good press.
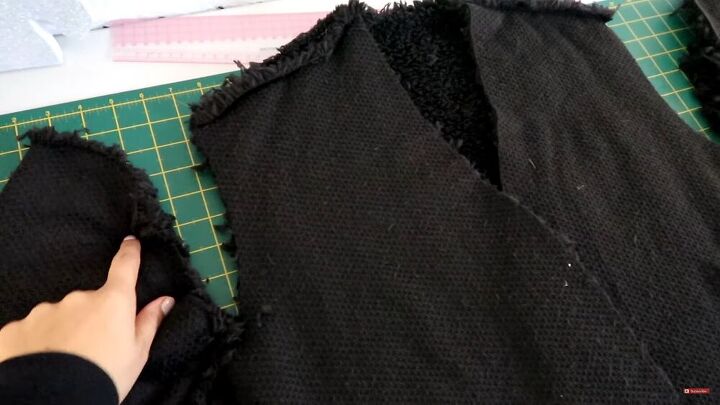
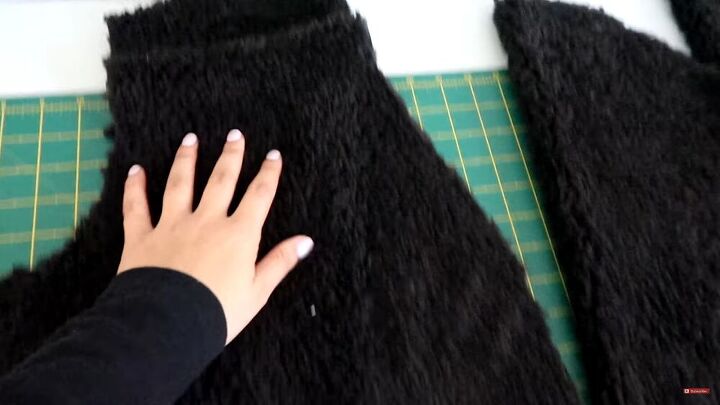
Assemble the main fabric pieces
As with the last step, go ahead and do the same for the main fabric pieces. Pin accordingly, sew the sleeves, bodice pieces ( at the shoulder seams) , and attach the sleeves. Remember to do this with the fabric facing the right sides.
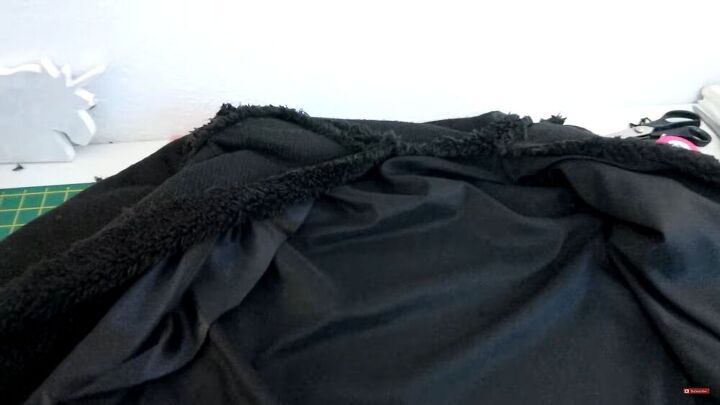
Attach the lining to the outer shell
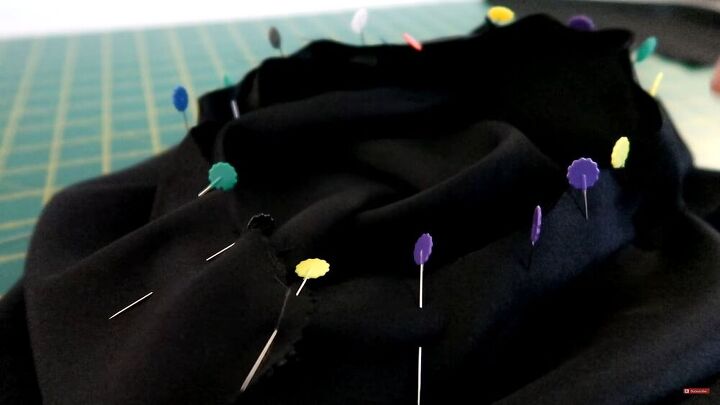
Now you should have two separate pieces; the lining and the main fabric. Go ahead and attach the lining to the outer shell, right sides touching.
Pin and sew these pieces together, starting from the neckline. Work all the way around, and be sure to leave a gap so you can turn the teddy jacket right sides out.
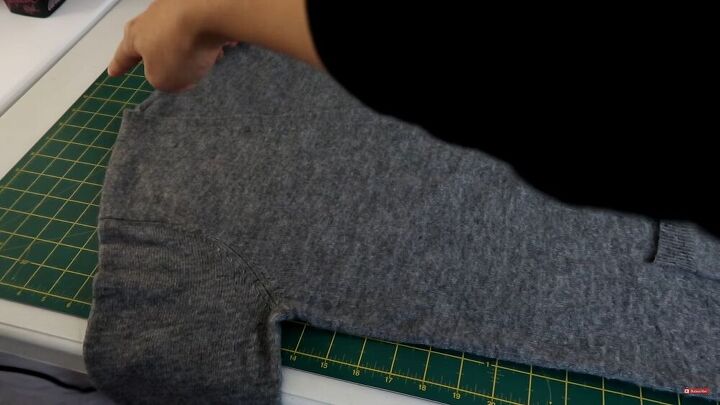
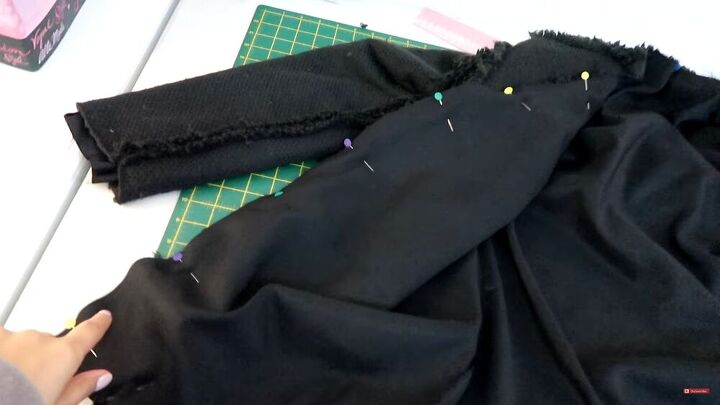
Turn the jacket right sides out when you're done and pin both layers of the sleeves, ensuring that the seams are lined up. Be careful with this step because if the seams aren't lined up, you will land up with a twisted sleeve.
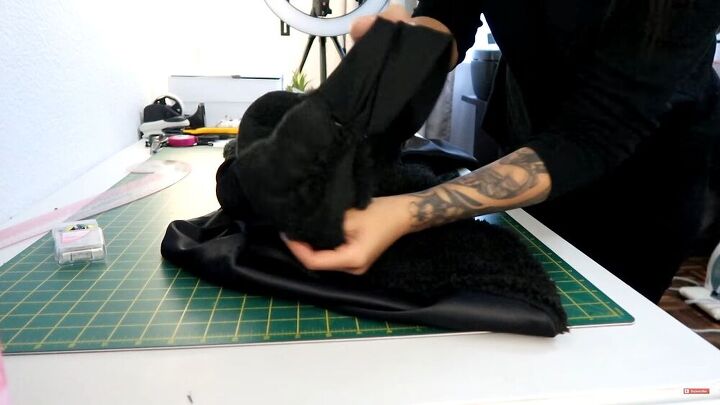
Now, slide your hand between the lining and the main fabric from the bottom. Carefully pull the pinned sleeve out, so now it's on the wrong side.
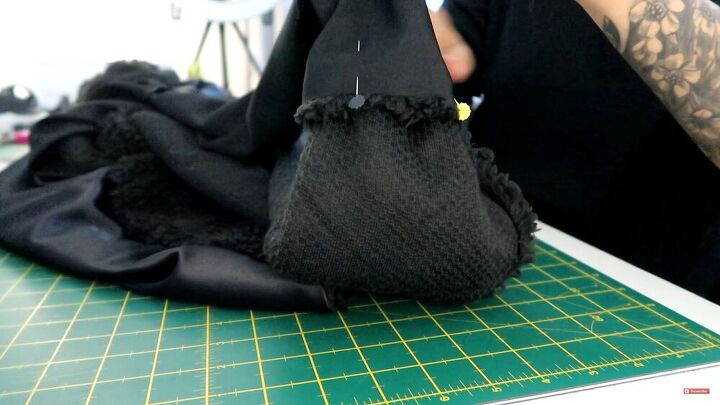
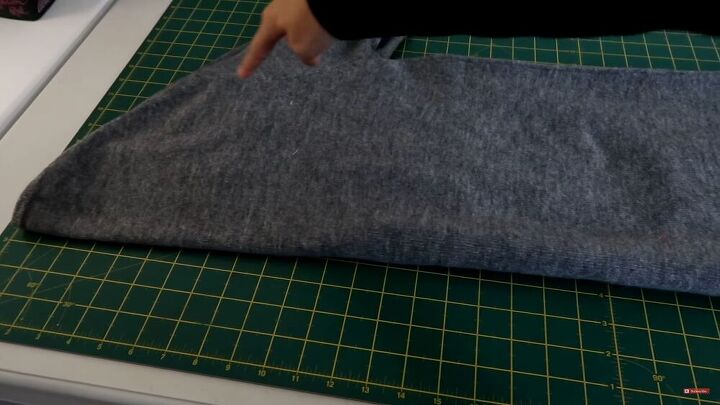
Do not twist the sleeve. Carefully match up the seams of both the lining and main fabric. They should be wrong sides touching. Pin all around and sew in place. Repeat this step for the other sleeve, too. When you finish, turn everything right sides out again.
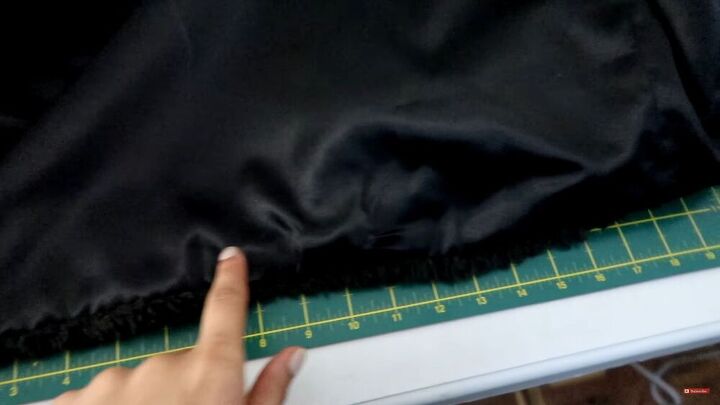
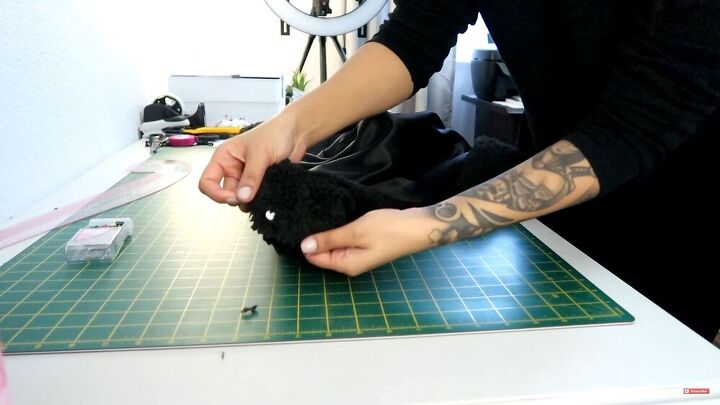
Sew the bottom opening by hand and give it a good press!

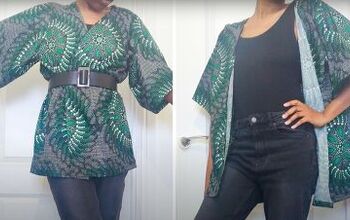
You're done! You made your very own teddy jacket! How cool is that? Do you love the feel as much as I do? It's really comfy, too. Now you can go out and strut your jacket; you'll look like a real fashion diva, I promise. Apart from how amazing it looks, I also love that it functions as a warm jacket. I hope you enjoyed this tutorial!
The author may collect a small share of sales from the links on this page.


Comments
Join the conversation