How to Make an Awesome Resin Pendant With Coffee Beans

Today, we're talking about coffee as we’re going to be putting coffee beans in a resin pendant.
The design contains actual coffee beans as well as some gorgeous coffee colors. If you love coffee and you love jewelry making, right here is where those two worlds collide. Let’s get started!
Tools and materials:
- Epoxy resin
- Mica powder
- Mica powder colors (white, bronze, and coffee)
- Popsicle sticks
- Cups
- Coffee beans
- Pendant mold
- Lighter
- Sandpaper
- Necklace cord
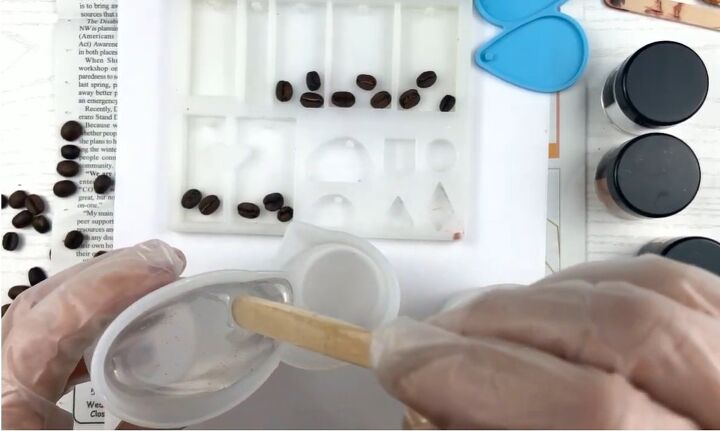
1. Mix the resin
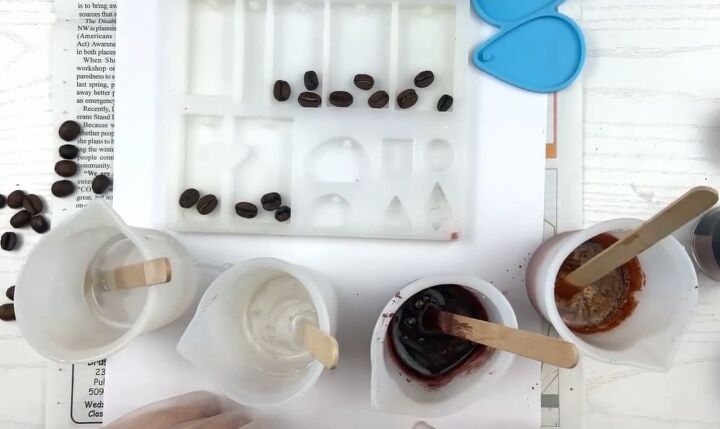
Start by mixing your resin and then divide it into four cups.
We’re going to make four different colors. One will be clear, and then we’ll have white, bronze, and coffee color.
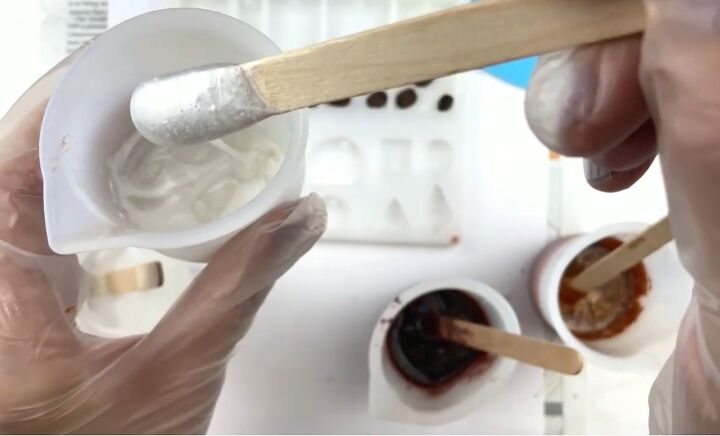
2. Add color
Then add the color, you don’t need to add so much Mica powder.
Usually, when you're using Mica powder for your white color, you need to put in a lot more than you think because we want it to be a really bright white instead of a transparent white.
Then use a glitter bronze color and then a coffee color. Stir the colors but only gently. If you stir too hard, you’re going to make bubbles which are the enemy of resin.
You can make sure that you’re happy with the colors by putting your popsicle stick inside the resin and then letting it drip off. The color that you’re left with on the stick will be the color of your resin. If you think it’s not intense enough, then add some more powder.
3. Put coffee beans into molds
Place some coffee beans in the bottom of the pendant molds and then put clear resin on the beans, making sure you cover all of them.
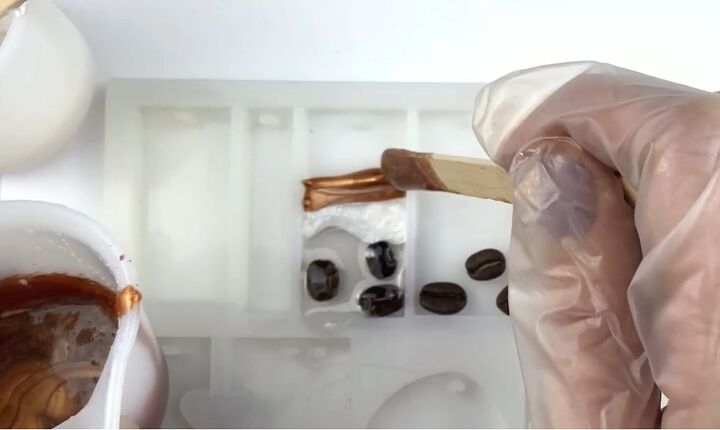
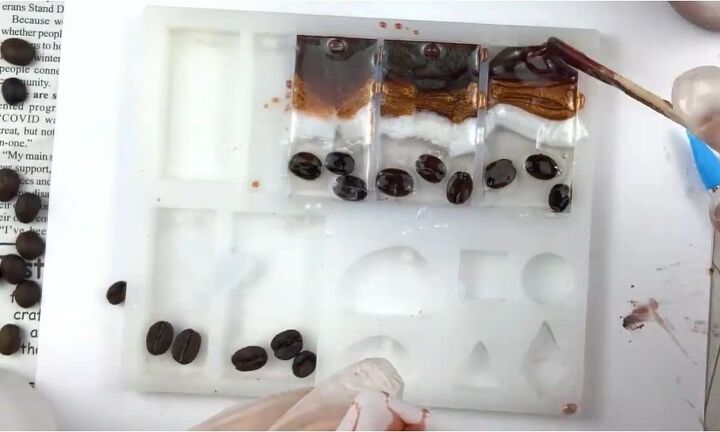
4. Add the color
Then put the white color above that, followed by the bronze and then the coffee color. You can then go back in and add more color if you want.
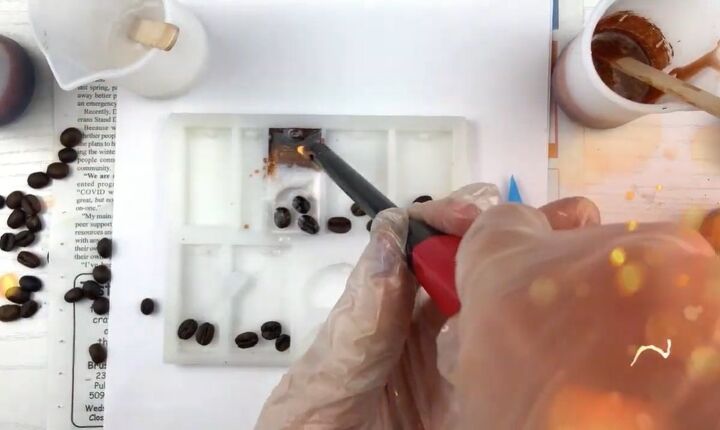
5. Add heat to the resin
Hold a lighter just above the resin to pop any bubbles.
6. Repeat
Repeat the process for the other pendants if you’re making more than one.
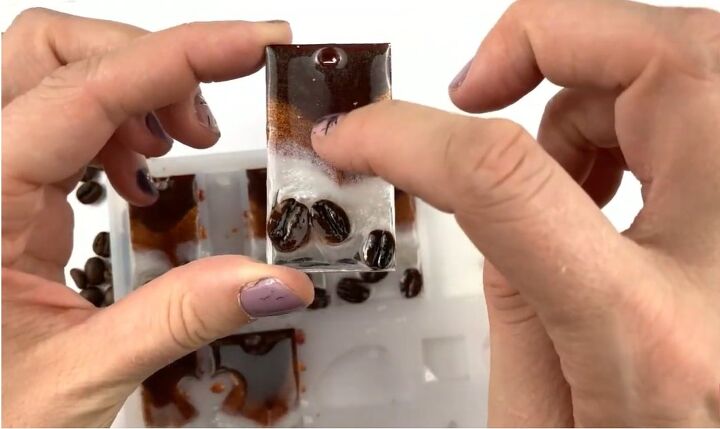
7. Let set and then unmold
Leave the molds for 24 hours before you unmold them.
When you unmold them, you can choose which side you like best to be at the front.
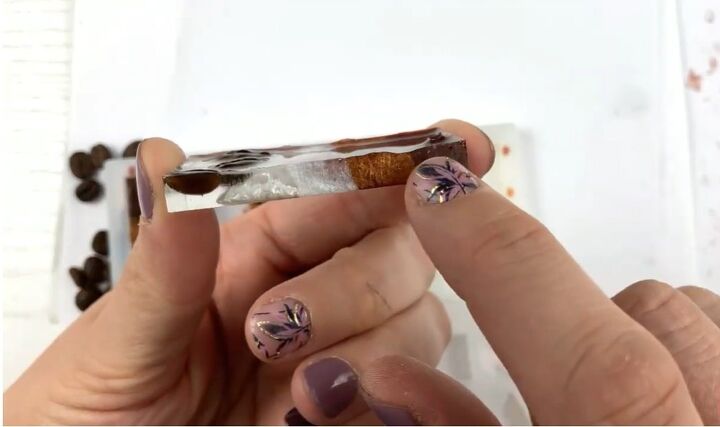
8. Sand down the sides
The edges are quite rough and sharp so use some sandpaper to sand them down and smooth them.
Do not sand the flat sides, or you’re going to scratch it up!
Finish up by putting a necklace cord through the hole on the pendant to complete the necklace.

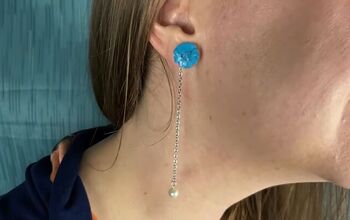
Coffee resin pendant
Here is the finished necklace! I love how the colors flow into one another.
I made the design so that the white would look like milk, the coffee color looks like coffee, and the bronze is where the milk and the coffee mix together.
Let me know what you think of the necklace in the comments below!
The author may collect a small share of sales from the links on this page.


Comments
Join the conversation
Pretty! Thanx for sharing!
Very creative!