DIY Dip Powder Halloween Nails Tutorial

Hey there, nail crew! In this tutorial, I’m diving into my favorite nail season to show you how to make Halloween powder dip nails.
This super cute and easy Halloween nail art is perfect for beginners!
Tools and materials:
- Nail file and buffer
- Nail brush or small brush
- Stamper and scraper
- Stamping plate with Halloween-themed designs
- UV or LED nail lamp
- Cuticle pusher
- E-file
- Tweezers
- Lint-free wipes or paper towels
- Halloween-themed nail stickers
- Nail art brush or dotting tool
- Dip powder in your choice of Halloween colors
- Clear dip powder
- Activator
- Dip liquids or gel liquids
- Sticky base (if using gel)
- Smudge-free top coat (if using gel)
- Foil sheets (optional)
- Gel base coat (if using gel)
- UV or LED gel top coat (if using gel)
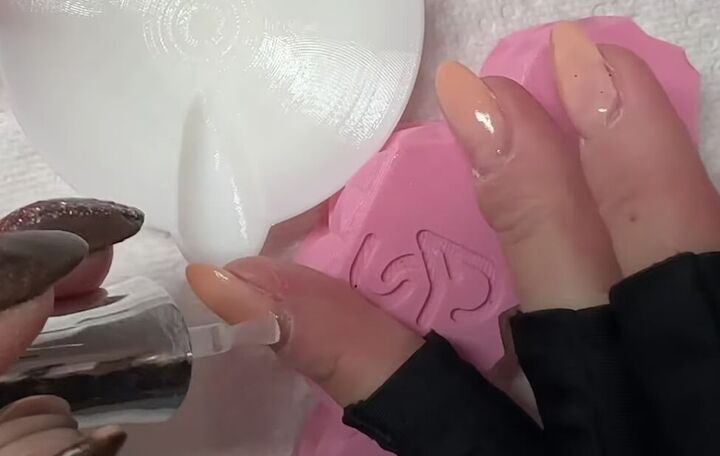
1. Apply dip powder
Apply a clear dip powder first to prevent glitter contamination.
Remember to wipe your activator brush between layers to avoid color transfer.
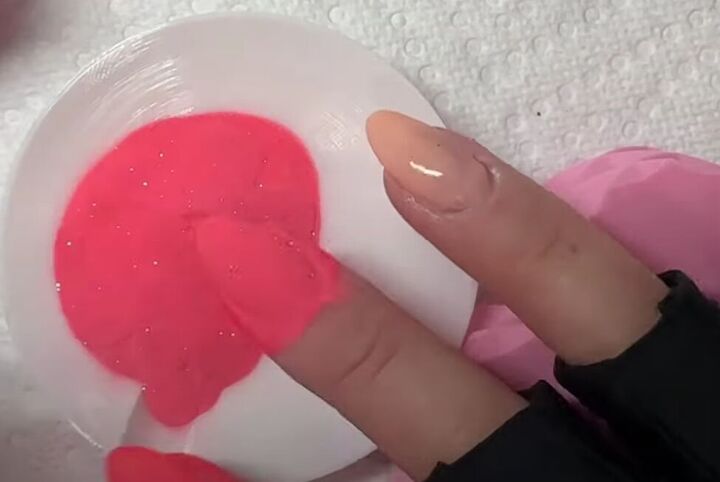
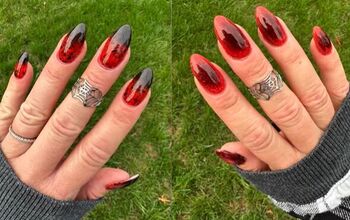
Then, I start with shimmering red dip powder, and I dip my nails into the powder instead of pouring it to ensure even coverage.
2. Apply glitter dip powder
Next, I apply the white glitter dip powder to some nails.
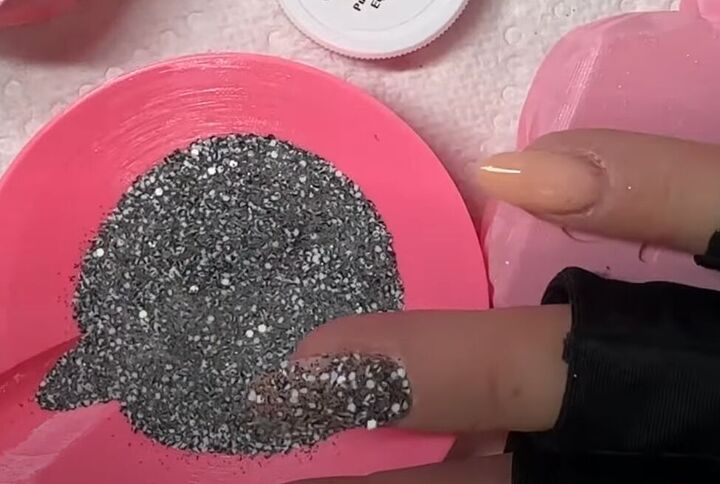
And I apply black glitter dip powder to other nails.
For a smooth application, I lay my nail flat into the powder and make sure to pick up enough glitter to fill any gaps.
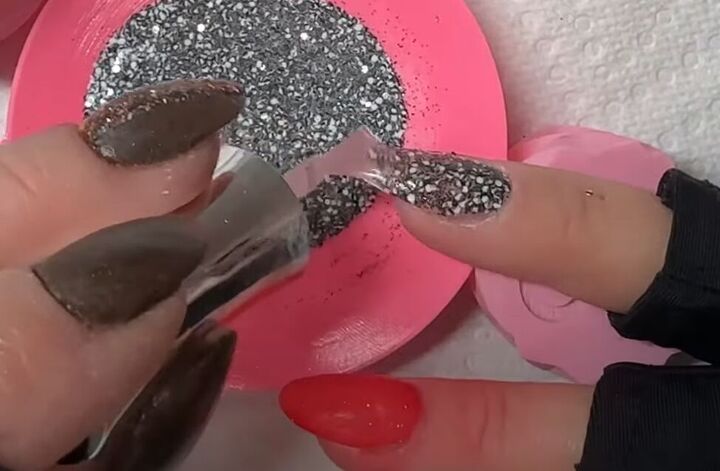
Apply a coat of activator polish over the glitter-dipped nails.
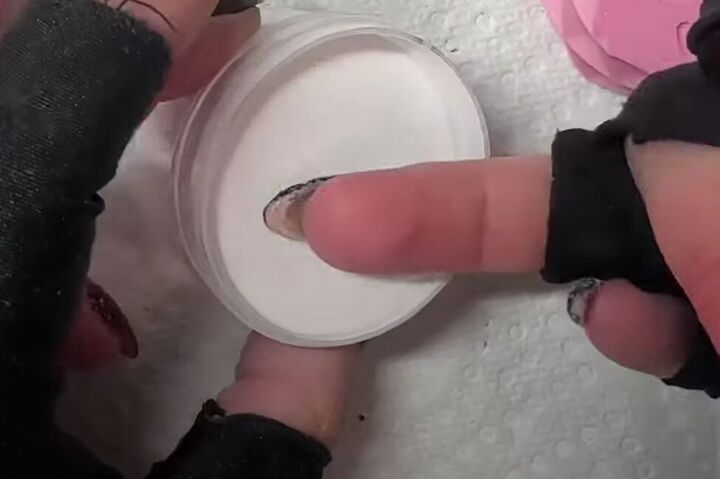
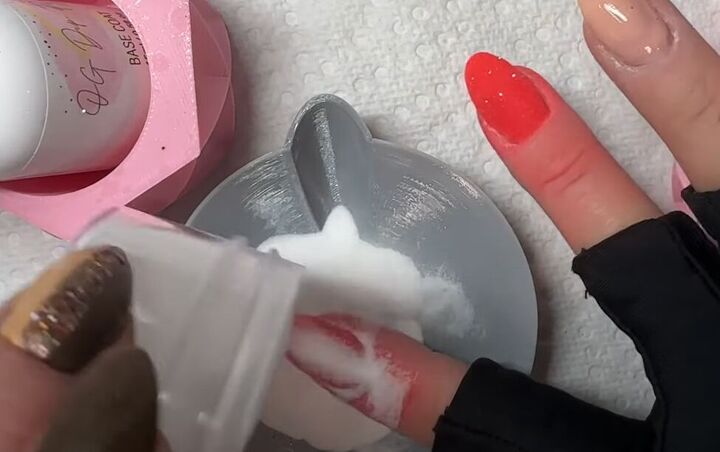
3. Apply clear dip powder
Apply a clear dip powder layer over the shimmer dip.
Apply activator again, and wait for your nails to harden.
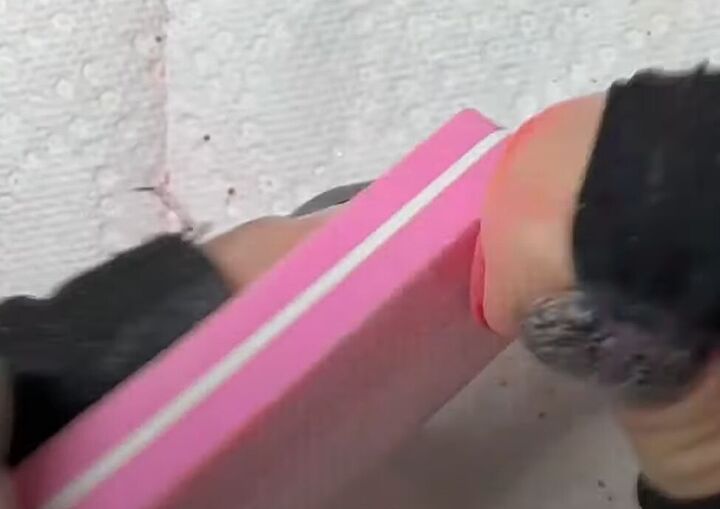
Then, file, buff, and shape your nails as needed.
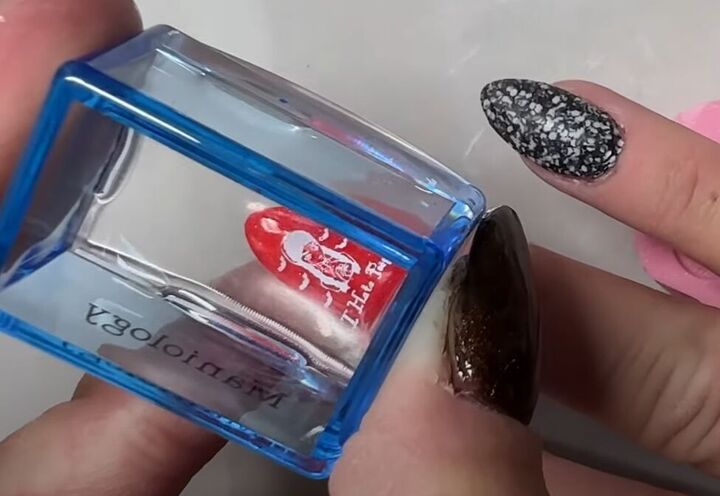
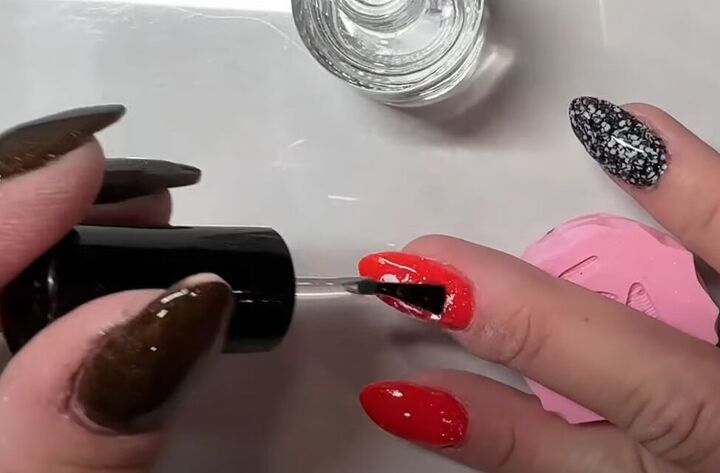
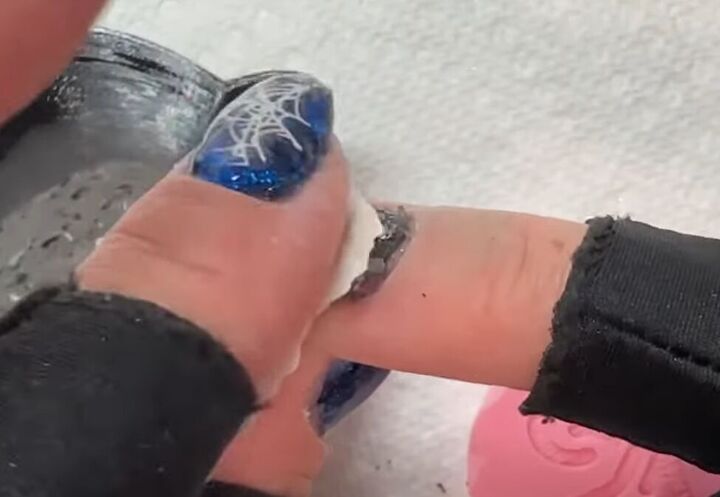
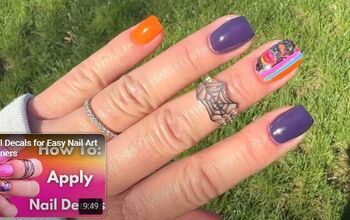
4. Stamp your nails (optional)
I use a Halloween-themed stamping plate and stamping tools.
Ensure your stamping plate is clean, and follow the directions on your stamping kit to apply the chosen design, and transfer it to your nails with a sticky base.
5. Add a top coat
Allow the stamped design to dry fully before applying a smudge-free top coat.
Let the top coat dry thoroughly.
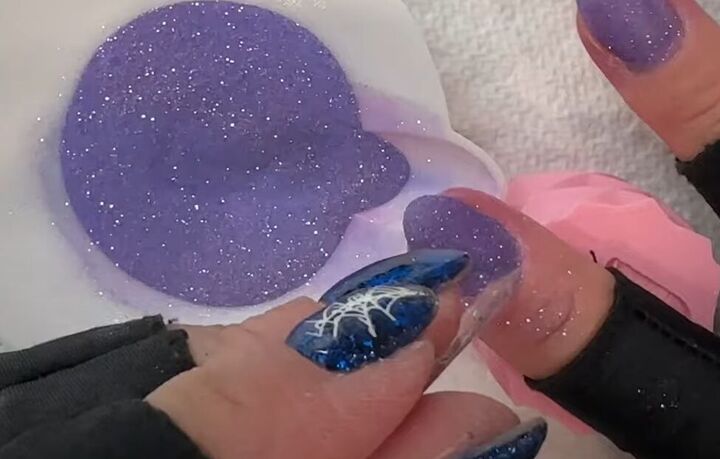
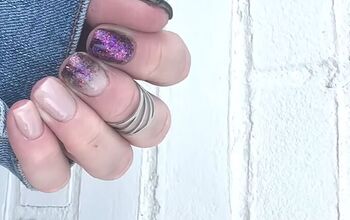
6. Try this second manicure with powder and gel polish
For this manicure, I switched to purple colors.
Start with a purple glitter dip powder.
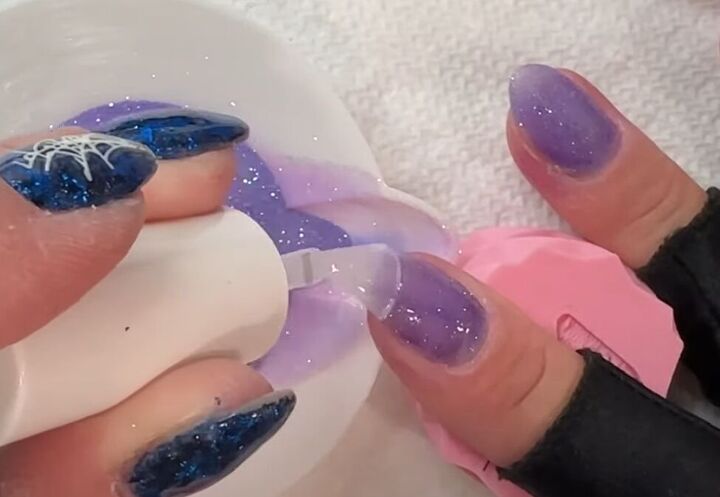
Then, apply a thin layer of gel base and flash cure (5-10 seconds) between layers.
Remember to wipe off the gel base brush to prevent contamination.
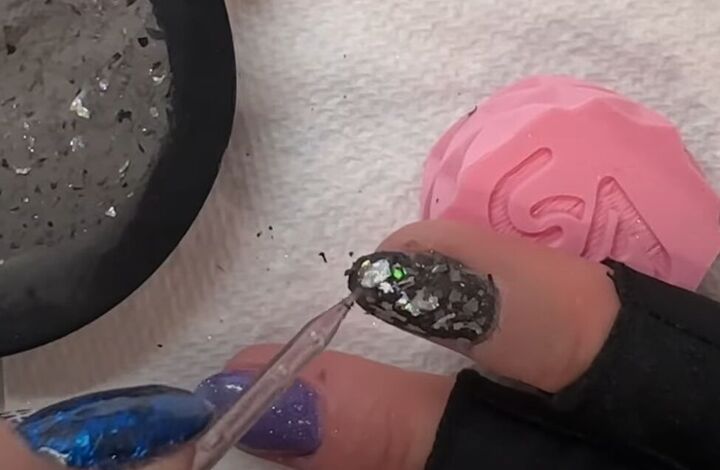
7. Add foil (optional)
If you're using foils, apply them over the gel base, pressing gently but quickly to avoid smudging.
Add more foils as desired, then fully cure the nails.
Wipe off the tacky layer.
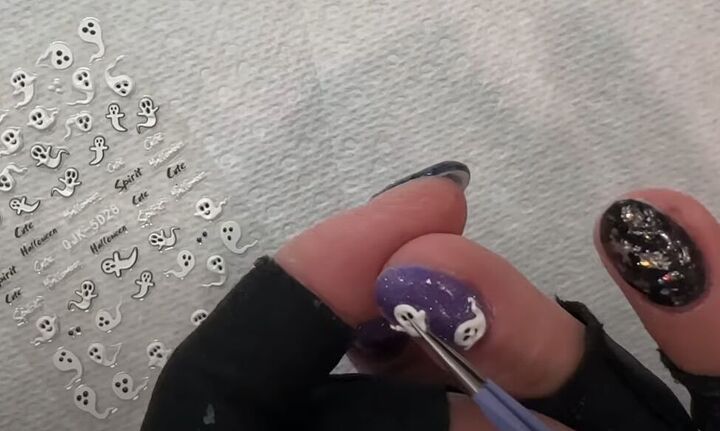
8. Add 3D ghost stickers (optional)
Now, it's time to add those cute 3D ghost stickers! Ensure your nails are clean and free of the tacky layer.
Press the stickers onto your nails, making sure they adhere well.
Don't forget to press down firmly on stickers to ensure they stay in place. If needed, trim any excess sticker material.
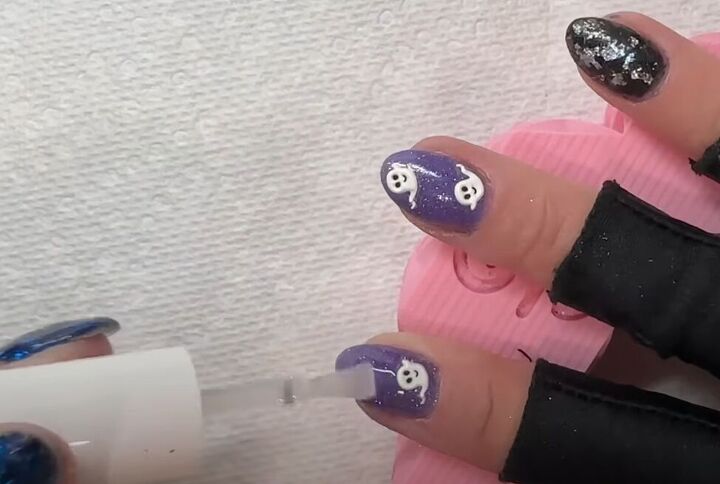
Cover your stickers with a coat of gel base.

Dip powder Halloween nails
And there you have it — super cute and easy powder dip Halloween nail art that's perfect for beginners.
Whether you used dip powder or gels, you've created spooktacular nails for the Halloween season!
Leave a comment to let me know your Halloween nail art turned out.
Next, check out this Cute and Easy Halloween Spider Web Nails Tutorial.
The author may collect a small share of sales from the links on this page.


Comments
Join the conversation