How to DIY Cute Dip Powder Nails With Decals

Today, I'm excited to share some DIY dip powder nail tricks with you, including a guide on using decals.
The best part? You won't need gel for any of this!
Let's dive into the step-by-step process to achieve gorgeous dip powder nails at home.
Tools and materials:
- Clear base coat
- Dip powder in your favorite color
- Dip base
- Stiff nail brush
- Clear dip powder
- Activator
- Topcoat
- Buff and file
- Decals
- Sticky base
- Jelly stamper
- Smudge-free topcoat

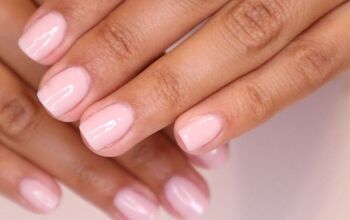
1. Apply clear base coat
Start by painting your nails with a clear base coat.

2. Apply dip base and pour dip powder
Instead of dipping your nails into the powder, pour the dip powder over the entire nail. This method ensures a more even distribution of the powder.
Thinly apply a thin layer of dip base to prevent your nails from becoming too thick. Afterward, shake and tap your nails to remove excess powder.
3. Let the dip powder dry
Allow the dip powder to fully dry. You'll know it's dry when there's no glossiness left on the nail.
Use a stiff nail brush to remove excess powder, and clean the cuticles and sides of the nails with nail tools.

4. Seal in the color
Apply at least 2 or 3 coats of clear nail polish over the powder to seal in the color.
Finish with a coat of clear dip powder. Follow this with a brush-on activator, then apply the topcoat.
Buff and file your nails to your desired shape.

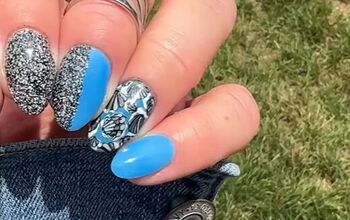
5. Applying decals
To use decals, cut them to the desired shape and soak them in water. This helps the decal slip off the paper easily.
Apply a layer of sticky base to the nail, place the decal, and use a jelly stamper to press it down, focusing on the outer edges and cuticles.

6. Seal the decal
Once the decal is dry, apply another layer of sticky base.
Follow this with a smudge-free topcoat, capping the edges to seal the decal. Note that using regular nail polish may not seal as well, so it's crucial to cap the edges.

7. Final touch
Finish everything off with another layer of dip topcoat to ensure a glossy and long-lasting finish.

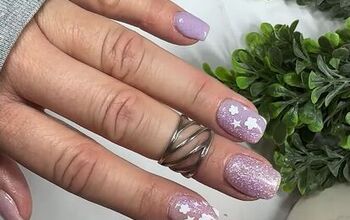
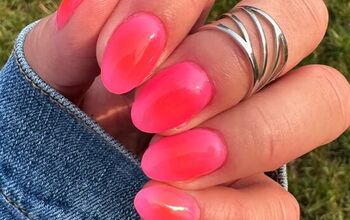
DIY dip powder nails
There you have it! DIY dip powder nails with a touch of decals. Enjoy your beautiful, salon-worthy nails at home!
Leave me a comment to let me know what you think.
Next, learn How to DIY Easy Black Glitter Dip Nails.
The author may collect a small share of sales from the links on this page.


Comments
Join the conversation