DIY Dip Powder Ombre Nails Tutorial

If you love ombre nails, you’ll love these manicures.
Here, I’m going to show you two dip powder ombre nail designs. Let me show you what to do!
Tools and materials:
- Base coat
- Dip powder
- Clear dip powder
- Activator
- Nail stick
- Ombre brush
Ombre at the top
On my left hand, I'm doing more of a traditional ombre with the ombre at the tip of the nail.
1. Apply base coat
Start by applying a clear base coat to your nails.

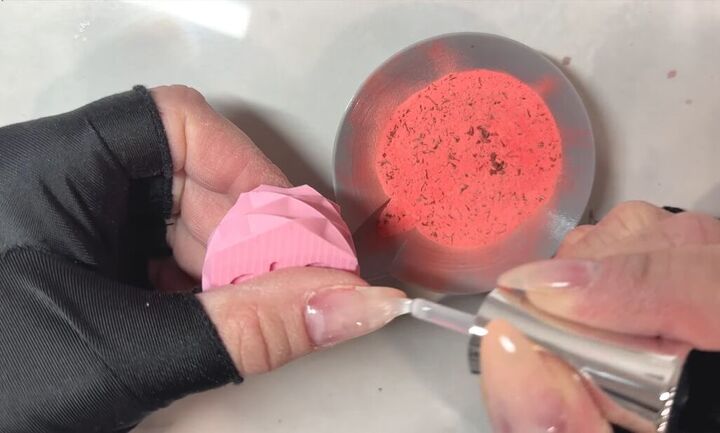
2. Dip nails in powder
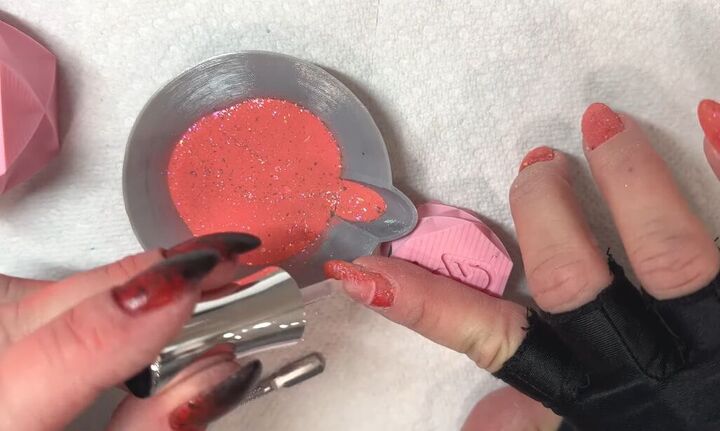
Then dip your nails in dip powder - I’m using a red powder that has black flakes in it.
Whenever you're working with foils, flakes, or glitters, you want to make sure that you lay your nail flat into the dip as that's going to allow for the best coverage.
Also, when you're working with a dip that has a really pigmented base, don’t lay your entire finger in the dip - the color will just go all over your skin.
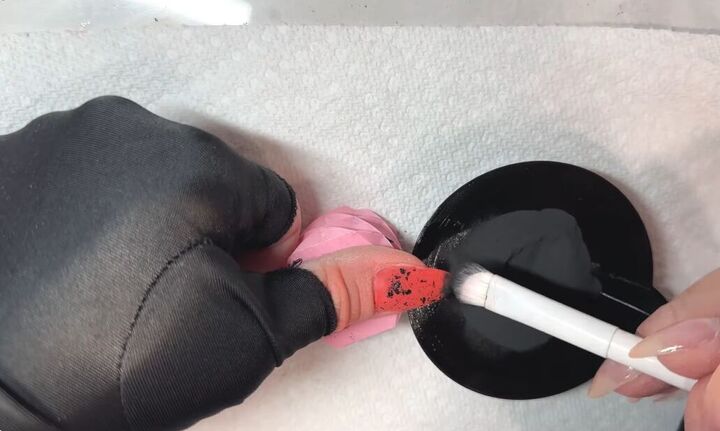
3. Brush off excess powder
After that layer fully dries, brush off the excess powder really well.
4. Dip second coat
Apply an activator and then dip your nails again. Also, use a nail cleaner to help remove any excess powder from around your nails.
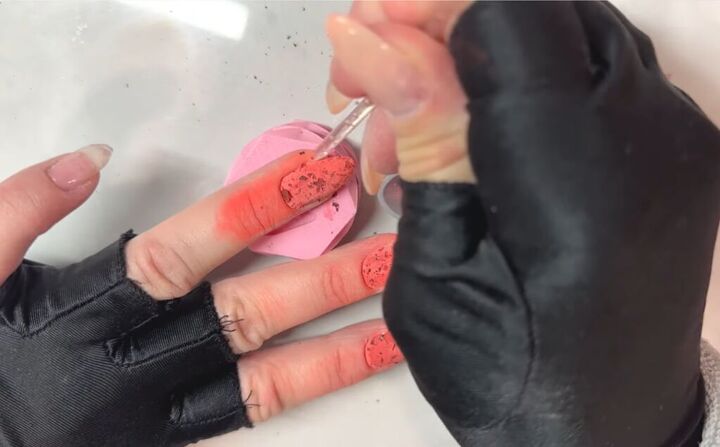
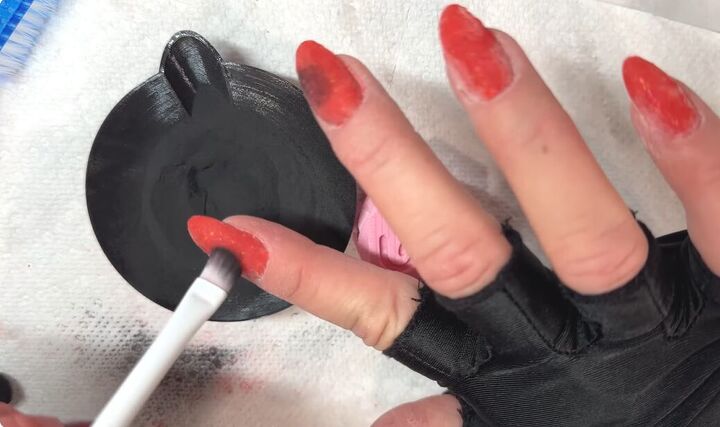
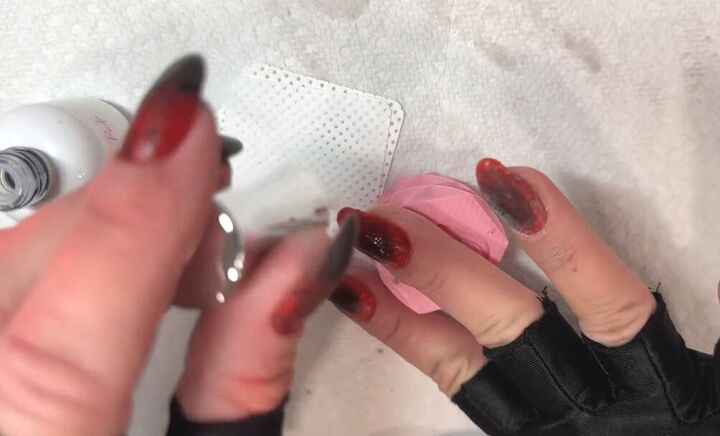
5. Dip nails in black powder
Then, go in with your black dip powder by scrubbing it in (you don’t need to dip it in because the color is very pigmented).
Use a small ombre brush to get a really precise finish.
Don’t scrub too much with the black because it will contaminate and tint the red and make it much darker than it is.
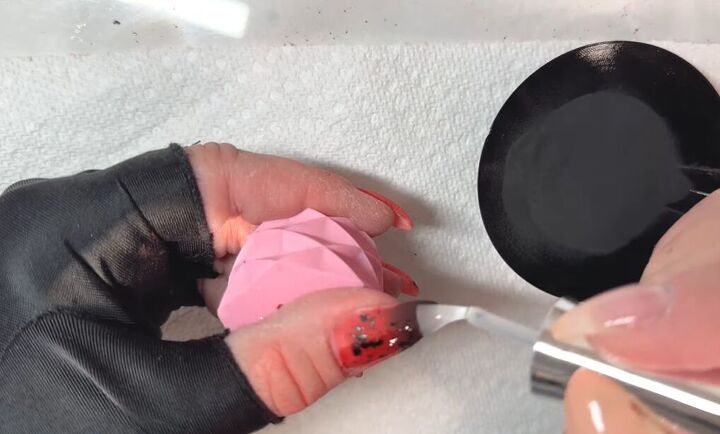
6. Apply activator
Now apply the activator.

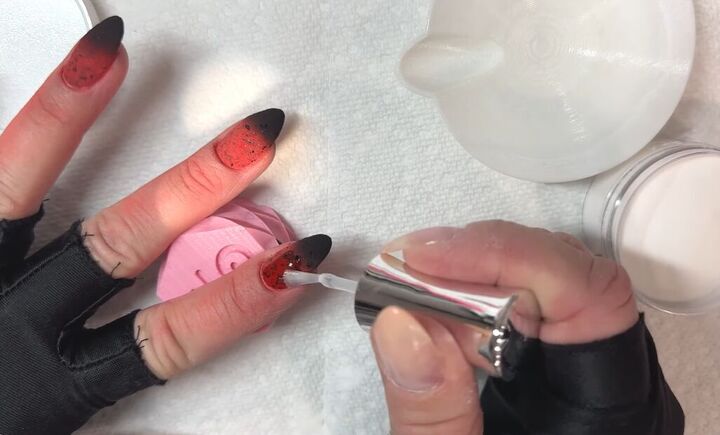
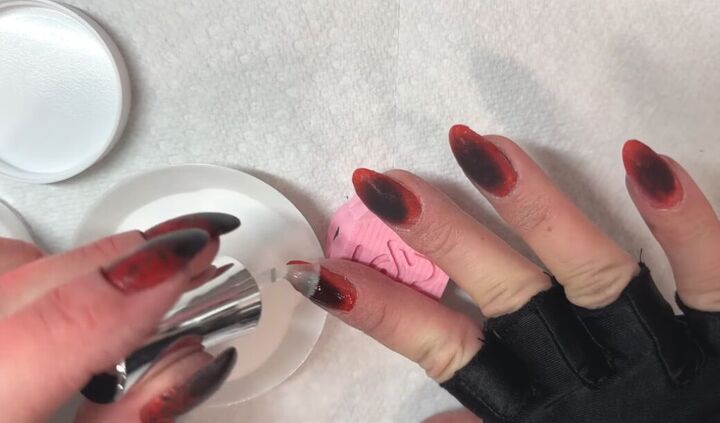
7. Apply clear dip powder
Pour clear dip powder over the top.
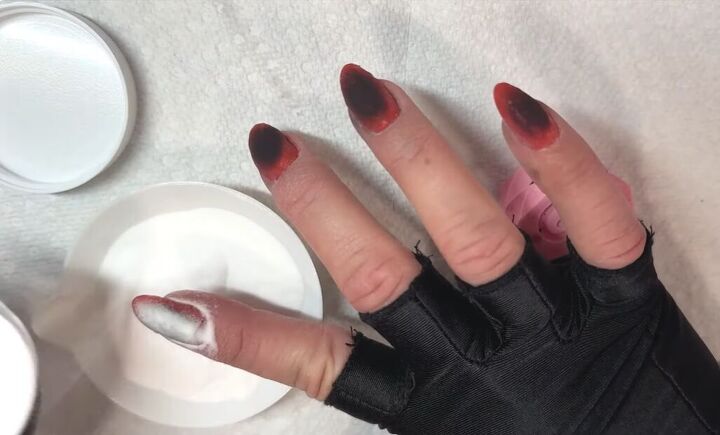
8. Apply top coat
The last step is to apply a clear top coat. I’ll show you the finished look at the end!
Ombre in the middle
Next, I’m going to show you a design where we do the ombre in the middle.
1. Apply base coat
First, add a clear base coat.
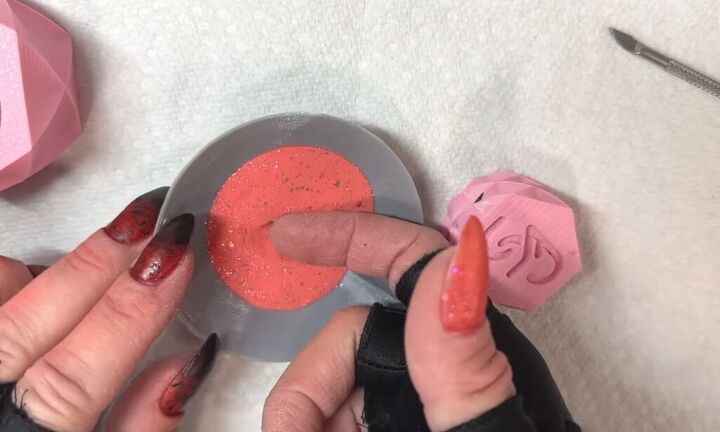
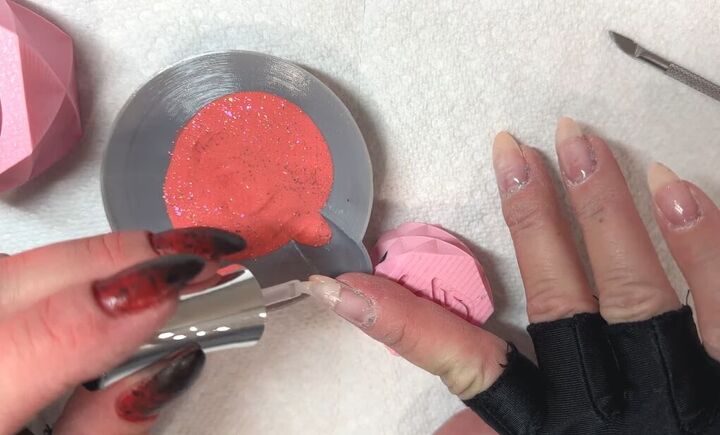
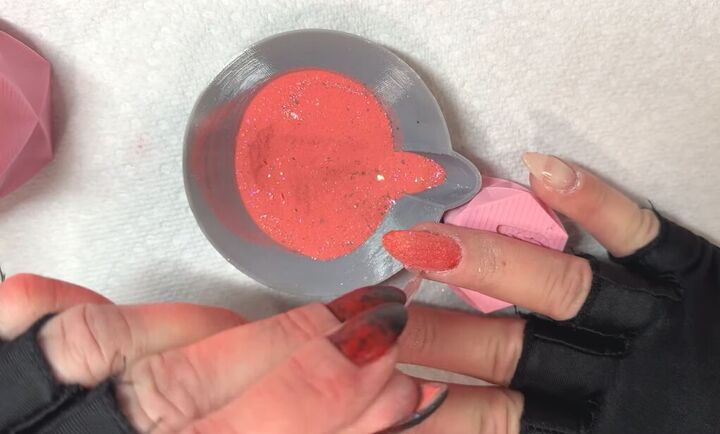
2. Dip nails in powder
Dip your nails into a sparkly red powder with flakes to look fiery.
3. Clean up excess powder
As before, use a stick to remove the excess powder.
4. Dip second layer
Apply an activator and then dip a second layer.
5. Ombre the middle
Then we’re going to ombre with black powder just in the middle. Scrub the black in the center. Use a small brush to make it precise.
Whenever you're working with dark colors, make sure that you brush off the powder really well in between each layer.
Also, make sure you're wiping your brush off on a lint-free wipe or a paper towel as much as you possibly can.
6. Apply activator
Now apply an activator over the top. After you activate, make sure you let your nails dry really well until they make a tapping noise.
7. Add clear powder
Next, add clear powder over the top.
8. Apply top coat
Finish off by adding a top coat.
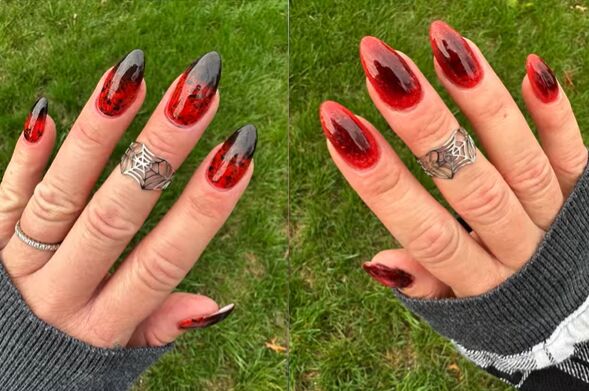
Dip powder ombre nails
Here are the two finished looks. On the left, we have the more classic design with the ombre at the top, and on the right, we have the ombre in the middle.
I really like how the dip powder on the left has black flakes in it which tie in really well with the black ombre.
And on the left, I like how the black powder in the middle darkens the red around it.
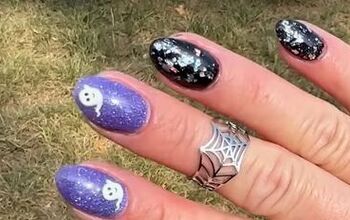
For another fun look, check out this DIY Dip Powder Halloween Nails Tutorial.
The author may collect a small share of sales from the links on this page.


Comments
Join the conversation