How to Do Elegant & Classy Baby Boomer Nails at Home

A lot of you requested a tutorial on how I do my elegant baby boomer nails. It’s actually really easy and takes a fun twist to a normal french manicure. I’m not really sure why they are called baby boomer nails, but it’s also known as a French ombre manicure.
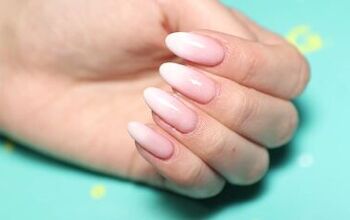
Follow me to see how I achieve these exquisite and classy ombre baby boomer nails with my gel nail set.
Tools and materials:
- Acetone
- Light pink or clear gel polish
- White gel polish
- Puffer sponge set
- UV lamp
- Palette
1. Clean your nails
Before we begin, go ahead and rub acetone on all your nails. This will remove any previous polish, and ensure that nails are clean and not oily.
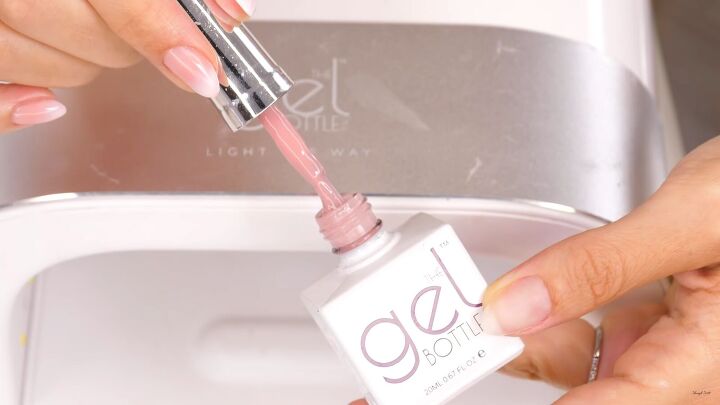
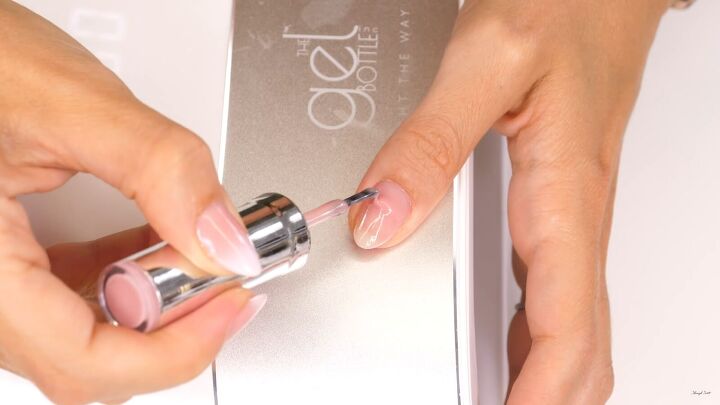
2. Apply the first coat
I’ll be using this lovely gel that actually lets me build the product as needed. The shade I’m using is called Teddy. Of course, if you have another brand to work with, it’s totally fine!
Make sure you use a color that has some transparency to it.
Apply the first coat (you don’t need a base coat) on all the nails. Then, let each hand cure under a UV lamp for 90 seconds or so.
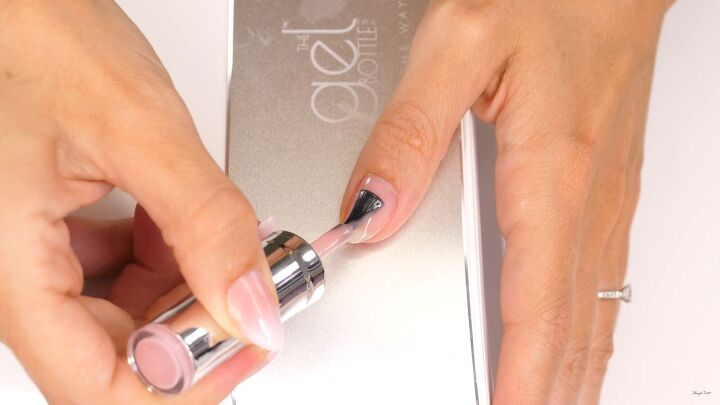
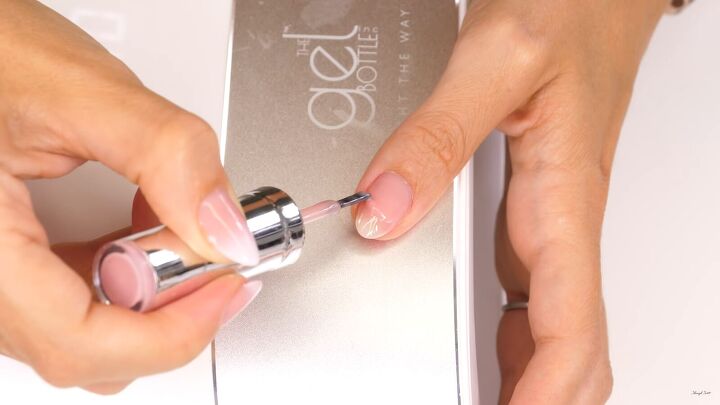
3. Apply the second coat
Next, go in with a thin second layer but do not cure it after. This will act as a "slip" layer for the third coat.
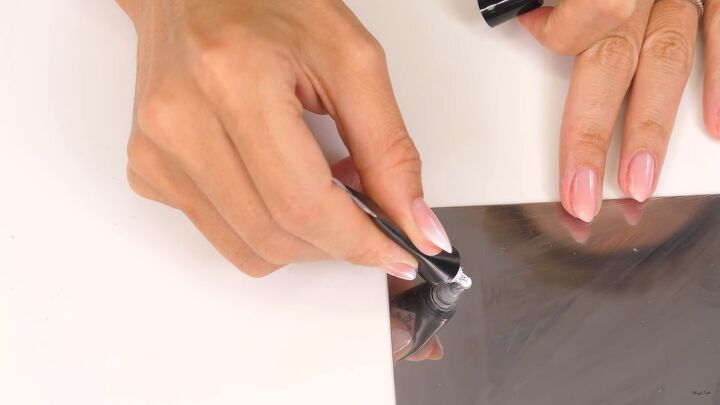
4. Apply the third coat as a bead
Then, go in with the third layer, but apply the gel as a bigger “bead.” Using a patting motion will help distribute the gel throughout the nail and enable you to build your gel the way you like.

Slowly, work your way down to the tip of your nail while still patting the gel downward. Check out my video tutorial to see the technique from 3:15 minutes.
Make sure that the apex (center) is the fullest part. Turn your hand sideways where needed to get to all the sides, too. Be sure to work fast to avoid any puddling on the edges.
Use a fine liner brush to pull the gel the way you’d like. Continue the process to the rest of your nails. Be sure to cure your nails before moving to the next step when you’re done.
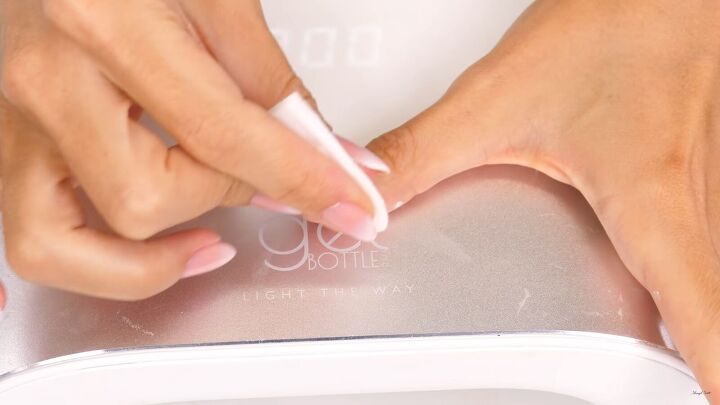
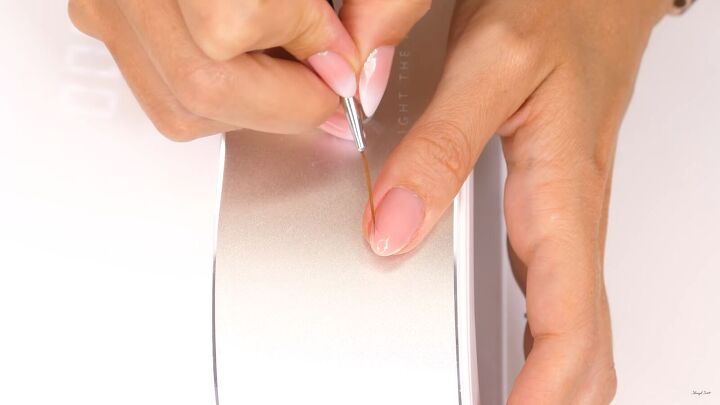
5. Remove shine
Now, once your nails are cured, go ahead and remove the shine with acetone-soaked cotton swabs. The goal is to semi-mattify them so that the white ombre really sticks out.
Don't worry - this will not ruin your nails! You only need to use a very tiny amount.
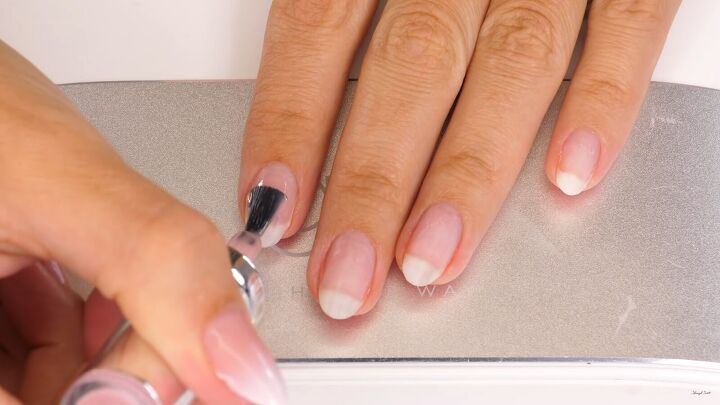
6. Do the ombre design
Now it’s time to create the baby boomer nail design. Apply a blob of gel onto a clean palette, as shown.
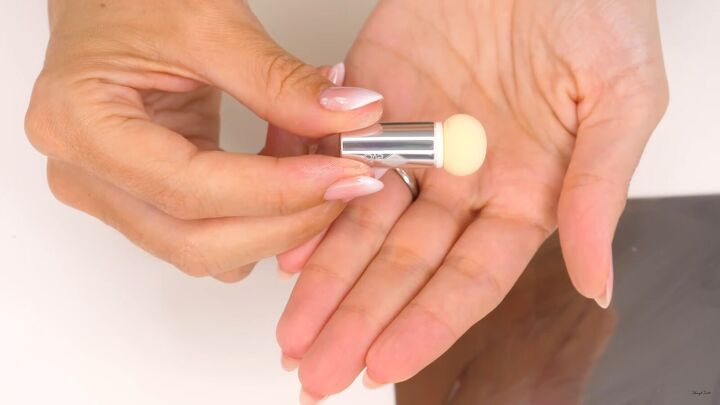
Next, I'm using these cute puffer sets for the actual ombre application. These special sponges are designed to help conceal the eponychium line (if you're a nail person, you'll know what I mean!).
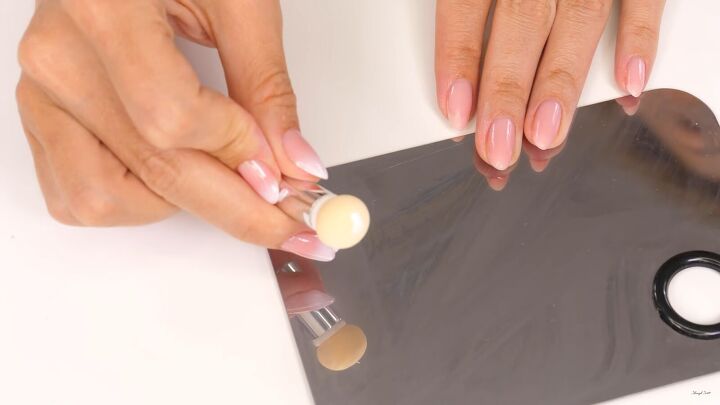
Dab the foam part in the white gel. You only really need a tiny amount as you’ll be building the color as you go along.
Tap it a few times on your palette, so the color distributes evenly across.
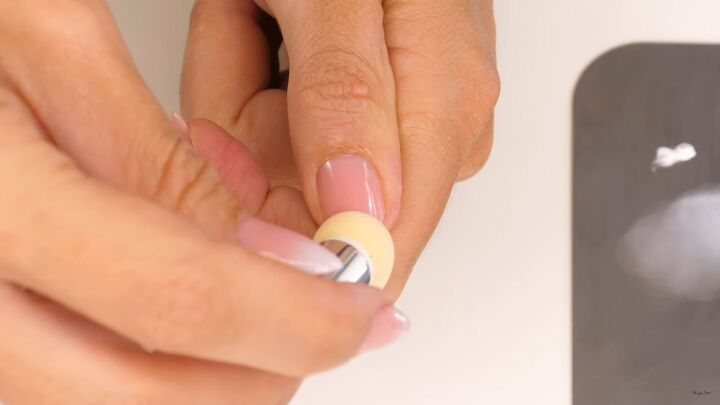
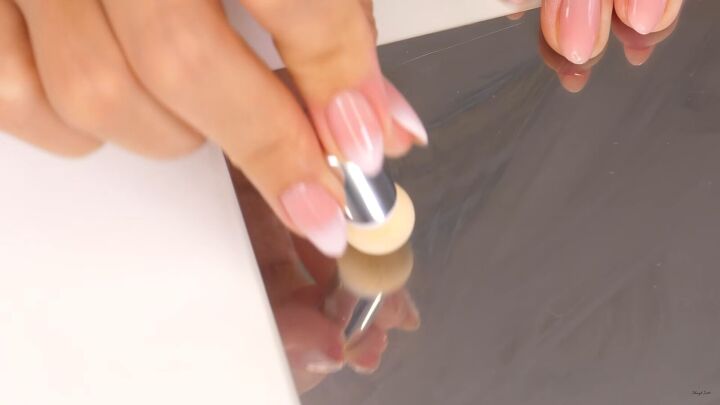
Dab the sponge onto your nail. The key is to work it on slowly. What you need to aim for is applying a light amount to your nail that doesn't leave a clear-cut shape behind.
Carry on applying using the lightest hand. Don’t press too hard when layering.
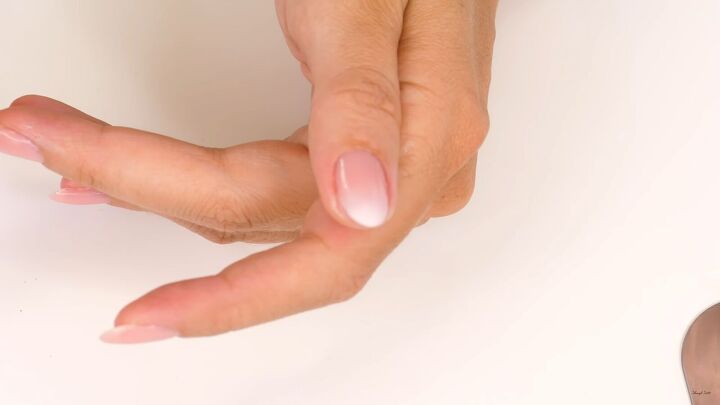
Go ahead and do the rest of your nails before curing them.
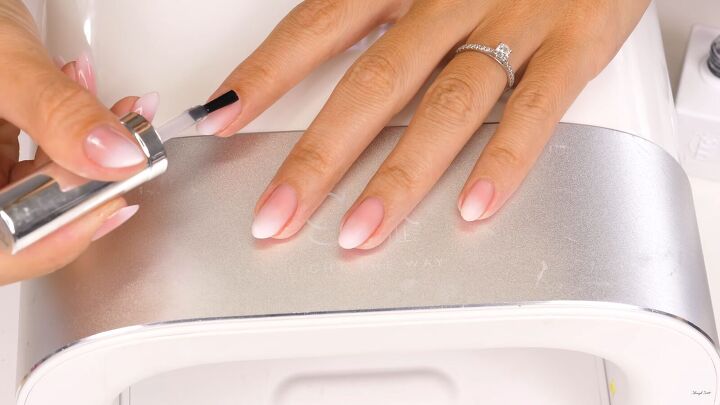
7. Apply a top coat
After you’ve cured your nails, apply a shiny top coat. It’s a good idea to apply a thicker top coat than you usually would, as you do not want your bristles to disturb the gradient.
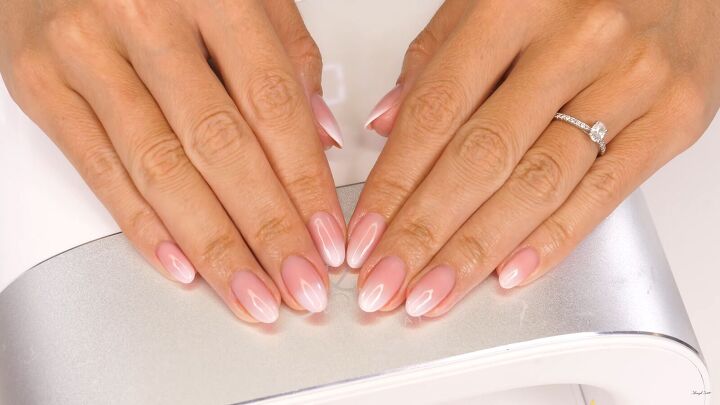
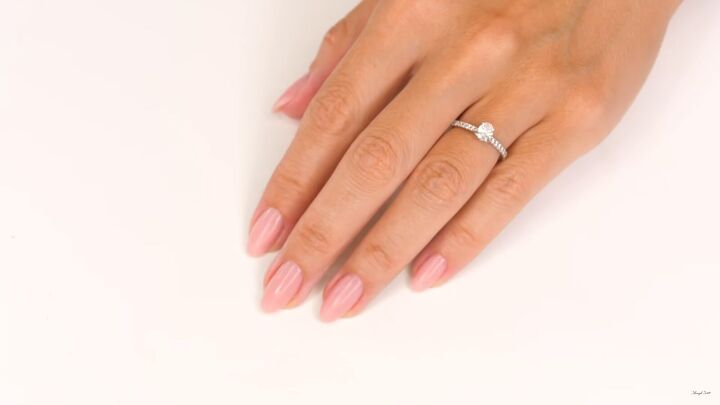
Baby boomer nails tutorial
I really think these ombre baby boomer nails have a classier finish than the ordinary French manicure. There’s no stark contrast, and everything blends so seamlessly.
I hope you enjoyed this tutorial and that you have all the tips and steps you need to achieve this beautiful baby boomer nail design.
Products used
The author may collect a small share of sales from the links on this page.


Comments
Join the conversation
“Flawless, my dear!” -And so well-taught for us newbies, inspirational and charming. About the name: BBN? My beautiful Mama, her sister and others now approaching 70 had rounded tips, not squared, perfectly proportioned to the length of the fingers and useful, not inhibitors, immaculately cared-for. That said, these women also were are Army nurses and Rosies riveting, so sometimes the nails weren’t as perfect as wished - but the standard is as you show. 💋