How to Make Realistic DIY Devil Horns For Halloween or Cosplay

In this tutorial, we’re going to be making DIY devil horns for Halloween. The horns are also a great accessory for cosplay, so if you’re looking to show your wicked side, these are perfect.
To make the horns, we’re going to use polymorph. Polymorph is a plastic that melts in hot water, and it becomes translucent and allows you to model things by hand, and then when it cools, it goes really hard.
Tools and materials:
- Polymorph
- Tupperware dish
- Water
- Metal spoon
- Blunt knife
- Paint (I used alcohol activated paints)
- Brush
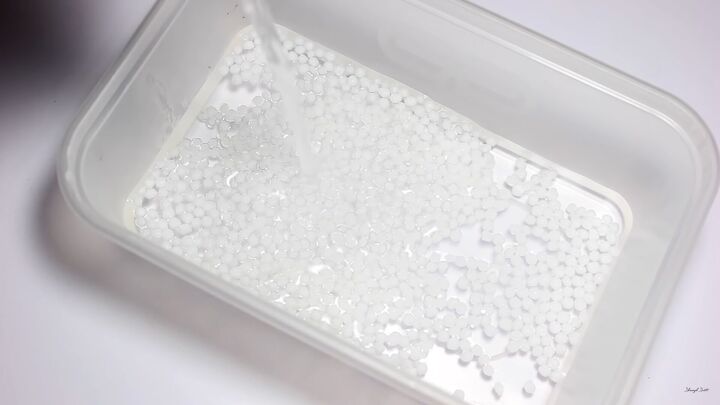
1. Melt the polymorph
Start by putting a small bit of the polymorph into a Tupperware dish. I found that a handful of it was enough to make two horns.
Pour some boiling water into the dish, and then once it goes translucent, add some cooler water into it so that you can put your fingers in, and it won’t burn you. Next, use the handle of a metal spoon to scoop up your melted polymorph.
You may find that it all starts to stick together; just wrap it around your spoon a few times until you’ve got the amount that you need.
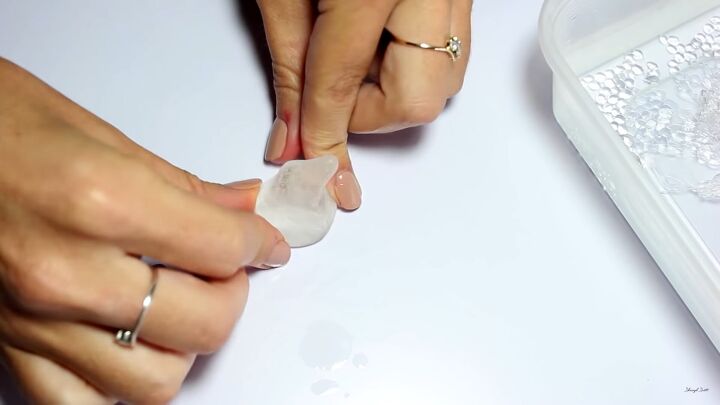
2. Mold the horns
Then you want to squeeze the polymorph together and then start rolling it between your hands to form a little sausage shape.
You then want to form a flat bottom by pressing it onto the table, which will be the base of your horn. Use your fingers to pinch the top to create that nice pointed horn shape at the very tip.
Because our product is still warm, it will keep melting the shape so keep putting it back on the table and flattening that base. As it starts to cool, you’ll find that it starts to hold the shape a little bit better. So it’s a case of constantly manipulating it while it’s setting into place.
Remember to bend the tip backward slightly, so the horn comes out of your forehead and goes upwards. Repeat this process for the second horn.
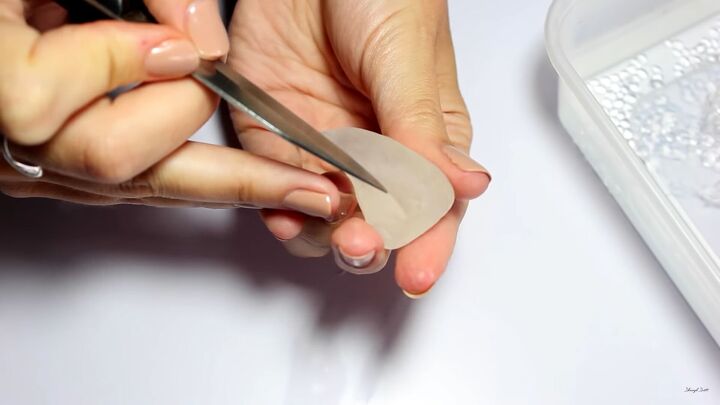
3. Make some indentations
As it starts to set, you’ll see that the surface becomes a little bit squidgy but will start to harden. Use your fingers to press your fingerprints into them, which will add a lot of texture to the horn. Then create some ridges to give it more of a bone effect.
Finally, use a blunt knife to gently score along the surface and leave a slight indentation. Do this all the way around the horns.
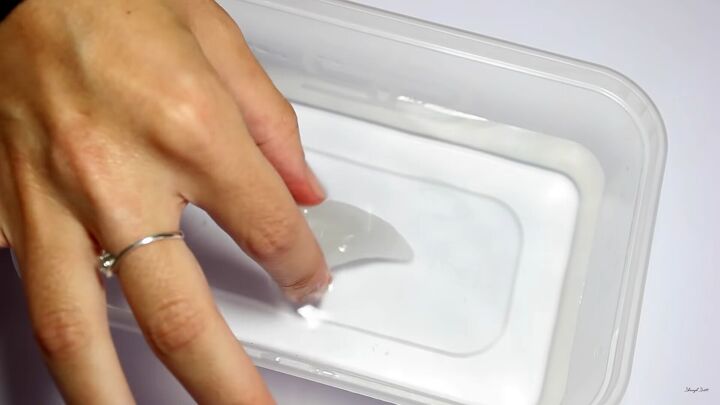
4. Put the horns in cold water
Once you’re happy with your shape, you’re going to place the DIY devil horns into some cold water, which will help set the plastic. You’ll know once it’s set because it goes completely white, it’s no longer translucent.
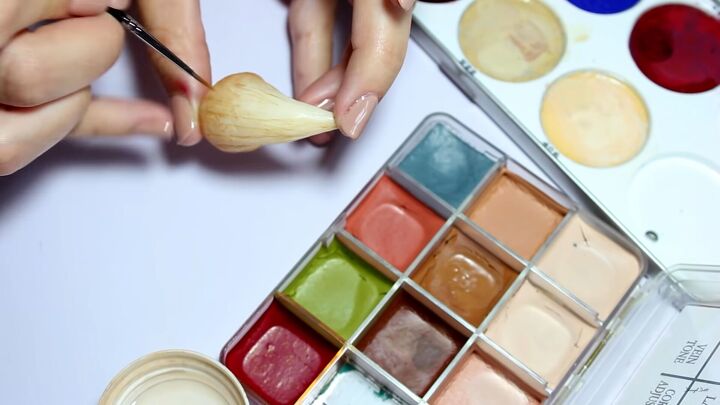
5. Paint the DIY devil horns
I chose to paint my horns with alcohol-activated paints as I know they’re going to be waterproof. I mixed two flesh tones to create a bone color, and I’m going to use this all over my horn; this will be the horn’s base color.
I’m next taking a middle brown color, and I’m applying this to the base of the horn, dragging the color up. Using the tip of my brush dipped in the same brown, I’m going to drag my color through the ridges that we made. You want it to be subtle but visible enough to create that depth.
Next, I’m using the medium and the dark brown together, and we’re going to go over that base area again. This time, we’re keeping it slightly lower, and we’re dragging the color up through the base of the ridges. I’m going to work this all the way around the horn. I’m also going to work some of the color down from the tip.
Then, I’m going to start adding some highlights, so I’m going to go for my light bone color and add some stroke lines from the tip downwards towards the middle of the horn. This will help to highlight those ridges. I’m placing the bone color in the center, in between each of those ridges.
To add some depth to the base of the horn, I’m applying a little bit of black. To make sure it doesn’t look too black, I’m going in with the darkest brown and fading that over the top. Do this process for both horns.
Tip: Remember to leave the flat base of your horn with no color on, as this is where you’re going to apply your adhesive.
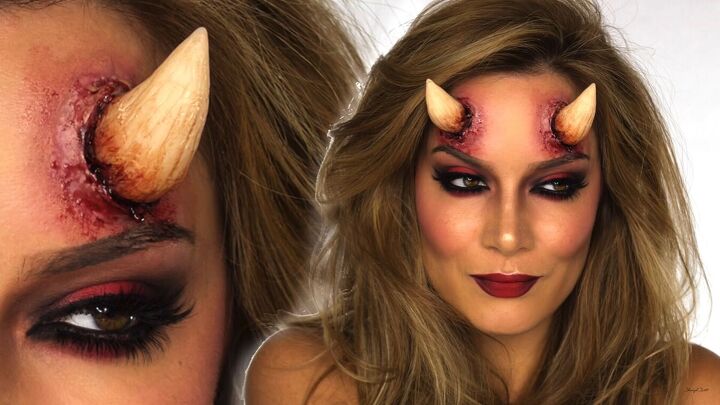
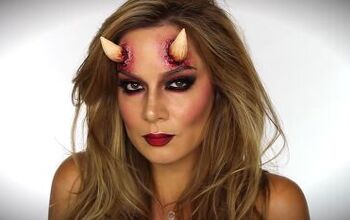
DIY devil horns tutorial
That is how you can make your own DIY devil horns for Halloween. When I applied them to my forehead, they stuck with no problem, they didn’t come off, and they weren’t uncomfortable to wear. I’m so happy with how they turned out! Happy Halloween!
To see how I completed the whole sexy devil makeup look, read my follow-up tutorial on How to Do Sexy Devil Makeup for Halloween.
The author may collect a small share of sales from the links on this page.


Comments
Join the conversation