How to DIY Super Cute Love Letter Nails for Valentine's Day

How do you feel about turning your nails into love letters for Valentine’s Day? These romantic nail designs, with pink and beige nail art will achieve exactly that!
This tutorial will demonstrate how to create Valentine's Day nails using fake nails, but, of course, you can do this directly on your own nails if you want.
Tools and materials:
- Assorted nail polish colors
- Clear top coat
- Isopropyl alcohol
- Nail art foil
- Crystals and beads
1. Apply the first coat
Apply dusky pink nail polish to two of your nails.
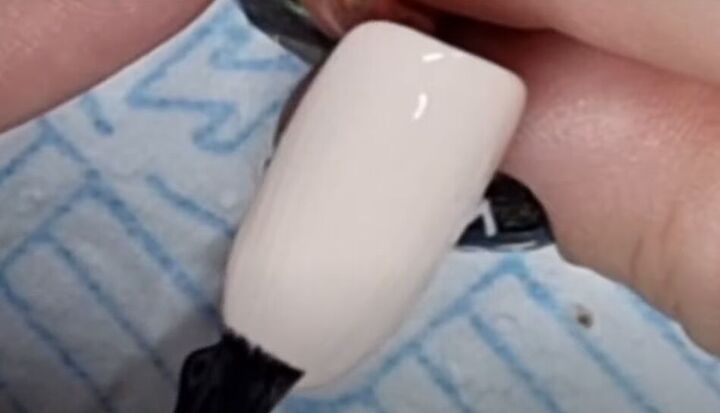
Apply white nail polish to three of your nails.
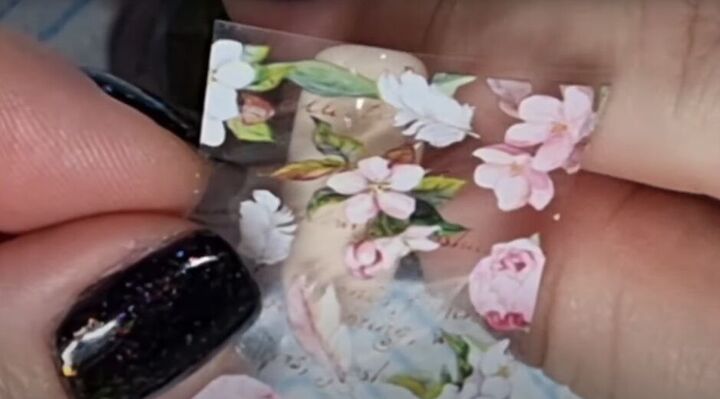
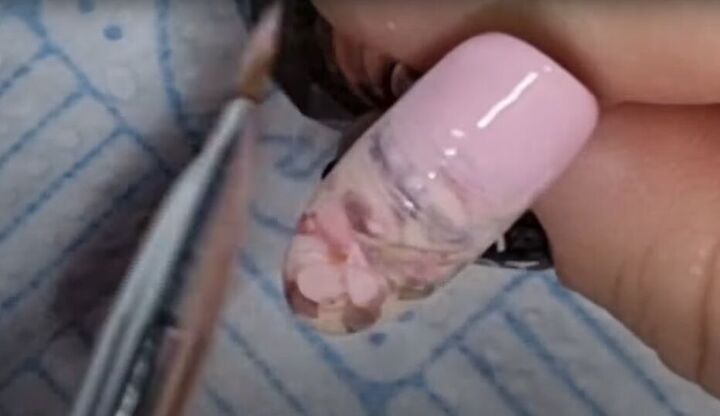
2. Apply nail foil
Lay decorative, romantic-looking nail foil over one of your white-painted nails.
Press the foil down, starting in the center and moving out to the edges.
Peel off the foil paper and cover the remaining design with a clear top coat.

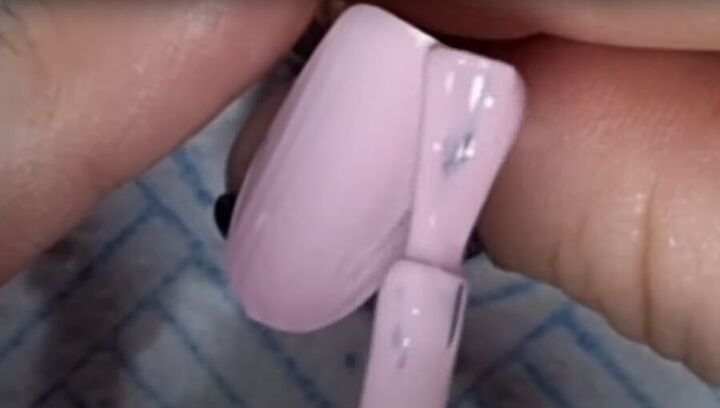
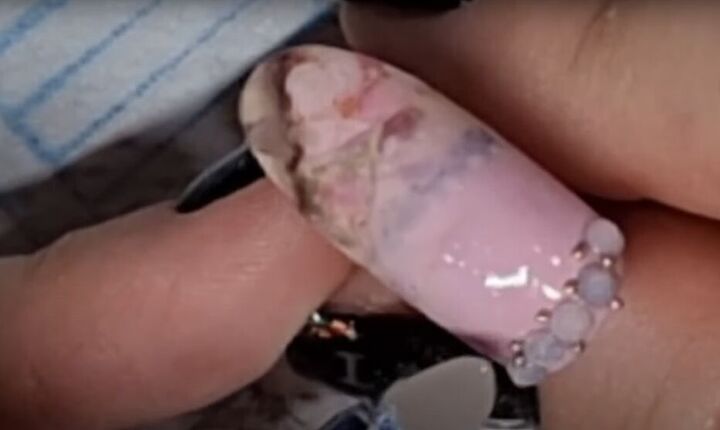
3. Go ombré with your nail design
Really, this is stunning just as it is, but let’s keep going.
Add dusky pink nail polish to the bottom half of your foiled nail.
Now, use clear base coat on an ombré brush to make horizontal strokes back and forth through the pink to create an ombré effect on your nail.
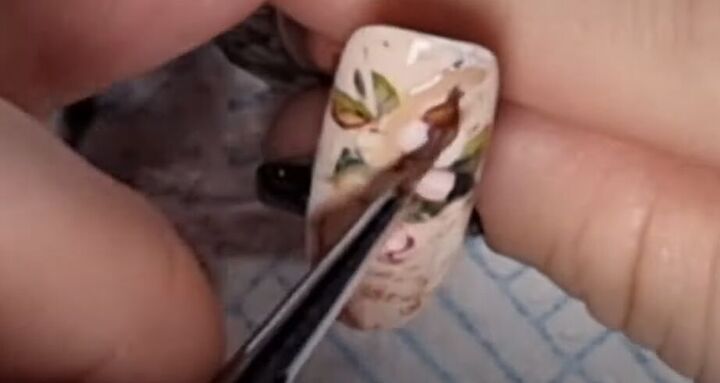
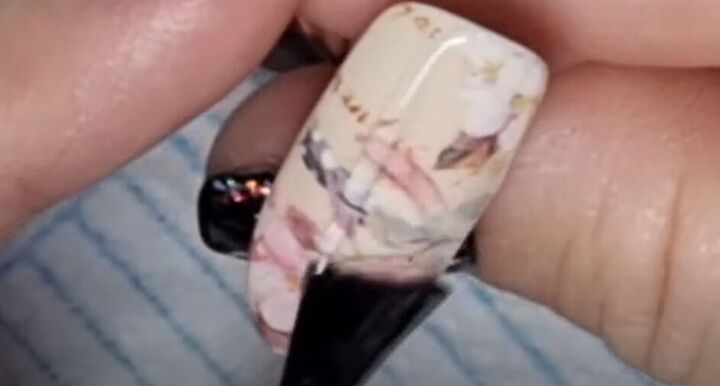
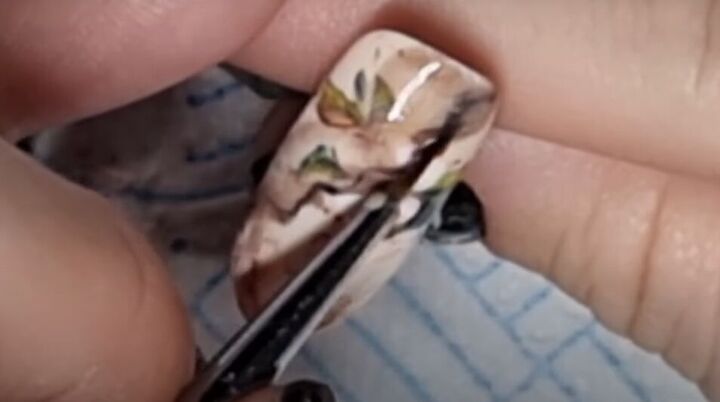
4. Make a homage to burnt love letters
For another romantic Valentine nail art design, paint a wiggly line over your foiled nail, using butterscotch-colored nail polish.
Go over the butterscotch line with some chocolate truffle-colored nail polish (remember, chocolate is a big part of Valentine’s Day!)
Dip your brush into isopropyl alcohol and gently tap it over the wiggly line, dispersing the color a bit.
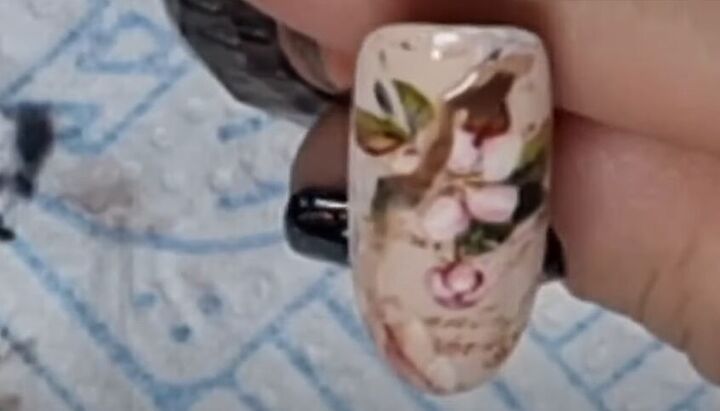
Now, use a bit a black nail polish to outline that wiggly shape on one side. Then, disperse the black with isopropyl alcohol as you did before.
We’re going for the look of old paper with burnt edges – like an old love letter!
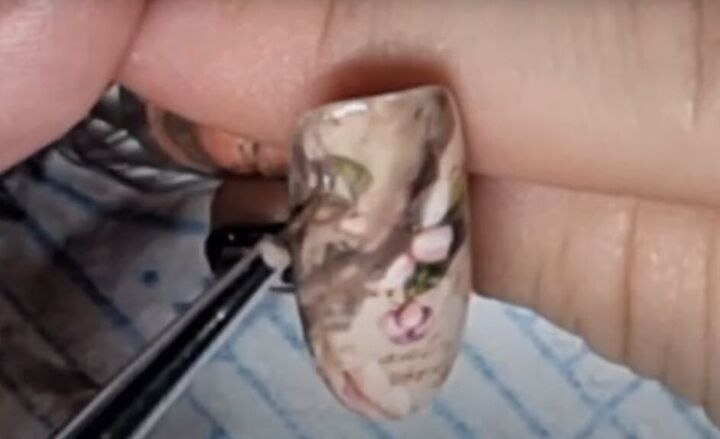
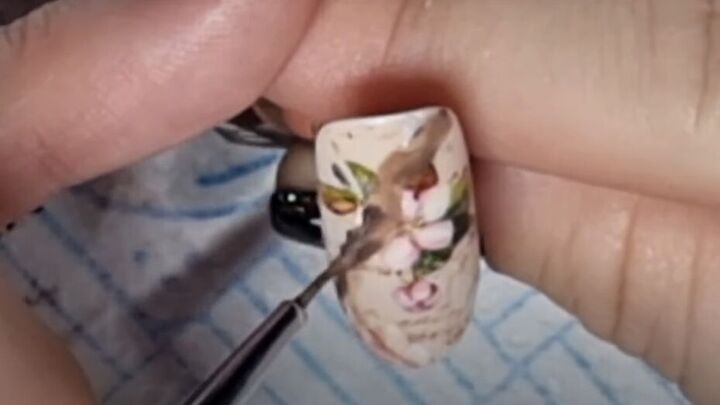
Continue adding and dispersing color until you’re happy with the final look.
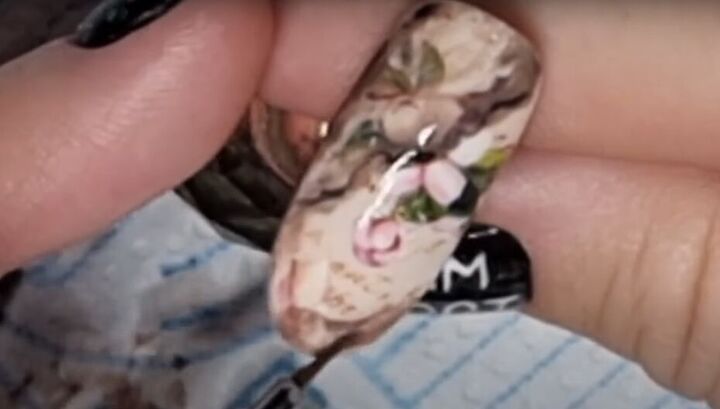
I gave the same burnt love letter treatment to the tip of the nail.

And I added it to the tip of the ombré nails, too.
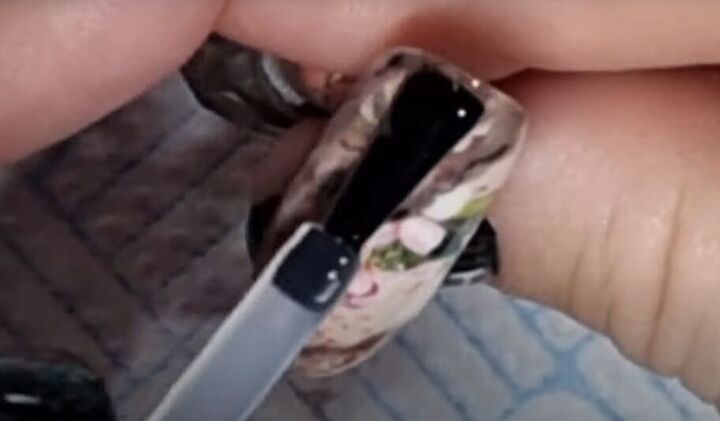
Finish off the nail with a clear top coat.
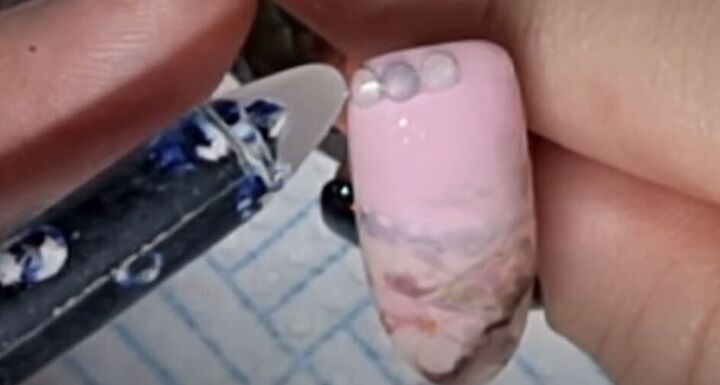
5. Add some embellishment
There’s no need to stop yet. Add some crystals at the base of your ombré nails.
Keep going, with some beads among the crystals.
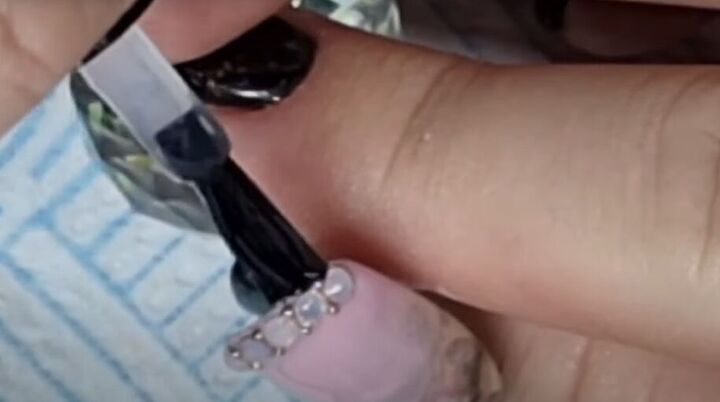
Cure your nails and add clear base coat, getting right up to the edge of the beads and crystals.
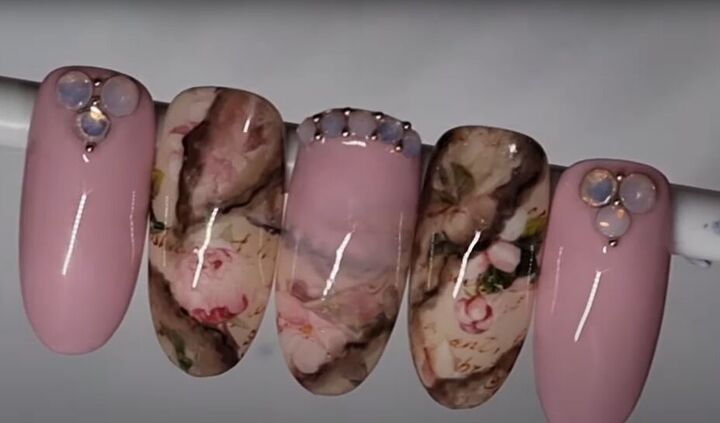
DIY love letter nails
Here are my final Valentine’s Day nail art designs. I decided to leave two of my nails in a romantic solid color and add crystals to them.
I think they are just lovely. If you agree, leave a comment and let me know if you tried these romantic pink and beige Valentine’s nail ideas for yourself.
For more nail art ideas, check out my post on How to DIY Super Cute Tweed Nails.
The author may collect a small share of sales from the links on this page.


Comments
Join the conversation