How to Easily Make & Use DIY Perm Rods at Home

Heatless styling has become quite the fad these days. I mean, why add heat to your hair when there are so many other ways to style it without the damage?
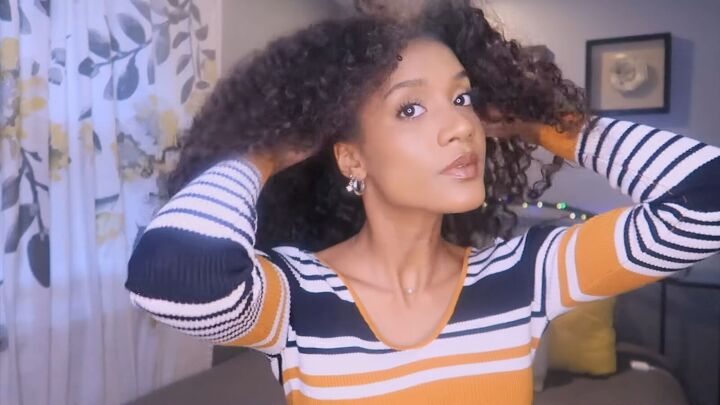
In this tutorial, I’m going to show you how I achieved these stunning babydoll curls with DIY perm rods or DIY flexi rods. I’ll show you how to make them as well as how to use them on natural hair. Let’s get curling!
Tools and materials:
- Almond oil
- Comb
- Bobby pins
- Aluminum foil
- Leave-in conditioner
- Scarf or bonnet
- Gel
- Pick
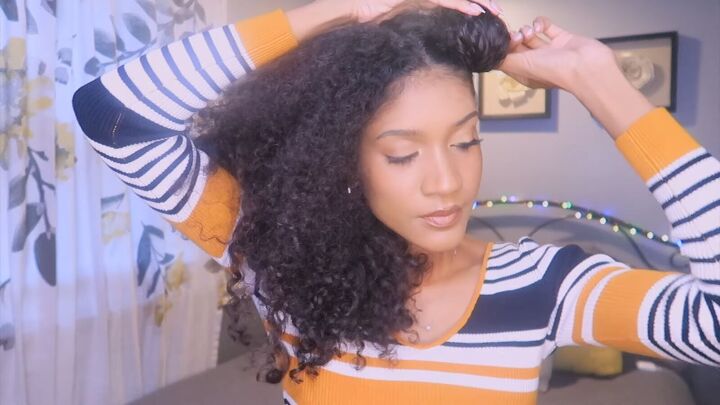
1. Hair prep
Apply sweet almond oil to your scalp. If your scalp is dry and needs some extra moisture, this is a good step before actually styling your hair with the DIY perm rods.
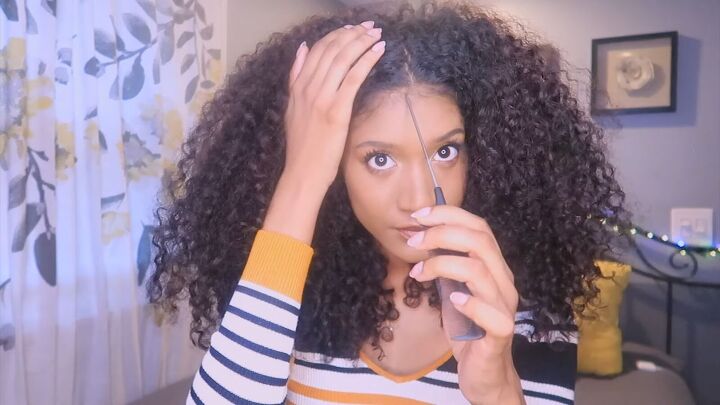
Make a middle part.
Then, section your hair onto one side and secure it with a bobby pin.
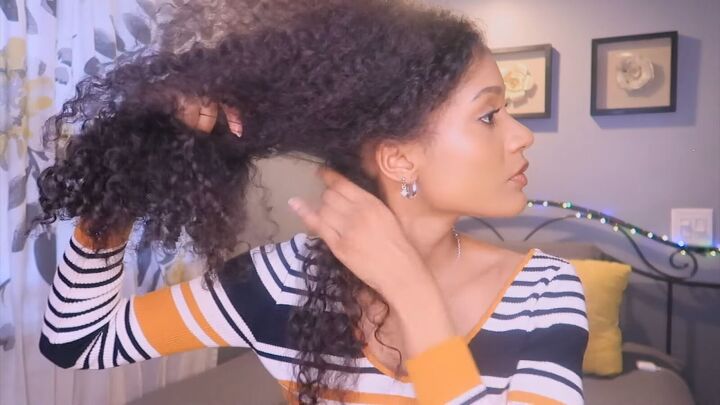
Remove a section of hair from the other section and secure the rest up as well.
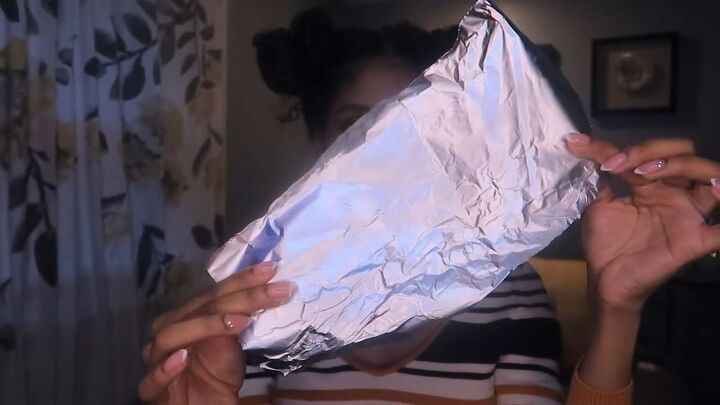
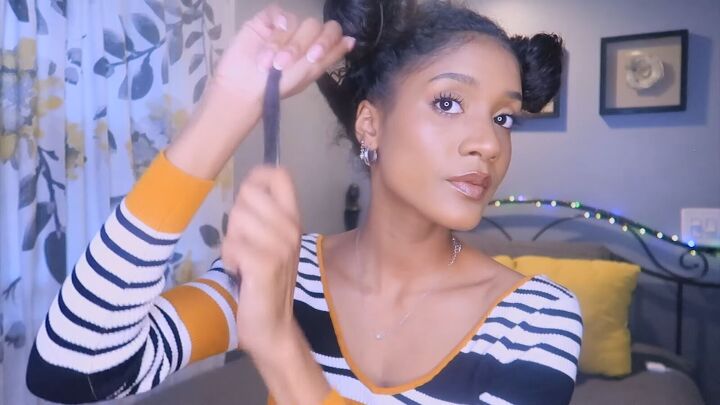
2. Make the DIY perm rods
Here’s the fun part! Tear off a piece of aluminum foil and fold it in half. Then, fold it over twice again to create a rod-like structure.
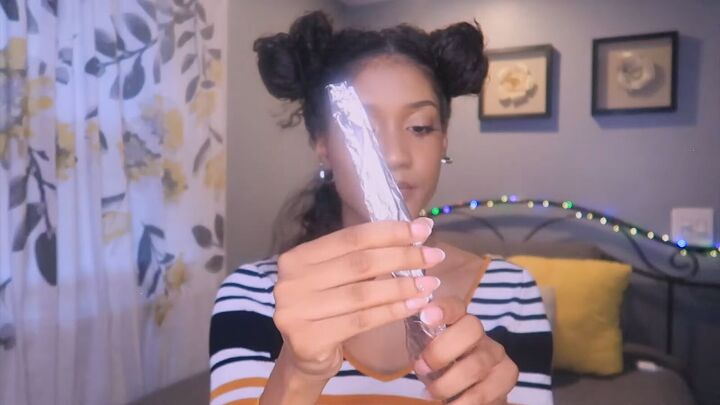
Next, roll the foil in between your palms, as shown.
Now, you’re left with the flexi rod! Cut the long piece in half so that you’ve got two pieces to work with.
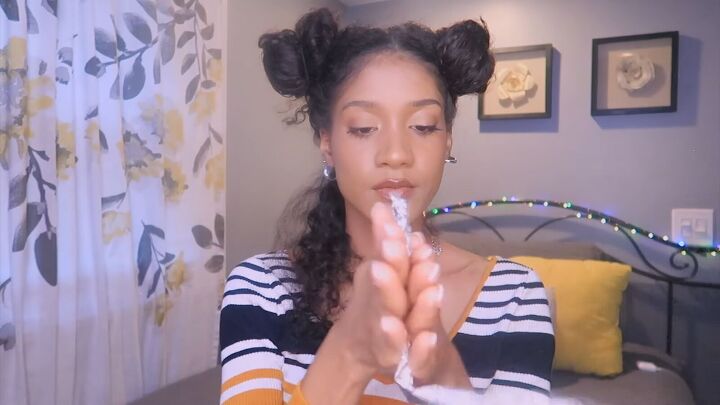
3. Apply products
Apply your favorite leave-in conditioner. You’ll be applying this section by section, so you do not need a lot of product.
This leave-in, together with the DIY perm rods, will help style your hair and give it that long-lasting bounce!
Next, apply a little Eco styling gel. Again, you do not need a lot of product.
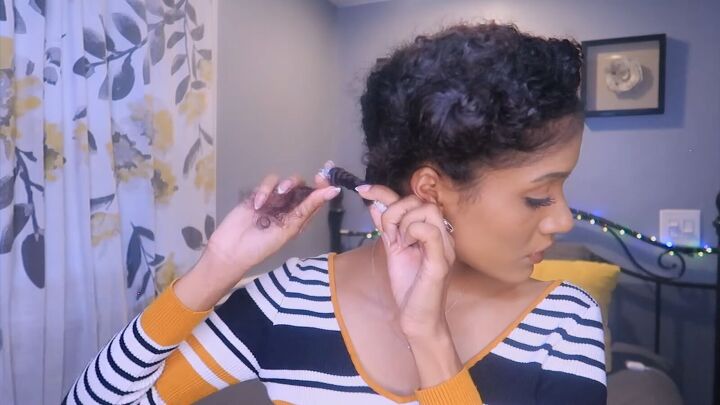
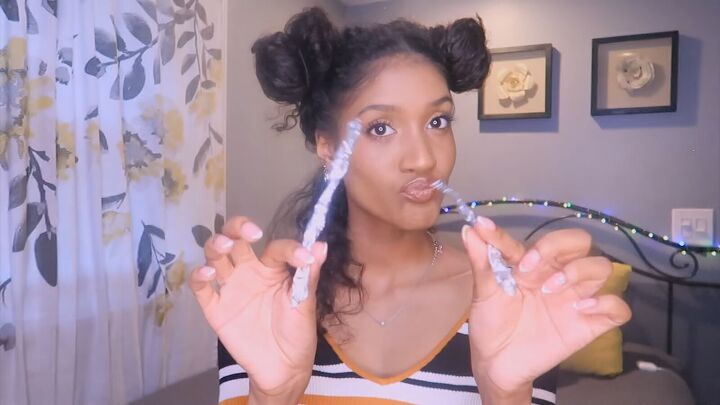
4. Use the DIY perm rods
Coil your hair around your DIY flexi rod, making sure it sits firmly around the rod. I don’t like laying it flat; a spiral works best to really give your hair that fun bounce.
Then, fold the remaining piece inward and proceed to the following sections.
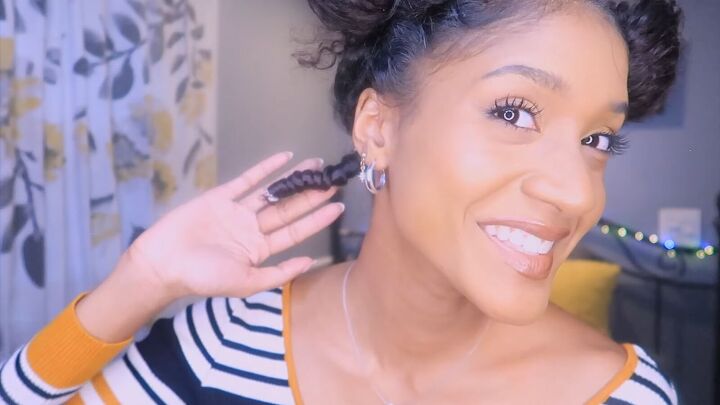
What do you think of this little earthworm? Don’t worry, you’ll love the results when I’m done coiling my hair.
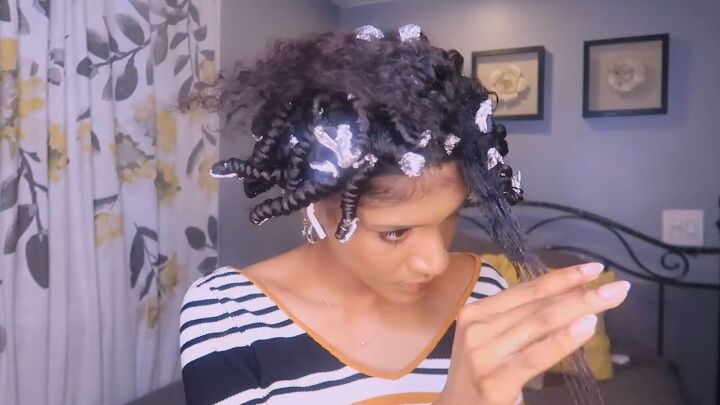
Yes, this part takes time, but if you want a lovely curly style without the heat, sometimes a little sacrifice is needed. It’s worth it, I promise.
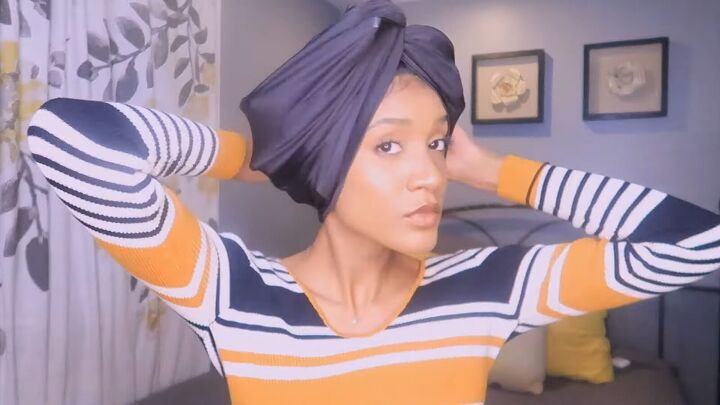
5. Cover your hair
Now, cover your hair with a bonnet or lightweight fabric. You’ll need to walk around like this for 5 hours, so I suggest doing this when you know you have nowhere to go.
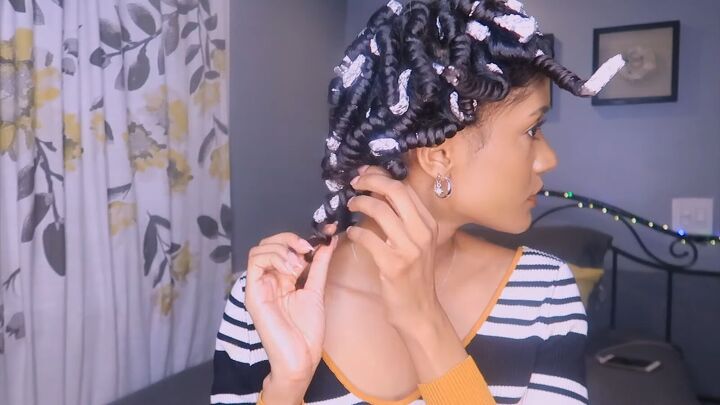
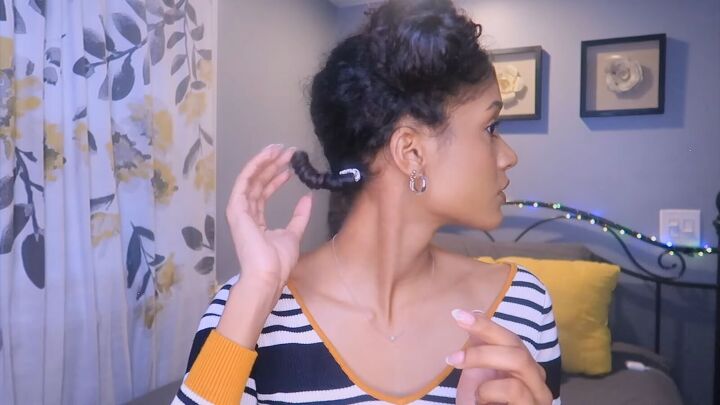
6. Unravel the DIY flexi rods
Before you take out the rods, be sure to add a little almond oil to your hands. This will keep each curl moisturized and sleek.
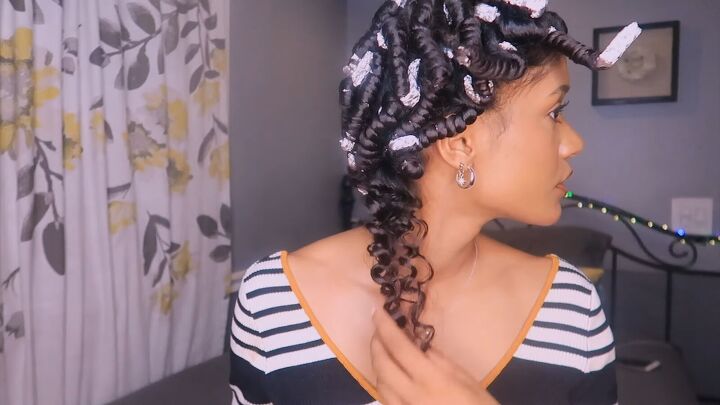
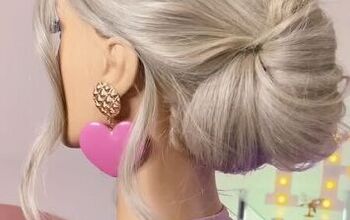
Look at that perfect curl! When you take out your rods, you’ll see the instant shine and curl! These DIY flexi rods on natural hair really work like magic.
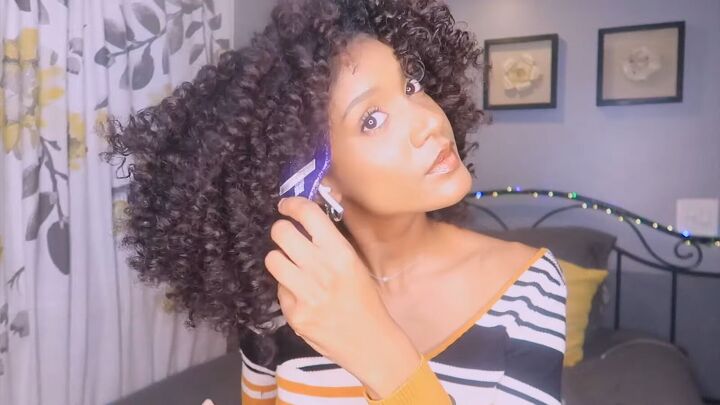
Finally, once all the coils are out, add more almond oil to your hair pick and create a round shape with your hair.
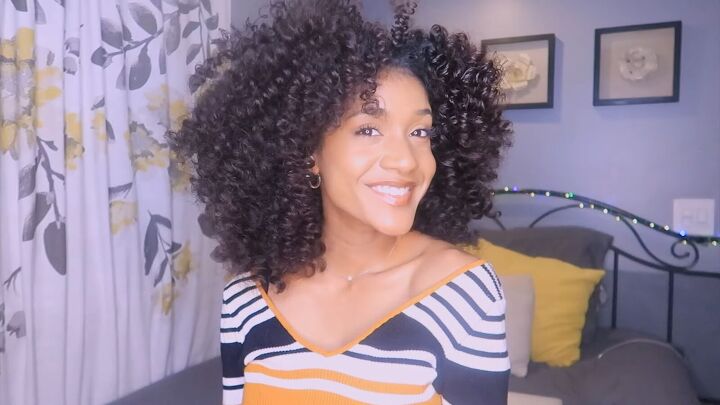
DIY perm rods tutorial
I actually love these DIY perm rods more than regular flexi rods. Look how gorgeous my curls are! It’s definitely worth the time and effort as these curls are 100% heat-free!
What do you think of my gorgeous hairstyle? Now that you know how to make perm rods easily, there’s no excuse to try this out. You won’t be sorry, I promise.
The author may collect a small share of sales from the links on this page.


Comments
Join the conversation
Great idea! Thanks for sharing!
WOW!! You must have the patience of a saint! Mind you, I think you could do anything to your hair and you would still be gorgeous!!