How to DIY Retro Polymer Clay Earrings

Hi everyone. In this tutorial, I’m going to show you guys how I made these fun, patterned retro earrings. Let's get started!
Best polymer clay!
Tools and materials:
- Polymer clay
- Extruder
- Acrylic block
- Cutting tool
- Roller
- Shape cutters
- Cornstarch
- Pasta machine
- Foil
- Rotary tool
- UV resin
- Sanding tool
- Sandpaper
- Jump rings
- Earrings posts
- Super glue
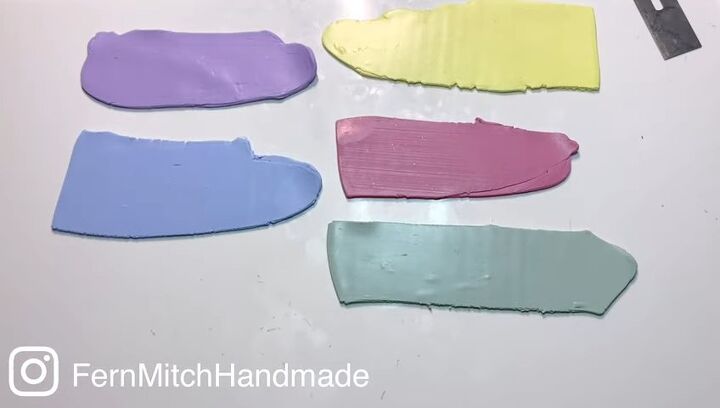
These are the colors I chose for the floral polymer clay earrings and I ran the clay through a pasta machine on the 3rd thickest setting.
For this technique, you’ll need a square die extruder.
Make sure your polymer clay is conditioned very well. This will ensure a smooth extrusion.
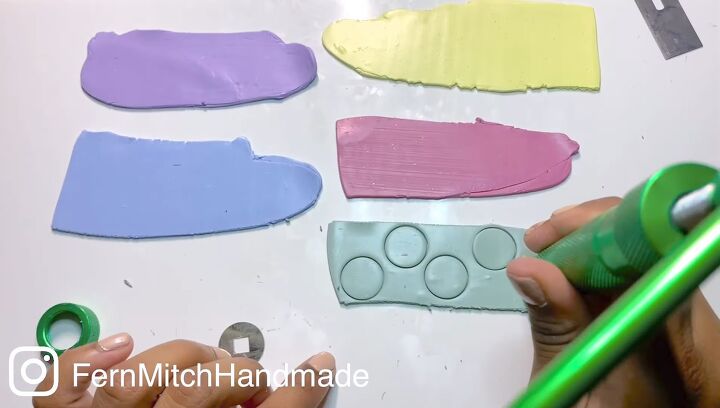
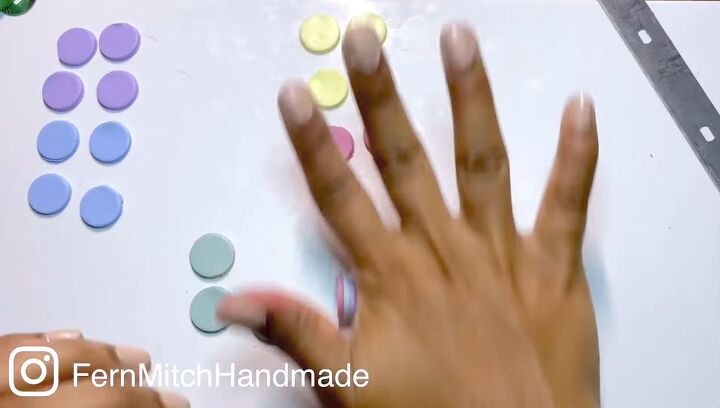
1. Cut out 10 circles from each clay color
You can either use a circle cutter that is the width of your extruder’s body or use the extruder itself to cut 10 circles from each color of clay.
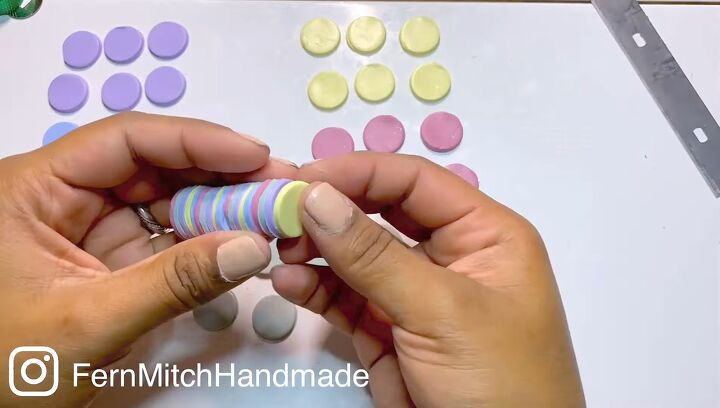
2. Stack the clay circles in a pattern
Stack the circles into a pattern. You can choose to stack them randomly or add two circles of the same color to build up a concentration.
It's up to you how you want them to be. I like to have my clack stack a little shorter and narrower than the extruder’s body.
3. Roll the clay stack
Roll the clay stack to make sure it’s blended nicely together.
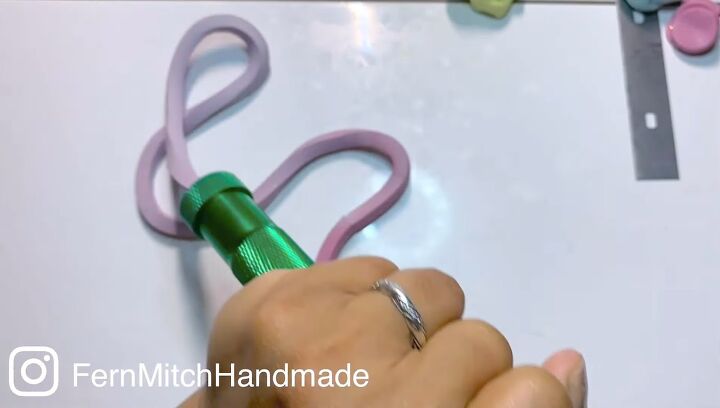
4. Extrude the clay
Crank the extruder all the way to the end and then push the stack in. Attach the square die and begin extruding. It won’t look like much, but keep extruding until you come to the end.
To make the extrusion process easy, make sure you’ve conditioned your polymer clay.
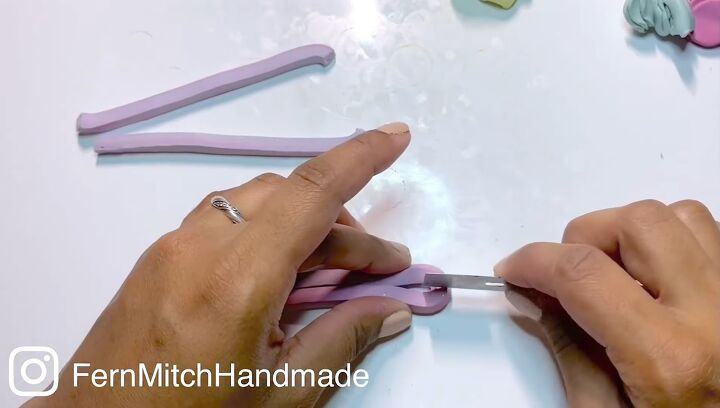
5. Cut the extruded clay
Cut the extruded clay into fours and stack them next to each other.
I cut this stack in half and stacked it on top, then repeated it one more time.
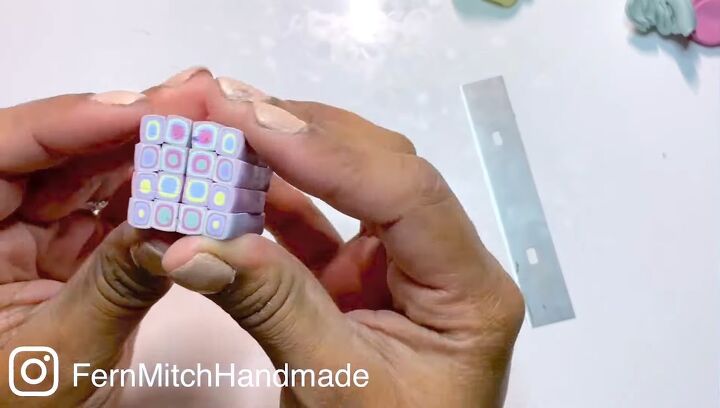
Here’s what it should look like.
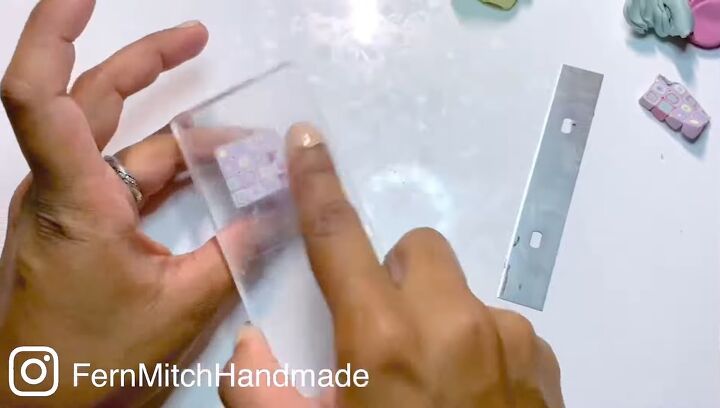
6. Press with an acrylic block
Use an acrylic block to push all of the sides to carefully reduce the cane and make sure everything is nice and bonded.
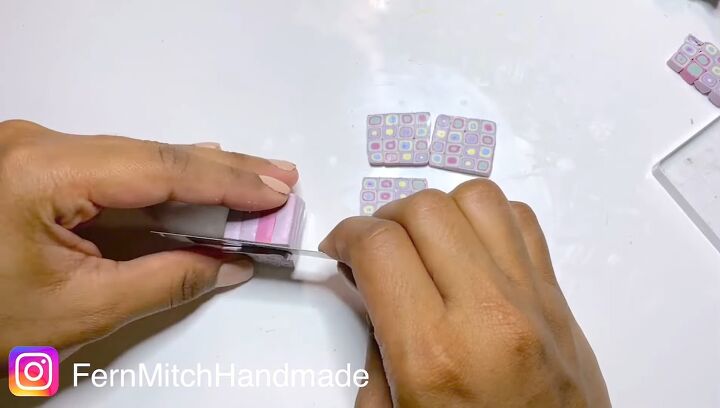
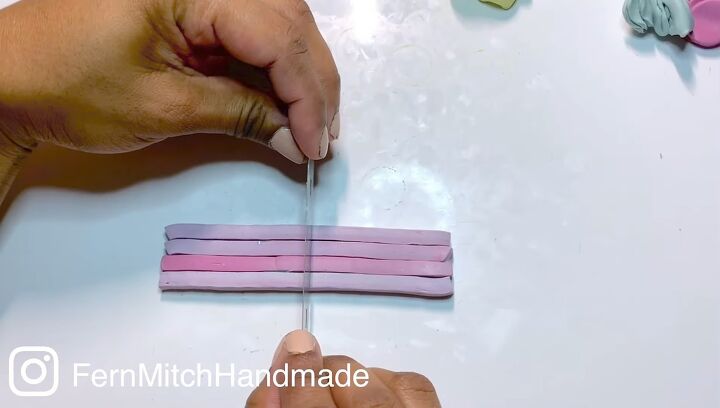
7. Slice the cane
To make it easier to cut this cane, leave it in the freezer for about 10-20 minutes.
Carefully cut slices on the cane. Try to keep them as even as you can. It’ll reveal this beautiful pattern.
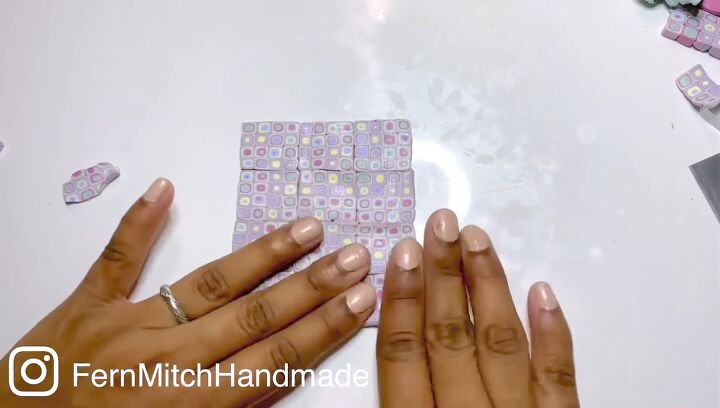
8. Arrange the slices together
Arrange the clay slices into a slab.
9. Burnish and roll the clay slab
Carefully burnish and roll the slab to make sure you have an even thickness.
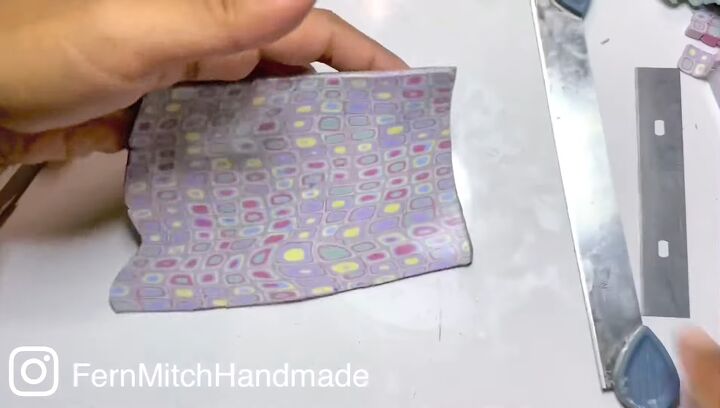
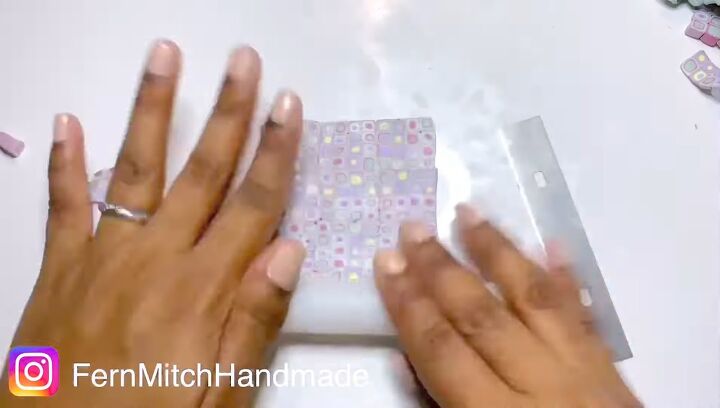
10. Stretch the clay in the pasta machine
Add a scrap sheet of clay underneath the slab and run it through the pasta machine on the second thickest setting, about 3mm.
I did this because I enjoy the stretched look of this pattern.
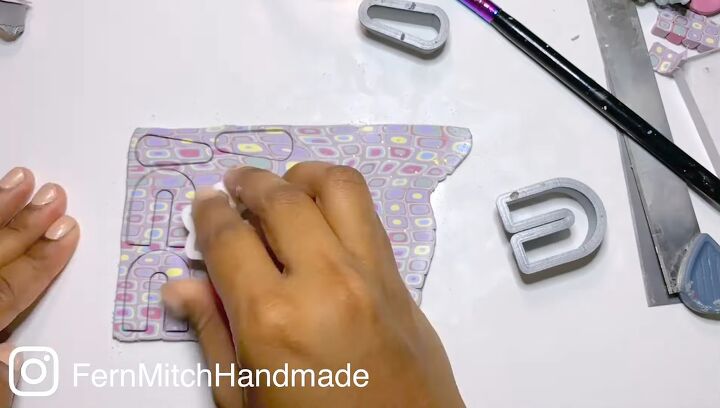
11. Dust your clay with cornstarch and cut out shapes
Dust some cornstarch onto your clay to make sure that the cutters don’t get stuck to your clay.
Then, use various cutters to cut out the shapes for your earrings.
I also cut some contrasting color components to go with these pieces.
12. Bake
Bake them for an hour at 275 F with a foil sheet cover.
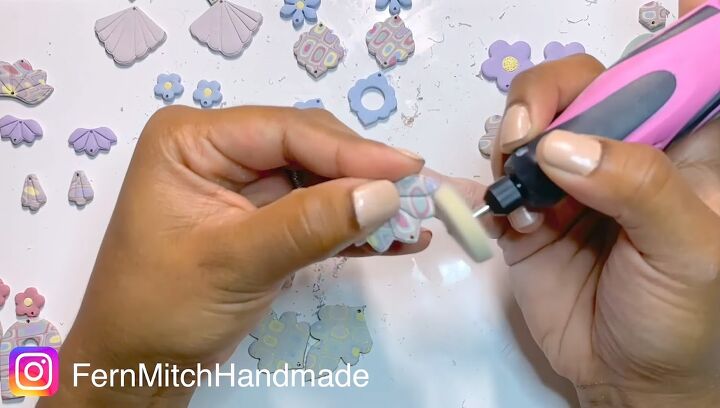
13. Drill holes and sand each piece
After they’re cooled, use a cordless rotary tool to drill holes and sand.

I also did a little wet surface sanding using 1000 and 2000-grit sandpaper.
Since I decided not to apply any varnishes or resin on these, it helped the pieces look nice and even.
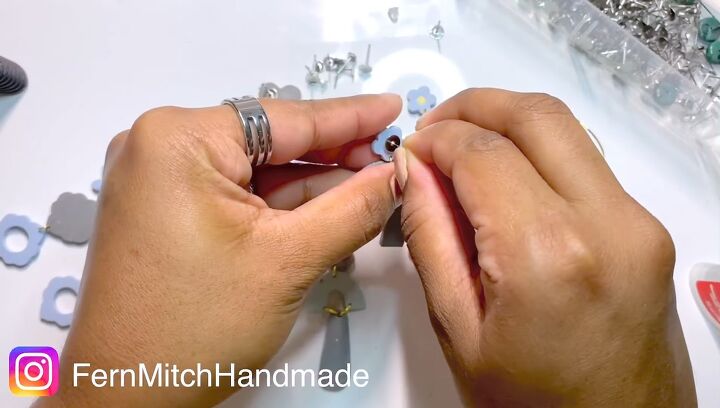
14. Attach the earring accessories with super glue
After the pieces have dried, add the jump rings and earring posts. I like to use super glue to add them to the backs.
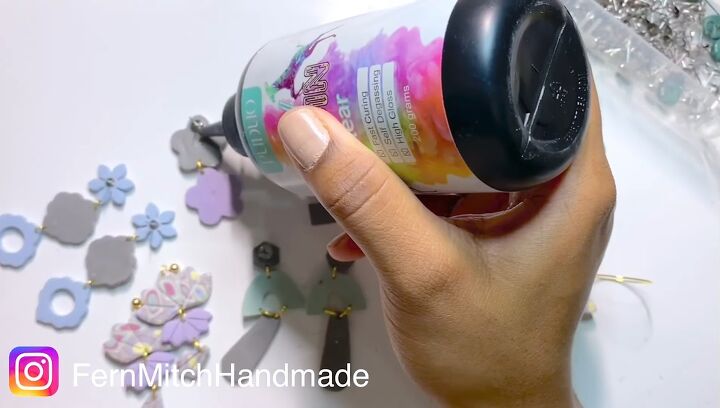
15. Secure with UV resin
Use UV resin to make it stronger.
When adding the resin, cover the full area if you’re able to. If not, just add a couple of millimeters around the post so it’ll be nice and secured.
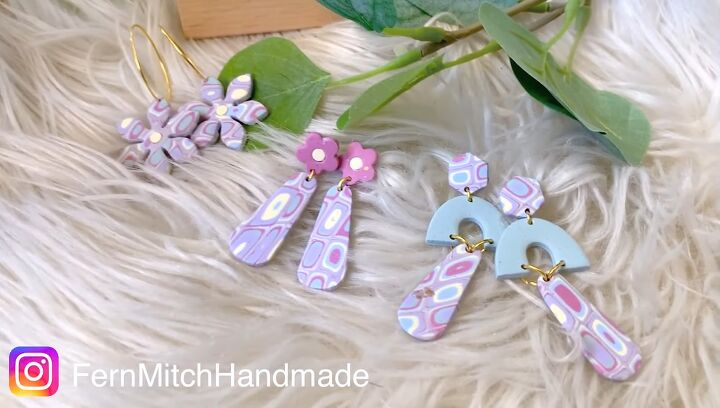
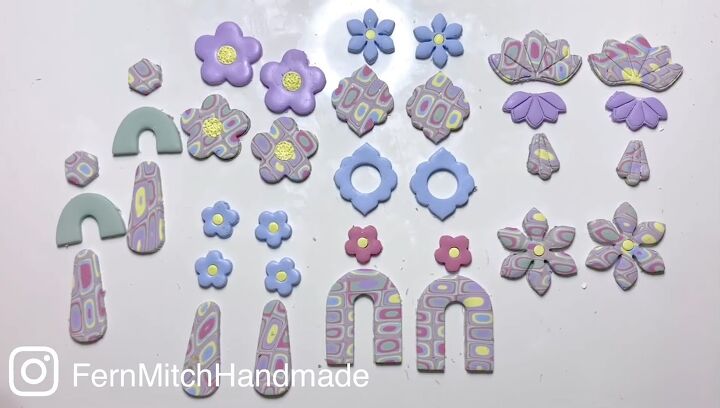
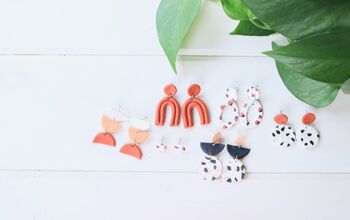
Retro polymer clay earrings
Here are the finished retro flower earrings! I love how these turned out.
Let me know what you think about this technique down below.
The author may collect a small share of sales from the links on this page.


Comments
Join the conversation