How to Easily Sew Cute & Cozy DIY Slippers for All the Family

The winter holiday season means cozy morning or nighttime activities at home. How wonderful would it be to have DIY slippers for yourself or your loved ones? You could make them all matching and start a holiday tradition!
Here’s how to make your own slippers in an easy slipper sewing tutorial. Once you’ve made one pair, you will be able to sew them much faster, so you can make slippers for your entire family. Let’s get started!
Tools and materials:
- DIY slipper pattern
- Outer fabric
- Lining
- Quilted or 4-ounce batting
- Quilted non-slip fabric
- Sewing machine
- Scissors
- Clips
- Needle and thread
Notes: The pattern can be made to fit adults or kids. There are 3 patterns: 8¾ inches, 10⅜ inches, and 9⅞ inches. For all of them, leave a ¾-inch seam allowance.
The sole uses 2 pieces of the quilted batting. Depending on how many pairs of slippers you want to make, you will need to purchase a sufficient amount of batting.
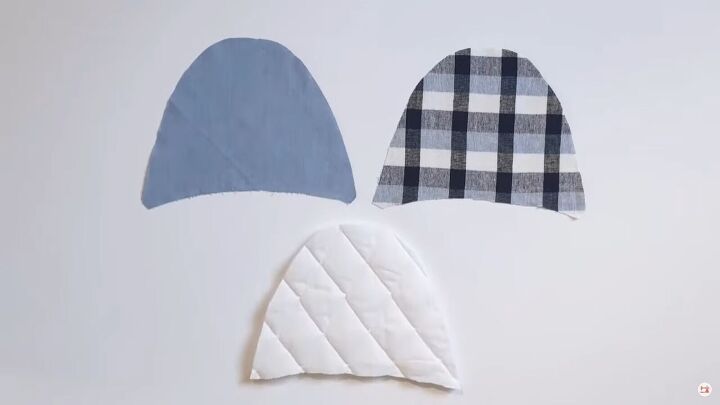
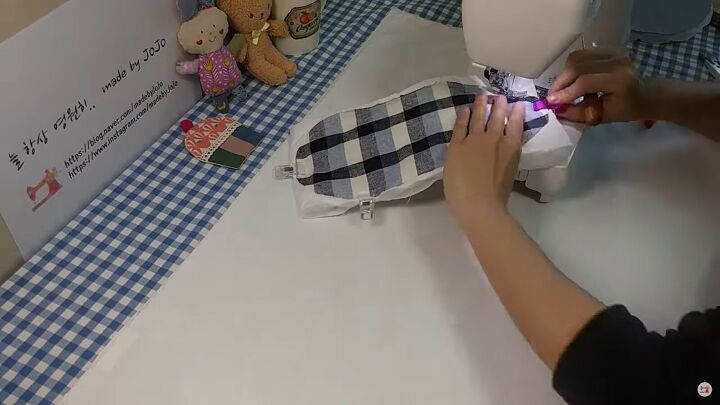
1. Make the top of the slipper
Cut out the pattern pieces in all three fabrics. Then, lay the pieces of fabric in this order:
- Quilted batting
- Front (here, it is the plaid fabric)
- Lining
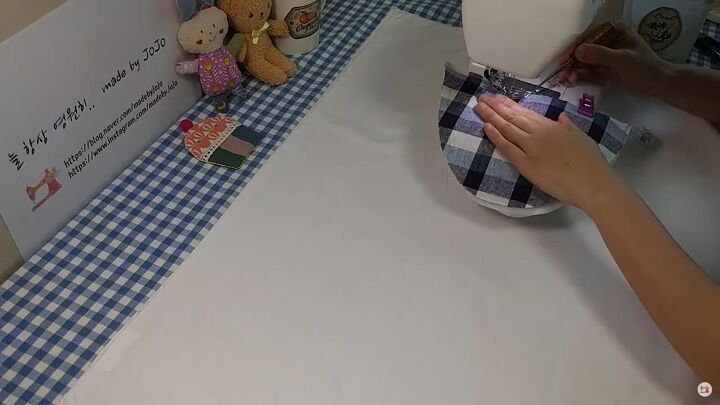
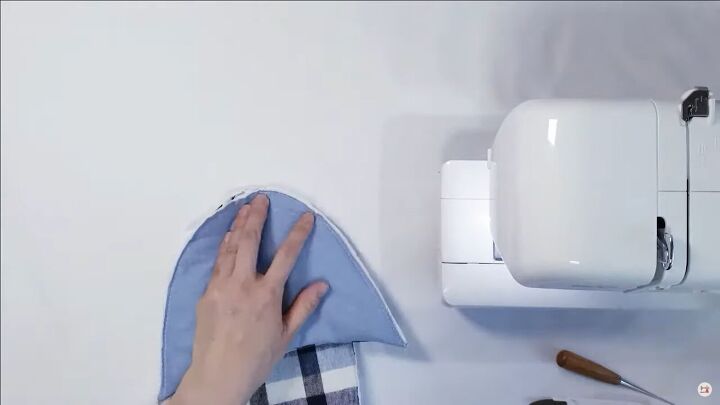
Clip the flat part of the half-moon. Sew only the flat part with a ¾-inch seam allowance.
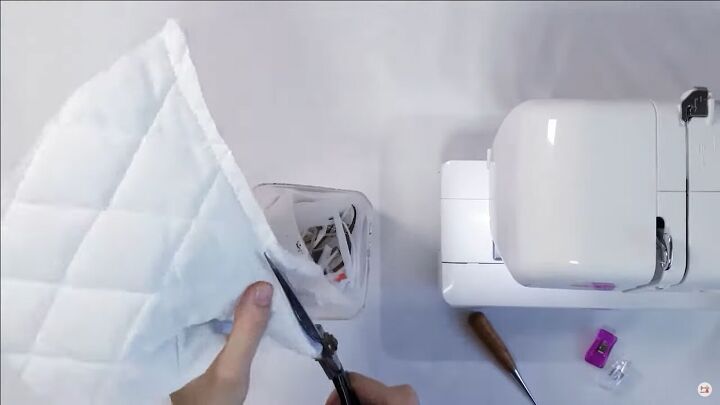
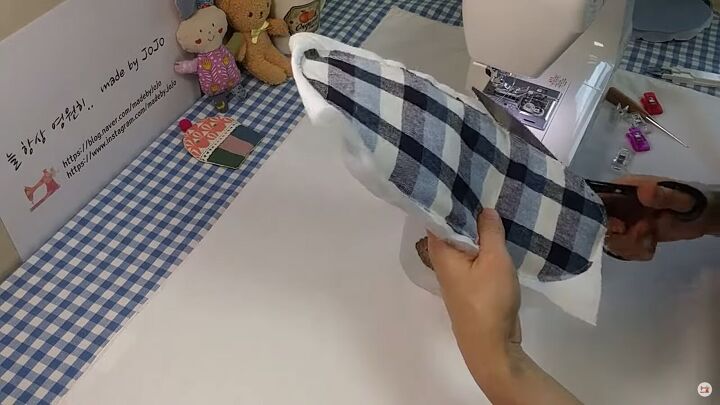
Trim the batting as close as you can to the stitch line.
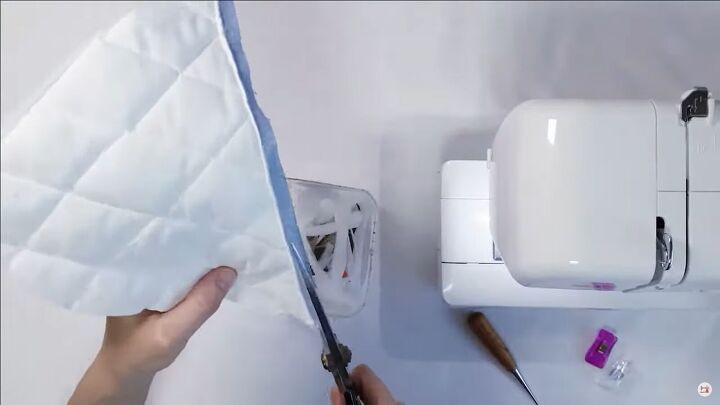
Then, trim the fabrics to a ¼-inch seam allowance.
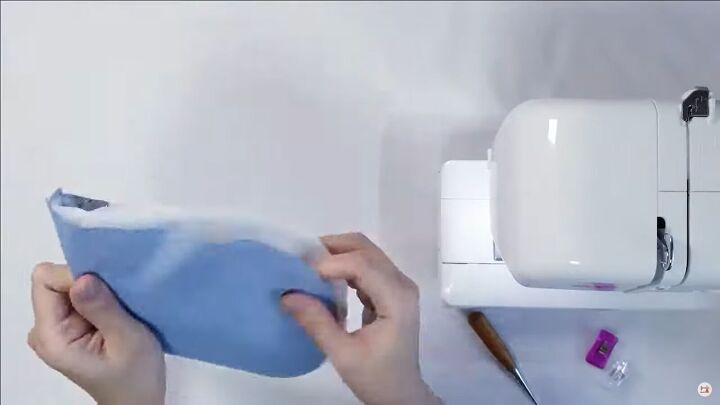
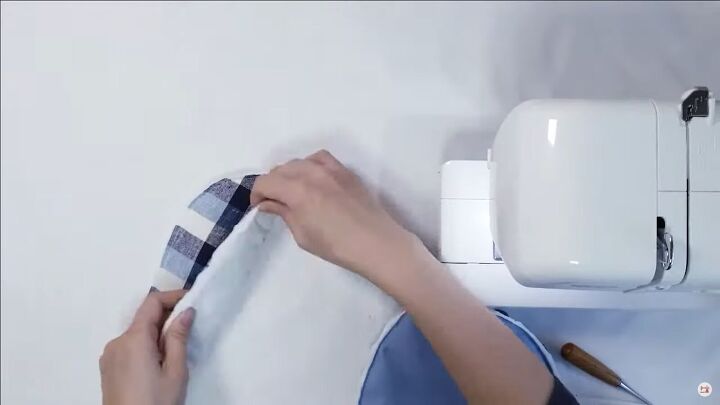
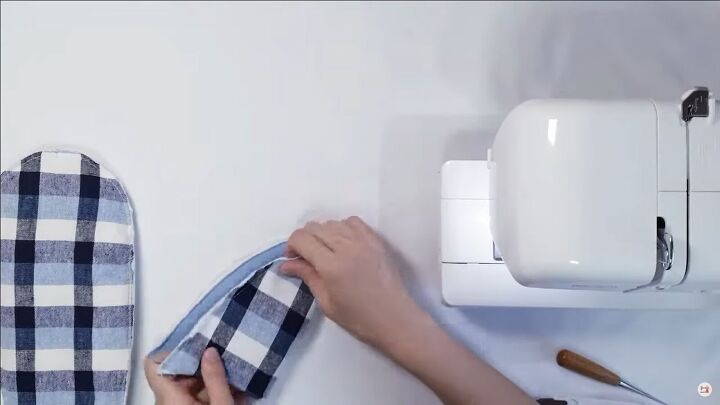
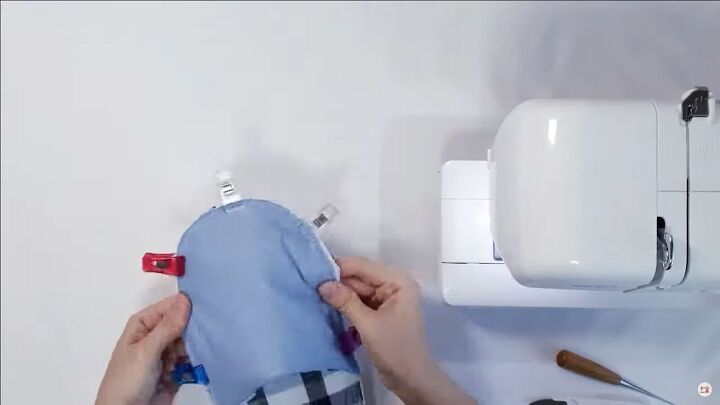
Flip the lining down over the batting. Spread the fabric evenly around.
Clip the sewn seam first. Then clip around the semi-circle.
Sew the semi-circle ¼ inch from the edge. Trim any excess.
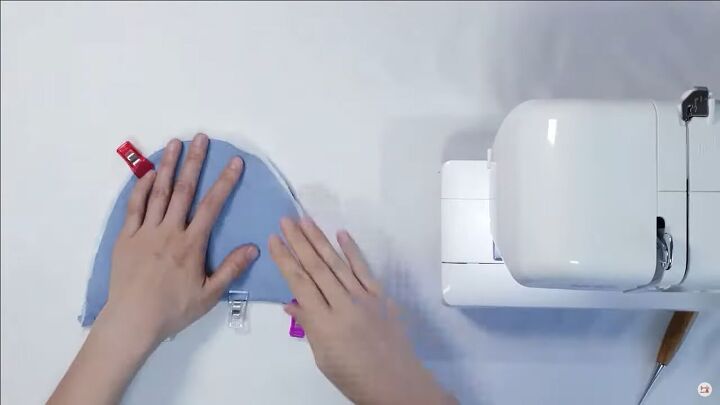
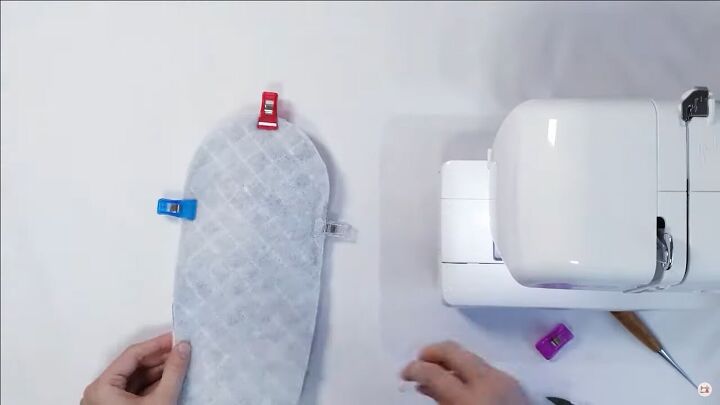
2. Sew the soles
Lay 2 pieces of the quilted batting and lay the outer fabric on top. Clip in place.
Sew along the outside edge with a ¼-inch seam allowance on the fabric side.
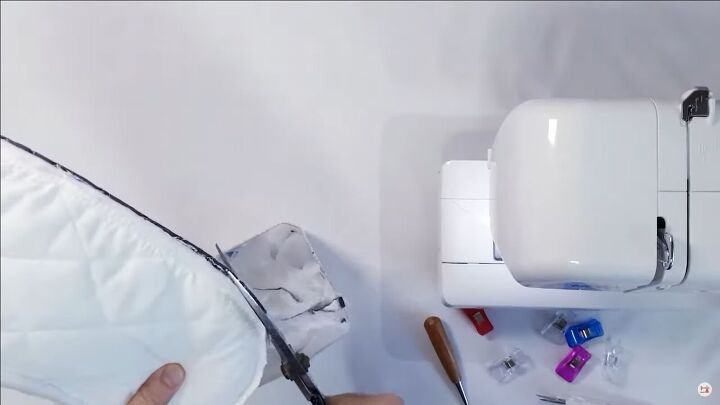
Trim all the excess seam allowance. Spread the fabric evenly.
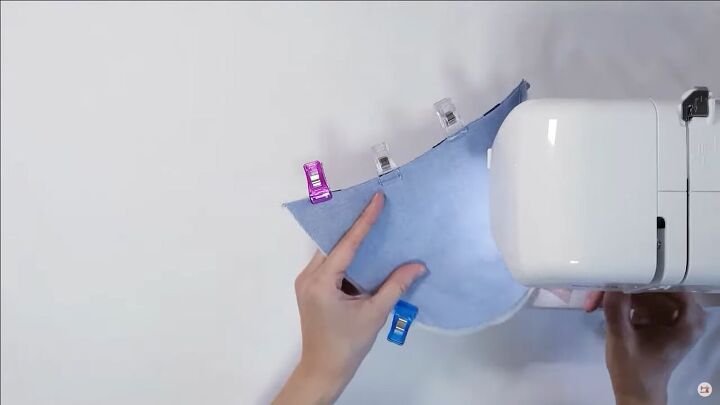
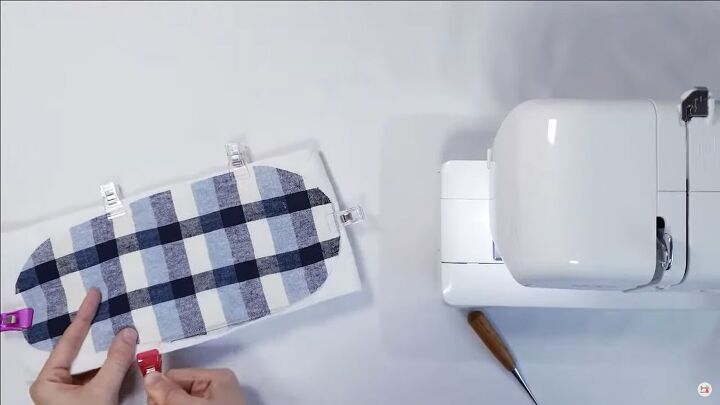
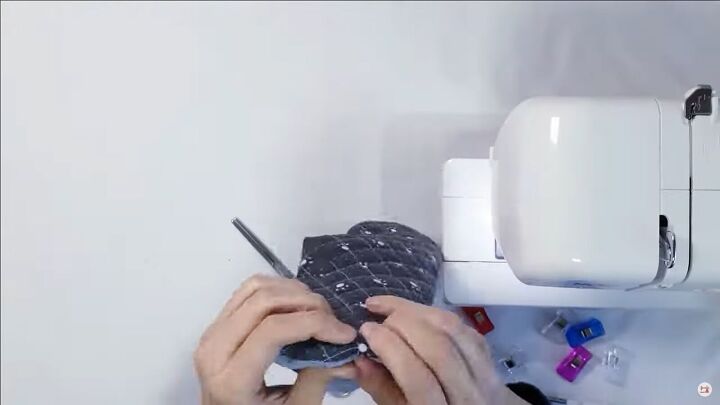
3. Sew the DIY slippers
Fold the sole in half lengthwise to find the center on the top. Mark the spot.
Fold the top part in half half lengthwise to find the center and mark.
Line up the marks.
Attach the top with the sole with clips. The top will rise up at the opening.

Sew along the top edge with a ¾-inch seam allowance.
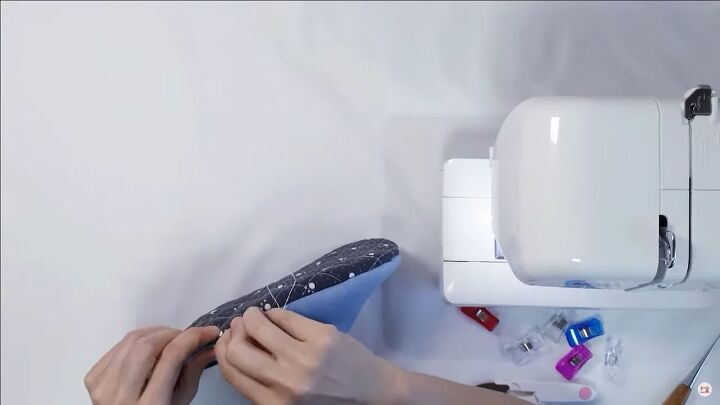
4. Attach the non-slip fabric
Lay the quilted non-slip fabric on the top right face down. You may need to fold the top of the slipper down so it lays as flat as possible. Clip it so the right sides are together.
Sew around the edge with a ¼-inch seam allowance, leaving a 1-inch space unsewn to turn it inside out. Trim the seam allowance.
Turn the slipper inside out. Spread the fabric and batting so it is even all around.
Hand sew the opening closed.
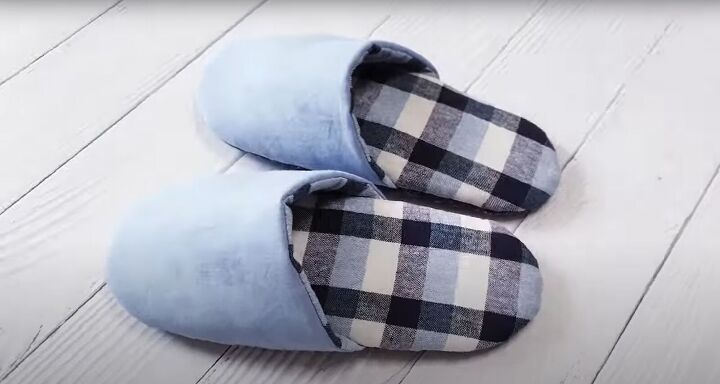
DIY slippers tutorial
There you have it! An easy DIY slipper tutorial you can make in under an hour that’s perfect for gifts or for yourself! Please let me know in the comments what you think of my tutorial.
The author may collect a small share of sales from the links on this page.


Comments
Join the conversation
Very nice tutorial and thank you for the video. They come in handy sometimes. I have seen where some slipper makers use hot glue to make the sole slip proof.
It's late to say thank you.
Thank you very much for introducing my video here even though it's not enough because it's my first video.
Special thanks to the editor and Nicole!