DIY Stamped Monogram Necklace
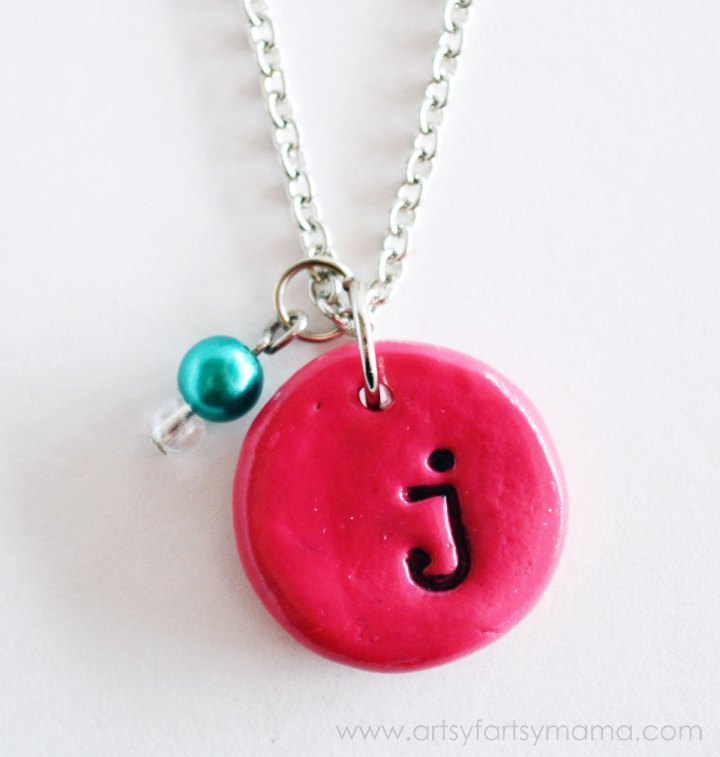
This DIY Stamped Monogram Necklace is easy to make, and can be customized for anyone you want to make one for. If you loved playing with play dough as a kid (or as an adult - I know I do!), you'll love creating this necklace!!
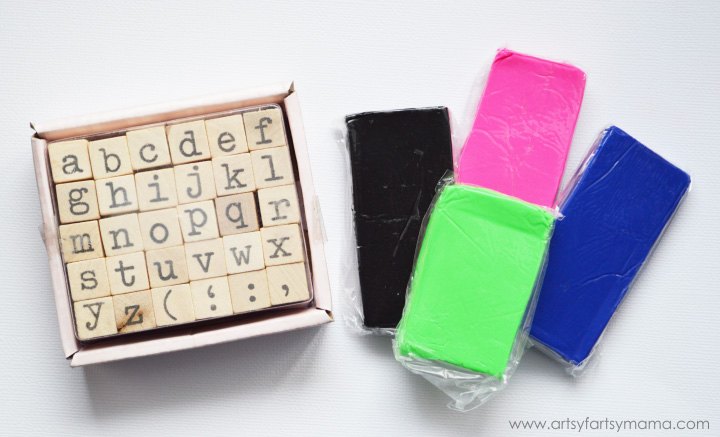
To make this necklace, you'll need:
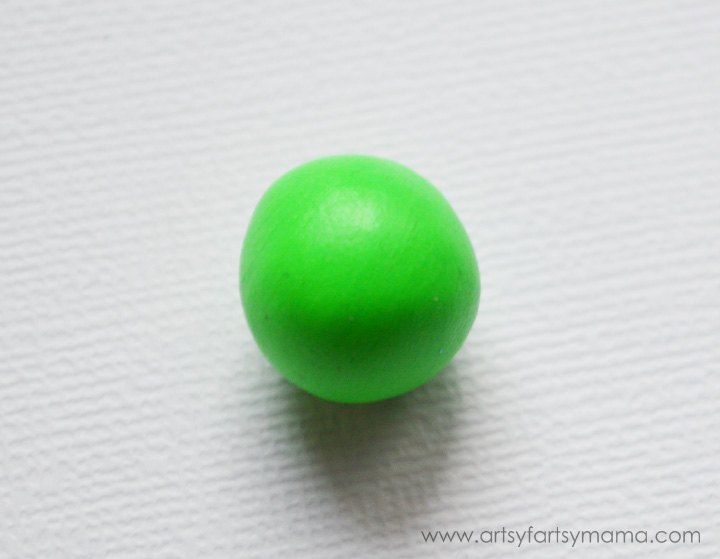
Grab a small piece of clay and roll it into about a 1" ball. Try to get it as smooth as you can. The ball doesn't have to be perfectly round.
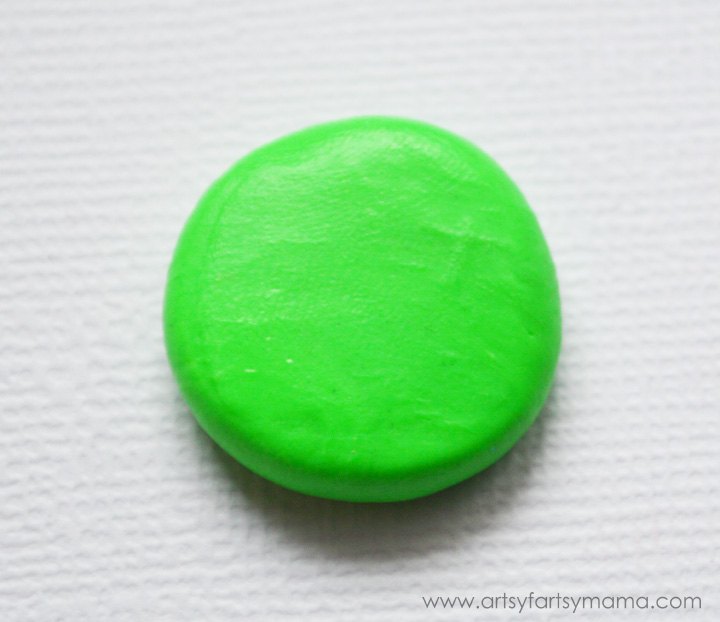
Using something smooth (I used the stamp kit lid), smash the ball down until it's the size and thickness you want. I usually try to get mine to a little less than 1/4" thick. Try not to use your fingers too much or your pendant will be covered in fingerprints.
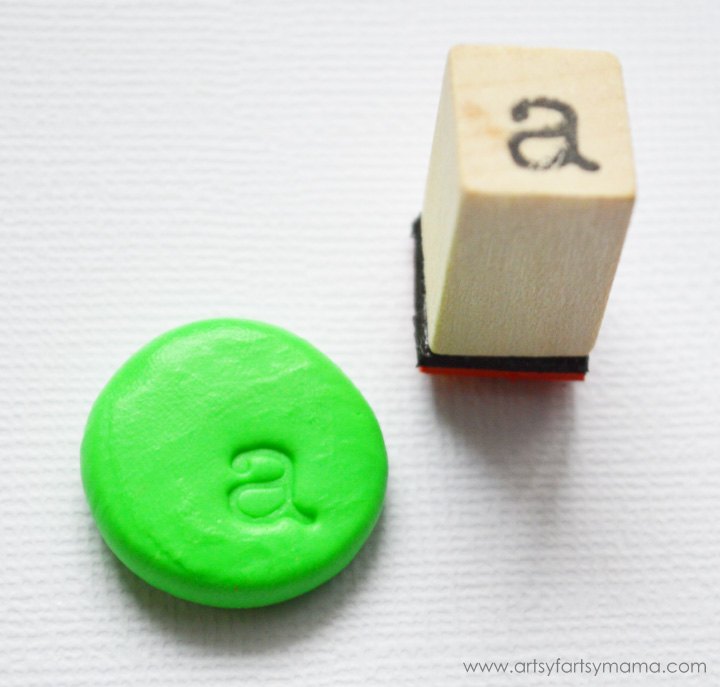
Next, take the stamp and lightly press it into the clay where you want the letter to be. I am not the best at getting it centered, so I usually put it slightly to the right of the center. You can certainly place it wherever you want. Just don't put it near the top.
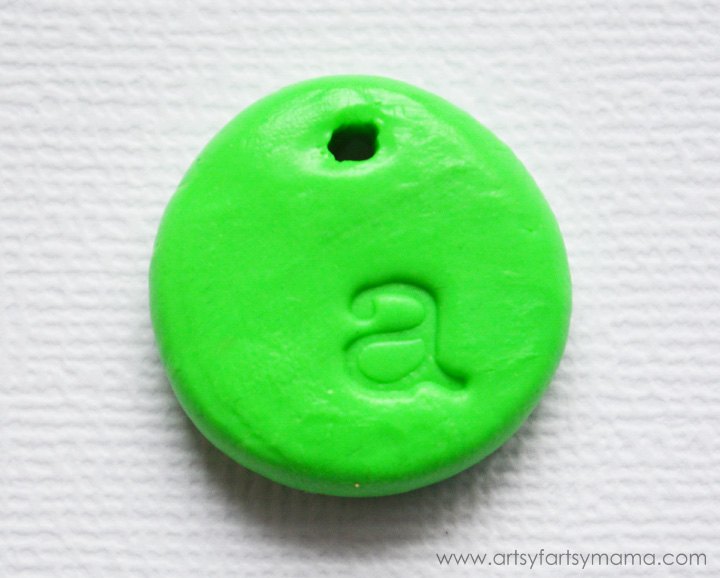
Using a pin or small skewer, carefully poke a hole in the center top of the pendant and kind of swirl it around to smooth it out and make the hole a little bigger. It might seem easier to pick up the pendant and pierce it, but don't! You can leave fingerprints and/or mess up your stamped letter.
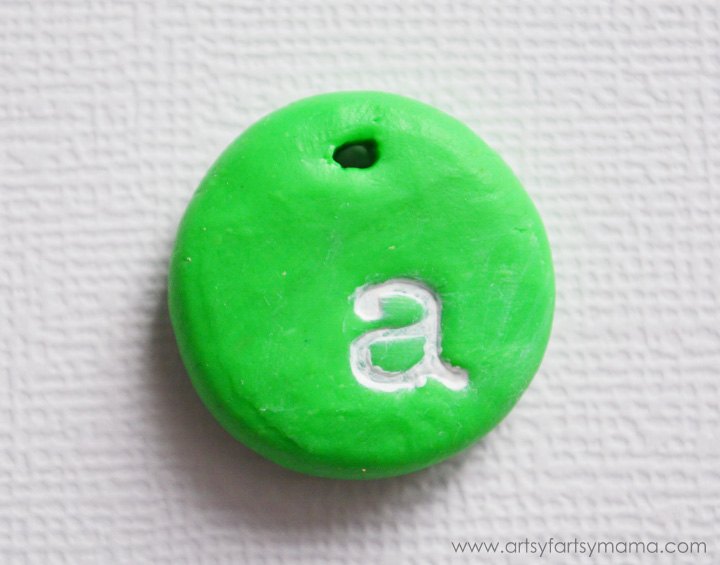
With a small, damp paint brush, water down some white acrylic paint. Paint over the stamped letter. Lightly wipe the pendant with a damp paper towel, and the most of the paint should stay in the stamped area and the rest will wipe clean. If you need more, keep repeating until it looks the way you want. You could also use a tiny paint brush, and paint in the letter itself instead. It's not perfect, but I like to think that's part of the charm!!

Open a large jump ring and hook it through the hole in the pendant. Close the jump ring.
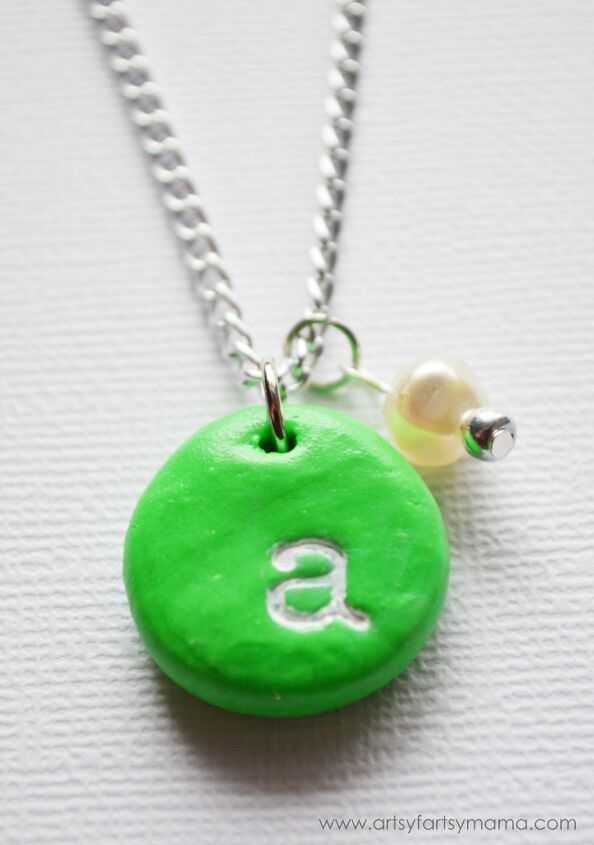
Slide the pendant onto a chain and add a lobster clasp and small jump ring to the ends of the chain to finish your necklace. You can also add a bead or two with a headpin and a small jump ring to add a little more flair to your necklace.
The author may collect a small share of sales from the links on this page.


Comments
Join the conversation