How to Alter Clothes: 2 Methods Using Eyelets & Grommets

If you’re interested in learning how to alter clothes for the perfect fit, follow along!
I’m going to show you 2 types of alterations for taking in a garment and making it bigger that are both easy to DIY.
Upstyle Recommends!
Tools and materials:
- Garment to alter (top or dress)
- Chalk
- Ruler
- Eyelets
- Eyelet tool
- Wood piece
- Hammer
- Fabric fusing sheet
- Fabric ribbon
- Scissors
- Lighter
- Grommets
- Grommet tool
- Seam ripper
- Straight pins
- Pliers

Taking in a garment with eyelets
1. Wear inside out, cinch and mark
Wear your garment inside out and pull the fabric together in the area that you want the laces until it fits tightly.
Mark where your fingers are holding with chalk.

Mark the center of the area where you want the laces, or just the general size of the lacing you want (which I didn’t do!).

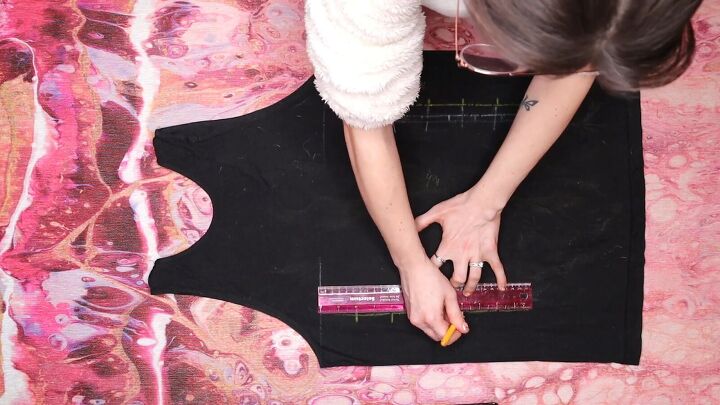
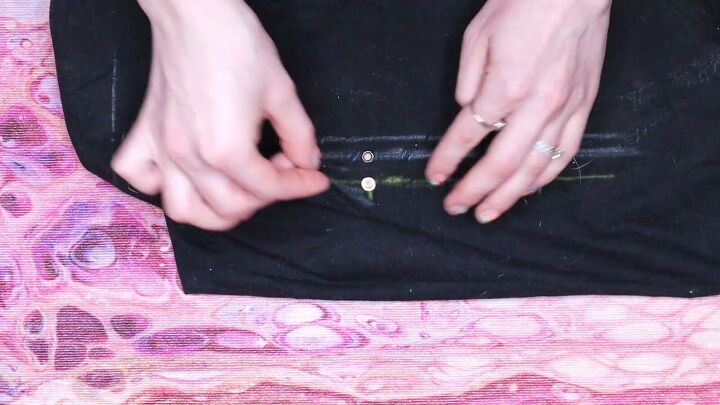
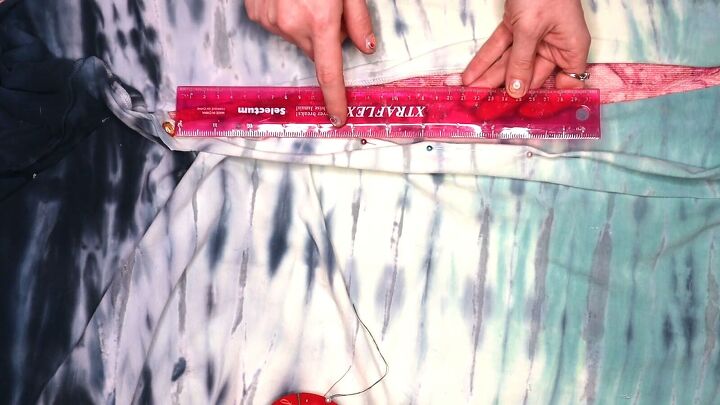
2. Mark out the eyelets
Lay the top inside out. I’m going with 4 columns and 5 rows (4 eyelets per row).
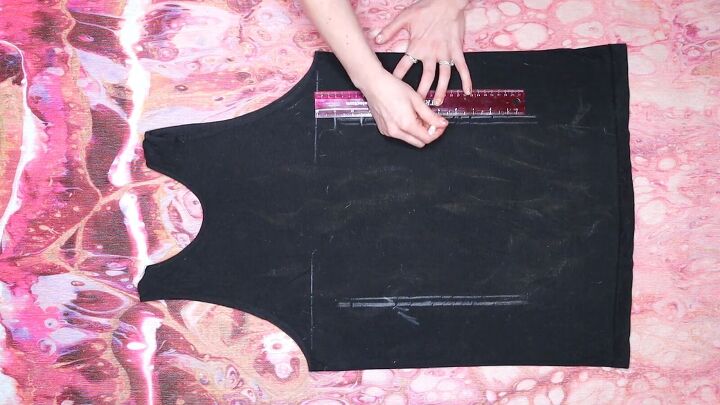
Lay down and mark your approximate waist as a middle point and work from there.
Ignore the white marks and note the new marks in yellow.
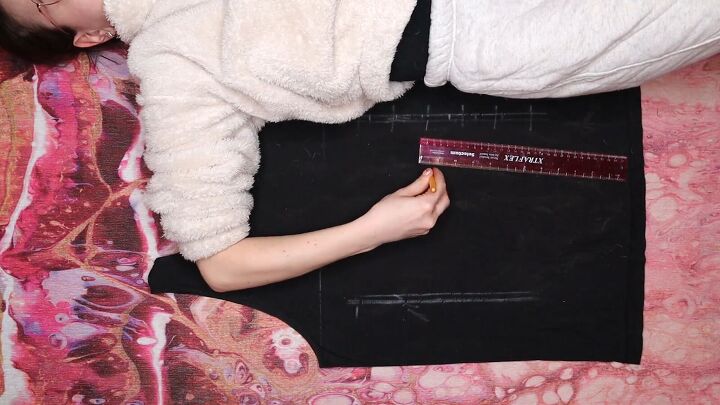
Draw parallel lines about an inch outside of your original finger marks.
Center your eyelet spots using your waist mark.
I spaced them 2 inches apart lengthwise and an inch apart inward for the 2nd column on both.
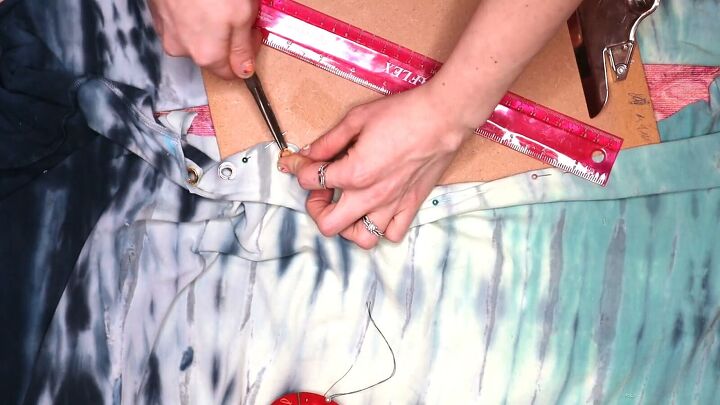
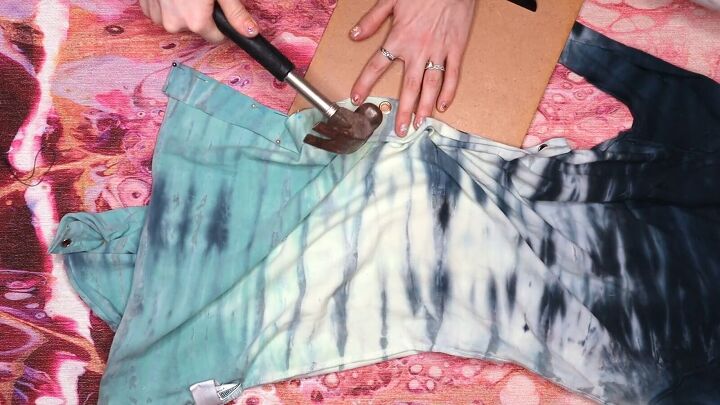
3. Make holes and insert the eyelets
Tip: If your garment is of a stretchy fabric, consider inserting a fabric fusing sheet on the inside (as in quilting) to reinforce the holes for the eyelets.
Lay a piece of wood under the garment. Hammer in a nail on the points that you marked to make small holes.
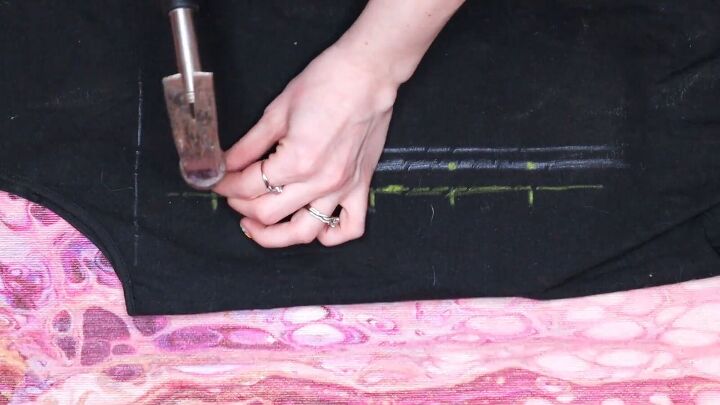
At each hole, push an eyelet up, through the bottom, since the shirt is inside out.
Then put the backing on and hammer it flat using an eyelet tool.
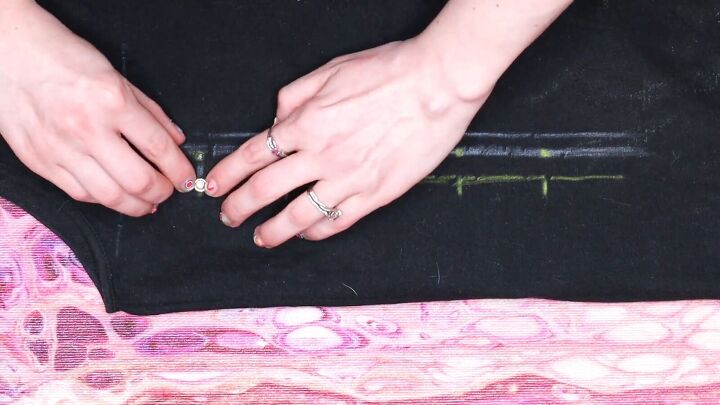
Continue to insert all the eyelets.
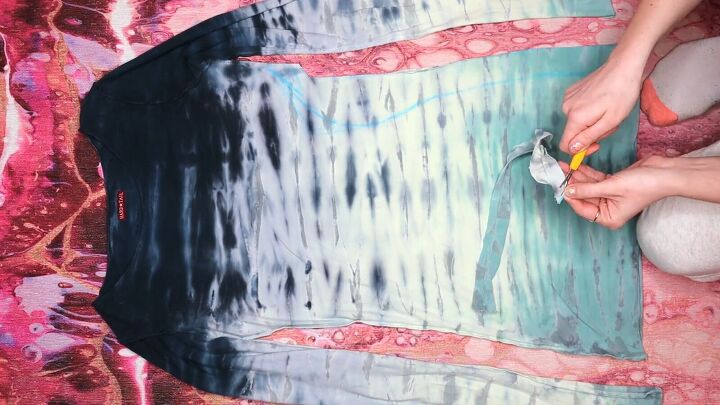
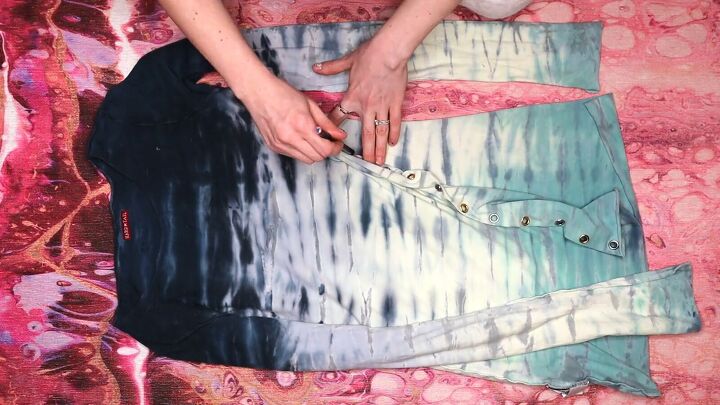
4. Lace a ribbon through
Turn the garment right-side-out.
Cut a fabric ribbon approximately twice as long as the shirt (or longer) and use a lighter to burn the ends so they won't fray (glue works too!).
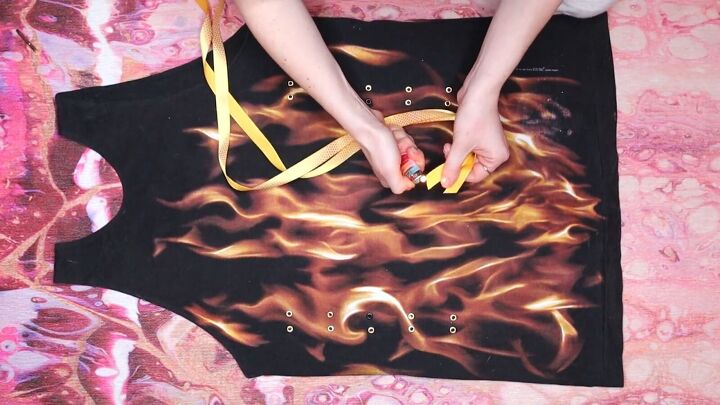
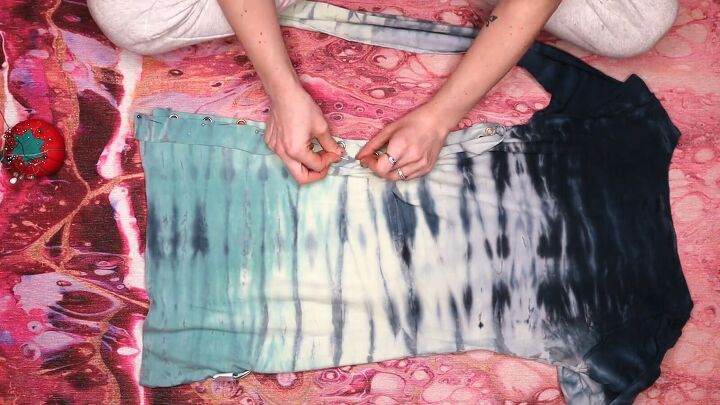
Starting from the top or the bottom of the garment, lace the ribbon through the inner column of eyelets and then out the matching outer column.

Lace it up like a shoe.

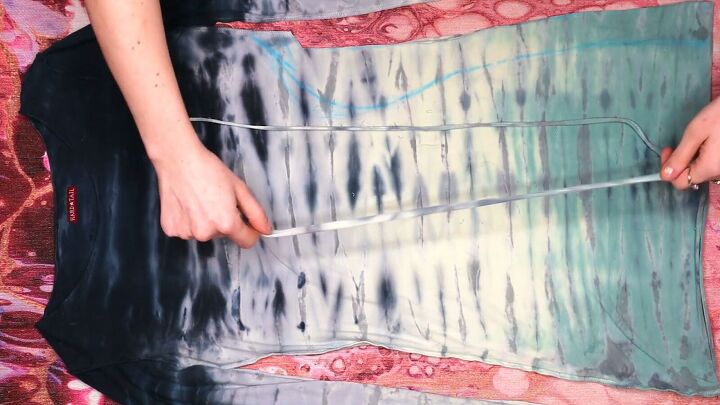
Try on your garment and adjust the laces for the perfect fit. Tie a little bow.

How cute is this perfectly-fit eyelet top?!


Letting out or taking in a garment with grommets

1. Mark your garment
Wear your garment inside out. If making the clothes larger, mark where you want the laces to let out the fabric.
If you’re making your garment a similar size or smaller, mark out the maximum amount of fabric you can spare.

I wanted to make the waist tighter but keep the shape everywhere else, so I curved the line inwards at the waist but followed the line of the dress for the rest.
The curvier this line, the harder it will be to lay the fabric flat while installing grommets.
2. Make laces
Lay your inside-out garment flat. If making it bigger, open the seam instead of cutting.
In this case, you’ll need ribbon for the laces since you won’t have any spare fabric from the garment.

Mark and cut about a half inch strip from the side of the dress, including the seam.
Leave fabric around your markings so that you can fold it over later.
Use a seam ripper to open up the strip, which will create 2 strips.
Stretch them to lengthen.
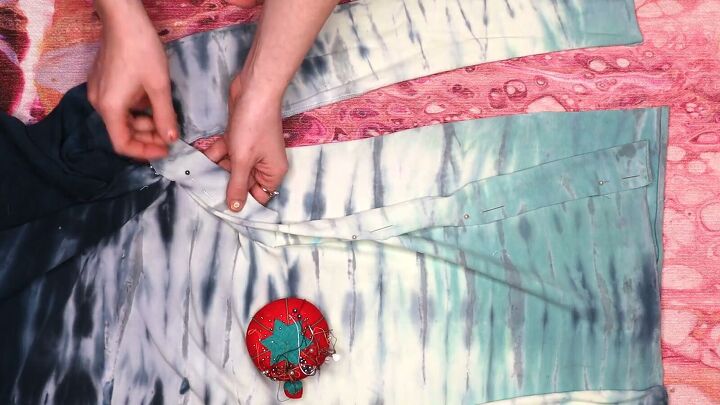
3. Pin at the cut edge
Fold over the fabric at the cut edge and pin it. If you have a curved section, you can cut a bit at the top to help it lay flat.
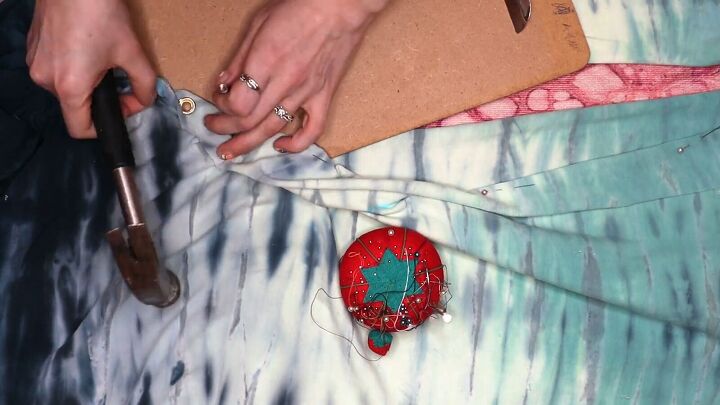
4. Attach grommets on the first side
With the edge of the fabric folded, the idea is to make a faux hem, using the grommets to fasten the layers of fabric together.
Insert a piece of wood or a clipboard under the edge.
Cut a small hole where you want to insert a grommet.
Squeeze the grommet through, then insert the backing and hammer it on with a grommet tool.
Determine the spacing for the rest of the grommets based on the length of the cut edge and how many pieces you want to use.
I’m going with 2 inches, keeping in mind the size of the grommets too.
Continue to insert all the grommets. You can use pliers to help make the initial bend.
5. Attach grommets on the second side
For the other side, use your grommet-hemmed edge to trace the same shape where the parallel grommets should go.
Flip the garment over, fold the edge and pin it.
Make holes and insert the grommets.
6. Trim excess fabric
After all grommets are installed, trim any excess fabric from behind the grommets.

7. Lace it up
Turn your garment right-side-out. Tie your strips together.
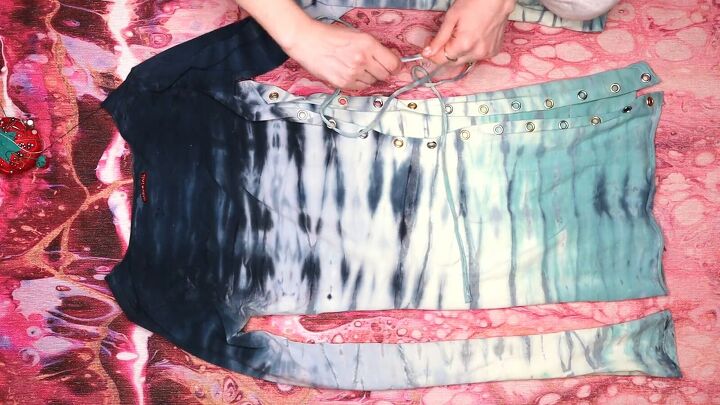
Slip the knot inside the clothing and pull both ends up through the top grommets, one on either side.
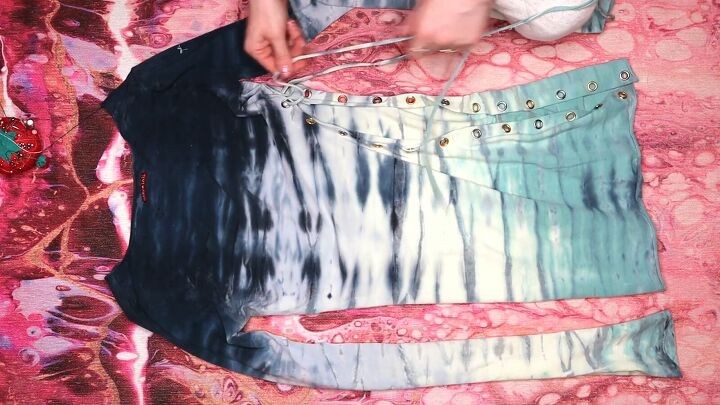
Lace the rest with the laces over top instead of underneath.

If you reach the end and barely have enough strips to tie, add on excess fabric to extend the strips.

Try on your new piece and adjust the laces as needed.

That’s it for these no-sew clothing alterations!

How to alter clothes
Now that you’ve seen how to alter clothing without sewing, will you try one of these clothing hacks?
If you loved this DIY, comment down below and then check out my crop top tutorial.
The author may collect a small share of sales from the links on this page.


Comments
Join the conversation