How to Make a Cute DIY Christmas Dress Out of an Old Red Hoodie

Is there a way to turn a red sweatshirt into a sexy DIY Christmas dress? Why yes there is a way to make your own Christmas dress in a cozy fabric out of a hoodie that’s guaranteed to impress!
Here’s how to sew a Christmas dress even if you’re a beginner to wear to a Christmas party that same day! Let’s get started!
Tools and materials:
- Large or XL red sweatshirt
- Fold-over elastic
- Sewing machine
- Gathering foot
- Scissors
- Seam ripper
- Ruler - straight
- Curved ruler for sewing
- Marking or tailor’s chalk
- Your own well-fitting tank top (spaghetti strap style)
- Black knit tape
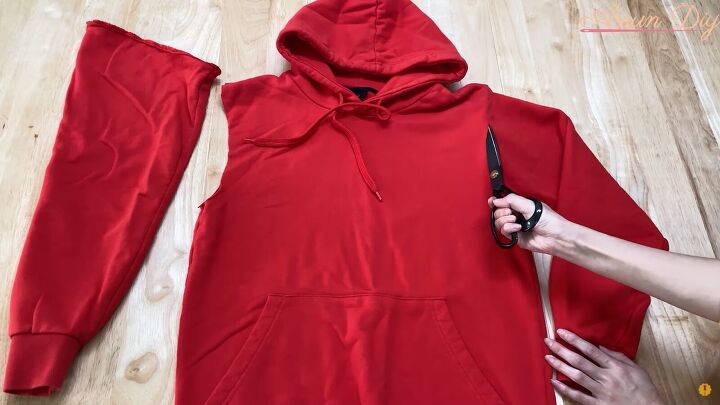
1. Deconstruct the hoodie
Lay the hoodie down on a flat surface. Cut off the sleeves.
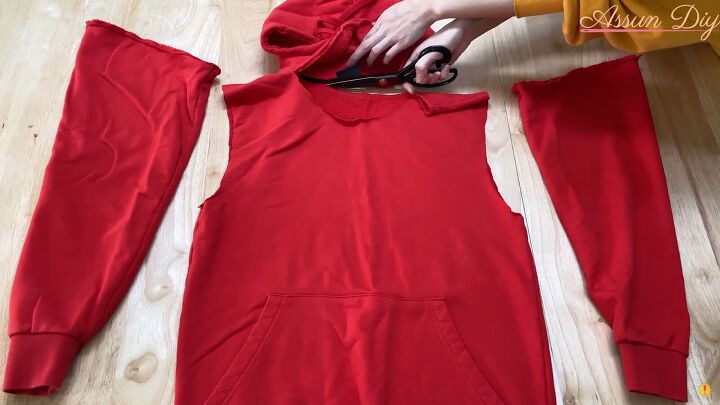
Then, cut off the hood including any additional fabric at the front neckline.
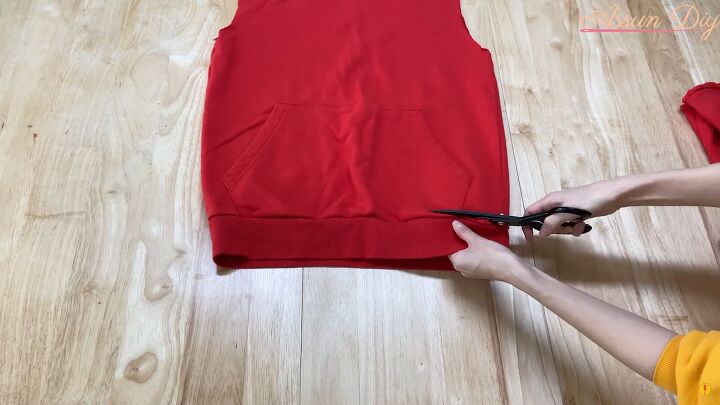
Then, remove the ribbed bottom.
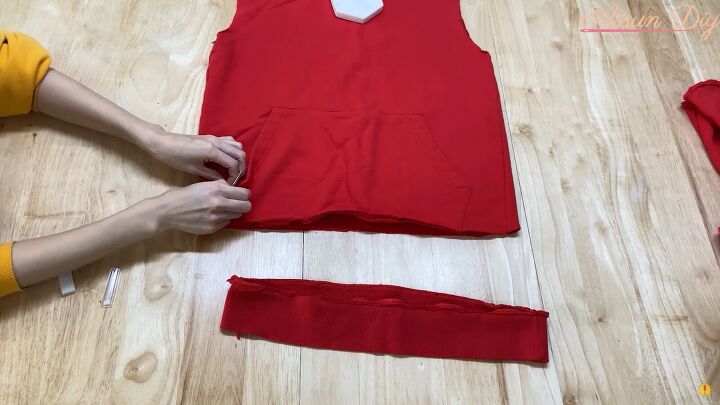
Unpick the pocket with the seam ripper.
2. Cut the pattern
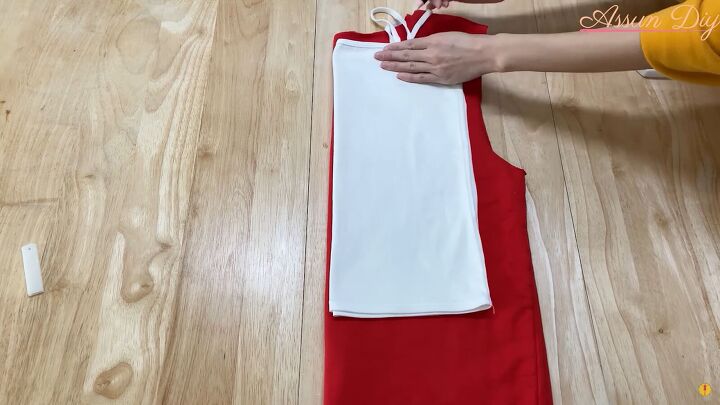
Fold the sweatshirt in half lengthwise. Fold your own well-fitting spaghetti strap tank top in half and lay it on top of the sweatshirt so both folds are laying on top of each other.

Have the top of the tank top at the shoulder line. Mark the top point with the tailor’s chalk across. Then mark the length you desire.
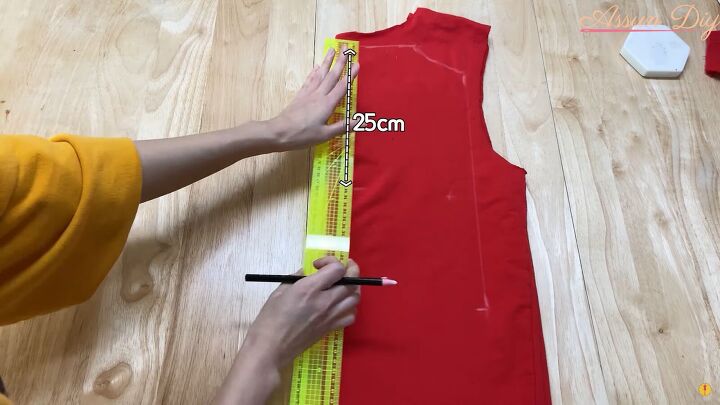
Remove the tank top. From the top neckline down on the fold mark 10 inches (25 cm).
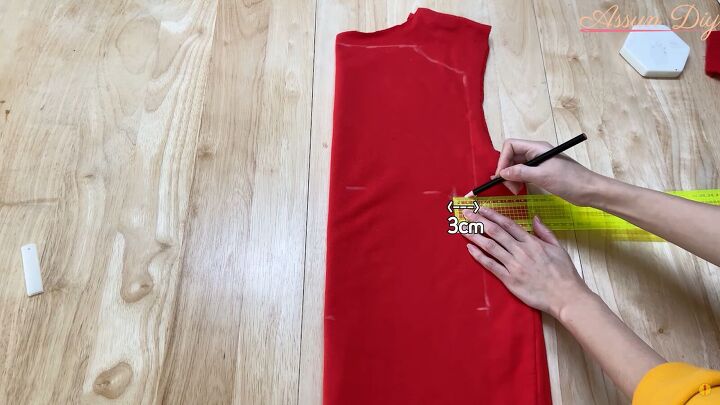
From the outside length line mark in at that point 1¼ inches (3 cm) for the waistline.
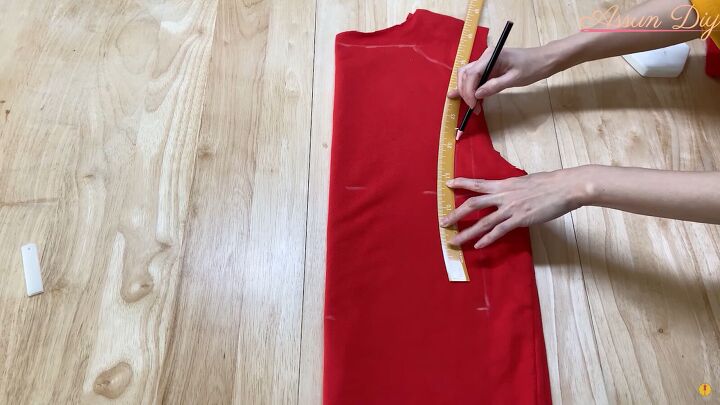
Use the curved ruler to mark for the bust.
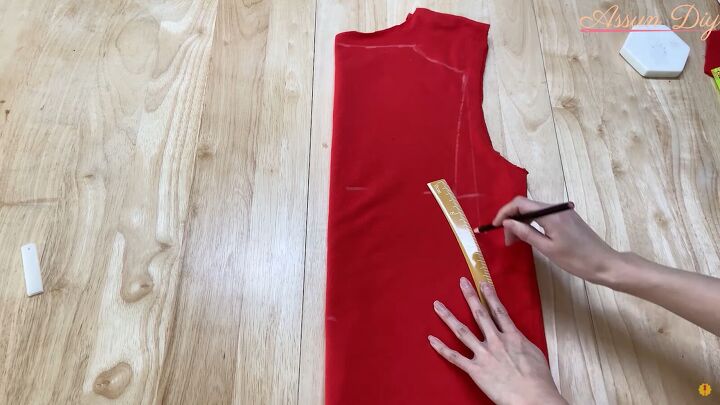
Turn the ruler around the other way to mark for the hip line.
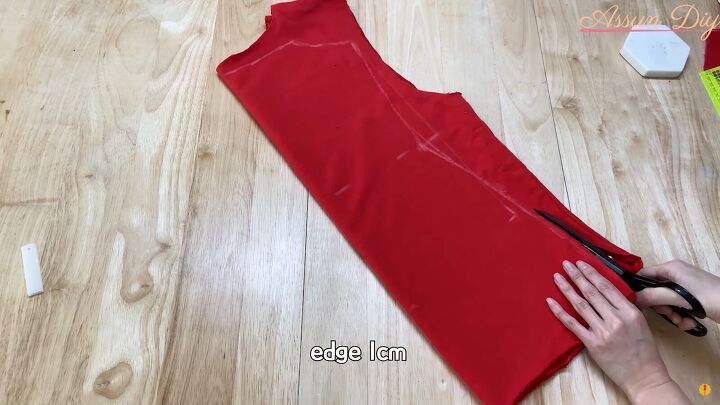
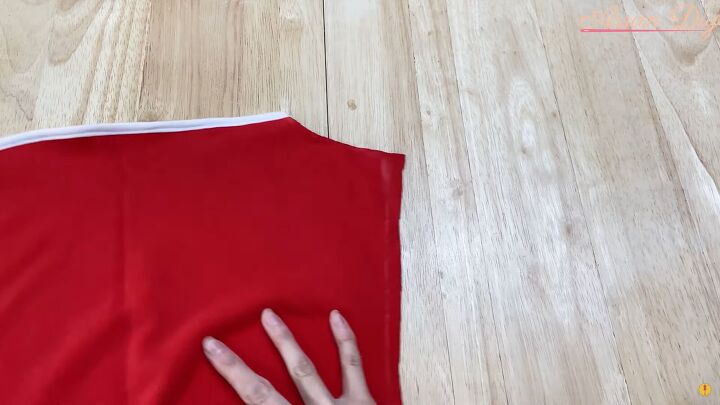
Mark a ½-inch seam allowance and cut the body. At the top, leave no seam allowance.
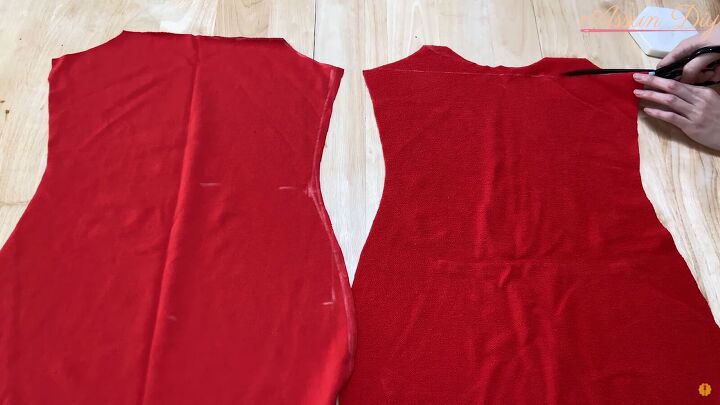
You’ll have two pieces. Lay the straight ruler across the top of the back piece. Mark a straight line and cut.
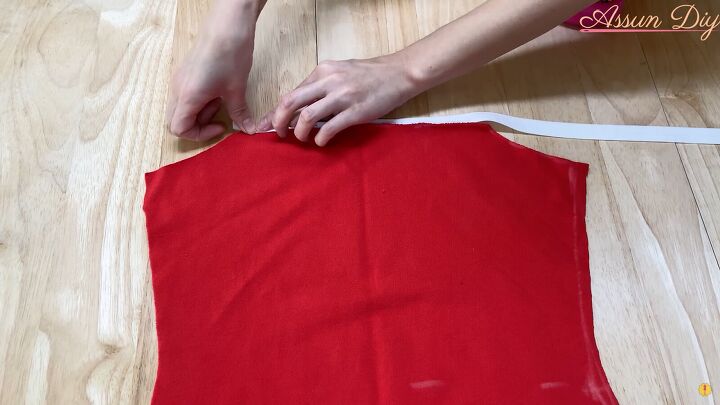
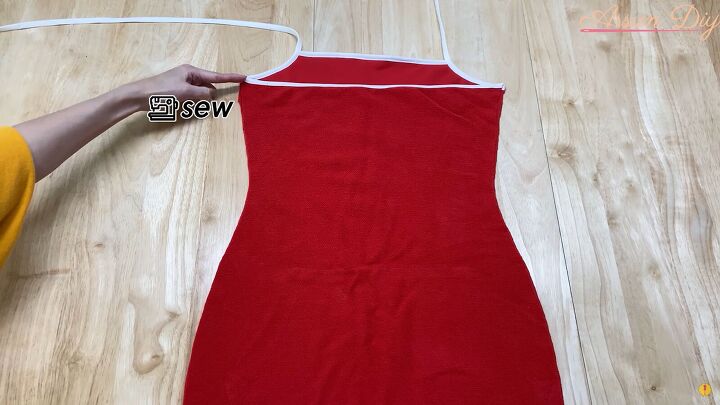
3. Attach the elastic trim
Take the elastic and fold it over the top flat part of the front piece, sandwiching the red fabric in between. Pin into place and sew with a straight stitch.
Trim any excess elastic.
Repeat for the back piece.
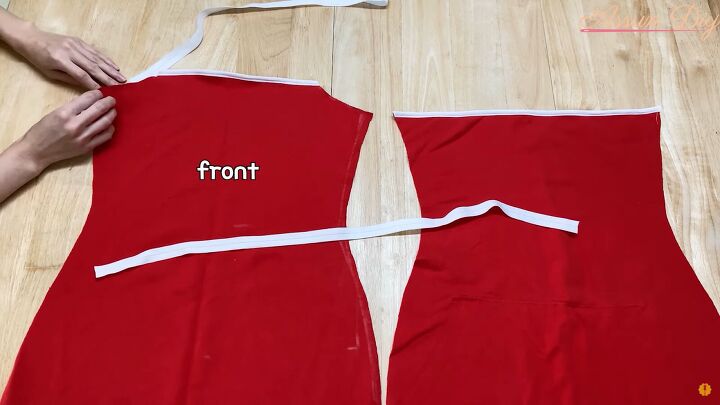
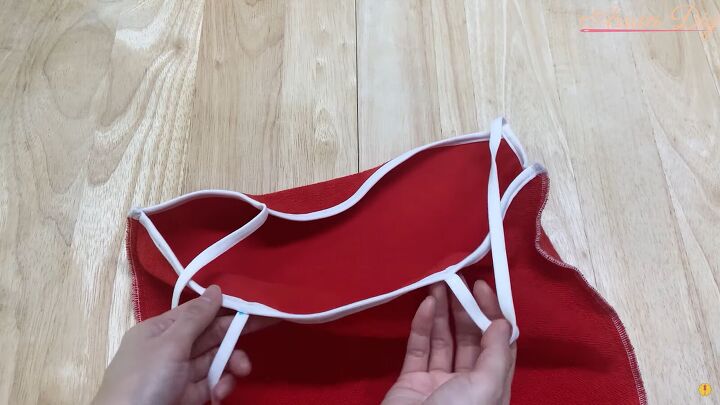
4. Make elastic straps
Cut 2 pieces of the fold-over elastic, each measuring about 25 inches. Take the first long piece of elastic and fold it over, sandwiching the side angle on the front. Pin it into place.
Sew the elastic fold down all the way to the end of the elastic. Do the same technique for the other side.
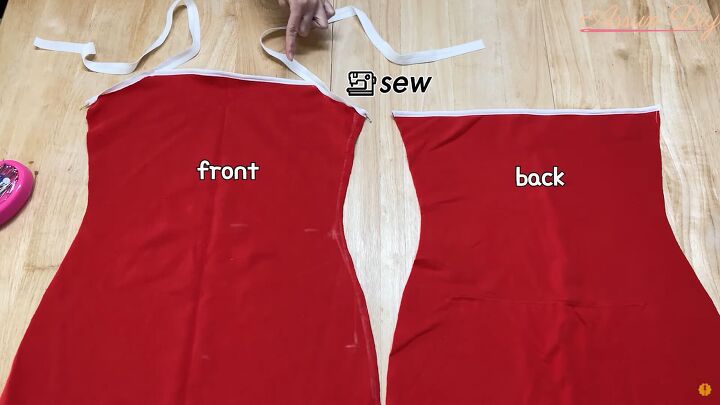
5. Sew the dress
Place the front and back, right sides together. Sew up only one side.
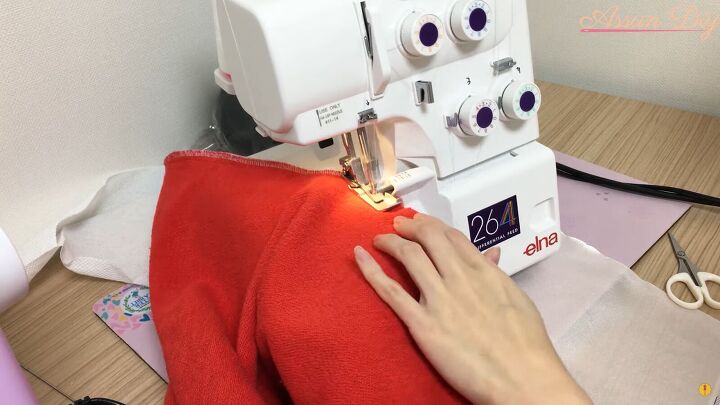
Use a straight stitch first, then do a zigzag stitch for extra security!
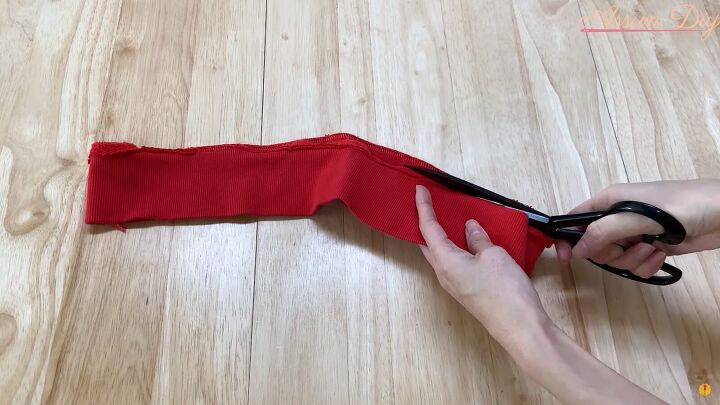
6. Make the ruffle
Take the ribbing you removed and trim any scraggly or rough edges.
Unfold the ribbing, then cut down the fold so you have two equal loops.
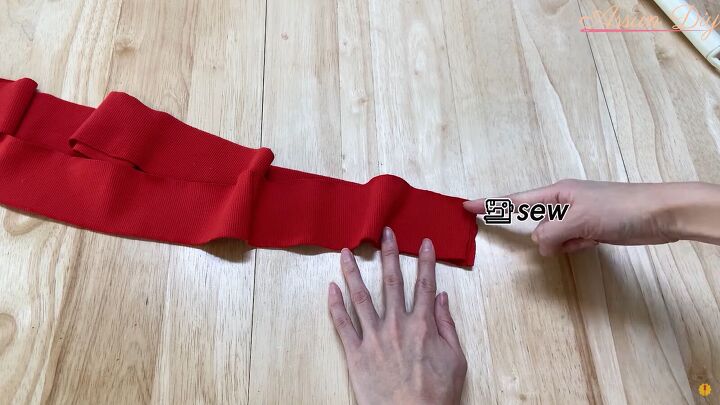
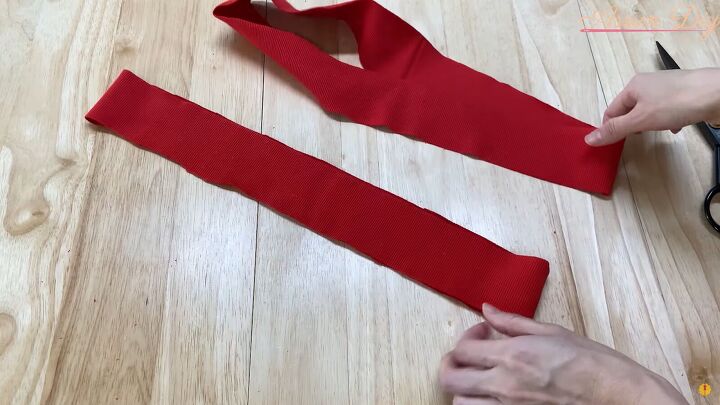
Cut each loop on the seam. You should have two long pieces.
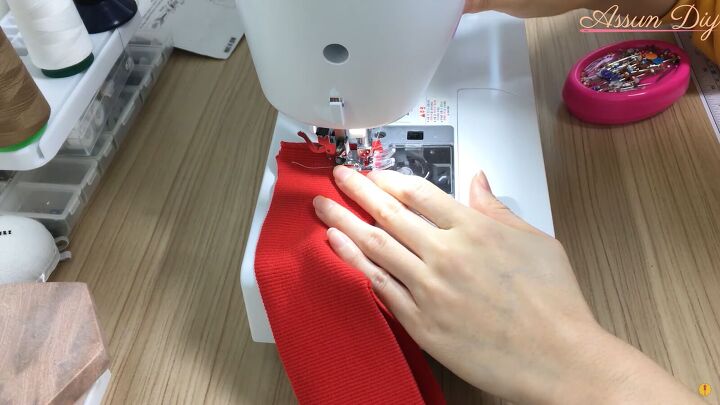
Lay them so the right sides are together at the short end. Sew with a straight stitch to create one long strip.
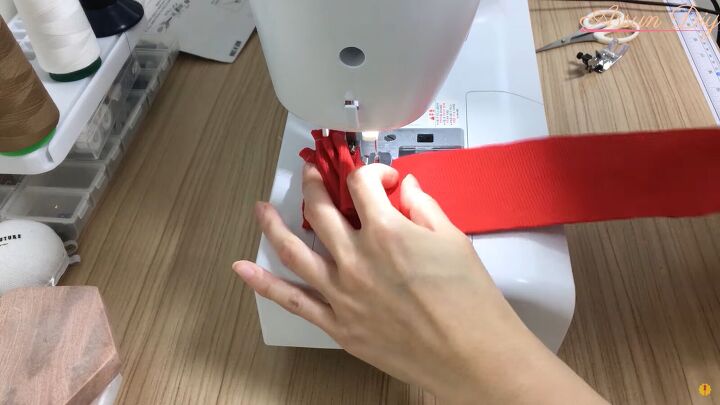
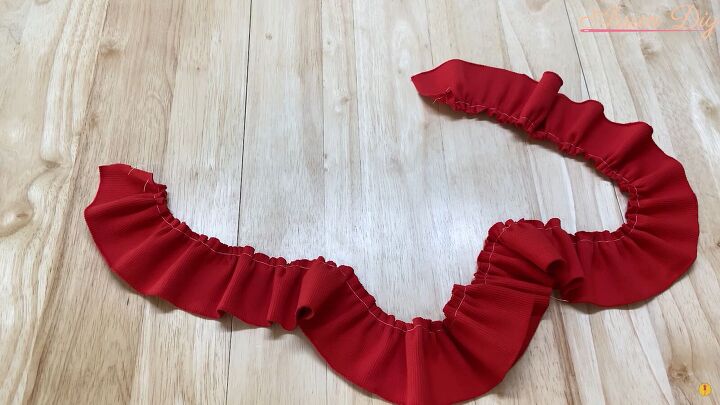
Attach a gathering foot to your sewing machine. Feed the strip through the sewing machine, creating the ruffle.
7. Attach the ruffle
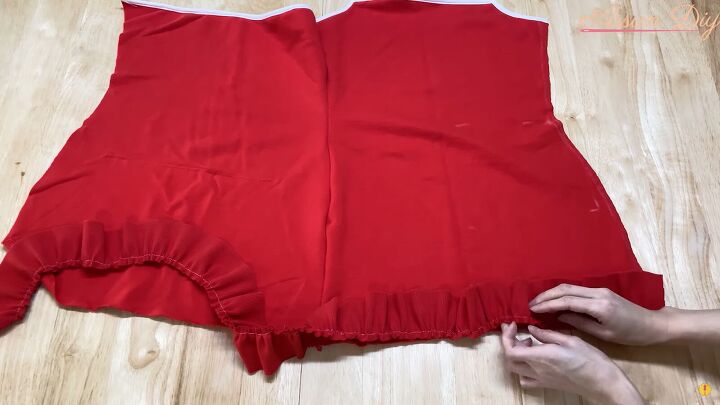
Lay the dress down right side up. Lay the ruffle right side up with the ruffles towards the neckline. Pin the ruffle in place.
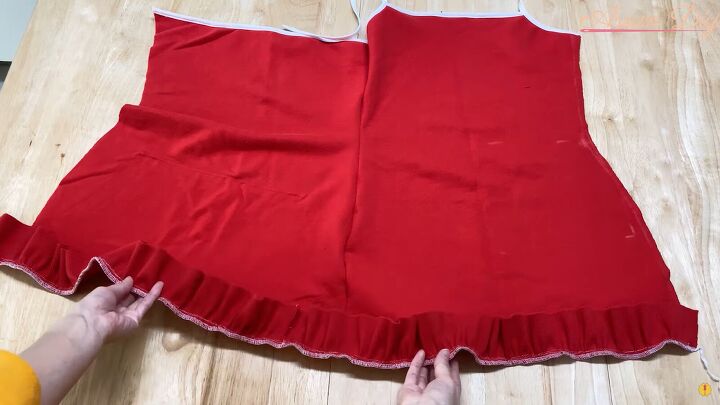
Sew at the hem and seam line with a straight stitch first, then follow with a zigzag stitch.
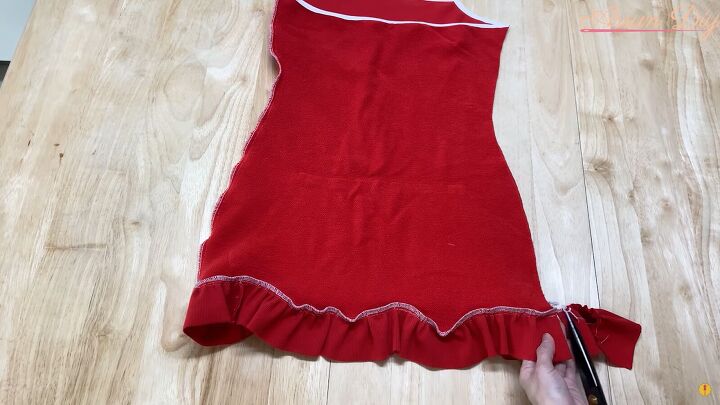
Trim any excess ruffle.
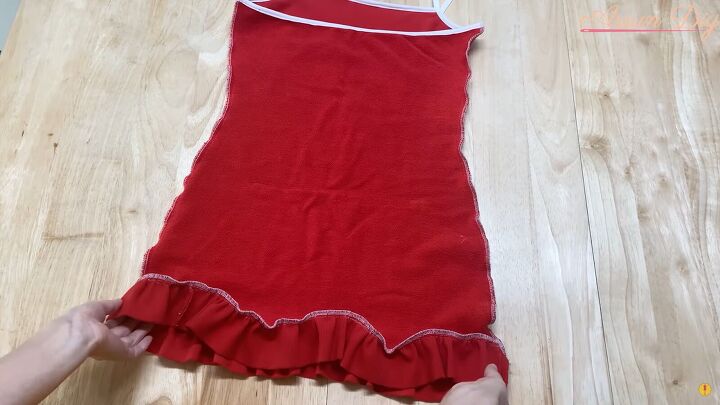
8. Sew the open side seam
Lay the dress right sides together. Pin the open side seam. Sew with a straight stitch, followed by a zigzag stitch.
9. Attach the straps at the back
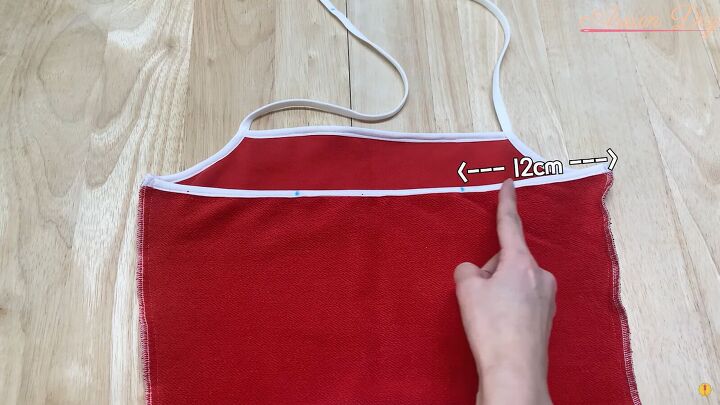
Keep the dress right sides together. Measure and mark about 5 inches (12cm) in from each side seam towards the center.
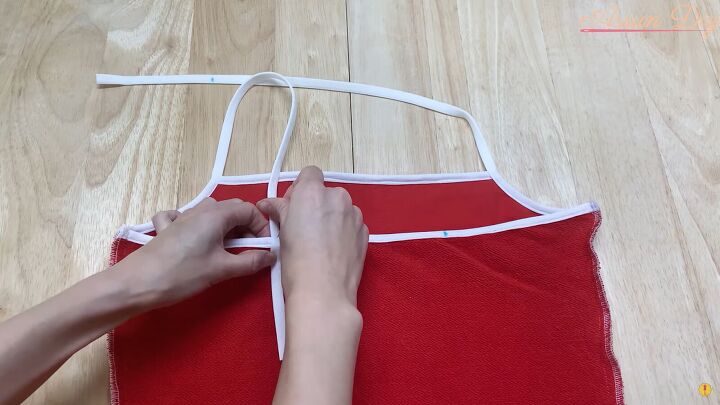
Measure from the edge of the elastic at the top of the dress. Measure and mark about 14 inches on the elastic towards the end on both elastics. Pin the elastic to the marks.
Sew them to the back.
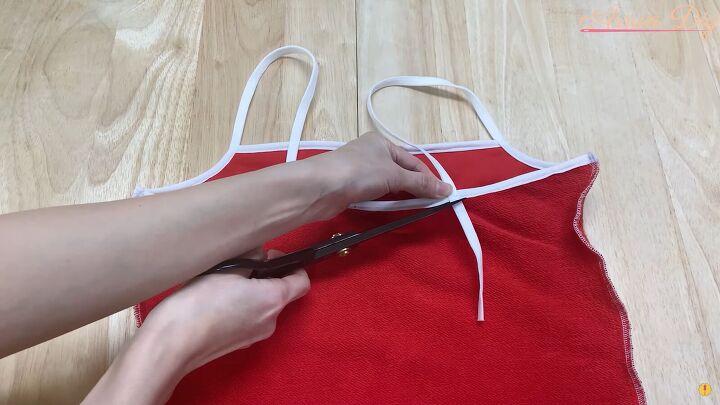
Trim any excess.
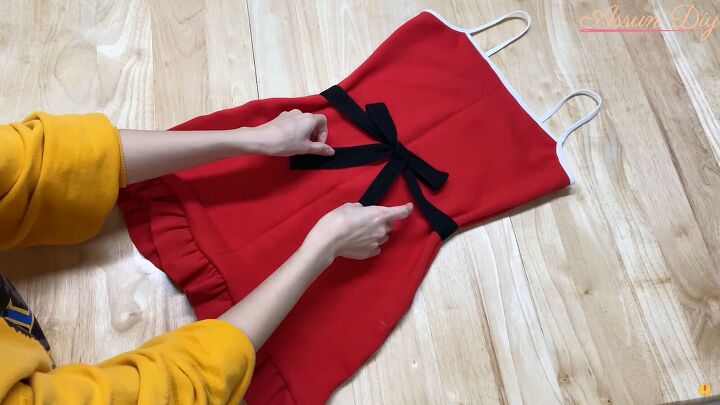
10. Attach the bow
Turn the dress right side out. Make a bow with knit tape and secure it around the waist.
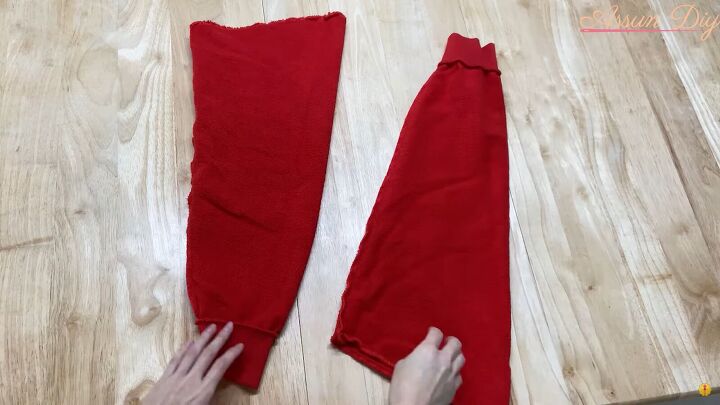
11. Make the sleeves
Take the original sleeves of the sweatshirt and turn them inside out.
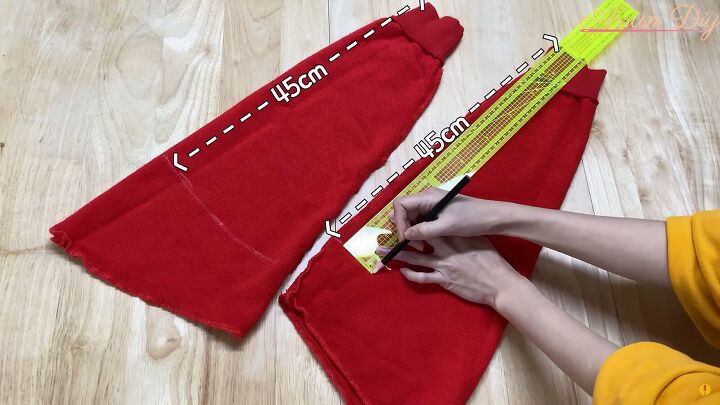
Measure from the cuff on the outer side of the sleeve 18 inches (45cm) down towards the shoulder. Mark that measurement across the width of the sleeve.
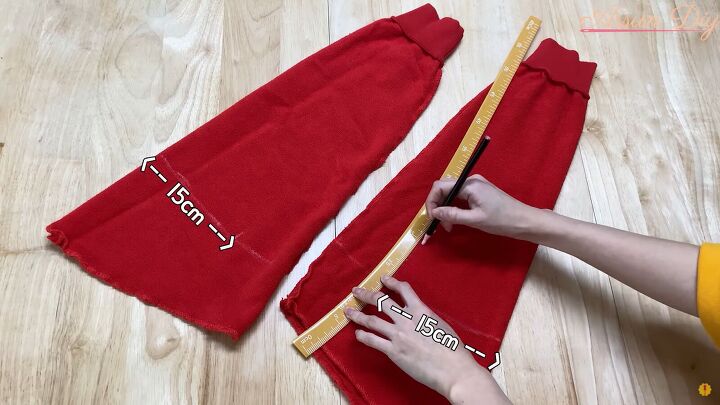
Then measure from that line 6 inches (15 cm) from the outer seam towards the inner seam.
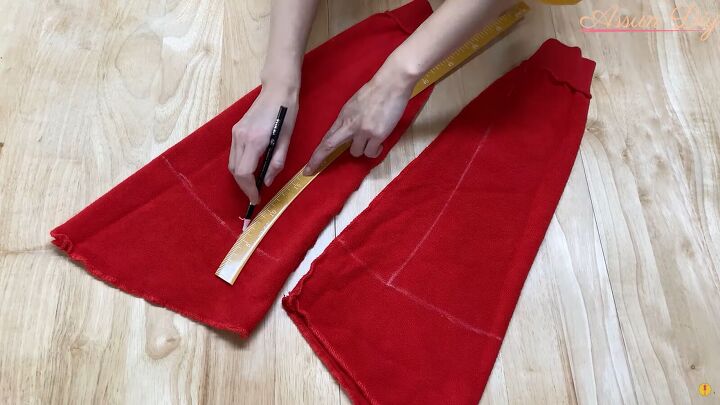
Use the curved ruler with the curve facing the inner seam to mark the cutting line.
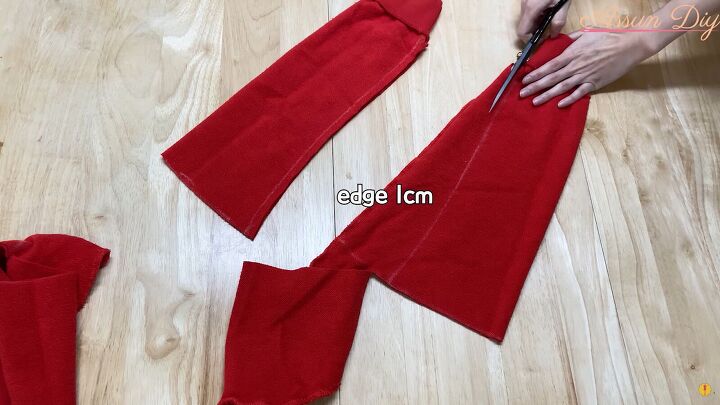
Make sure you end the marking at the cuff line. Add ½ an inch (1 cm) seam allowance. Cut the sleeves on the markings keeping the cuff intact.
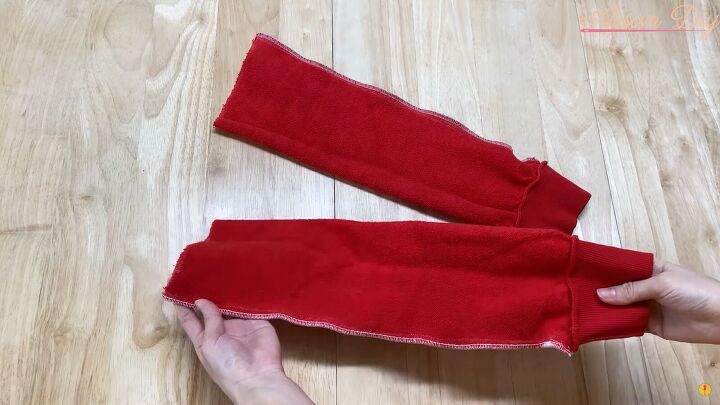
Sew the new inner seam with a straight stitch followed by a zigzag stitch. Turn them inside out. The sleeves are worn with the cuff up on the upper arm and the bell opening towards the wrist.

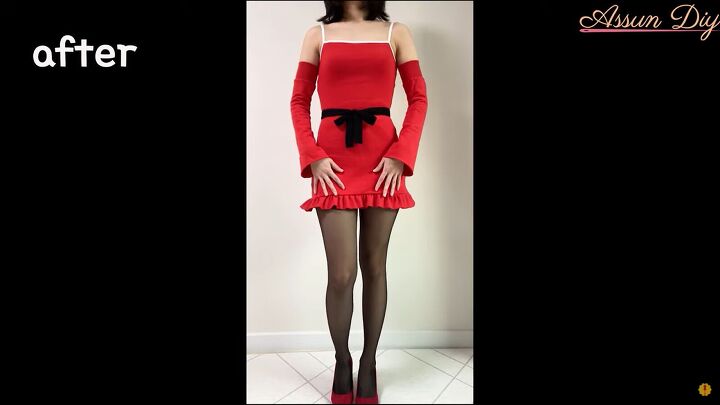
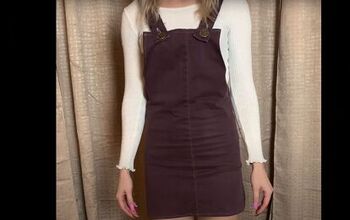
DIY Christmas dress from a hoodie tutorial
How charming is this DIY Christmas dress?! Let me know how easy it was for you to make your own Christmas dress from a sweatshirt in the comments below! Merry Christmas!
The author may collect a small share of sales from the links on this page.


Comments
Join the conversation