Perfect Puff Sleeve Dress Upcycle

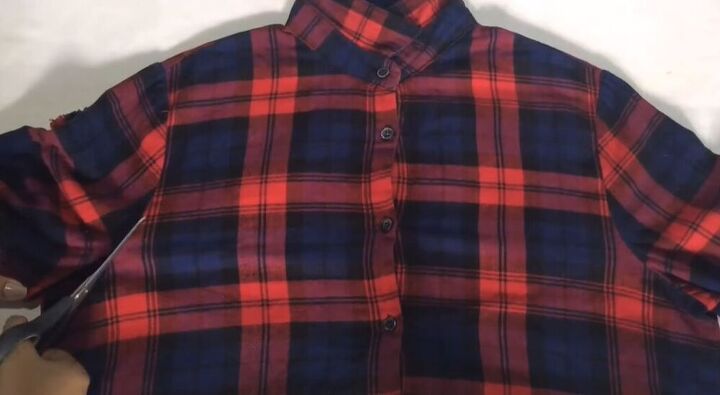
I found a men’s shirt with an amazing blue and red plaid fabric and my creative juices started flowing. I knew I couldn’t let the fabric go to waste so I decided to refashion the shirt into the most stunning puff sleeve dress! This piece is a total fashion-statement and I just can’t get enough of it. If you want to learn all the tips and tricks of this upcycle, my tutorial is definitely for you! Follow my simple, step-by-step guide and get started on your own dress transformation.
Tools and materials:
- Men’s shirt
- Tailor’s chalk
- Scissors
- Measuring tape
- Needle and thread
- Pins
To begin this incredible upcycle, I cut off the sleeves from the men’s shirt.
I then measured 12 cm from the buttons of the shirt and marked on both sides. I measured down 5 cm from my first markings and used my tailor’s chalk to mark that point as well.
I drew a line between the bottom markings I had made, using the ruler to keep it as straight as possible.
Next, I measured 6 cm from my marking and drew two new points.
Using my ruler, I connected the points I had just made with the first markings by drawing a diagonal line.
I moved further down the shirt and drew two markings 5 cm in from the edge. I connected the new markings to the marking I had previously made.
For the final marking, I moved down towards the bottom of the shirt and made points 4 cm in from the edges.
Finally, with all my markings drawn, I could cut out my fabric.
I really wanted my new dress to have the perfect finish, so hand sewed a hem at the top edges in the front and back.
In this next step, I marked 38 cm from the shoulder of the sleeves of the old shirt. Using scissors, I cut along my marking to get the length I needed.
I then cut open the seam of the sleeves. Once the sleeve fabric was laid out in front of me, I cut off the stitching around the edges so that I had the perfect pieces.
I then double folded the curved edge of the fabric to create a channel for the elastic. Using a safety pin attached to one end of the elastic, I thread it through the channel. I made sure to sew the elastic in place once it was through. This is such an important step because it helps create the gorgeous puff sleeve.
Next, I pinned the edges of my sleeves onto the dress. I couldn’t believe how quickly this piece was coming together!
I also pinned the sides of my new dress together. With so many pins holding the dress together, it was time to sew. I started hand sewing the dress together using all my pins as a guideline.
For one of my last steps, I created a second channel for the elastic in the bottoms of the sleeves to create a professional finish on the dress and give it the most amazing puff sleeves. Once again, I used a safety pin to thread the elastic through.
For the final detail, to make this dress a little more fitted I decided to add darts. I marked exactly where I would create the folds and then sewed them in place.
I am so in love with this puff sleeve dress! What other men’s shirt upcycle idea do you have? Let me know in the comments below!
Enjoyed the project?
Suggested materials:
- Men's shirt
- Tailor's chalk
- Scissors
- Measuring tape
- Needle and thread
- Pins
The author may collect a small share of sales from the links on this page.


Comments
Join the conversation
One of the best upstyled ideas ever!!!
Very creative but I feel Needs added fabric on the bottom so it’s not so short. A contrasting color be unique.