Jaw-Dropping Thrift Flip: Reformation Juliette Dress

If you're looking for the ultimate, jaw-dropping thrift flip, then you've come to the right place. Check out this Reformation Juliette dress that will literally blow your mind. I turned a $1 dress into something sexy, sultry, and brand new with this Reformation Juliette dress tutorial. Let's dive into it! Scroll down to see exactly how I achieved this incredible thrift flip.
Tools and materials:
- Baggy thrifted dress with front slit
- Ruler
- Fabric marker
- Pins
- Bra pattern piece- get it free here
- Sewing machine
- Elastic thread
- Scissors


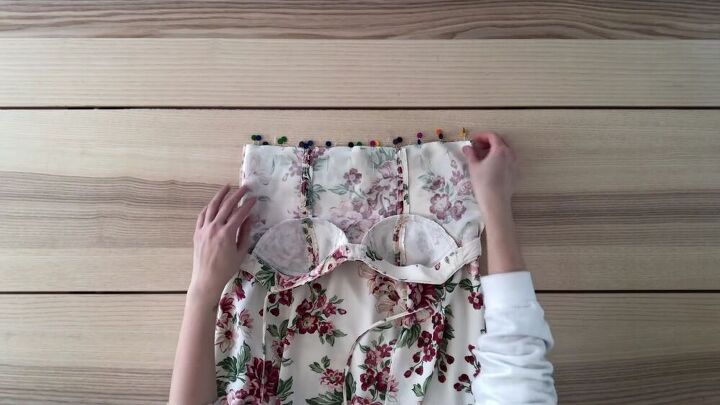
Cut the dress
Remove all the buttons from the dress. Next, pin the hem and the top and bottom sections of the waist. Pin all around; this will ensure the slits bottom and top layer won't shift.

From the hem, measure 30.5 inches and mark across. Use a ruler to join the markings and cut along the lines. Be extra careful not to shift the fabric as you cut.
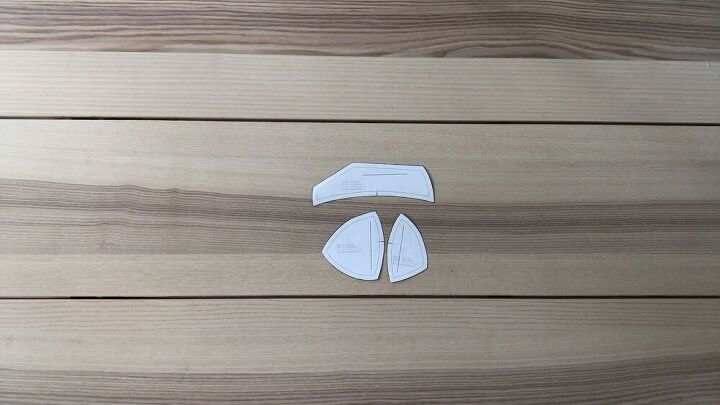
Modify the bodice
The bodice is slim-fitting, so I went ahead and used a bra pattern for the top section. You can find it here. Once you add your measurements, download and print the pattern and use only the three pieces shown above.
I modified the top piece of the pattern, extending the top line. You can see how I did this by skipping to 2:16 minutes.
For the rest of the bodice, I used a pattern from a previous dress. To get the tutorial and pattern, find the video here.
You can also use the band of the free bra pattern and simply extend the points down.
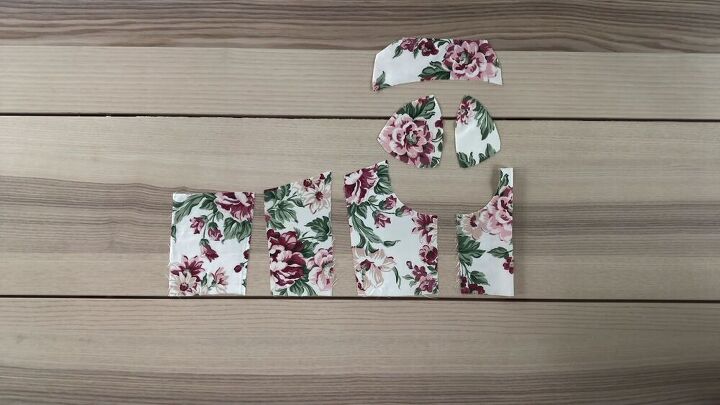
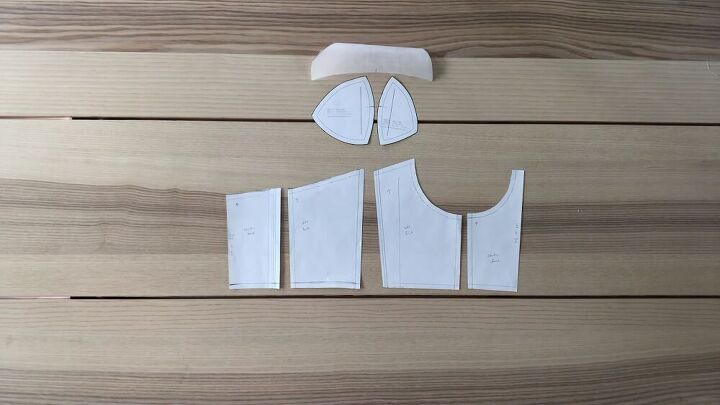
Now, seam rip the top part of the dress and cut out each pattern, as shown. Cut the fabric pieces for the other side, too.
TIP-
The center front piece was cut on the fold, and the center back piece is 2 inches wider than the original piece to accommodate for the shirring.
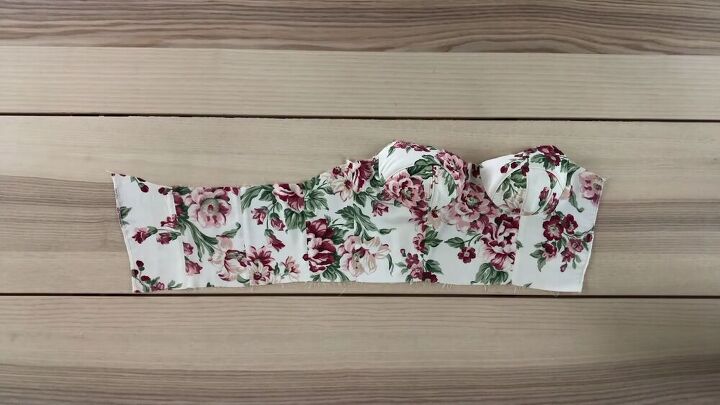
Recreate the bodice
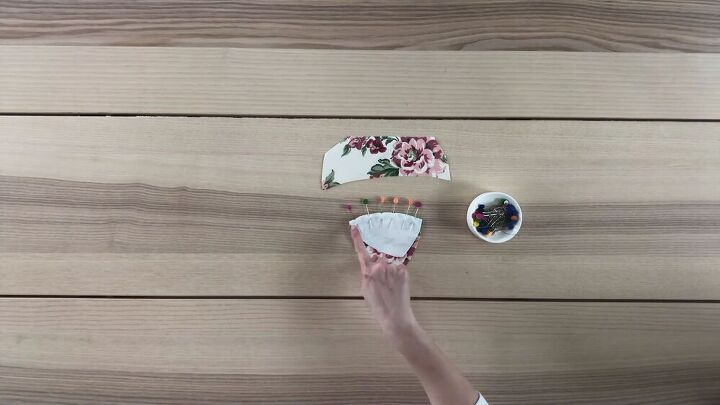
Let's start with the bra cup—Mark the notches from the original pattern. Then, line up the long curved piece, right sides facing, pin, and sew.
Cut tiny slits on the seam and press the seam allowance open.
Then, topstitch along both sides of the seam.

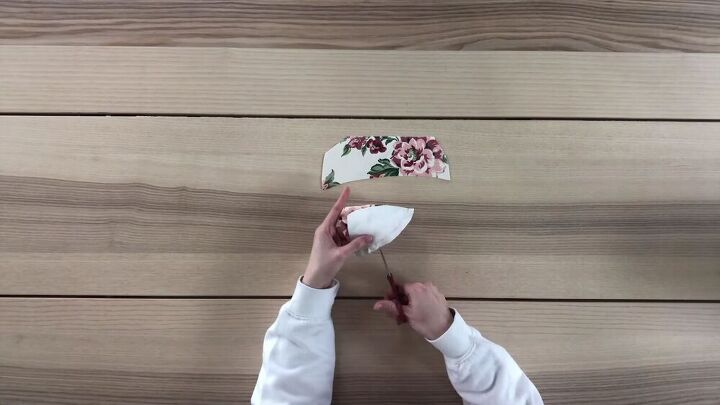
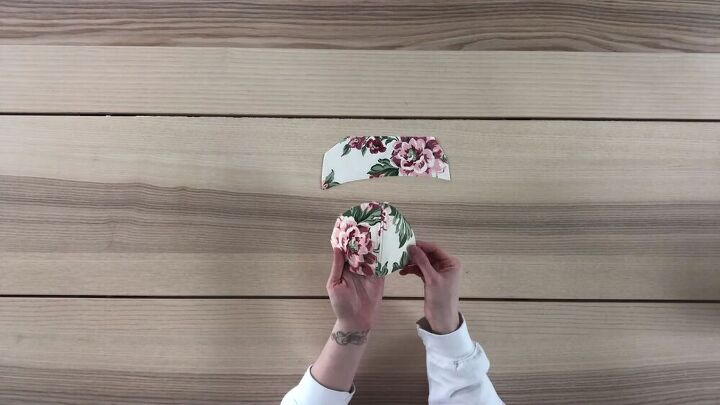
For the longer upper piece, transfer the notch and line up the notch to the cup's seam. Pin to secure and sew together.

Next, topstitch along the top seam allowance to secure in place. Go ahead, and repeat the same for the second bra cup.
TIP-
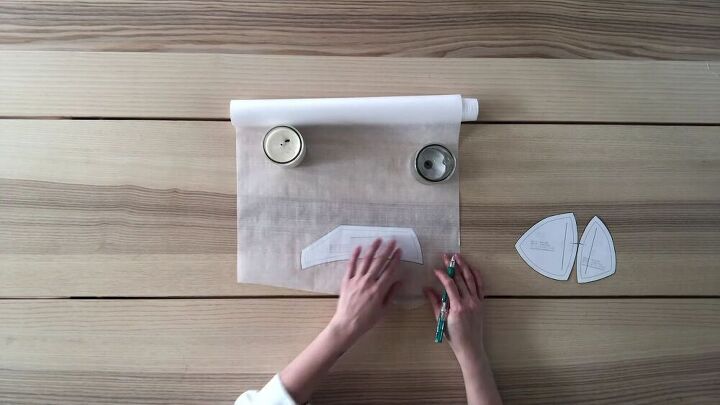
I added fusible interfacing to the cups as the fabric I have is lightweight.

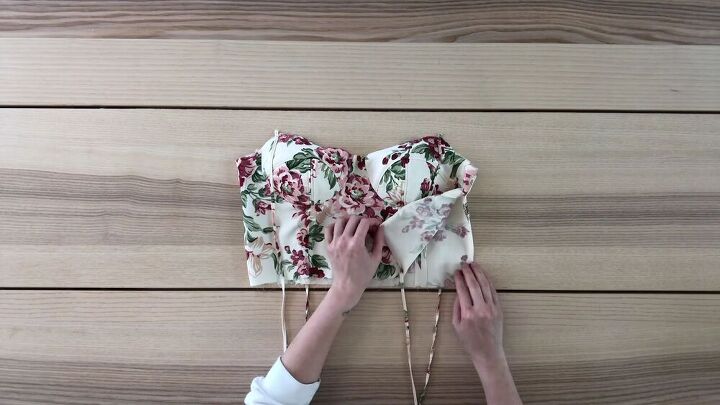
Now it's time to sew the top bodice pieces together. To know how to distinguish between the left and right cups, skip to 4:49 minutes.
Sew the pieces of the back of the top together, and sew it to one of the side seams.
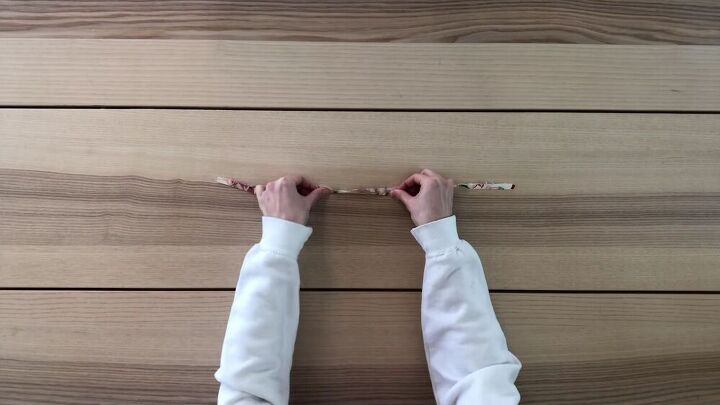
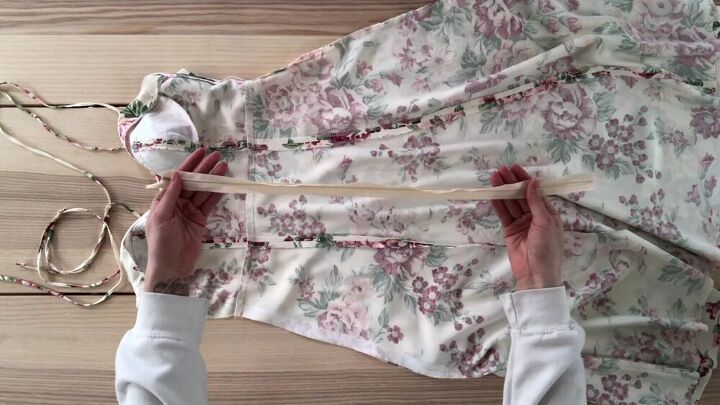
Make the straps
Cut a piece of fabric that's ¾ inch wide. Fold it in half lengthways, wrong sides facing, and press. Then, fold the bottom edge to the center, as well as the top edge, and press again.
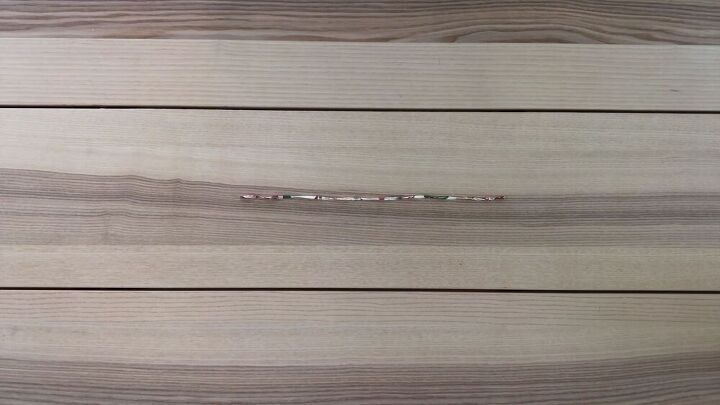
Then, sew along the entire length of the strap to secure.
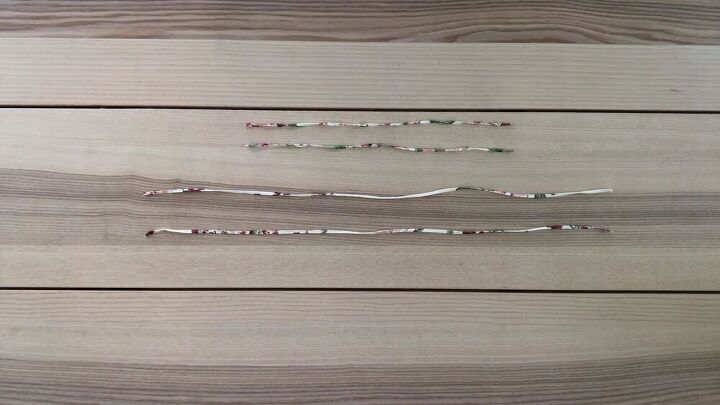
Go ahead, and make three more. You should have two straps that measure 18 inches and two longer straps that measure 31 inches.

Pin and sew the shorter straps to the back and the longer straps to the front, as shown.
Sew the other side of the side seams just on top, about 2 inches down.
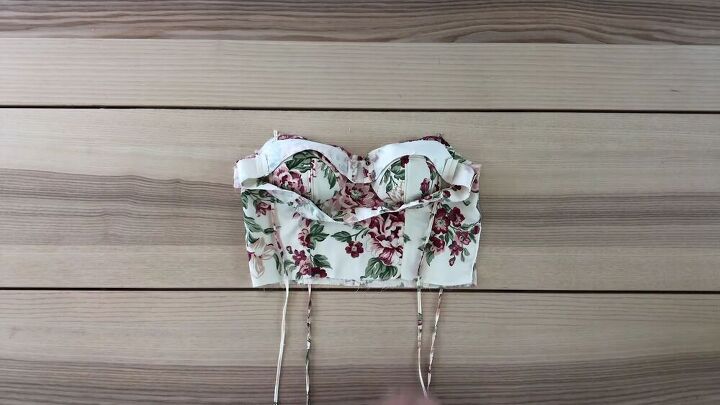
Add the facing piece
Cut a strip of fabric and sew the facing pieces together. Then, pin it around the diameter of the bodice. To see how I do this, skip to 6:15 minutes.
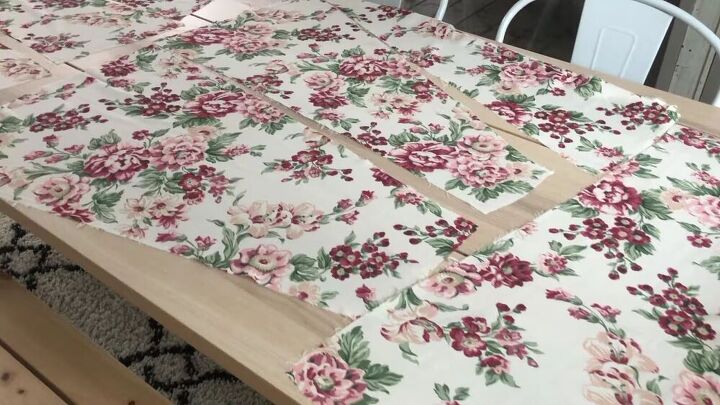
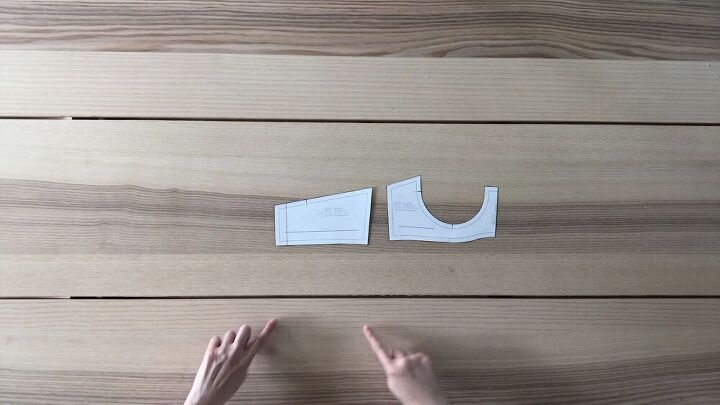
Trim and sew the skirt panels
I seam ripped the dress and trimmed down the width of each skirt panel, making sure it corresponded to the panels of the top piece.

As you can see, this is the front of my skirt; it has three panels. One seam is stitched all the way down and the other, only halfway to create the slit. The back of the skirt has four panels.
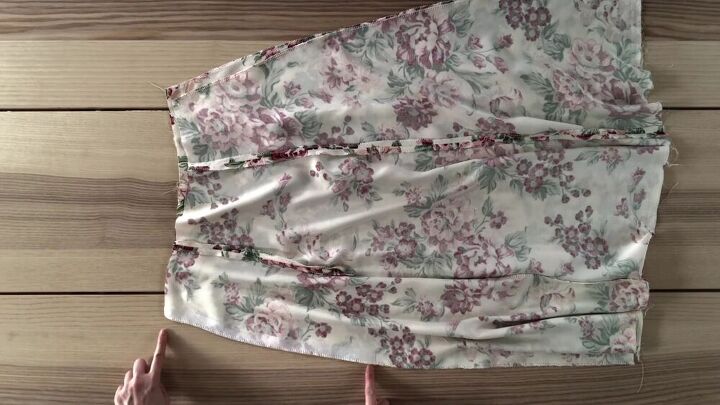
Layer the skirt pieces right sides facing. Sew one side seam together and on the other, sew starting from halfway down as the opening will be for the zipper.
Assemble the easy Reformation Juliette dress
Pin the bodice to the skirt and sew. Ensure to match the bodice's gap to the open side of the skirt for the zipper.
Next, install the invincible zipper to the side of the dress.

Shir the back part
Now it's time to gather the back bodice. See the detailed process from 8:32 minutes on my video tutorial.

We're done! I promised, and I delivered! To sew a Reformation Juliette dress looks daunting, but it's worth the effort!
The author may collect a small share of sales from the links on this page.


Comments
Join the conversation
The finished dress is absolutely adorable BUT way too much work for the average non sewer!!!!
This type of zipper is more commonly called an invisible zipper, rather than an 'invincible' one.