How to DIY a Maxi Dress Without Using a Pattern

Join me, Orly Shani, as I teach you the ultimate hack to make a turtleneck sweater into a DIY maxi dress in under 20 minutes!
This sexy sweater dress DIY is perfect for beginners because there are only two pieces, so no complicated patterns. Let’s get started.
Tools and materials:
- Large piece of stretchy knit fabric
- Turtleneck dress to trace
- Sewing machine and thread
- Fabric scissors
- Straight pins
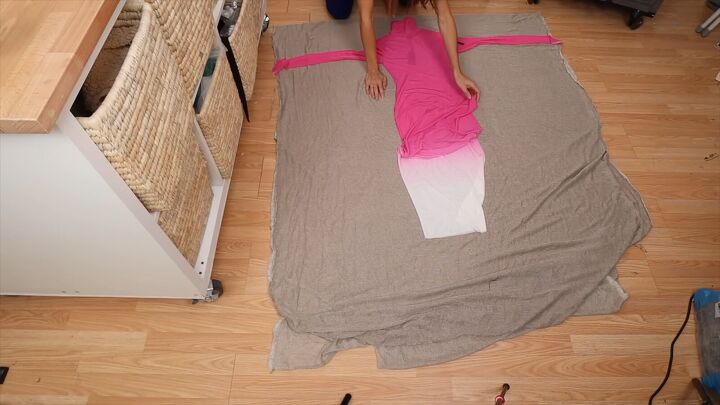
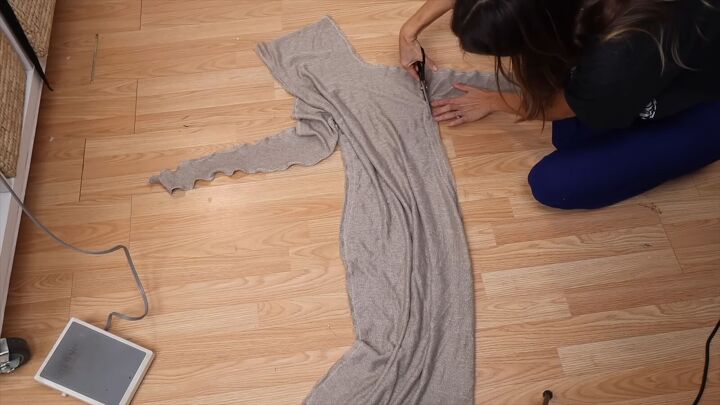
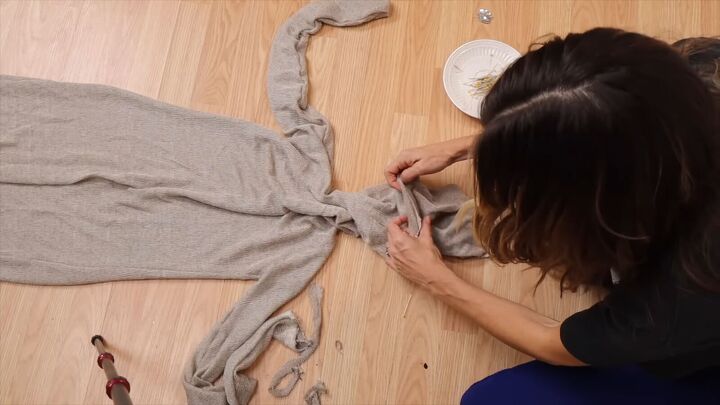
1. Fold your fabric and trace
Take your large piece of stretchy knit fabric, lay it out on the floor and fold it in half. Be sure to flatten out the wrinkles.
You’ll be tracing a turtleneck dress (or a turtleneck top and skirt) on this fabric. Now you have 2 options.
Option 1.
Lay the garment(s) out on the folded fabric and trace.
Option 2.
Fold the fabric again, and lay the center of the dress on the fold, so you're only cutting around half of the dress.
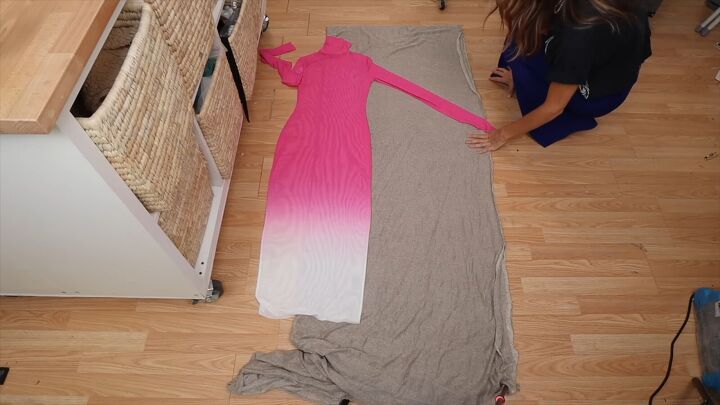
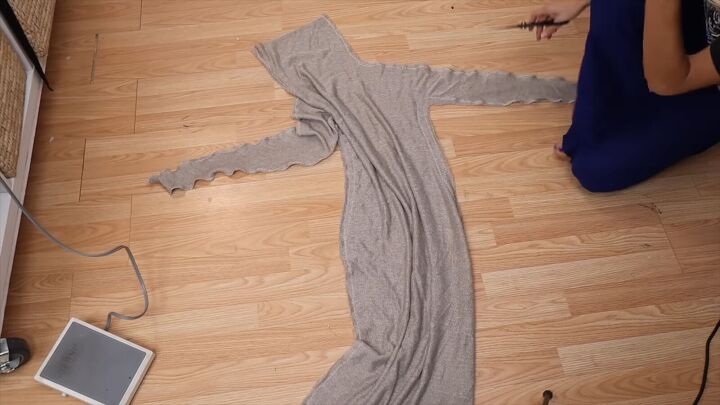
This guarantees that the right and left sides will be perfectly symmetrical. So here, I’m cutting through 4 layers of fabric.
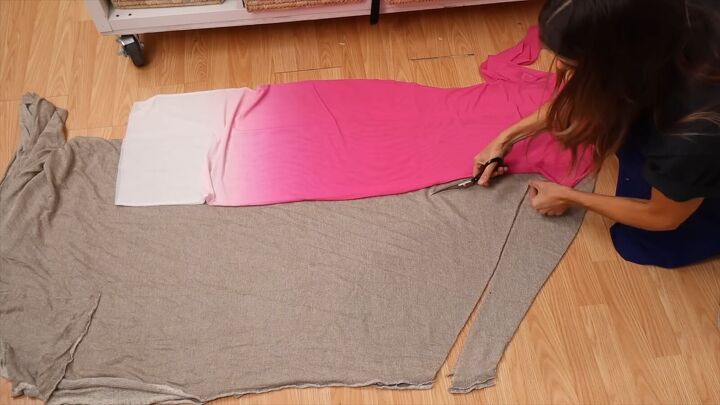
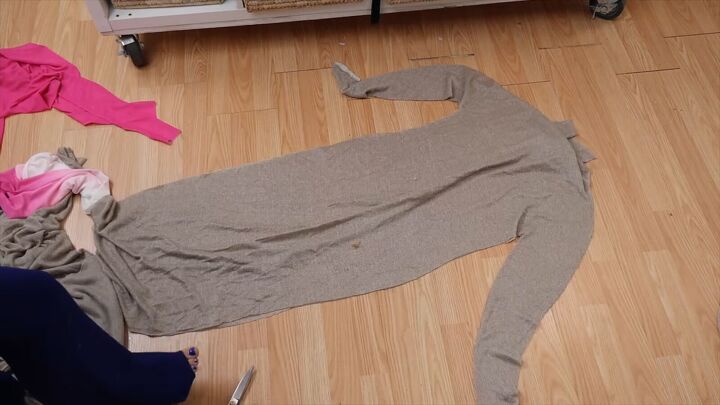
Then, when you finish cutting and open the fabric…TADA! It has the perfect shape of the dress.
Remember, it doesn’t need to be perfect. The beauty of this stretch fabric is that it’s so forgiving!
2. Secure the front to the back with straight pins
Attach the front and back pieces along the sides with pins.

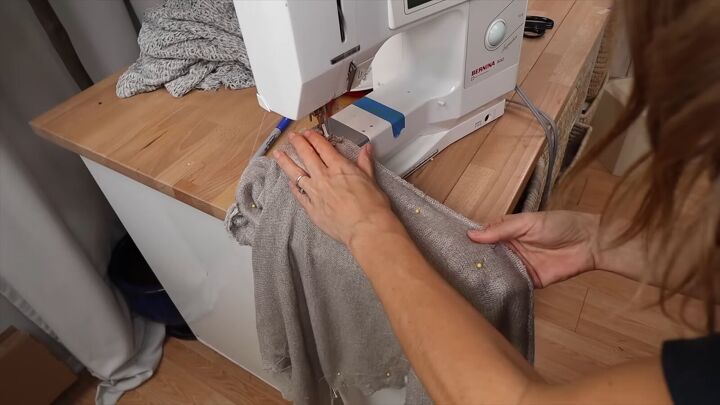
3. Sew
Using your sewing machine, sew along where you placed the pins. Use a zigzag stitch with about 1 ½” seam allowance.
This seam allowance will help prevent curling and waving edges when you sew through a knit fabric.
If you have an overlock machine, doing an overlock stitch exposed on the outside of the fabric, in a contrasting color, would also look so cool.
4. Try on your dress to check for alterations
I tried on my dress and it was a bit see-through (I’ll need to wear a slip underneath). Also, I decided to take the dress in a bit to fit the shape of my body.

5. Reinforce
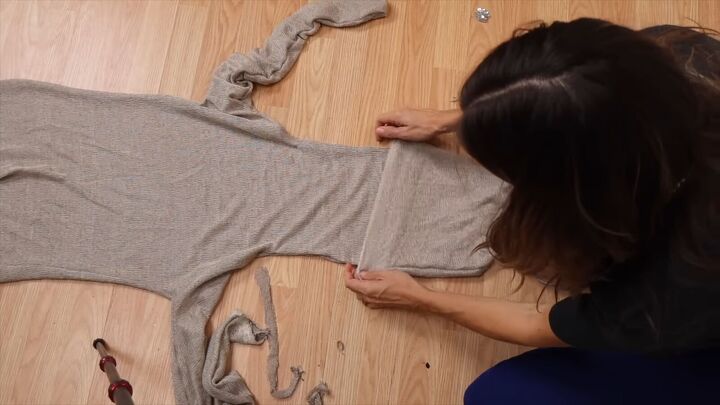
Go over the stitching to make it even stronger. I’m also going to take in the underarm to waist area.
I’m just going to gradually shave off some of the material at the underarm, since it’s as if it’s already pinned. (See video 4:15- 4:27 to see what I mean). Here it is after I’ve reinforced it.
6. Remove excess fabric
Now, cut off any excess fabric beyond the seams.
If you notice the edges curling, wet them with a damp cloth and go over them with an iron.
7. Extend the neck (optional)
At this point, you could be done. But, I decided that I wanted the neck to be a bit longer.
If you do too, grab another piece of the fabric and line it up to be the same size as the existing neck. Then sew straight to make a tube.
Line the tubes up so that the connection will be hidden and then pin them together. Then sew!
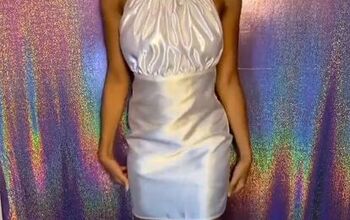
DIY maxi dress
This DIY pattern sweater dress delivers!
I absolutely love it, and you wouldn’t believe from looking at it that it only took under 20 minutes to make!

I absolutely love the imperfect edges at the cuffs.

You can add a slit at the bottom if you like:


If you try out this DIY maxi dress tutorial, I would love to see your results in the comments below.
For more designer-inspired DIYs, check out my Dolce & Gabbana Dupe Tutorial: How to DIY a Denim Patchwork Bag.
The author may collect a small share of sales from the links on this page.


Comments
Join the conversation
You did a great job, it is so relaaxed. Always getting good remnants, this works.