How to Sew a DIY Peter Pan Collar Dress Using Free Patterns

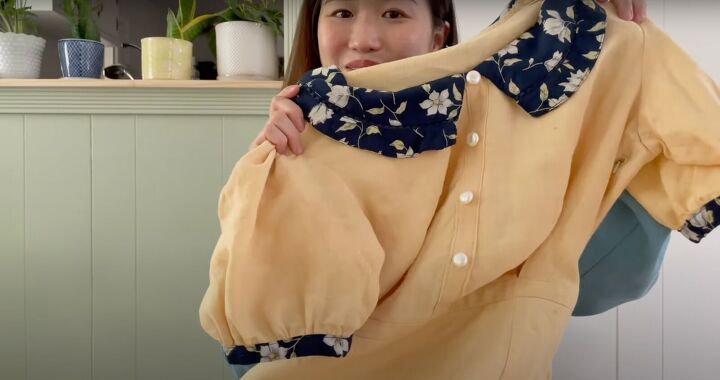
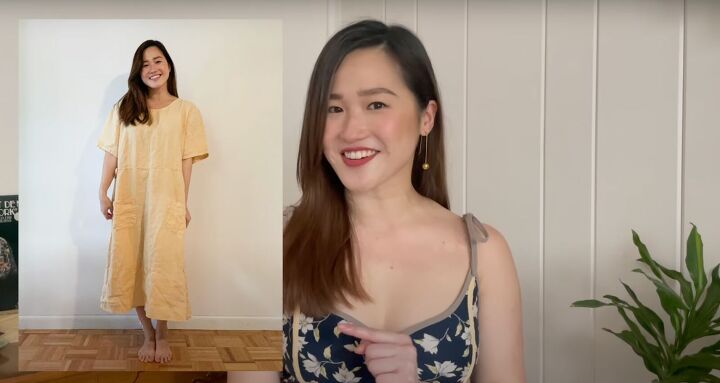
Today, I'll show you how I made a DIY Peter Pan collar dress out of two large thrifted dresses. One already had a large collar, so it was perfect for the dress I wanted to make.
I made it a bit extra with a pleated bottom, puff sleeves, and an invisible zipper, as well as a special dress for my beautiful Daisy!
Let’s get started on how to make a DIY Peter Pan collar dress that is sustainable, upcycled, and absolutely adorable!
Tools and materials:
- Thrift store dresses: 1 with a Peter Pan collar
- Lightweight interfacing
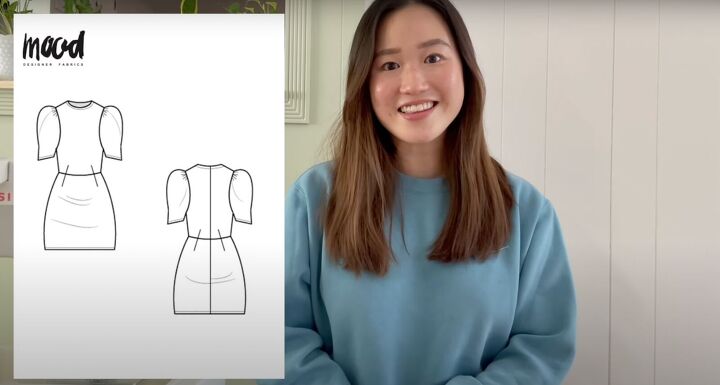
- Skirt sewing pattern
- Top sewing pattern
- Sewing machine
- Scissors
- Pattern paper
- Erasable pen
- Pins
- Ruler/measuring tape
- Iron
- Buttons
- ¾-inch elastic
- Invisible 10-inch zipper
- Safety pin
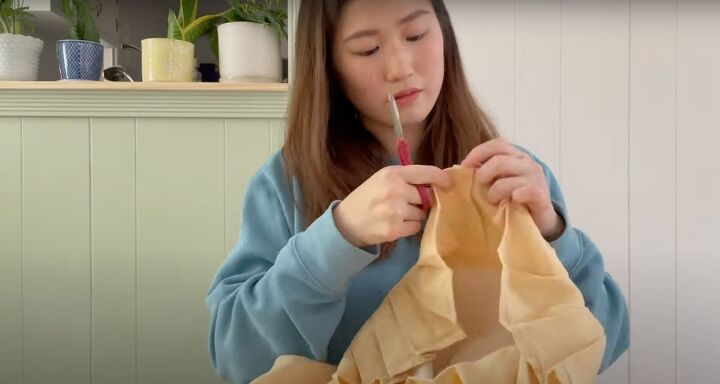
1. Make the miniskirt pattern
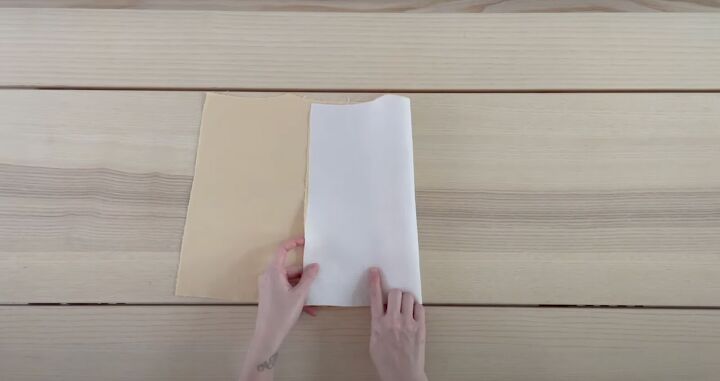
Download, print and cut the pattern front and back pieces. Lay the front piece on the folded fabric and cut. Press lightweight interfacing to give the linen more structure.
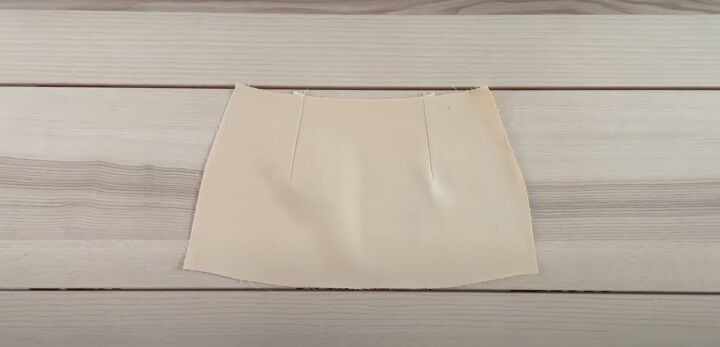
Transfer and sew the darts.
Do the same for the back pieces but don’t transfer or sew the darts.
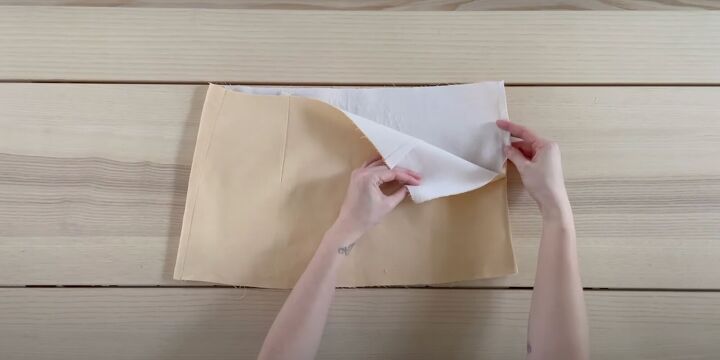
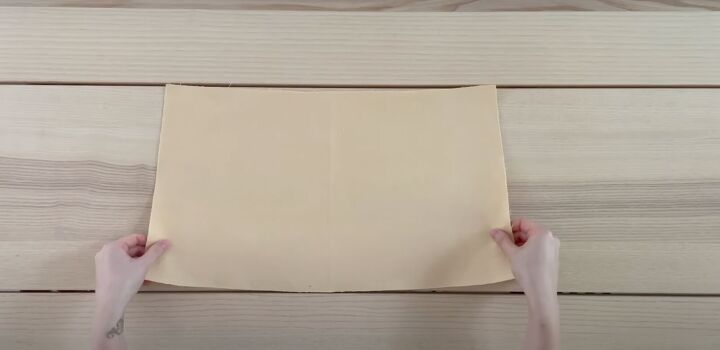
Place the front and back right sides together. Sew along the side seam entirely on the right, but sew only halfway down from the middle to the bottom on the left, leaving the gap for the zipper.
2. Make the pleats
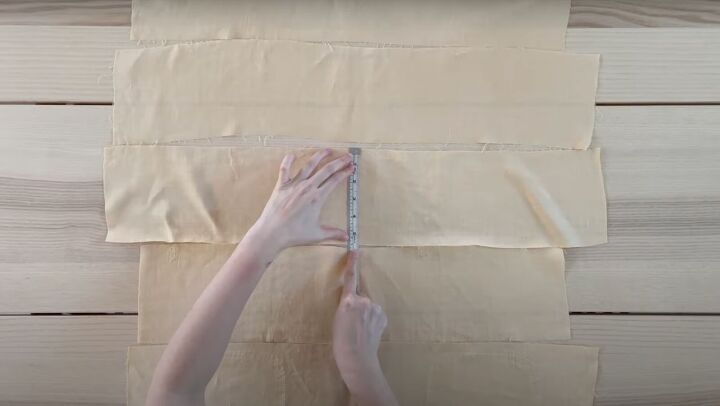
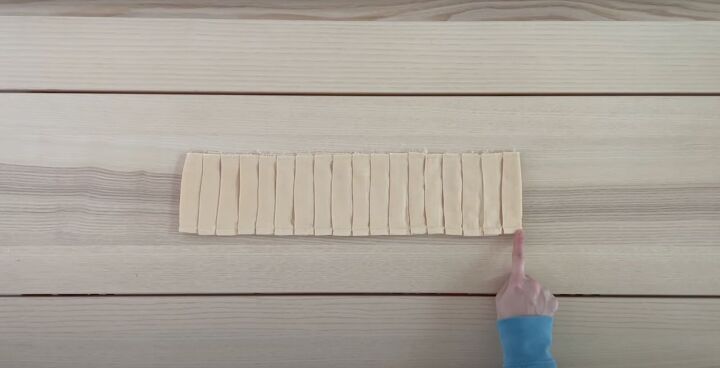
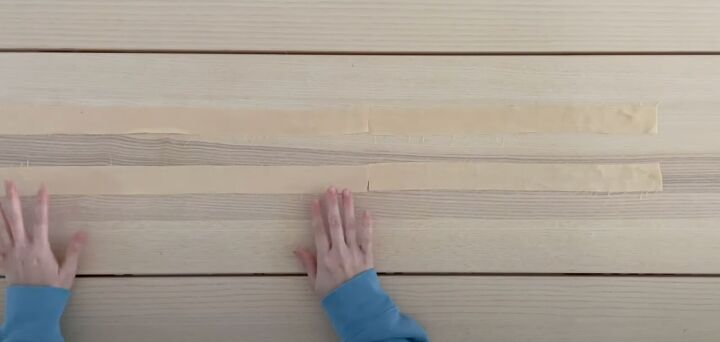
Measure the inner circumference of the skirt hem and multiply by 3. That’s how much fabric is needed. Cut out as many strips to match that number (here it’s 123 inches) that are 5½ inches wide. Sew them together into one loop.

Hem the bottom.
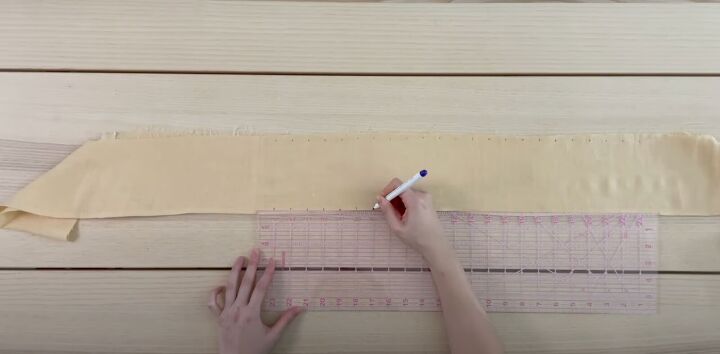
Use your ruler and erasable pen to mark at each inch across the fabric on top and bottom.
Fold the fabric on each 3rd mark and connect it to the 1st mark. Each pleat is 3 layers.
Repeat until the entire length is pleated.
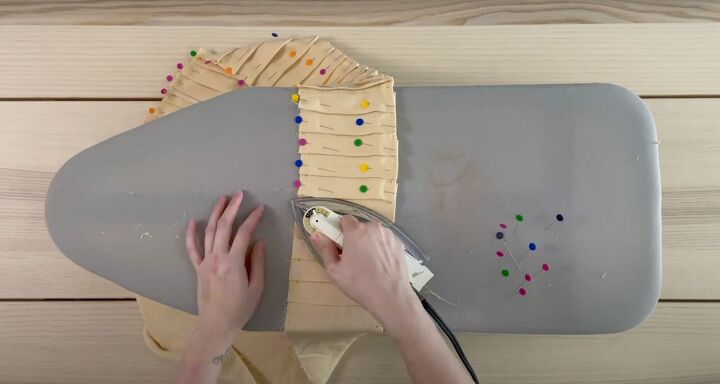
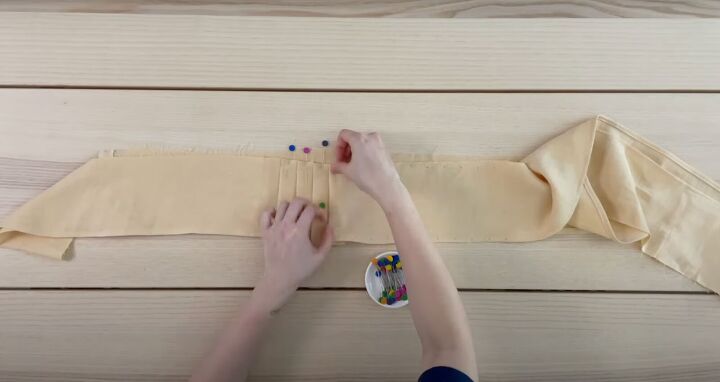
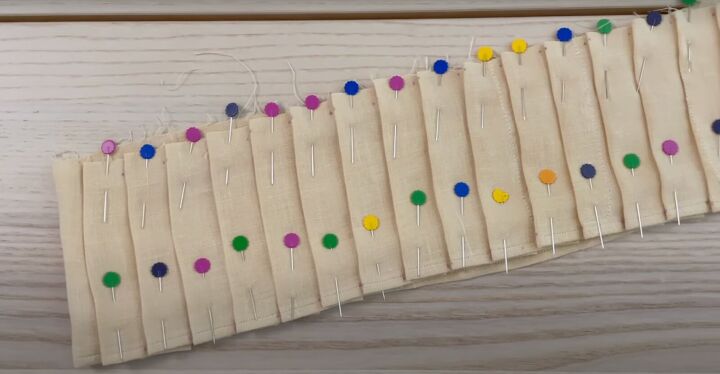
Press the pleats in place.
Sew a basting stitch across the top and bottom to secure.
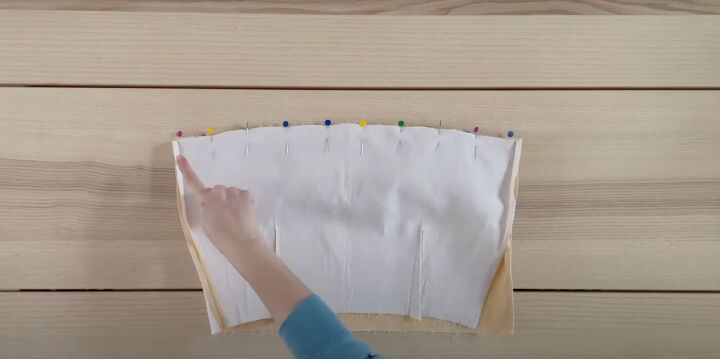
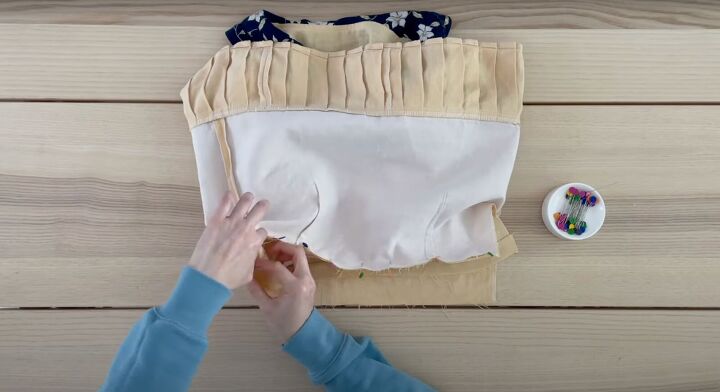
3. Attach the pleats to the skirt
Pin the pleats right sides together at the skirt bottom. Sew to secure.
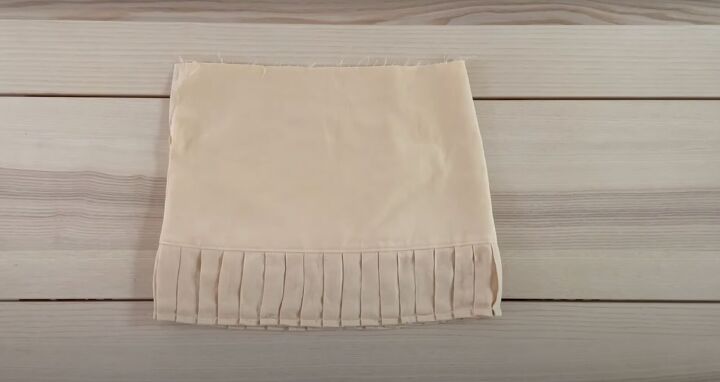
Topstitch right at the seam that joins the two pieces, making sure to catch the seam allowance as well.
4. Make the top
Use the free pattern but modify it from a dress to a top.
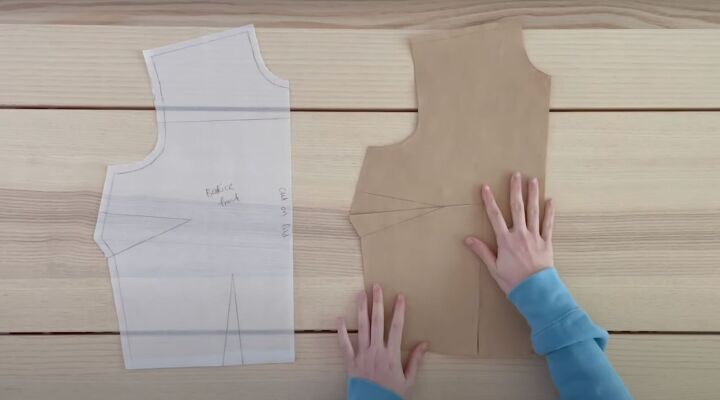
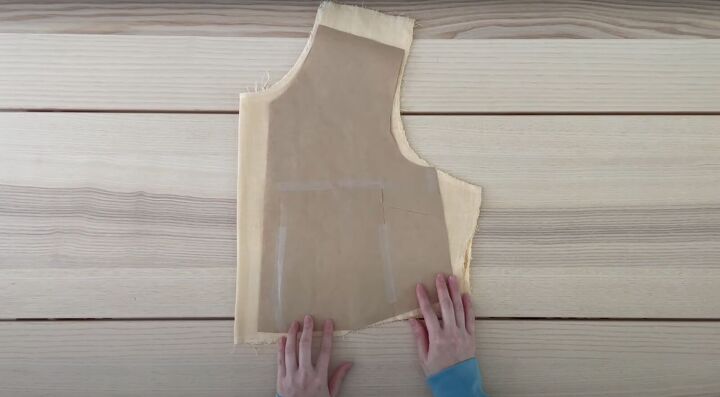
Transfer to parchment paper and then to brown paper. Trace the bust and waist dart center lines to the point where they meet.
Shift the bottom piece over to close the bust dart and widen the waist dart. Tape into place, aligning the bust dart properly. Fold to create a straight side seam.
Place pins on the collar from the original floral dress to align the shoulder seam placement on the top. Line up the pins with the shoulder seam.
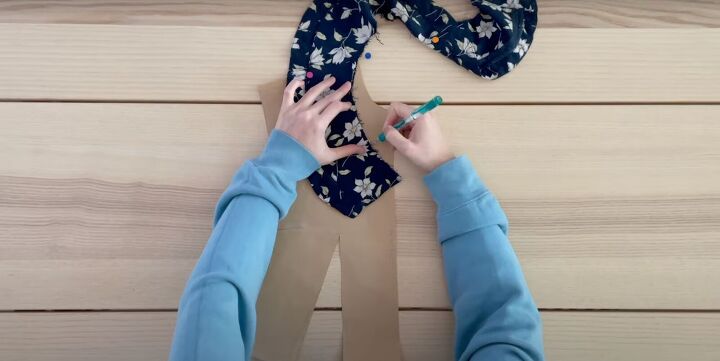
Trace out the shape of the new neckline. Trim the paper. Line up the darts with the waist with the skirt, marking the proper placement. Use the ruler and an additional piece of paper to make it tidy. Lower the arm hole at the side seam by 1 inch.
Draft a new curve and cut it out.
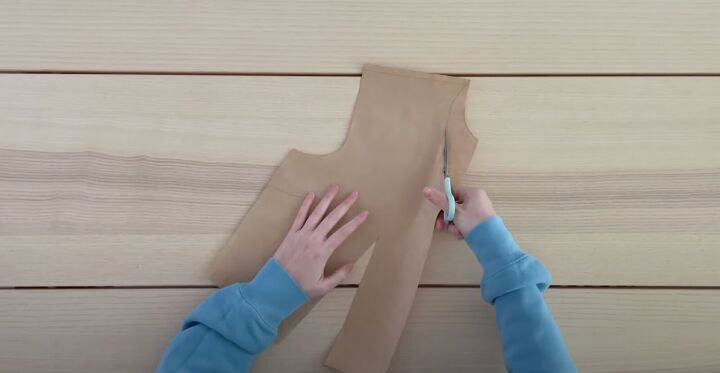
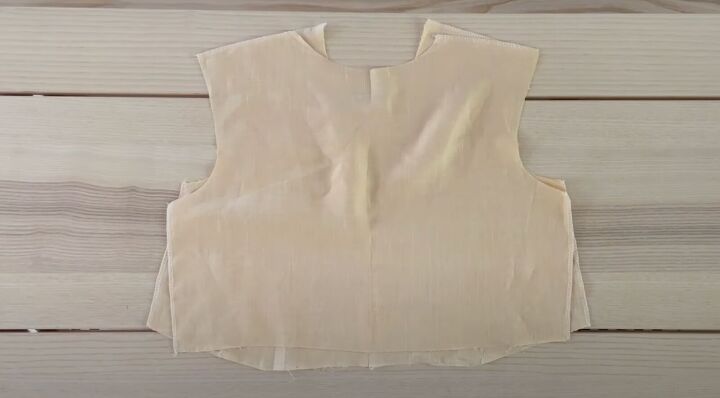
The back needs modifications as well. Fold the collar in half and line it up to the center back and shoulder seam. Trace the shape of the collar and cut out the new neckline and lower the armhole to match.
To align the length of the front and back, place the front piece on the top along the side seam and mark on the back. Fold the extra length of the back piece under.
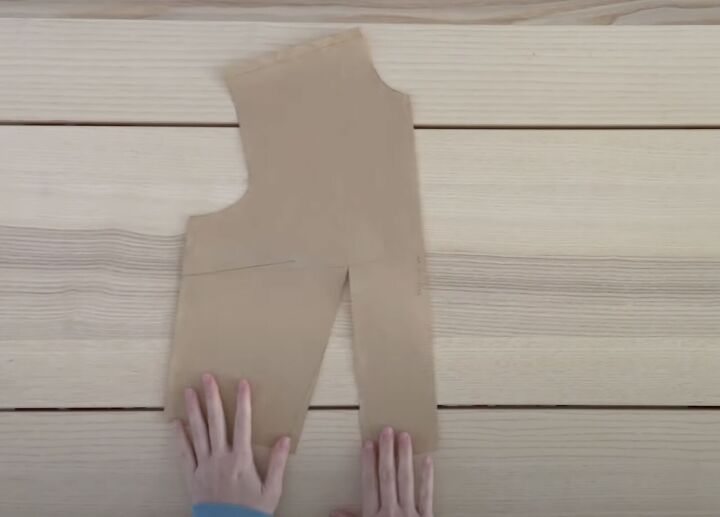
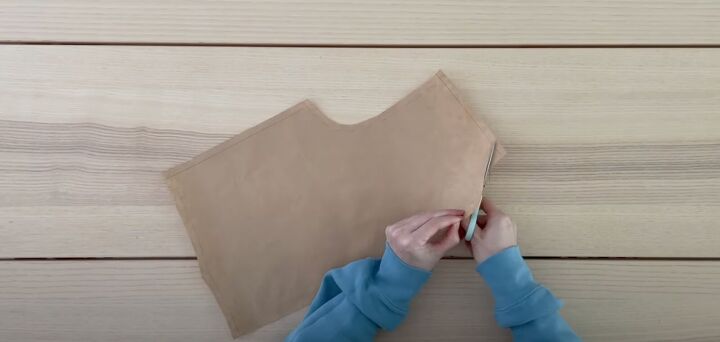
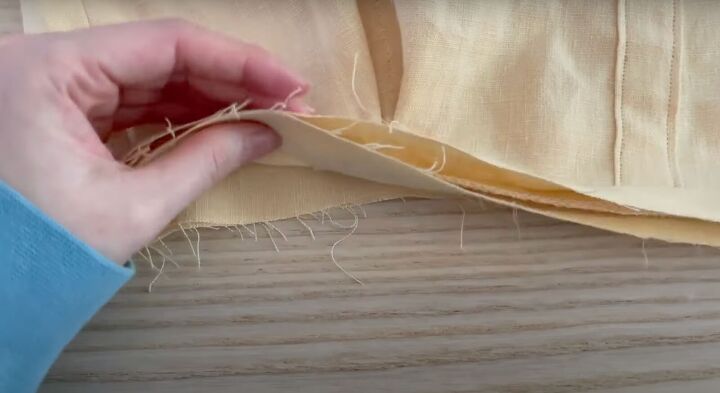
Because the dress is upcycled, it can’t be cut on the fold.
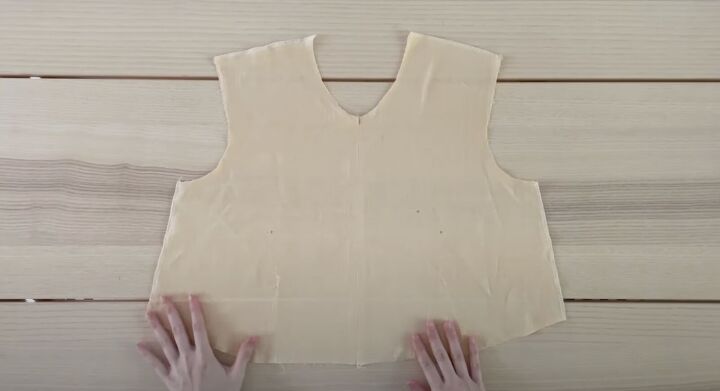
Shift the pattern and cut 2 pieces with ½-inch seam allowance to sew along the center seam.
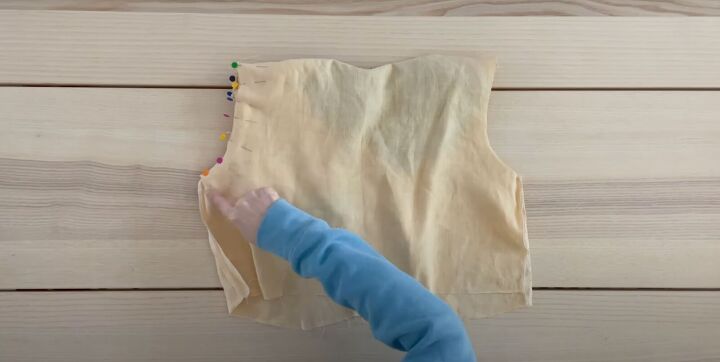
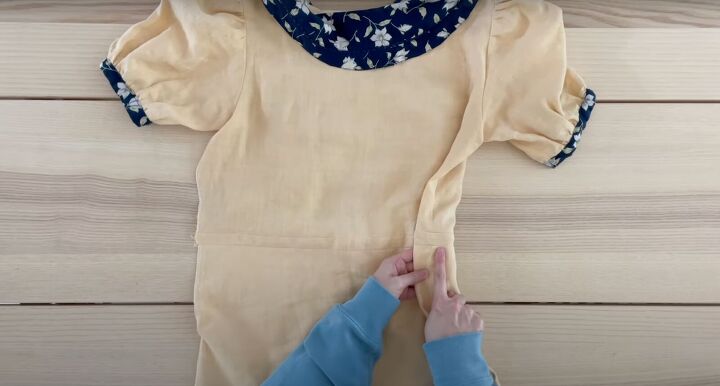
Lay the front and back pieces right sides together. Sew along the shoulder seam and the right side seam. On the left side seam, sew just a bit at the top, leaving space for the zipper.

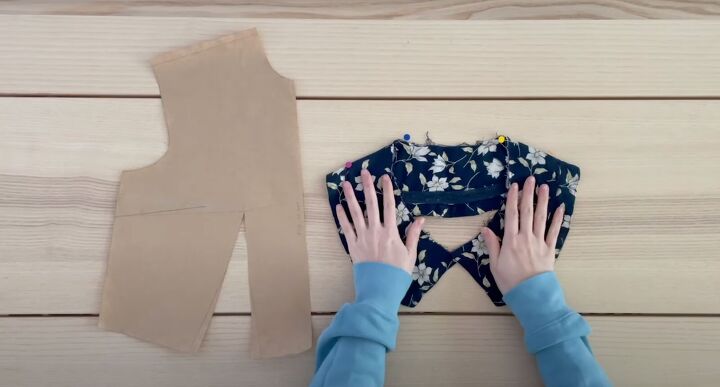
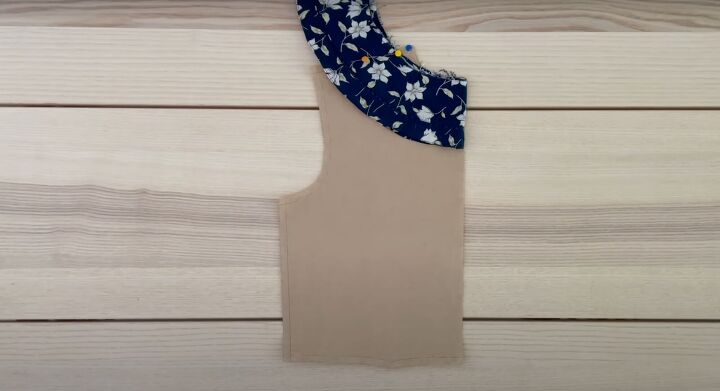
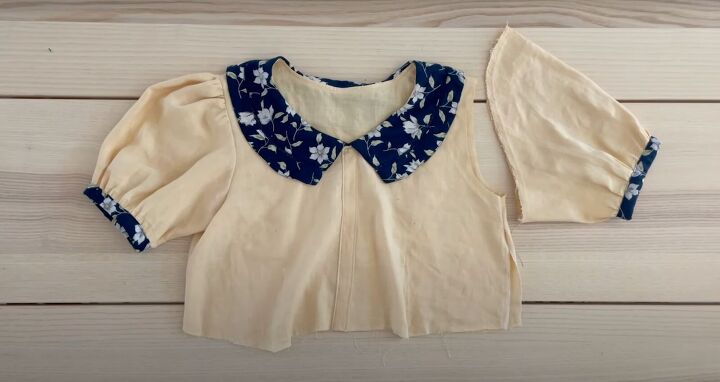
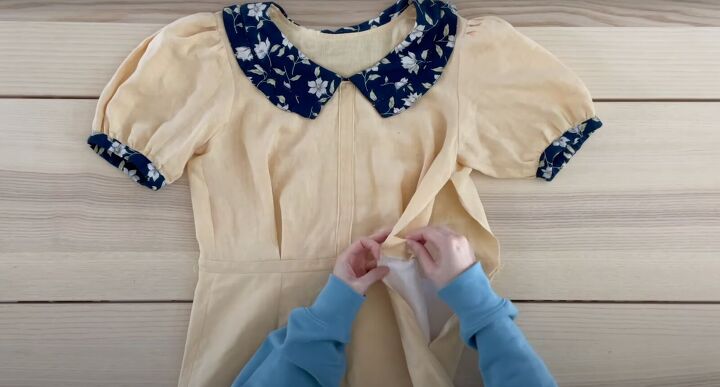
5. Add the collar
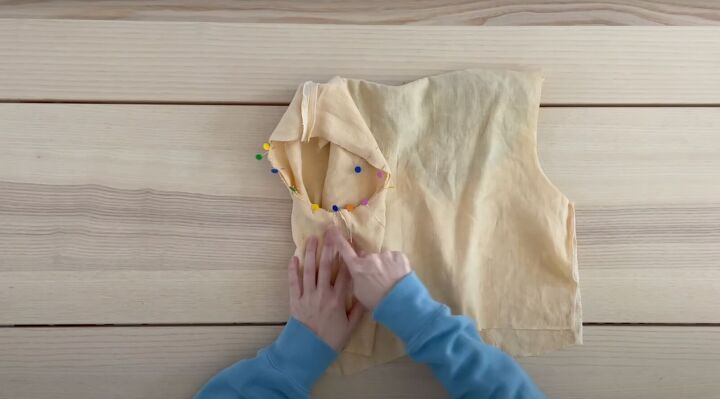
The neckline needed lowering when playing with the collar placement. Mark with erasable pen and trim the excess fabric out.
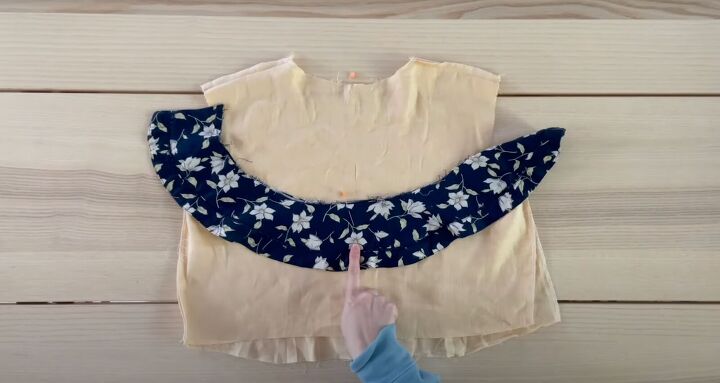
Mark the back center of the collar and the center back. Place the right side of the collar to the wrong side of the top.
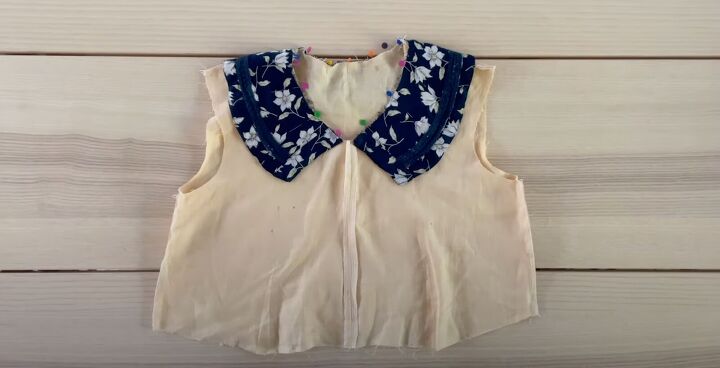
Pin in place all around. Sew to secure. Once sewn, turn right side out.
To keep everything in place, understitch the seam allowance.
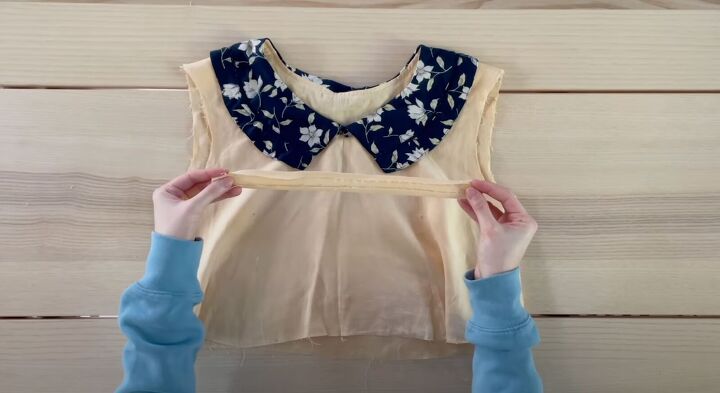
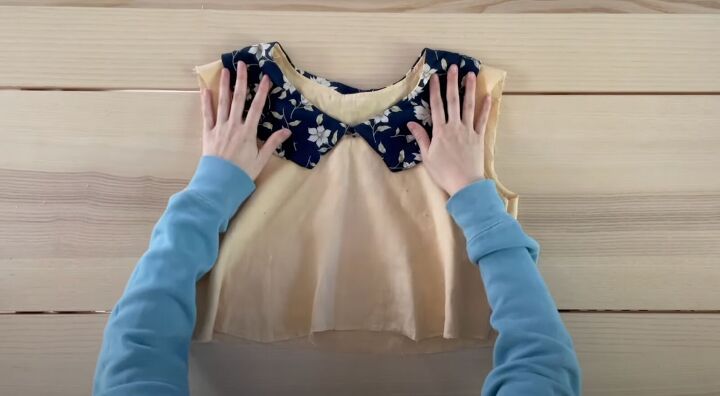
6. Add the button placket
The seam allowance is visible at the top, so I’m adding a button placket. Fold and press the raw edges of the strip under.

Place along the center front. Sew along both sides and at the top to secure.
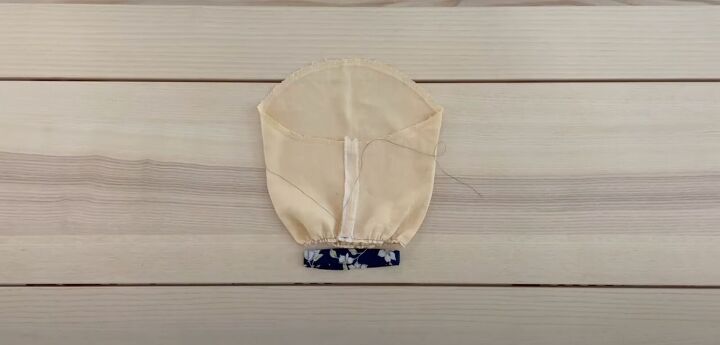
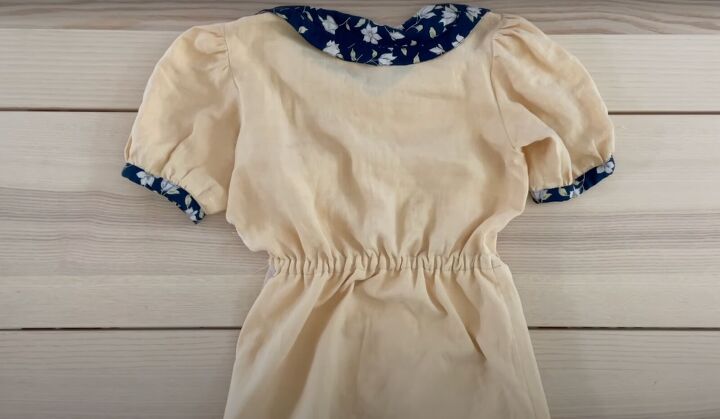
7. Add the sleeves
I’m using the original sleeves of one dress and the cuffs of the other dress.
Sew a basting stitch at the sleeve bottom. Using the cuff as a guide, gather the sleeve by pulling on the threads. When they match, space out the gathers evenly.
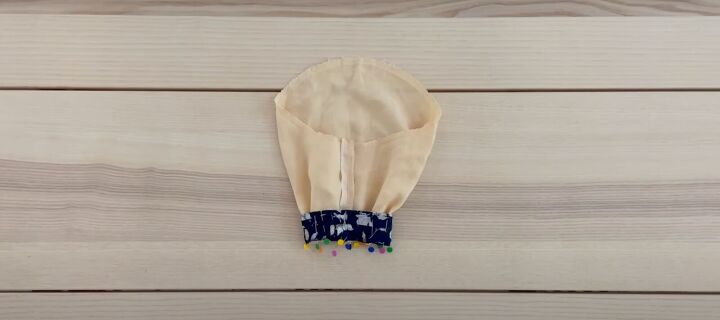
Place the cuff, right side facing, to the wrong side of the sleeve, pinning all the way around. Sew to secure.
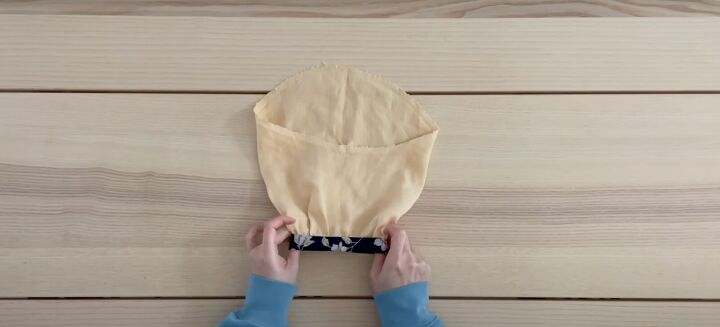
Then turn the sleeve to the right side and fold the cuff in half, covering all the raw edges. Topstitch all the way around, leaving a 1-inch gap.
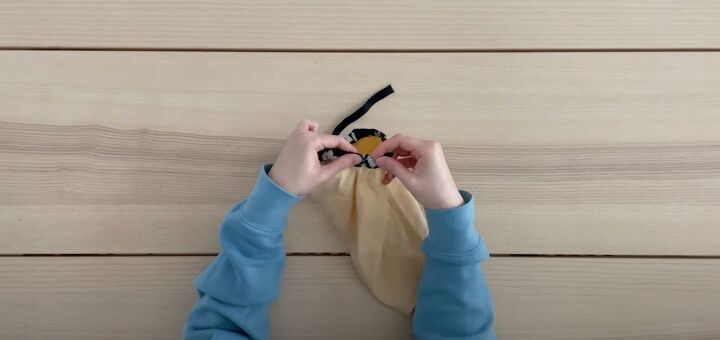
Insert ¾-inch elastic, using a safety pin to tunnel it through. Sew both ends together with a zigzag stitch. Topstitch the gap closed.
Sew a basting stitch at the top of the sleeve. Pin the sleeve to the top, aligning the side and sleeve seams.
To attach the rest, pull on the loose basting threads to gather the sleeve, until the sleeve cap curve matches the arm size.
Pin the rest.
Sew together. Repeat for the other side.
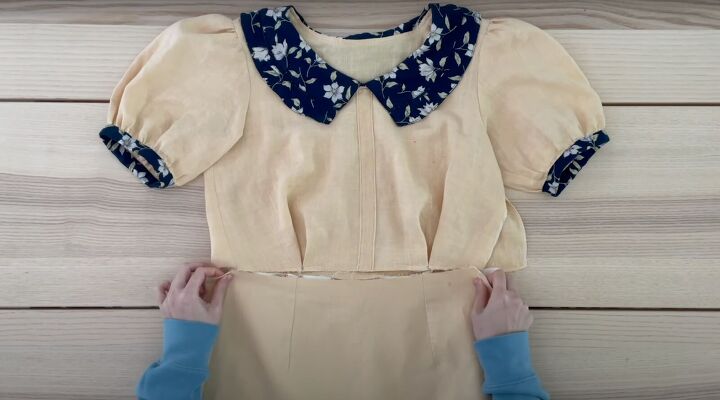
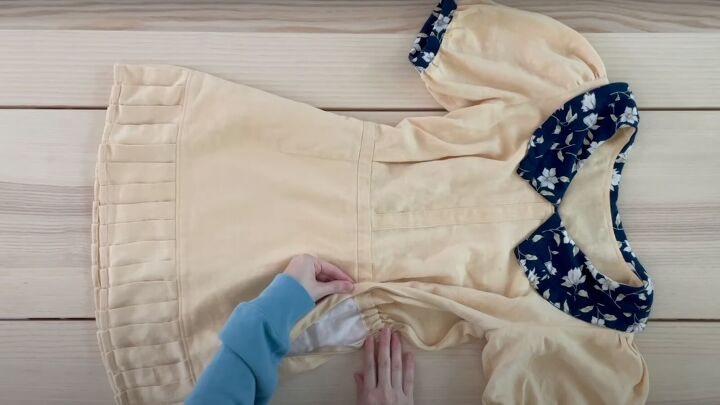
8. Attach the skirt and top together
Add some pleats to the front, making sure they align with the front darts.
Make a waistband by cutting a shorter strip for the front and a longer one for the back about 2 inches wide. Sew together. Cut another two pieces as a lining. Sew together.
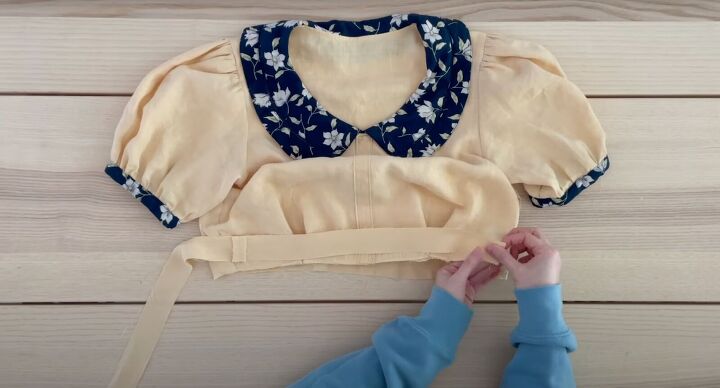
Pin the waistband right side together to the bottom of the bodice.

Then place the lining right sides to the wrong side of the waistband. Sew to secure. Press.
The bodice should be sandwiched between the waistband and the lining.
Pin the skirt right sides together to the waistband. Sew.
The lining won’t be attached.
On the back, stitch in the ditch just past the side seam to create a channel to insert the elastic.
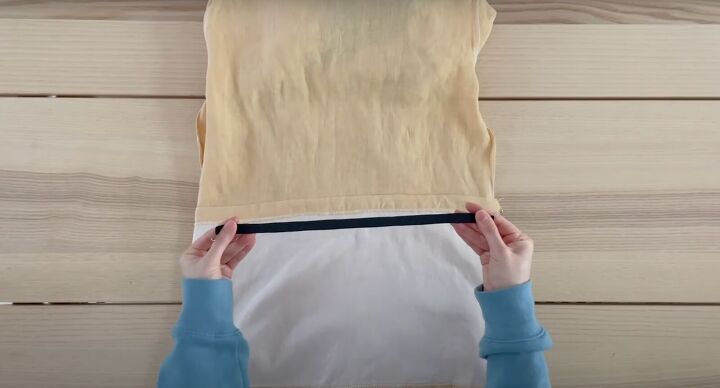
Insert ¾-inch elastic in the back.
Secure the elastic by sewing both ends to the waistband. Stitch the ditch in the front, securing the lining to the dress.
9. Finishing touches
Insert an invisible zipper.
Sew 4 buttons spaced evenly on the button placket.
Remove the basting stitches from the pleats.
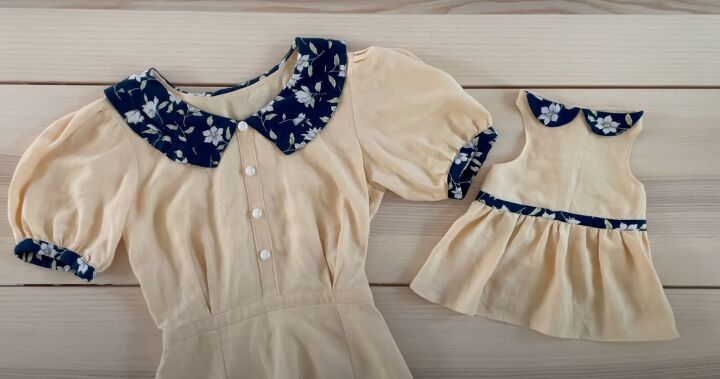
I also had enough fabric to make a dress for my dog!
From this and
From that
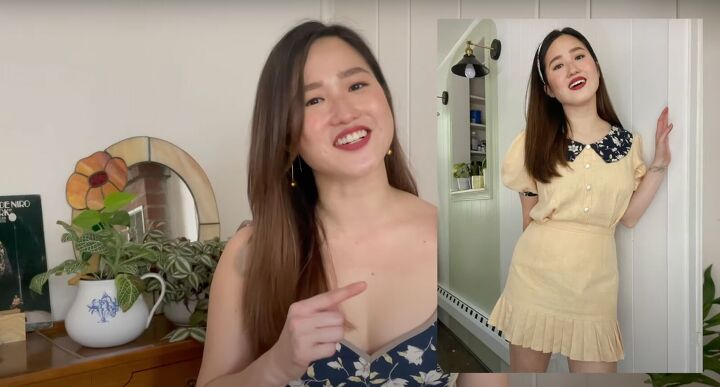
How to sew Peter Pan collar dress
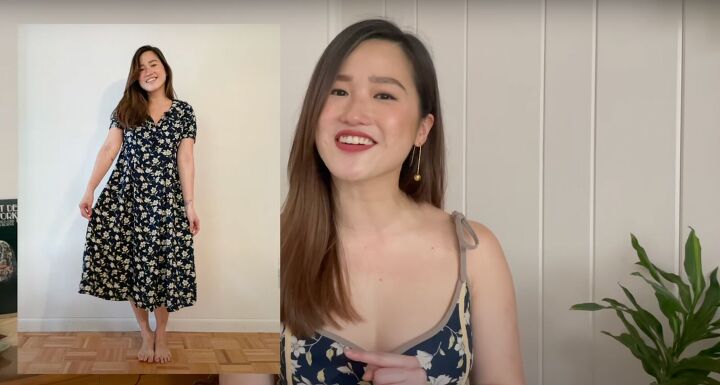
To this beautiful DIY peter pan collar dress! I hoped I showed you how to sew a Peter Pan collar dress! Let me know in the comments if my tutorial helped you!
The author may collect a small share of sales from the links on this page.


Comments
Join the conversation
I wish I had your talent ! what a great job , so cute !
brilliant ❣️