8 Simple Steps to a Versatile & Elegant DIY Tie-Front Dress

In this tutorial, I'll show you how to make a DIY tie-front dress from the Ava dress pattern (linked below). Tie front dresses are effortlessly chic, casual, and flattering. You can wear them dressed up or down. I love wearing this and I am sure you will too! Let’s get started!
Tools and materials:
- Ava knit dress pattern
- 2-3 yards of stretchy knit fabric
- Scissors
- Matching thread
- Sewing machine
- Serger
- Pins
- Weights to hold the fabric down
- Measuring tape
- Pen
- Marking chalk
- Iron
- Pressing cloth
- Clapper (optional)
- Skewer
- Needle
1. Print the pattern
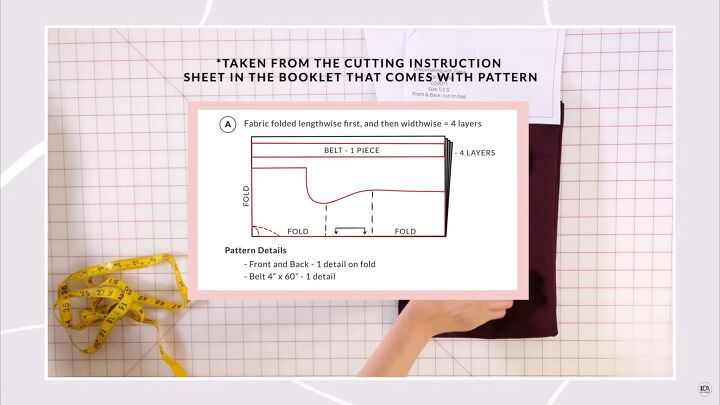
I’m doing a half-scale pattern. I’m using option A, which means there is no seam at the center front or back. It’s easier to do and you can cut the front and back in one step!
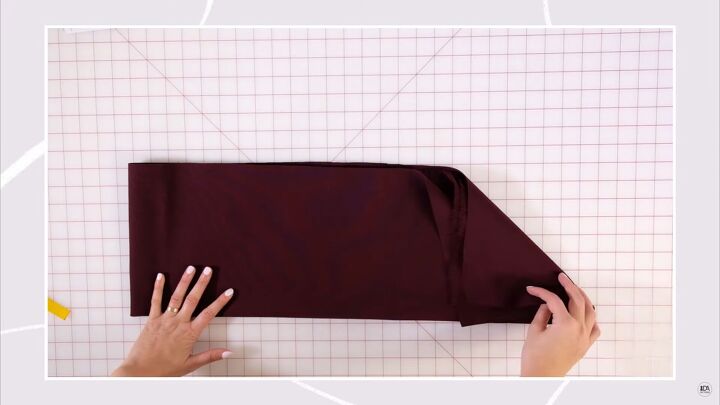
2. Fold the fabric
Fold the fabric in half lengthwise, then fold it again widthwise so you end up with 4 layers.
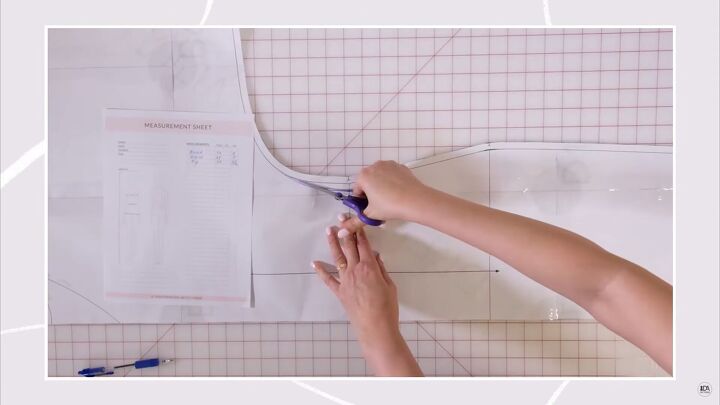
3. Cut the fabric
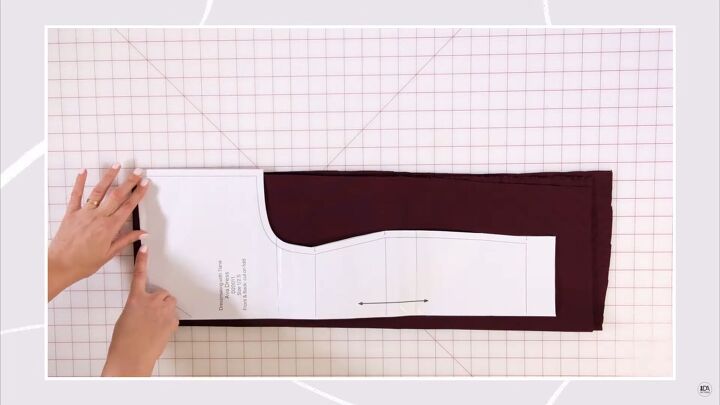
Place the cut pattern on the fabric along the folded edge. Since we don’t have a seam on the shoulder, we don’t need the seam allowance. Fold the seam allowance at the top or cut it off.
Line up the pattern with the fabric. Hold the pattern in place with pins or weights. Trace the pattern with marking chalk.
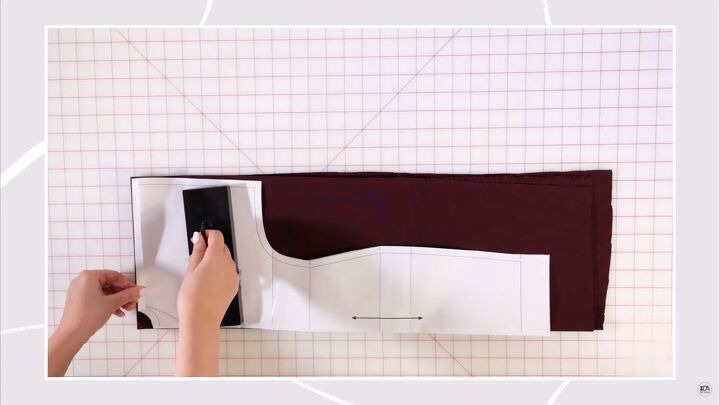
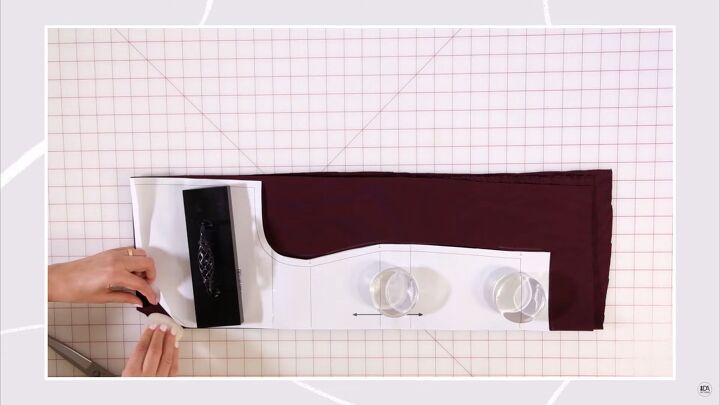
Start with the back neckline. Cut the back neckline through all 4 layers. For the front neckline, we need to make the neckline deeper. Trace the deep V neckline from the pattern on the fabric.
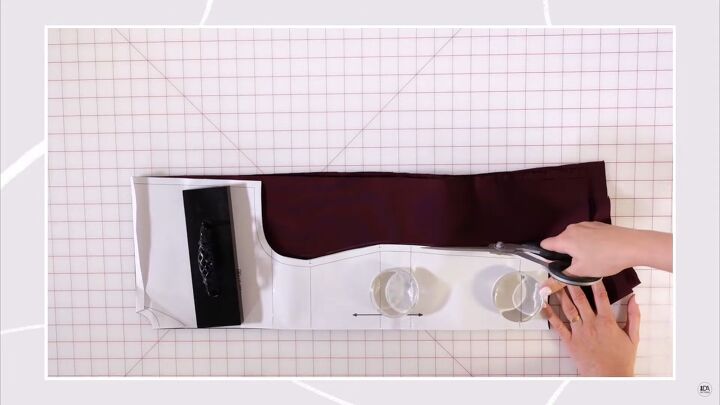
Cut out the dress and make sure to add little slits or notches at the hemline, hip line, and waistline.
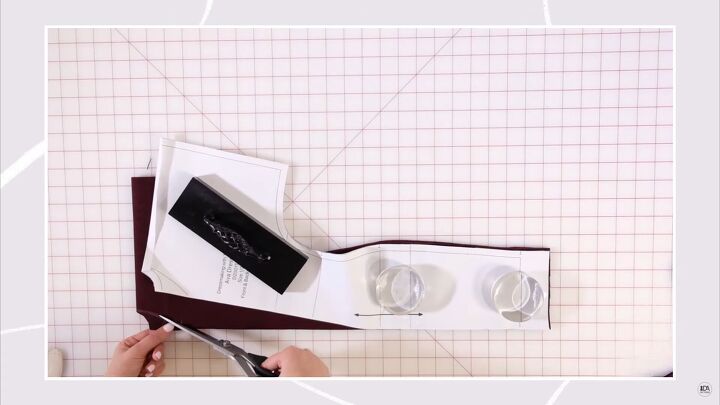
Then, cut out the V neckline only on the upper folded layers.
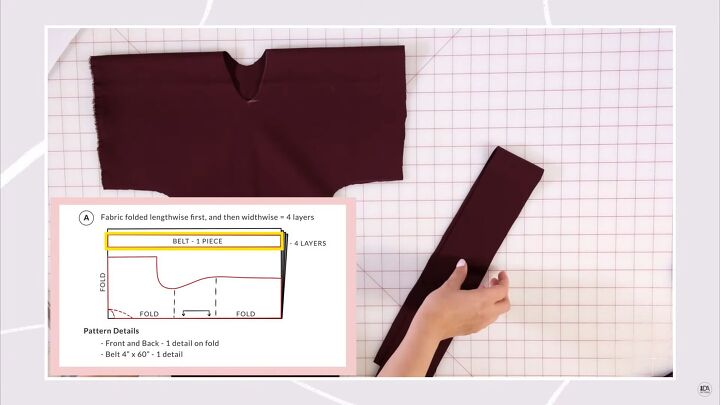
Cut the belt to be 4 inches wide and 60 inches long.
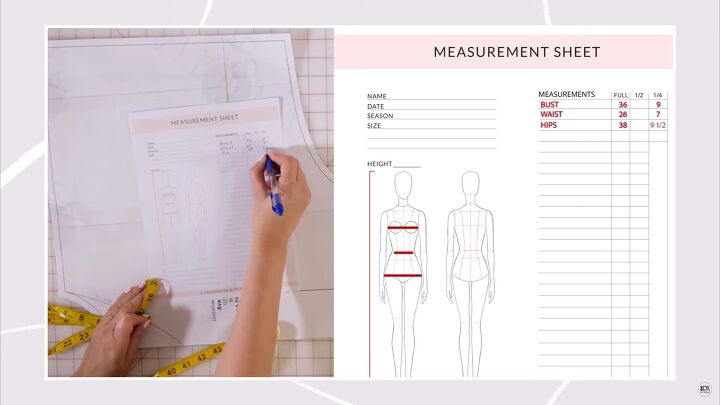
4. Check the measurements
The 3 most important measurements are the bust, waist, and hips. My measurements are bust - 36 inches, waist - 28 inches, and hips - 38 inches. I use the quarter column in the form. The bust is 9, the waist is 7, and the hips are 9½.
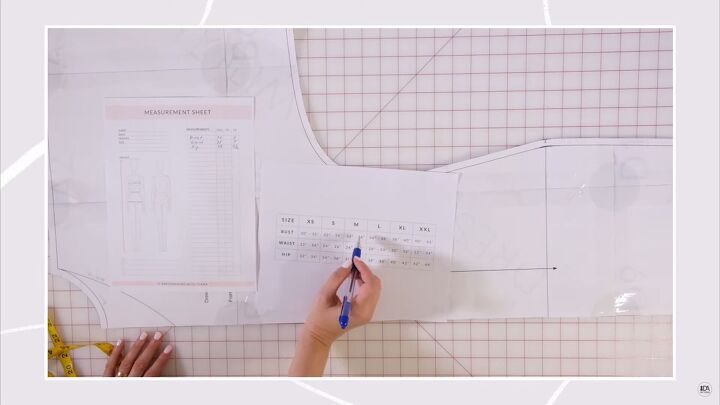
I check the sizing table with these measurements. The size is M. If you’re making this dress and your measurements are between sizes, you don’t necessarily have to go up a size as the fabric is stretchy. It all depends on how form-fitting you want the dress to be!
The top of the dress is loose so we don’t need to check the bust measurement as much as we need to check the waist and hip measurements.
Here, the pattern is a bit bigger than the 7 inches we needed for the waist. I’ll add a ½-inch seam allowance and shorten the waist to that point with a curved line. The hip measurement is just right!
Cut the excess off the pattern and we are done with the pattern!
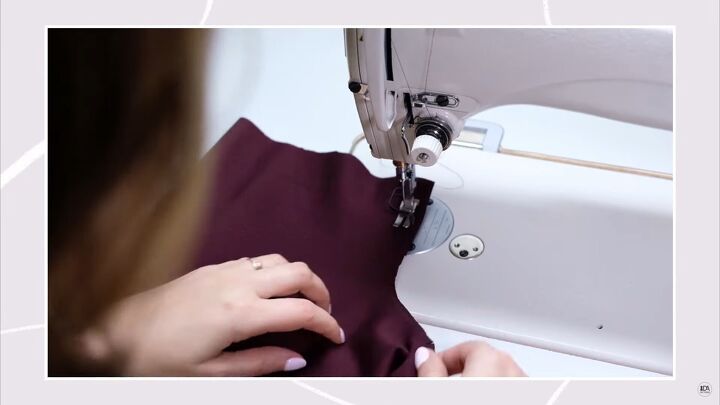
5. Sew the dress
Start with the side seams. Place the fabric right sides together, making sure to line up the slits or notches and sew. Repeat for the other side.
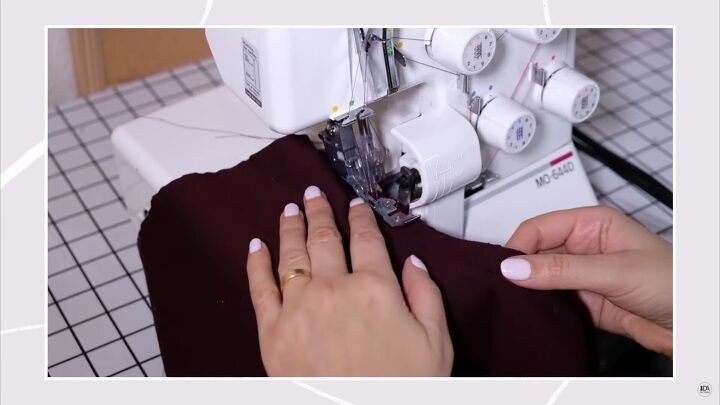
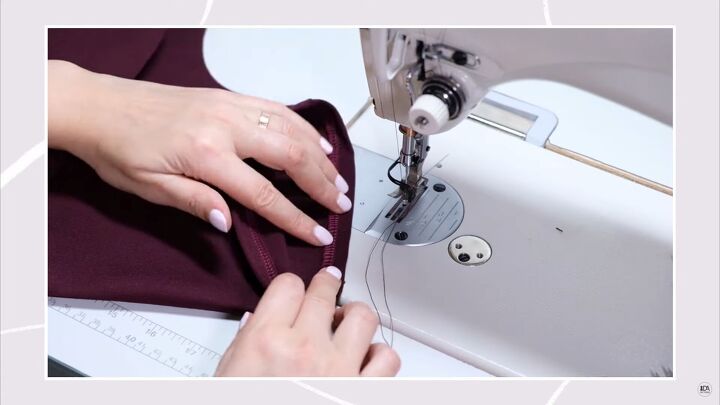
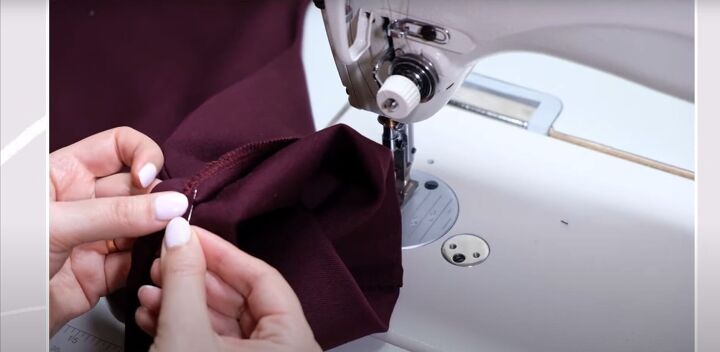
Serge the hem, sleeve edges, and neckline. Hide the thread inside the seam.
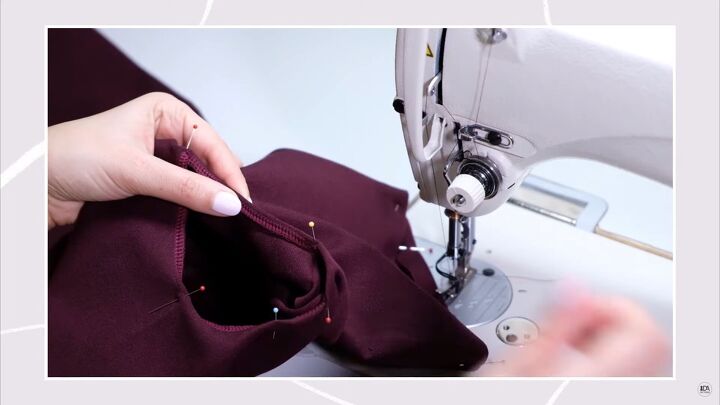
Mark the center front, center back, and inside sides of the neckline. Fold the serged edge at these points first with pins in place. Then fold in between these marks and pin as well.
Baste stitch the neckline and then iron it before sewing it. Sew on the right side of the fabric in the middle of the serged seam. It will look a bit stretched out but will flatten with pressing. Use a pressing cloth and press, instead of ironing.
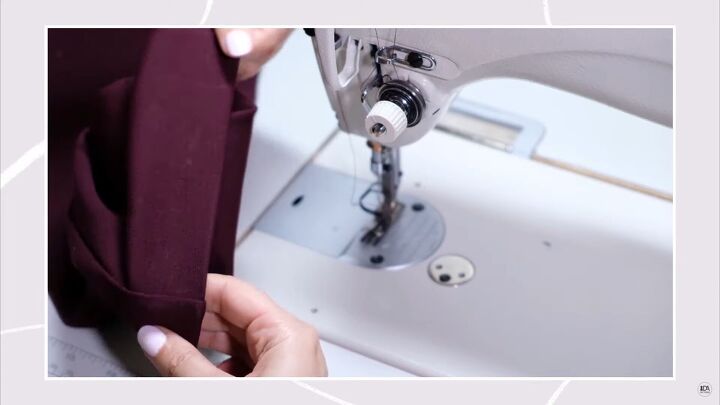
6. Sew the sleeves
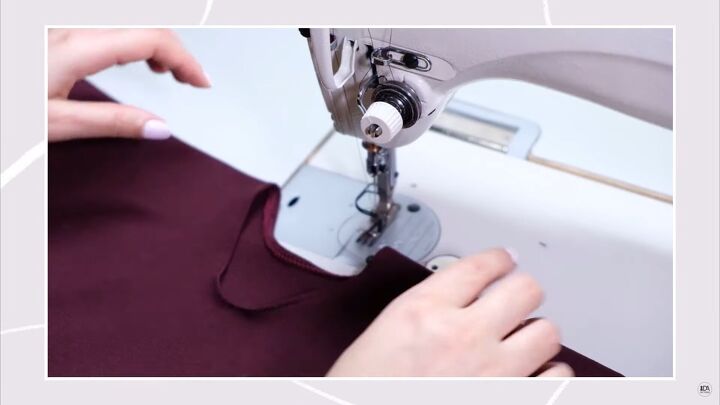
Fold the serged edge ⅝ of an inch and press.
Then sew on the right side of the fabric, ½ inch from the edge.
7. Hem the dress
You can choose how to hem the dress. You can use the same technique as the neckline or the sleeves.
I personally like a thick hem at the bottom because it holds the shape better, so I hand-stitch the hem. First I fold the hem up 1½ inches. I pin it and press.
I start hand stitching on the side seam, taking 1 thread from one side and a couple of threads from the other side. This makes my stitch invisible on the right side of the fabric.
When I reach the end, I stretch the fabric so the thread will be loose and take the shape of the dress. This prevents the seams from popping and makes the dress easier to wear. You can barely see the stitch!
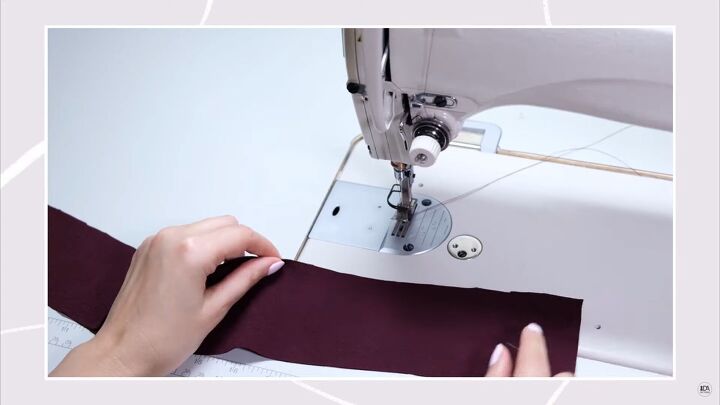
8. Make the tie
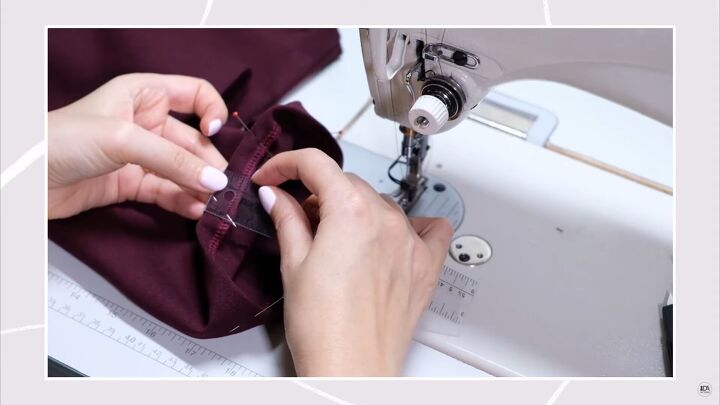
Mark the wrong side of the fabric. Fold the tie lengthwise, right sides touching.
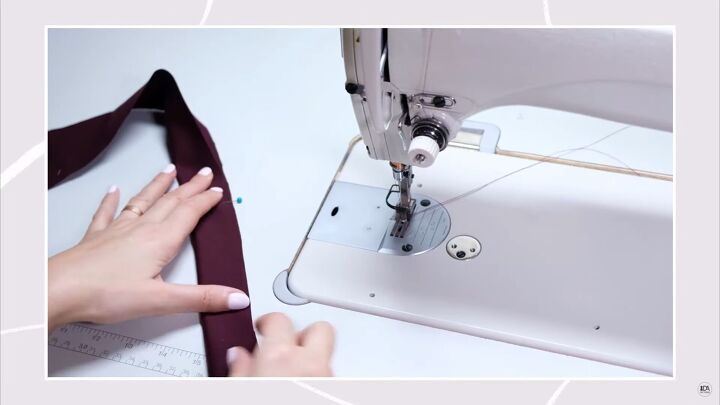
Pin from the center of the tie outwards. Start sewing from the middle to one side, closing the short side of the tie. Leave a space of about 2 inches on the long side. Then sew the other side. Flip the tie inside out from the hole. I use a skewer to help me along.
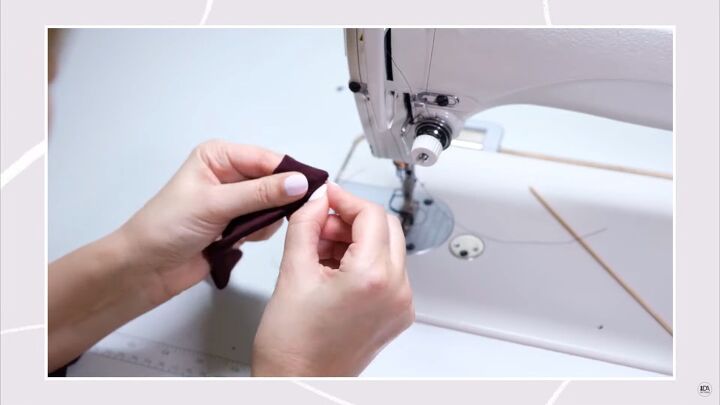
Use a needle to take out the corners. Press the belt. Hand-stitch the hole to close it.
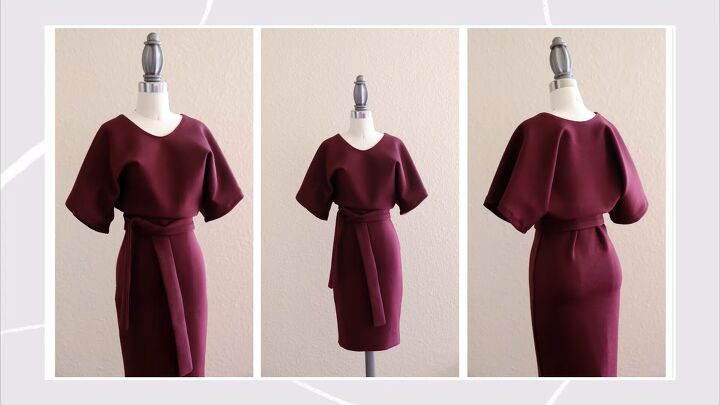

DIY tie-front dress tutorial
You are done sewing this beautiful and classy DIY tie-front dress! Please let me know what you think in the comments or let me know if you’ve tried making it. I wear mine often and I hope you will too!
The author may collect a small share of sales from the links on this page.


Comments
Join the conversation