How to Sew a Flattering DIY Tie-Front Dress in 8 Simple Steps

In this tutorial, I'll show you how to make a DIY tie-front dress using just a tank top and fabric! This DIY tie-front dress with the tie on the top is ultra-flattering on any body type. Let’s get started making your cute tie-front dress!
Tools and materials:
- 3 yards fabric
- Tank top to serve as a pattern
- 1-inch elastic
- Small plastic O rings
- Sewing machine
- Scissors
- Ruler/curved ruler/Measuring tape
- Pen or tailor’s chalk
- Pins
- Safety pin
1. Make the top of the pattern
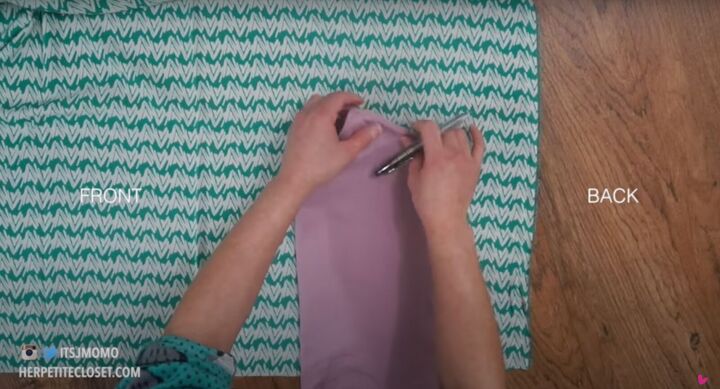
With your tank top on, mark the smallest part of your waist. Fold the tank top in half, tucking in the straps.
Trace the shape of the front and back. Trace only to the mark you made on the tank top and not the length of your top.
Use your curved ruler to create a sweetheart neckline on the front bodice by drawing an arc towards the center.
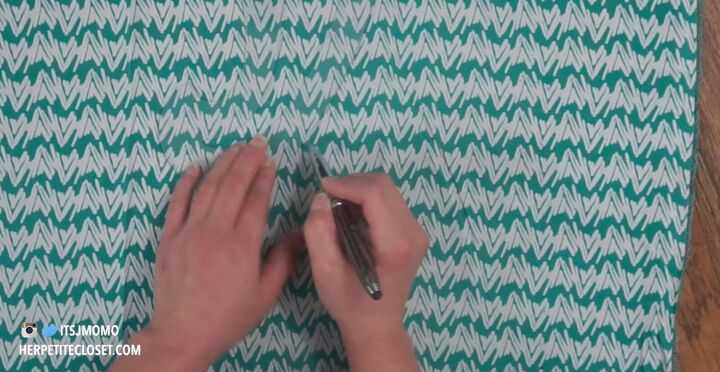
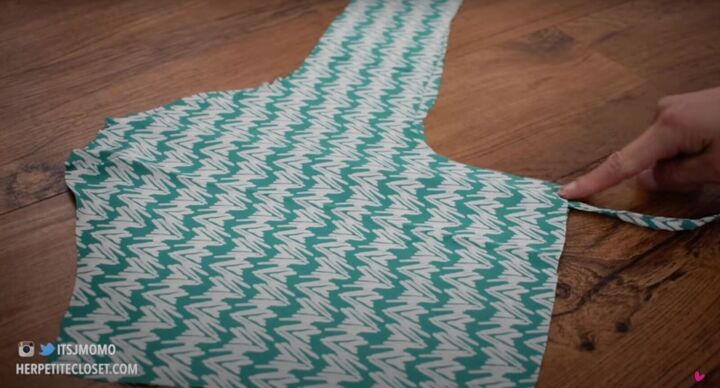
The front bodice is a tank top with a horizontal band at the center front for the bowtie.
At the bottom of the center front, draw another arc that is 1½ inches wide by 3 inches tall. This is for the cut-out at the bottom. Blend the arch and neckline into the horizontal bowtie 1½ inches wide.
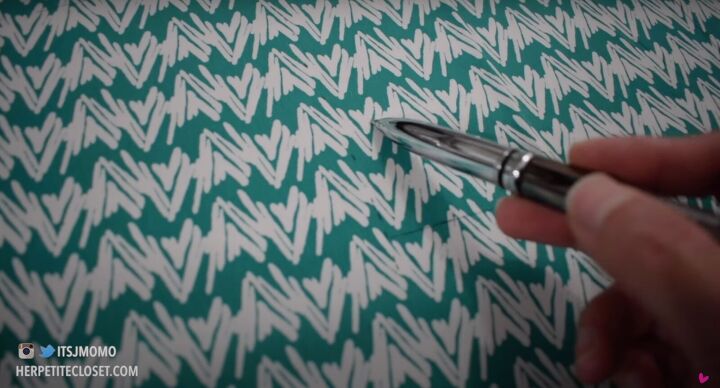
Add a ½-inch seam allowance to the front bodice. Cut two pieces of the front bodice on fashion fabric and two pieces on lining fabric.
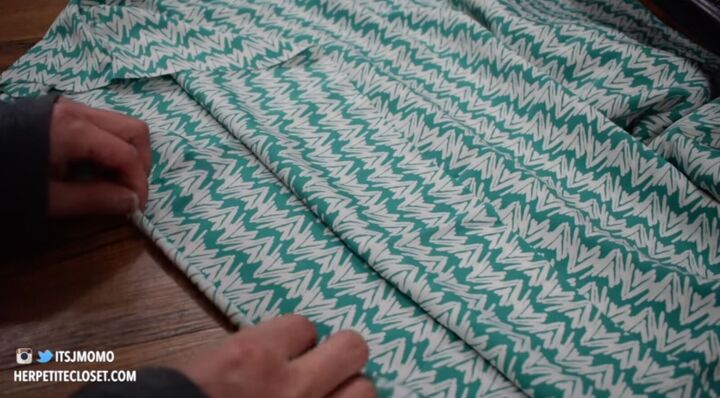
Taper this end into a point. Make the back by tracing out the tank top on folded fabric and cutting it out so it’s one piece. It will look like a rectangle.
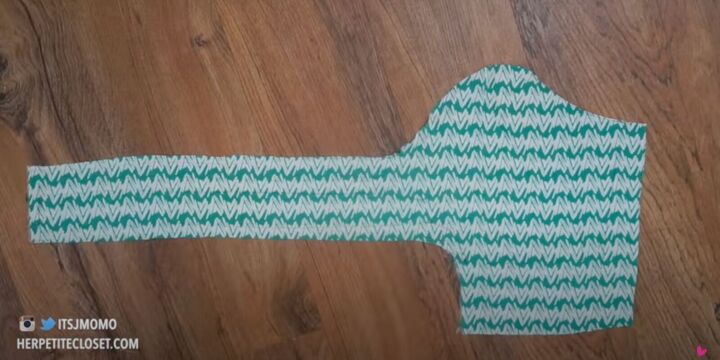
2. Make the shoulder straps
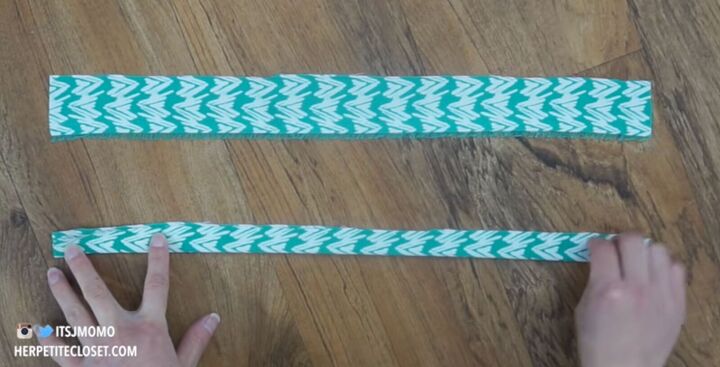
Cut two 1-inch strips for the shoulder straps with a ½-inch seam allowance all around.
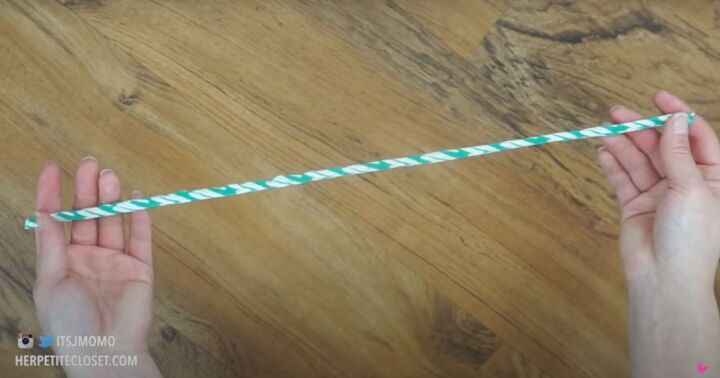
Fold the shoulder straps in half lengthwise and sew. Trim down the seam allowance. Turn it right side out. Topstitch to keep it flat.
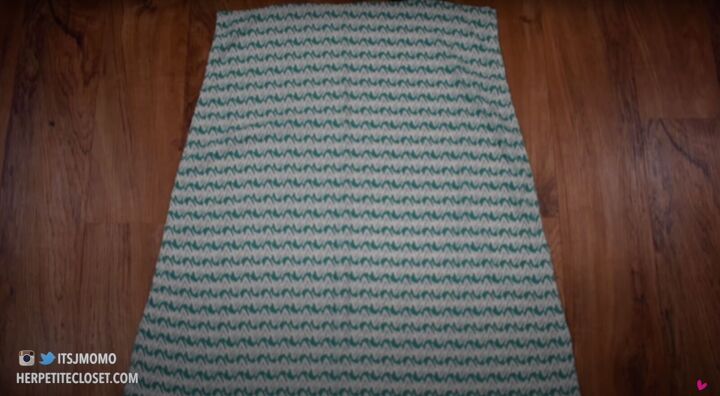
3. Make the bottom pattern
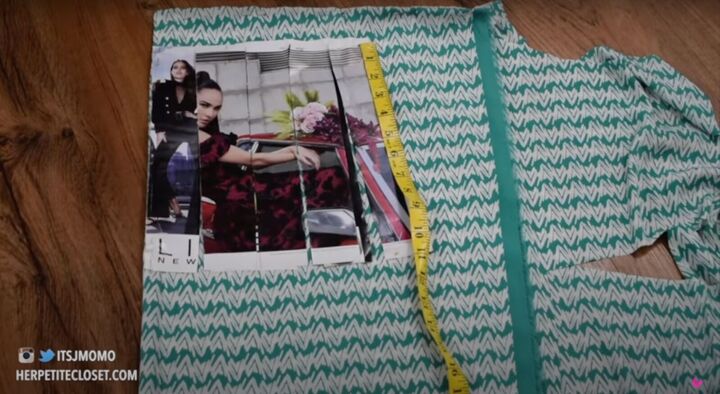
Measure your waist. Divide that measurement by 4. Use a rectangle like a magazine page to help you create your pattern. Cut 1 to 2 pages into vertical strips as shown, leaving the top of the paper intact.
You’ll be able to get an A-line shape without needing a full pattern!

Fold your fabric in quarters. Mark your waist measurement. Spread out the strips to create an A-line shape. The waist needs to be wide enough to fit over your hips so you may need to use 2 pages.
Measure down to your desired length. Cut out 2 pieces of fabric.
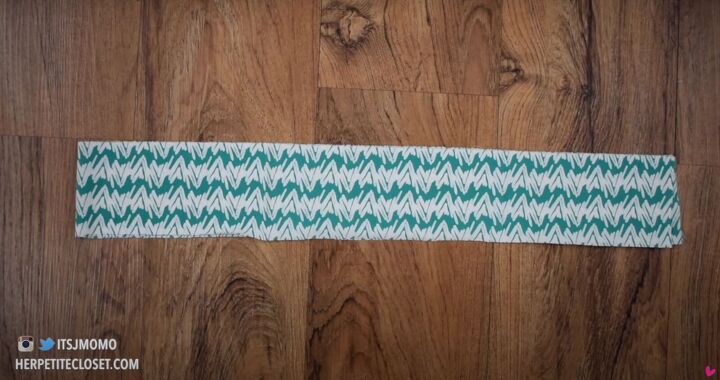
4. Make the waistband
Cut out the fabric for the waist that is about 3 inches wide. It needs to match the length as the total waist of the skirt. Make it twice as wide as your elastic band.
5. Sew the top together
Place the bodice pieces and lining layers right sides together. Place the shoulder strap upside down in between the two layers. Sew along the top, bowtie, and center front.
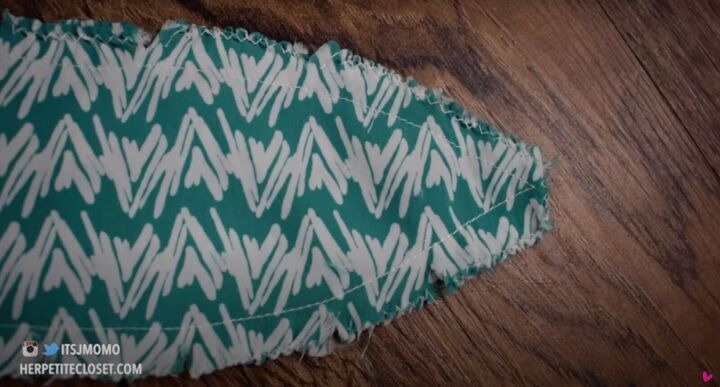
Snip into the seam allowance all around to add ease.
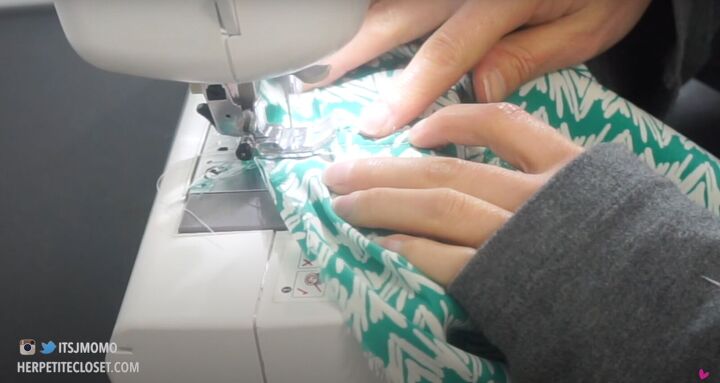
Open up the bodice and fold the seam allowance into the lining. Topstitch close to the seam.
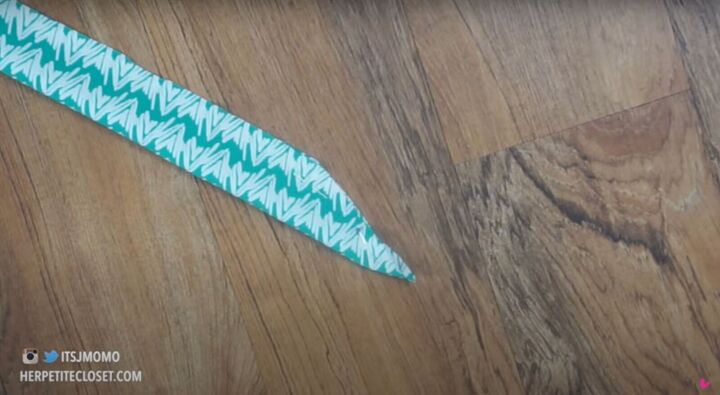
The tie is quite narrow, so you won’t be able to topstitch along the entire tie. Only sew as far as you can. This will allow the front to hang nicely!
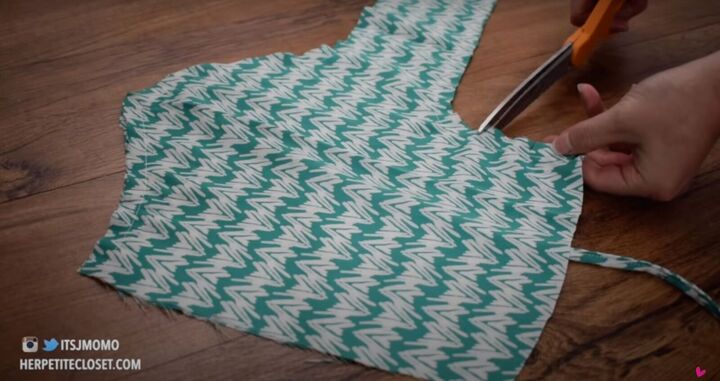
Snip off the tip of the tie. This will prevent the fabric from bulging when the bodice is turned right side out.
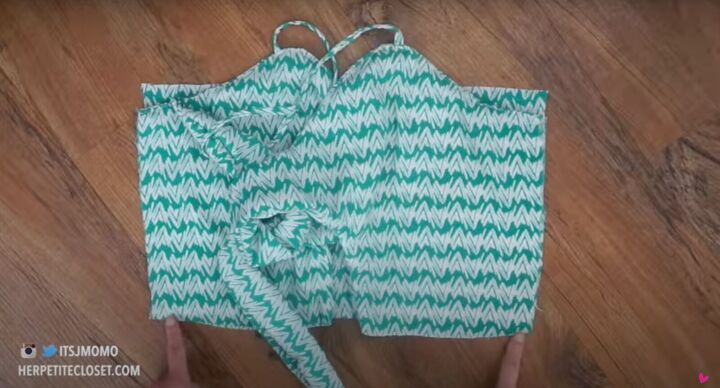
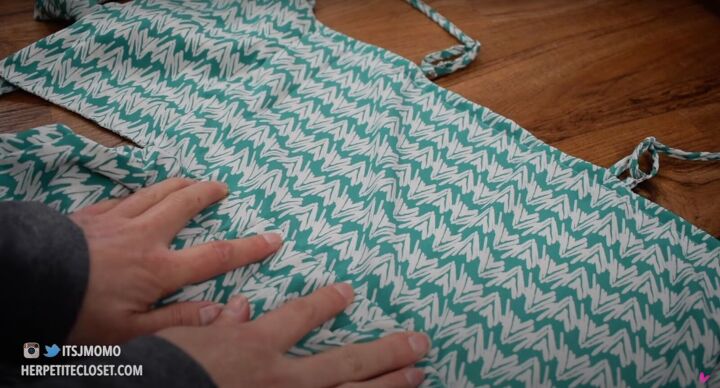
Attach the front to the back, starting at the bottom. The back bodice should have an inch of unfinished edge at the top.
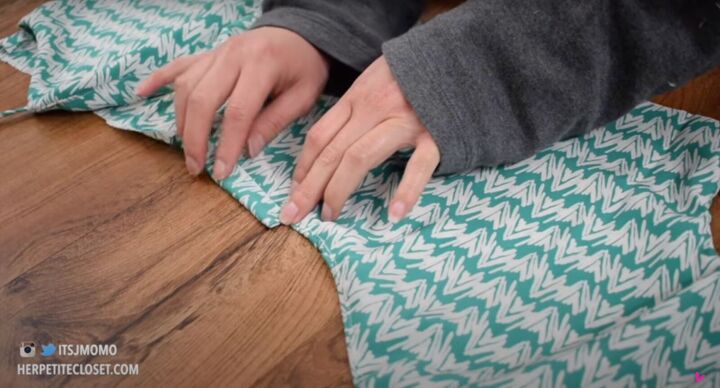
Fold the side seam towards the back bodice. At the top of the back bodice, fold the unfinished edge under twice. Make sure to cover the side seam allowance. Topstitch in place. Pin the bottom of the bodice.
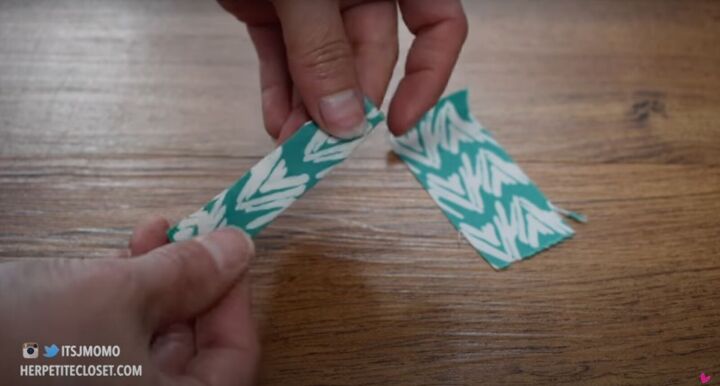
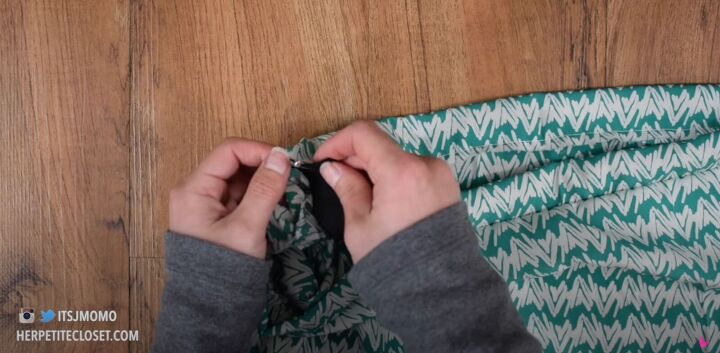
Take two small 1-inch rectangles and follow the same technique for making the straps.
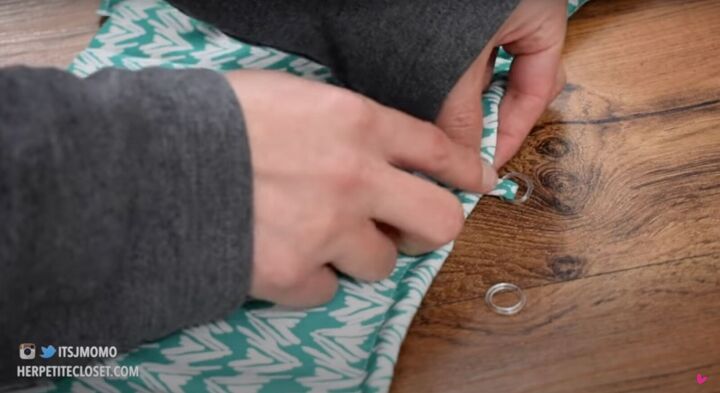
Loop the strip through the O-ring and attach to the back of the bodice.
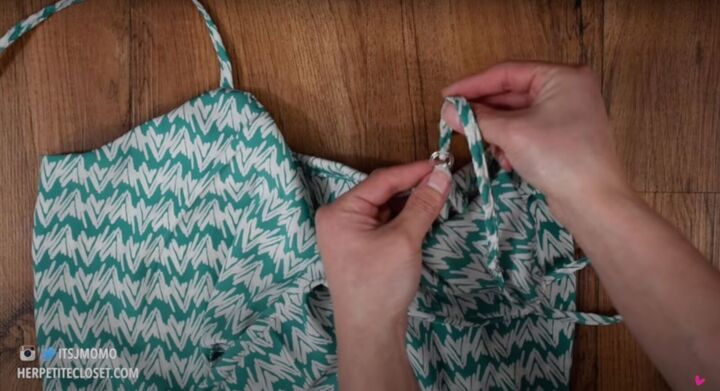
Finish assembling the shoulder straps by passing the long strap through the slide, through the O ring, and back through the slide again.
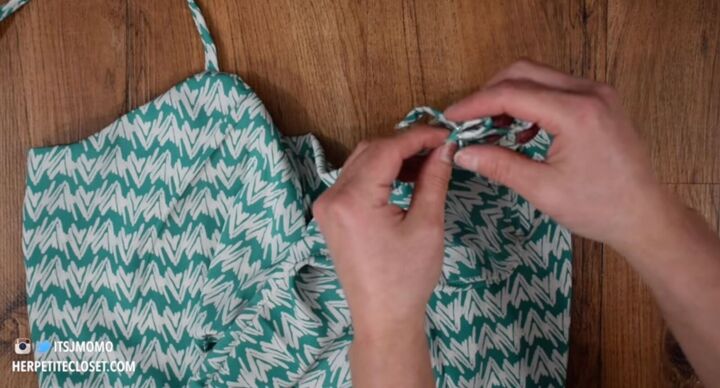
Secure the end. If you’re unsure how to do this, review the video from 5:00 to 5:38. Finish the bodice of the hem with a zigzag stitch.
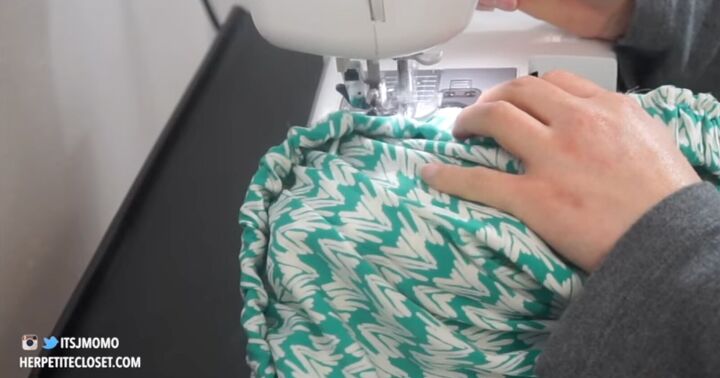
6. Sew the bottom
Pin the front skirt to the back skirt. Sew along the sides.
Sew the ends of the waistband together to make a large loop. Fold in half lengthwise.
Pin the raw end of the waistband to the top of the skirt with the waistband seam at the center back. Sew together, leaving a 1½-inch opening for the elastic.
Place a safety pin to the elastic to thread through the casing. Distribute the elastic evenly along the waist. Sew the opening closed.
7. Sew the top and bottom together
Line up the side seams of the waistband to the bodice. Lay the waistband directly on top of the bodice and pin in place.
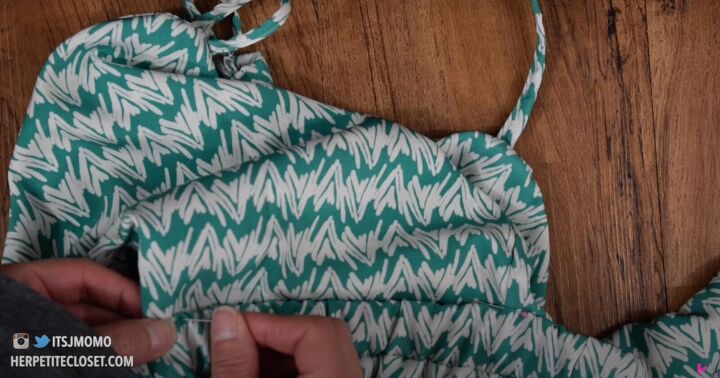
On the front, gauge how wide of a cutout you want. Distribute the elastic waist accordingly. The more elasticity you allocate to the center, the less the cutout will stretch when the dress is worn.
Secure with a zigzag stitch.
8. Finishing touches
Fold the skirt hem under twice and topstitch in place.

Tie the bow in front and you’re ready to go!


DIY tie-front dress tutorial
This is such a great DIY summer dress idea. I love how pretty this turned out. Please let me know in the comments if you made this DIY tie-front dress and what you think of the results.
The author may collect a small share of sales from the links on this page.


Comments
Join the conversation