How to Cut and Sew a Bodycon Dress With a Sexy Keyhole Halter Tie

Bodycon dresses are super sexy, and when they fit right, they make you look amazing! In this tutorial, we are going to show you how to cut and sew a bodycon dress using spandex material.
Whether you’re planning your next night out or want a sexy number as part of your collection, this DIY bodycon dress project is perfect for you!
Tools and materials:
- Spandex fabric
- Chalk
- Scissors
- Pins
- Sewing machine
- Elastic
- Thread
- A dress that fits
- Measuring tape
1. Make the pattern
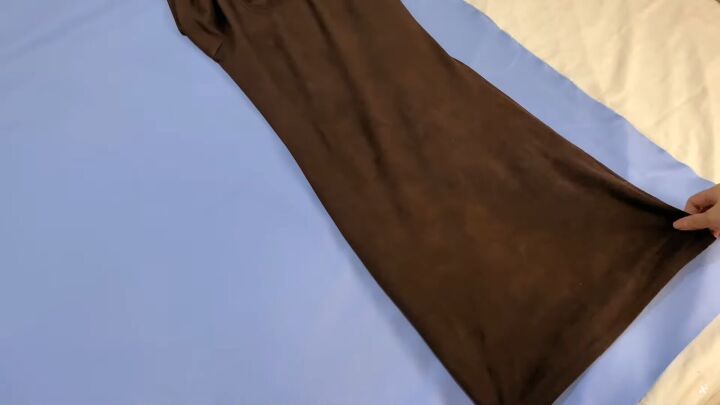
Let’s start with the DIY bodycon dress pattern. Fold your fabric in half and lay your favorite dress on top.
Now, trace the shape of the dress and mark 1cm (0.39 inches) seam allowance.
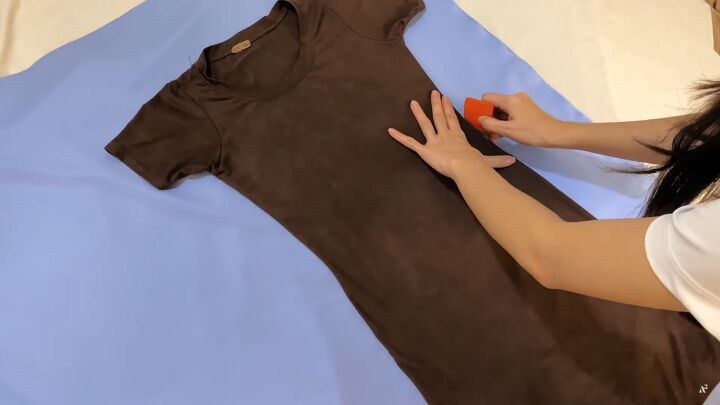
2. Cut the fabric
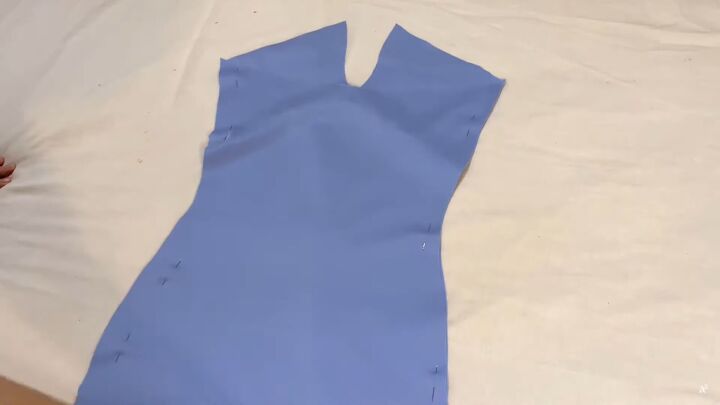
Fold the fabric in half, pin all around, and cut. This will ensure a symmetrical DIY bodycon dress in the end.
Cut the pattern until the armpits; you’ll not need the arm area for this type of dress.
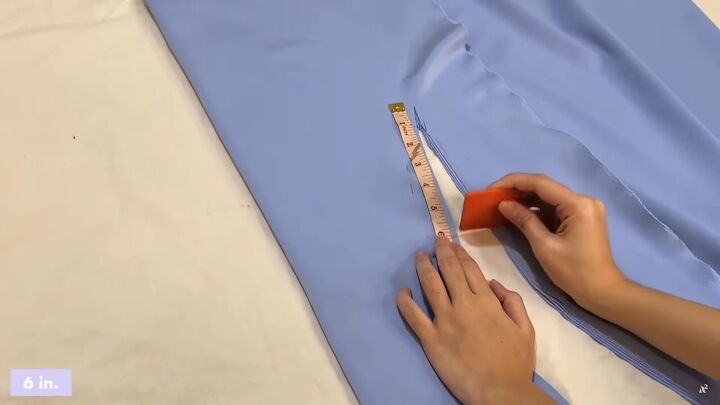
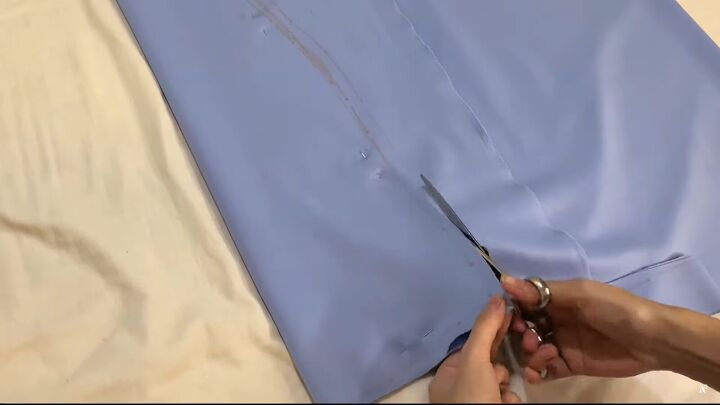
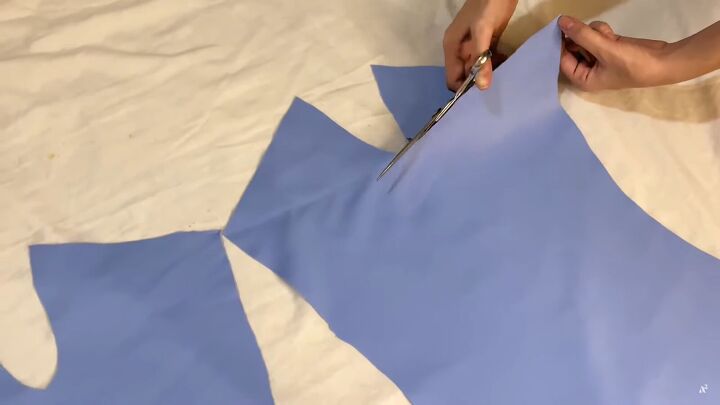
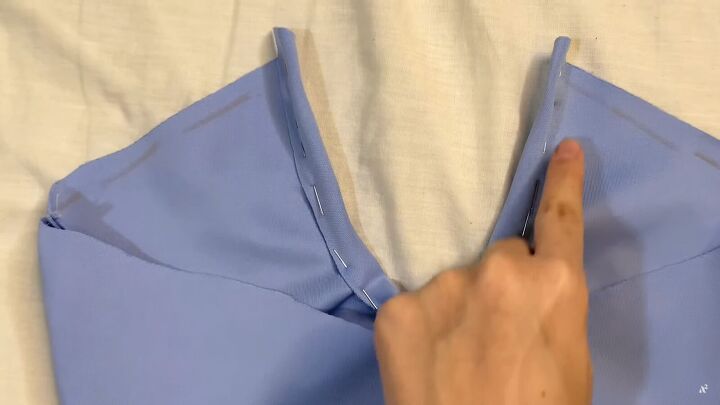
3. Make the bust panels
Mark 6 inches from the top.
Then mark 6 inches on the adjacent side.
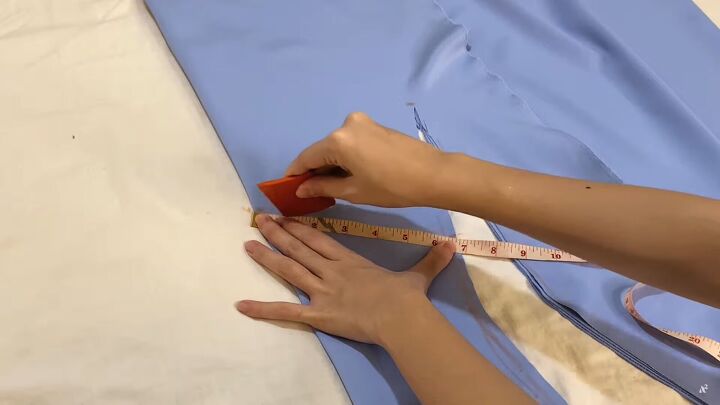
Then, from that point, mark 3 inches up and connect it to the original 6-inch mark.
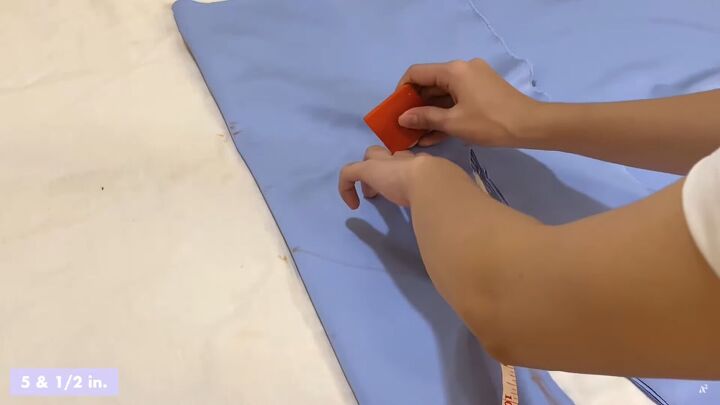
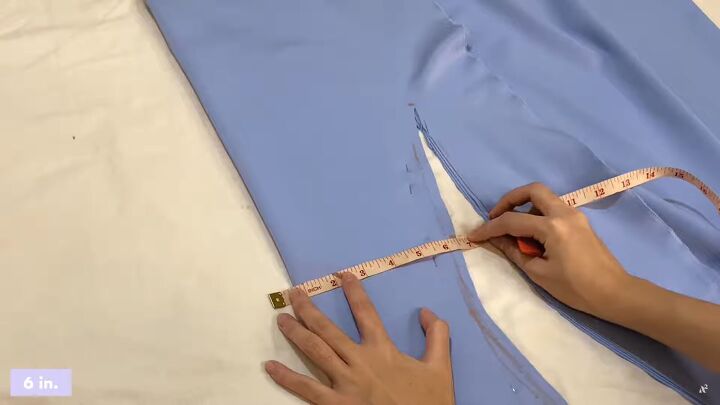
Now, draw a diagonal line 5½ inches above the 6-inch mark and the line you just drew. Then, connect these markings.
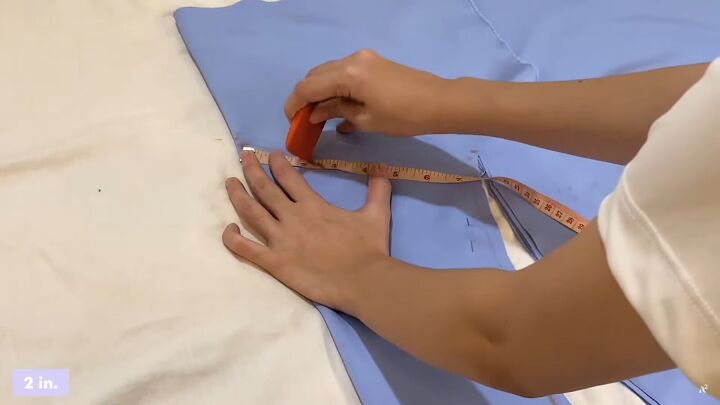
From the second diagonal line, mark 2 inches from the left.
Then, use that mark as a guide to creating a smooth “V” shape.
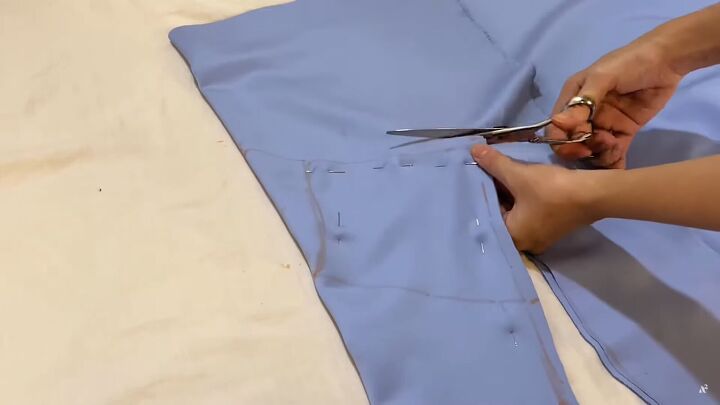
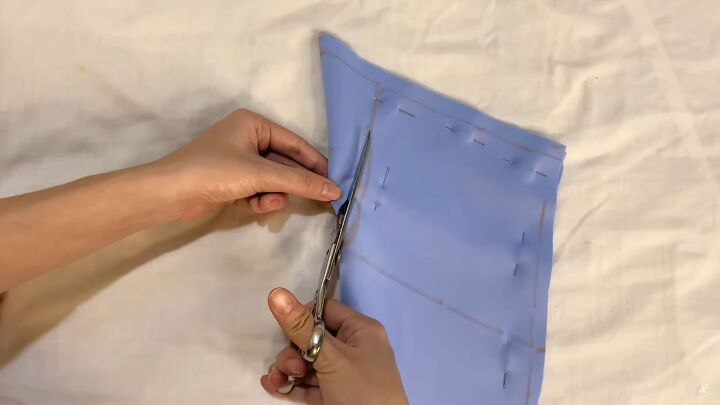
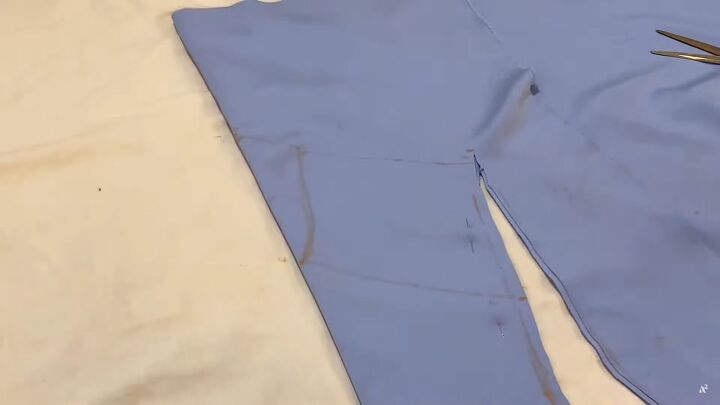
Pin the fabric, and cut out the shape, as shown.
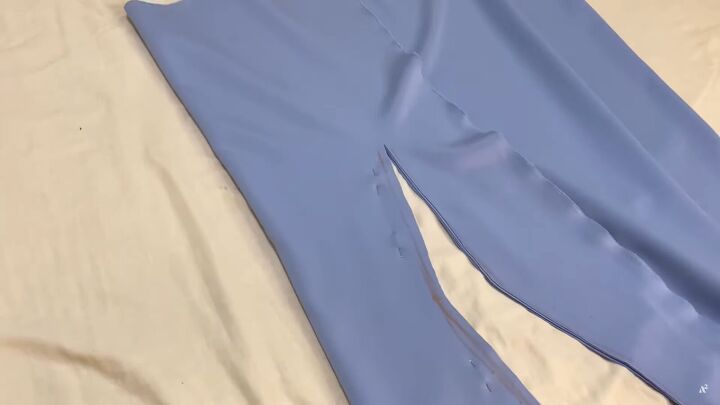
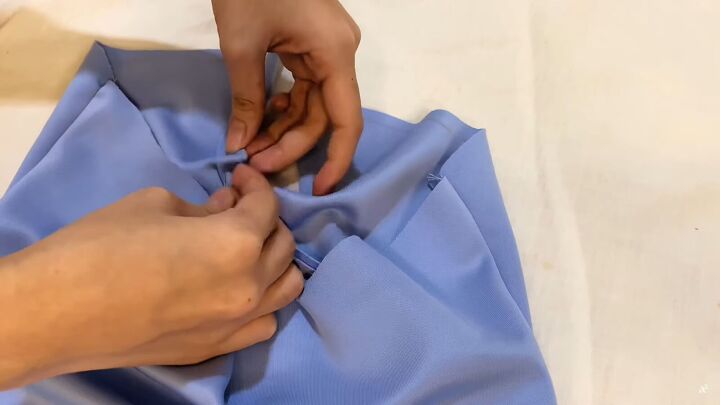
4. Modify the back
For the back fabric, cut a slightly curved line right under the central hole.
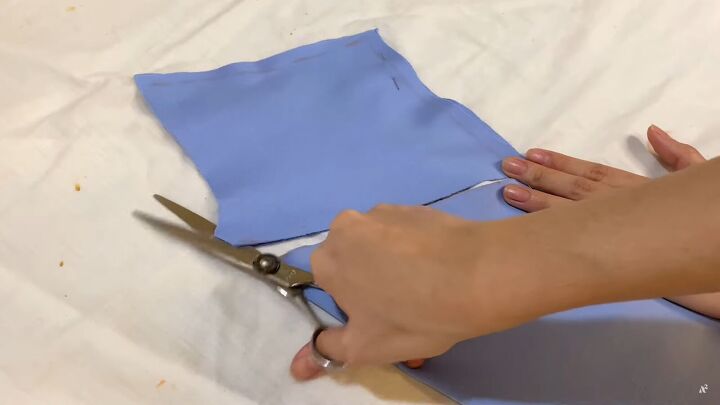
For the front, fold the dress in two and cut the top bust panels.
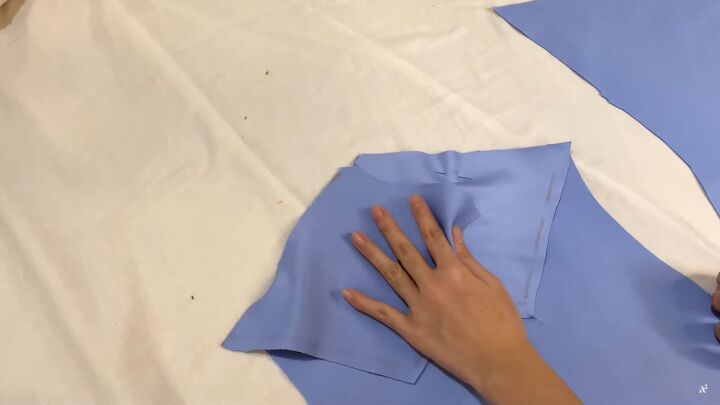
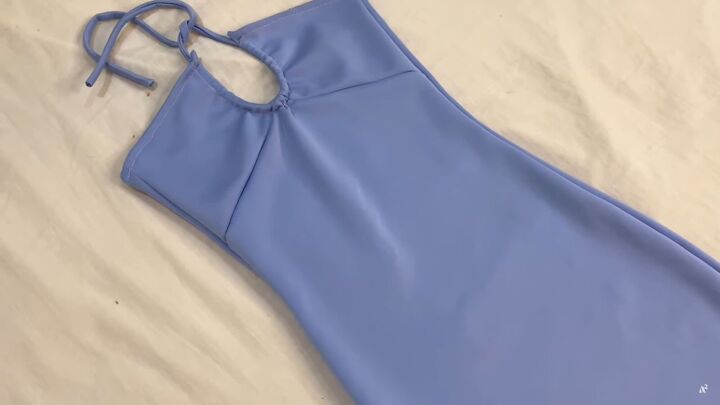
5. Assemble the DIY bodycon dress
Pin the bust panels onto the dress. Use a straight stitch to sew them together.
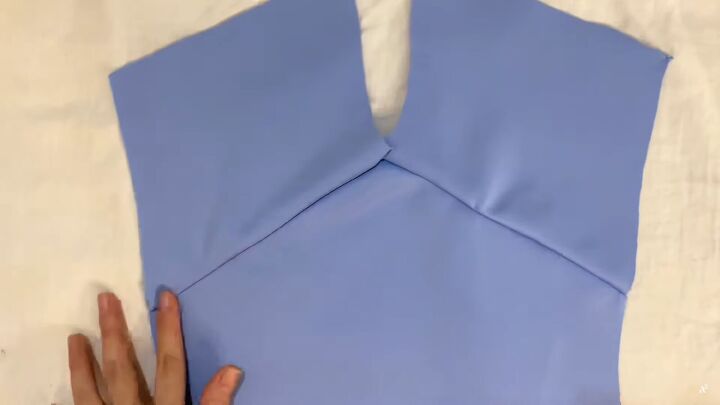
When you’re finished, your half-done bodycon dress should look like this.
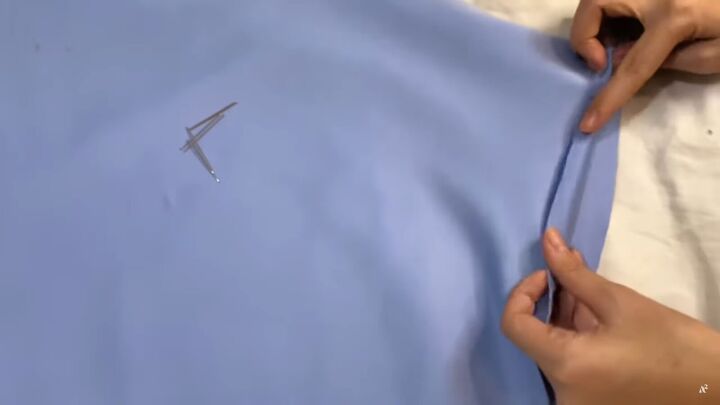
Sew the back and front fabric pieces together, right sides facing. Pin the fabric first, align it, and sew with a straight stitch.
6. Create the tunnel
Go ahead and create a tunnel around the cleavage area for the straps. Fold the inner fabric and pin it in place. The tunnel should be 1.5 cm (0.59 inches) wide.
Sew on edge to secure.
7. Hem the dress
Make a 1cm (0.39 inches) hem around the raw edges of the dress (top and bottom).
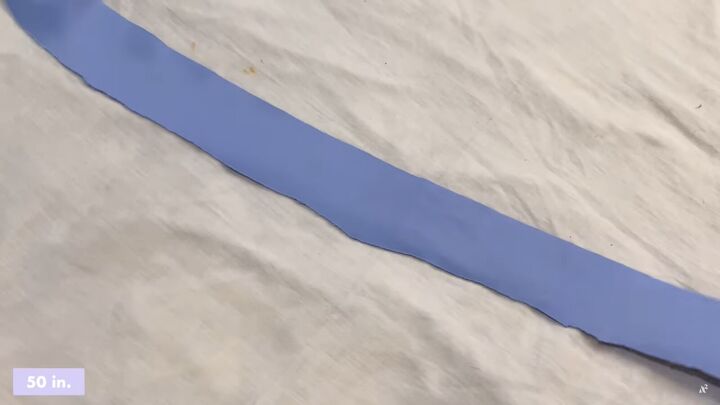
8. Make the straps
Cut out a 50 x 2 inches fabric strip.
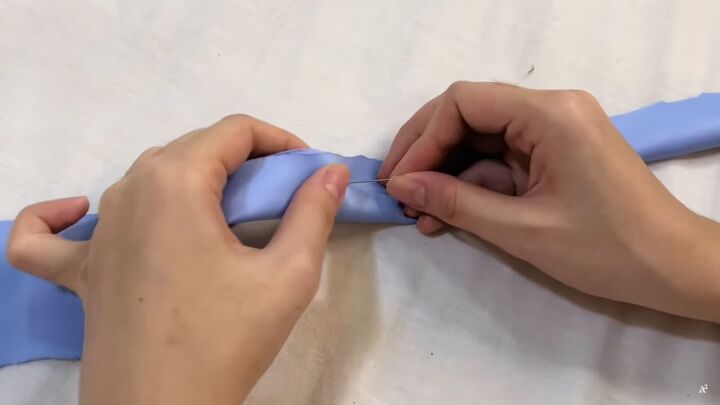
Next, fold and pin the fabric right sides together and sew all the way down the middle, using a straight stitch.
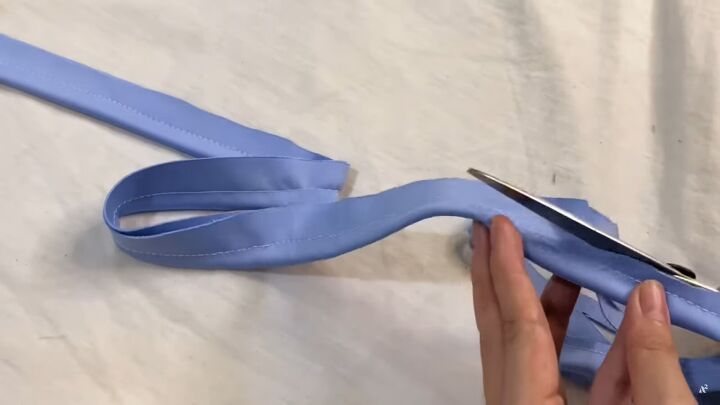
Trim the excess fabric.
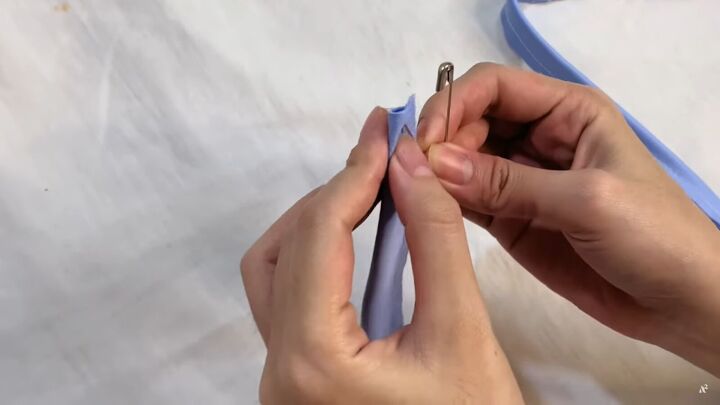
Use a safety pin to turn the fabric inside out.
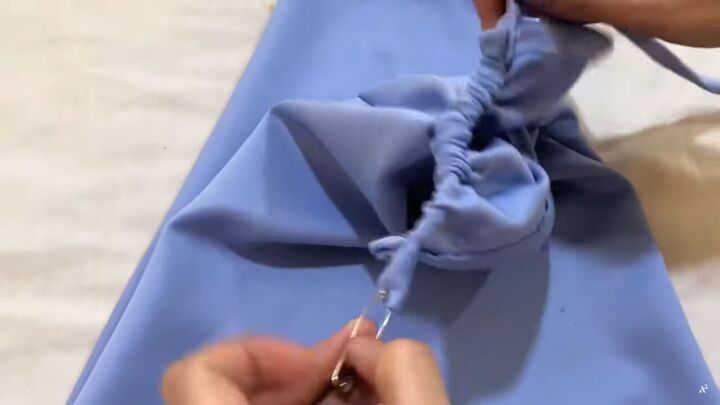
Now feed the string through the tunnel, and you’re done!

How to cut and sew a bodycon dress tutorial
You now have your very own DIY bodycon dress! Now you know how to cut and sew a bodycon dress, what color will you be making yours in? Thanks for watching and let us know what you think in the comments below.
The author may collect a small share of sales from the links on this page.


Comments
Join the conversation